To avoid these ads, REGISTER NOW!

lets see your 'I made it because i was bored' creations.

10.5 outlaw

Well-known member
Joined
Jan 3, 2008
Messages
101
Location
Maple Ridge B.C.
I used 80 grit sanding pad,And i just started grinding randomly Back and forth,Side to side.And yes i did the same thing on the pool table legs.
 
To avoid these ads, REGISTER NOW!

Hafen_Kafer

Well-known member
Joined
Feb 24, 2013
Messages
579
Location
SoCal - USA
HEX bit holder

4_021918_510000000.jpg


Gonna do a couple more for the allen sets

4_021918_510000001.jpg
 

evintho

Well-known member
Joined
Apr 6, 2006
Messages
1,358
Location
Santa Rosa, CA.
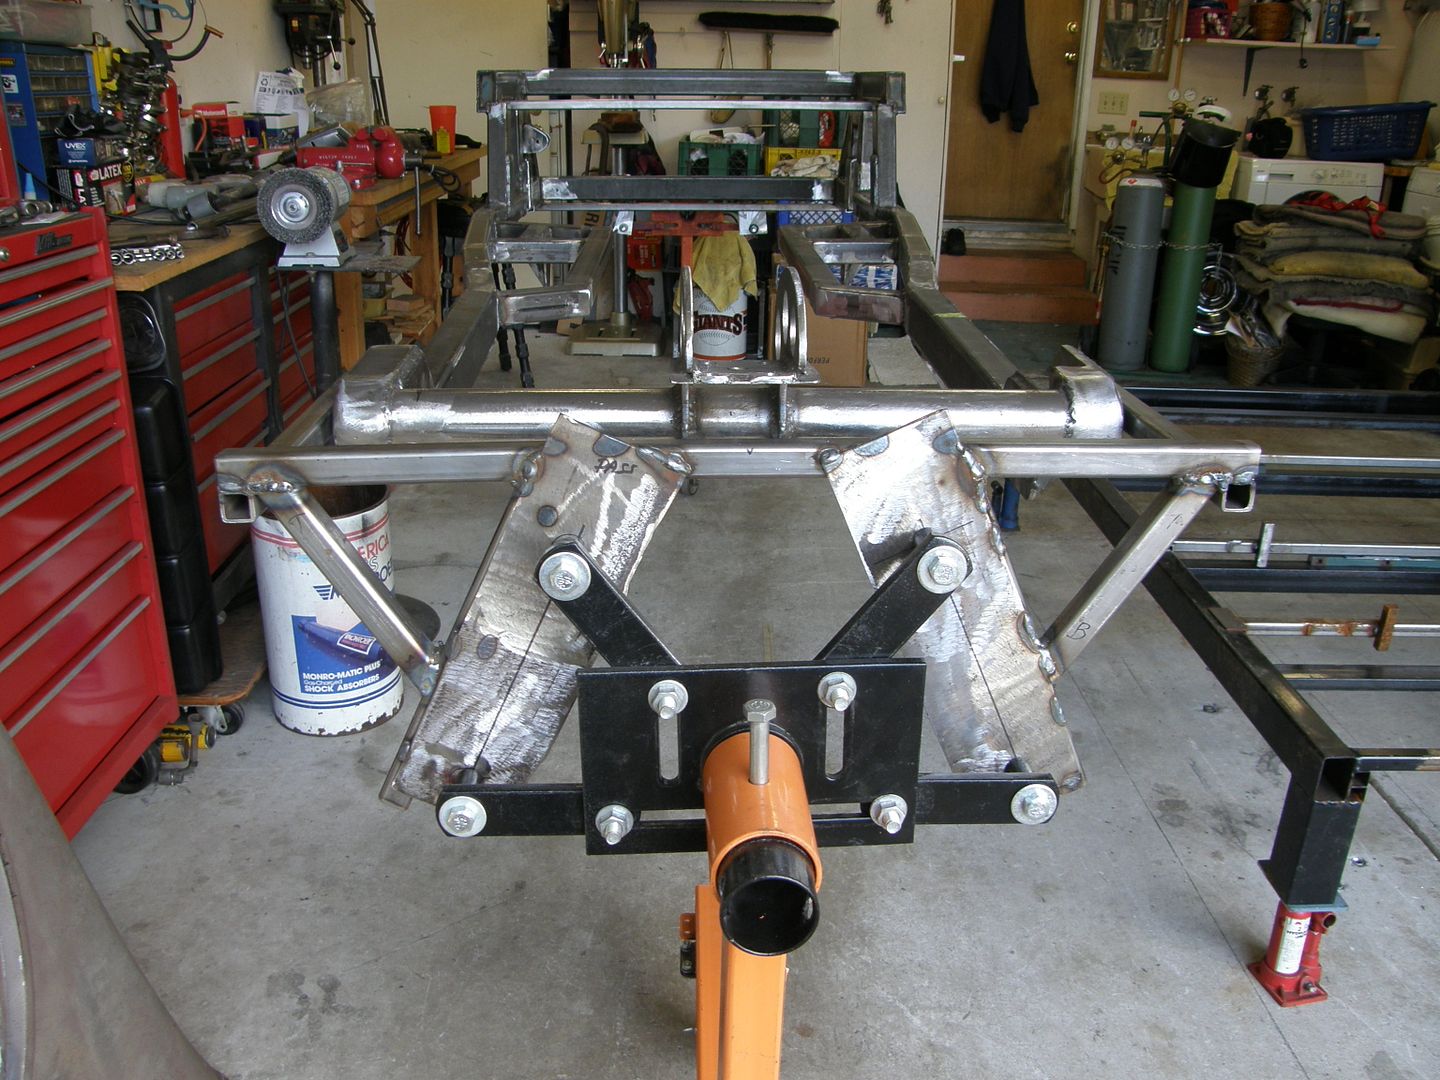
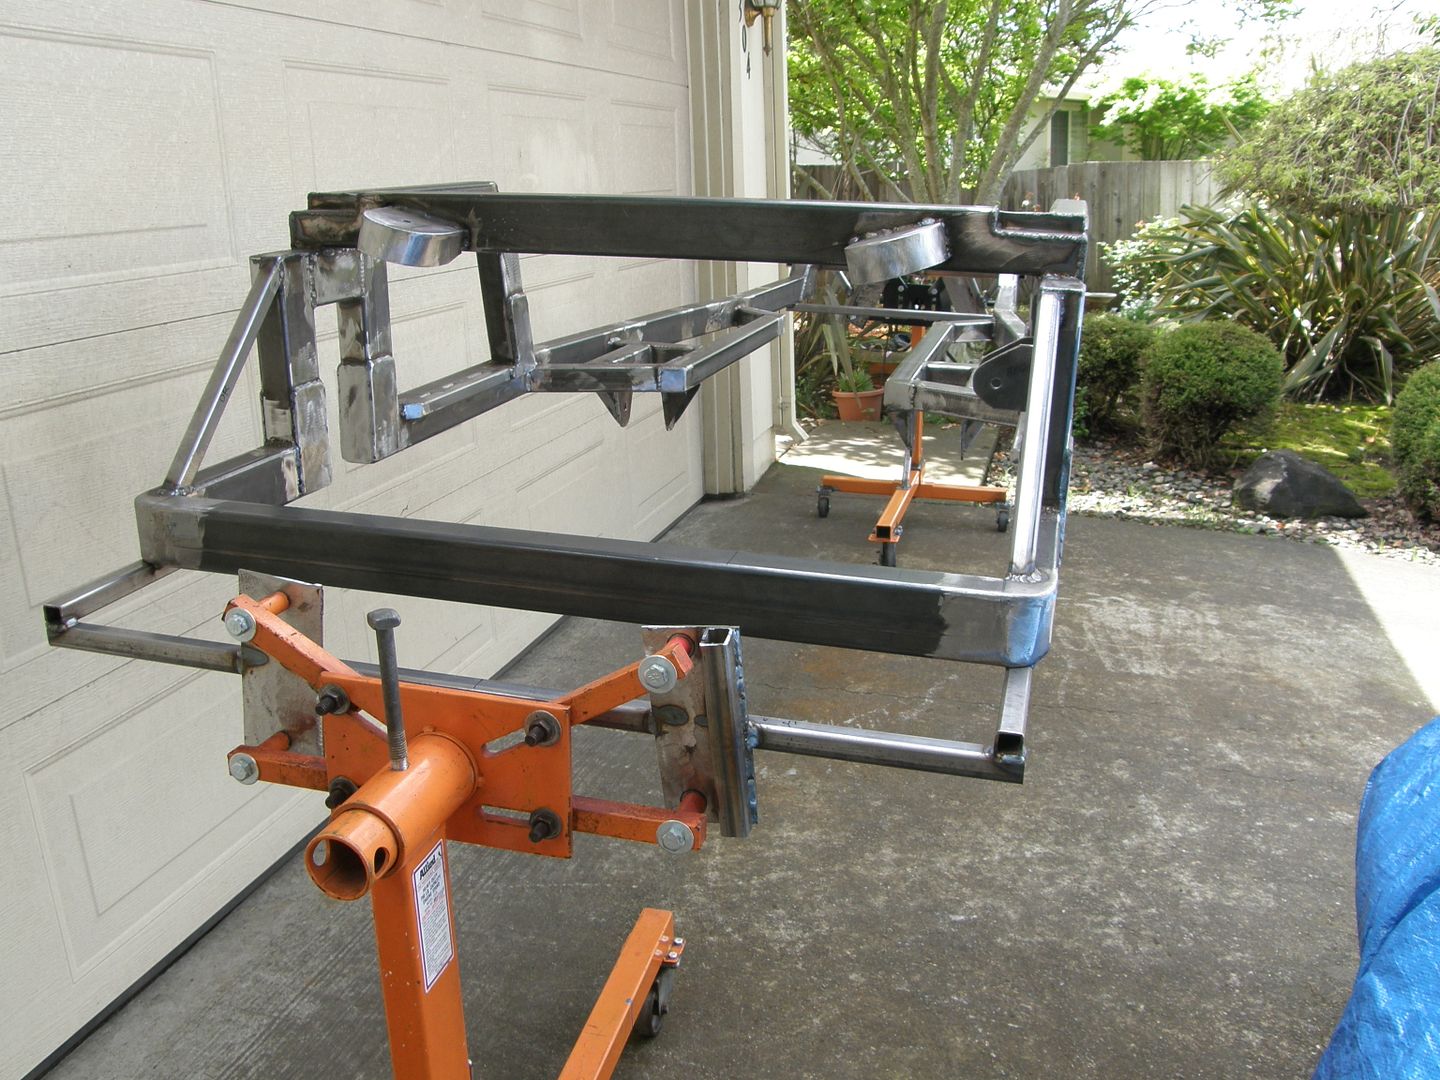
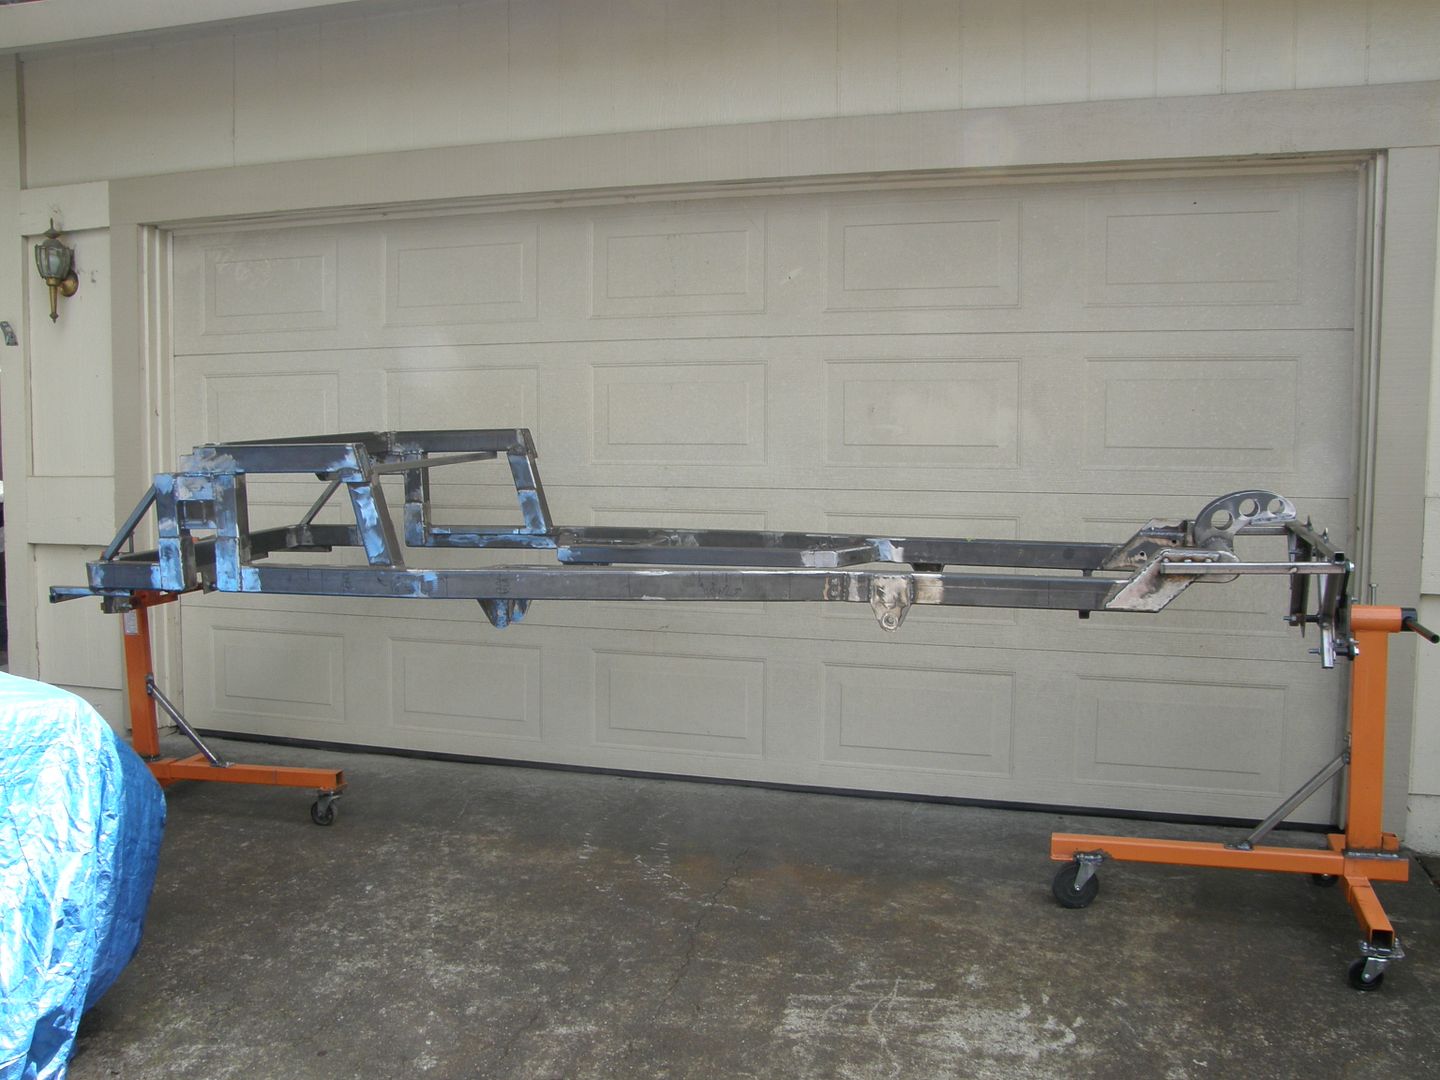
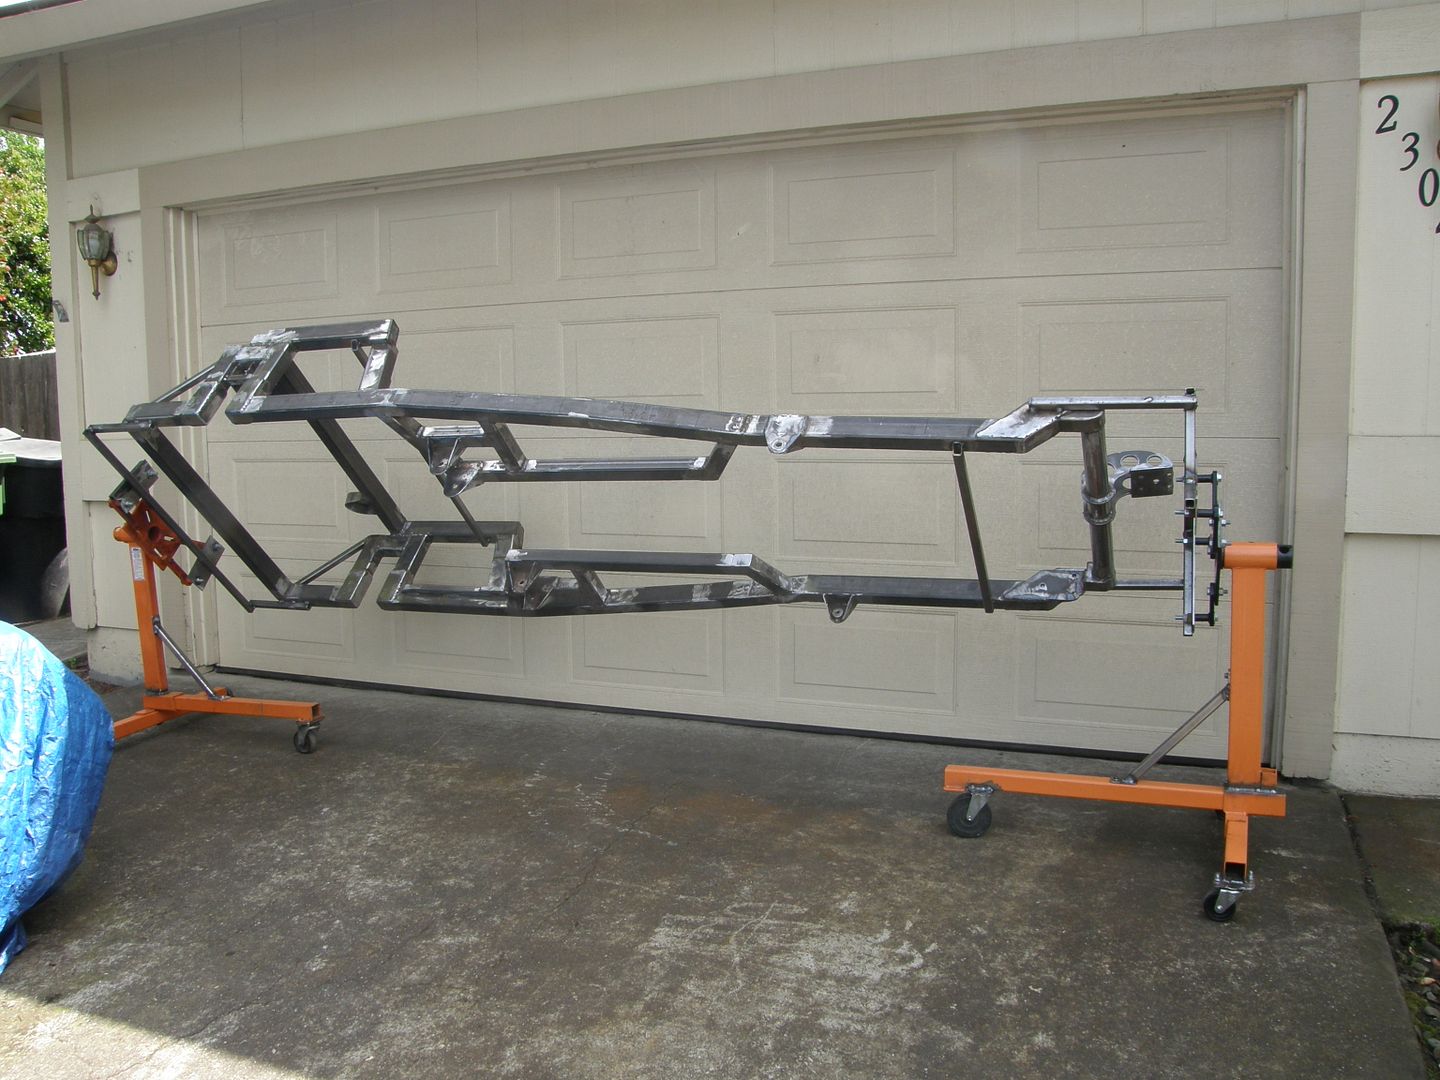
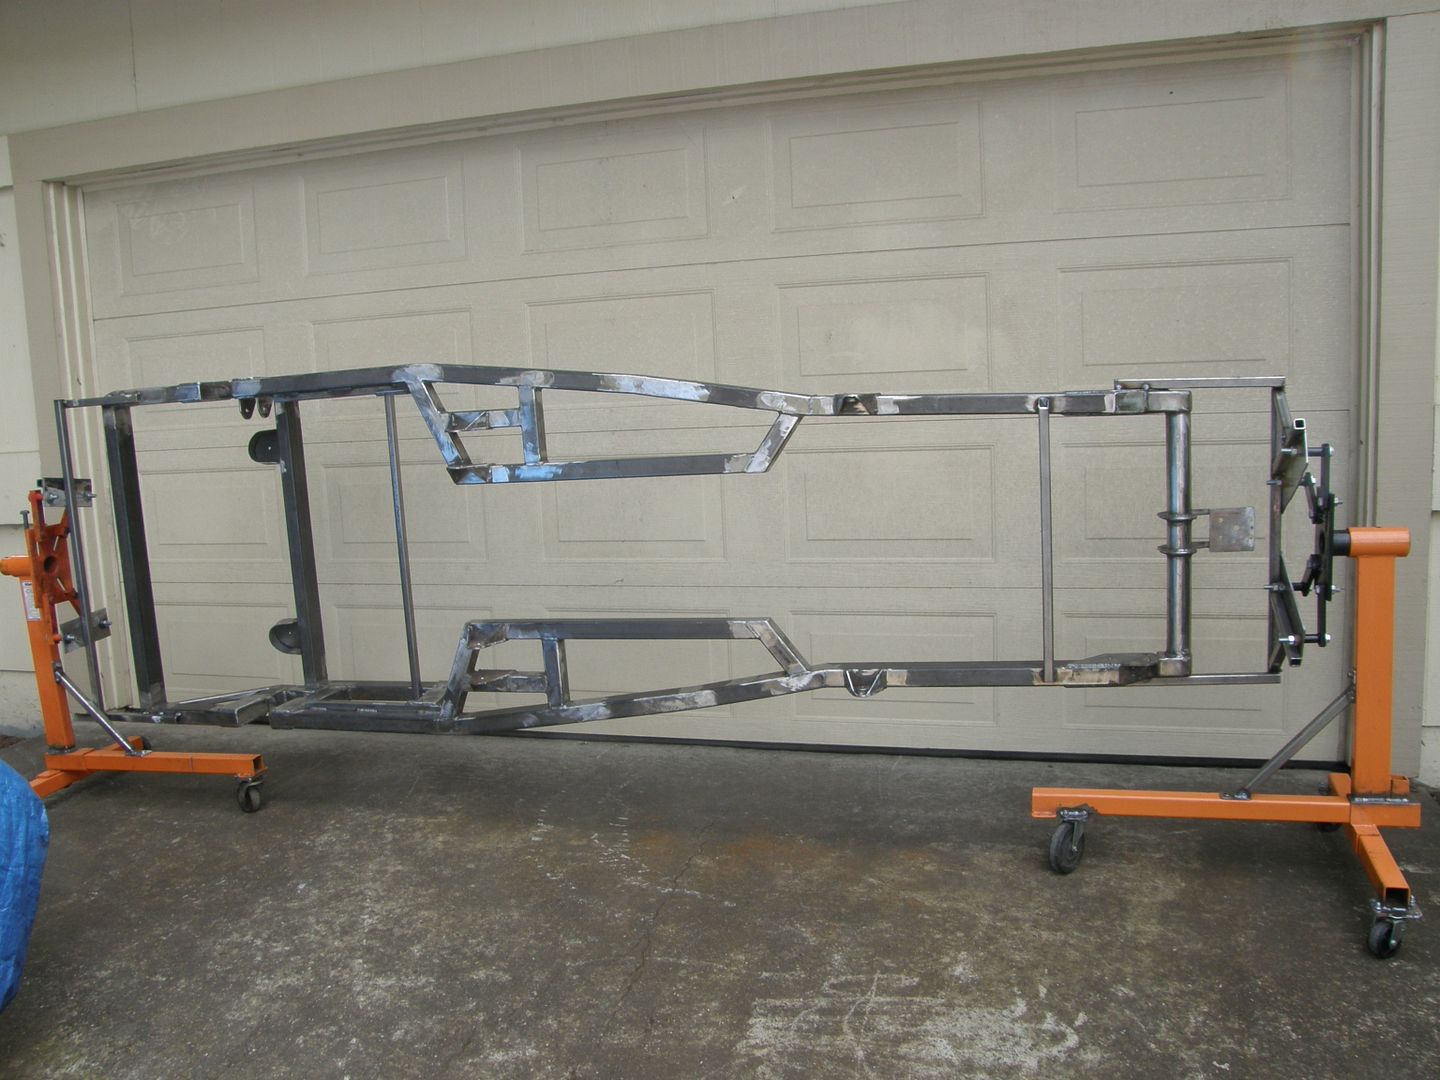
Not sure how bored I was but I was waiting on parts for the roadster and I had some free time so I thought, now's the time to make a frame rotisserie using whatever materials I have laying around.

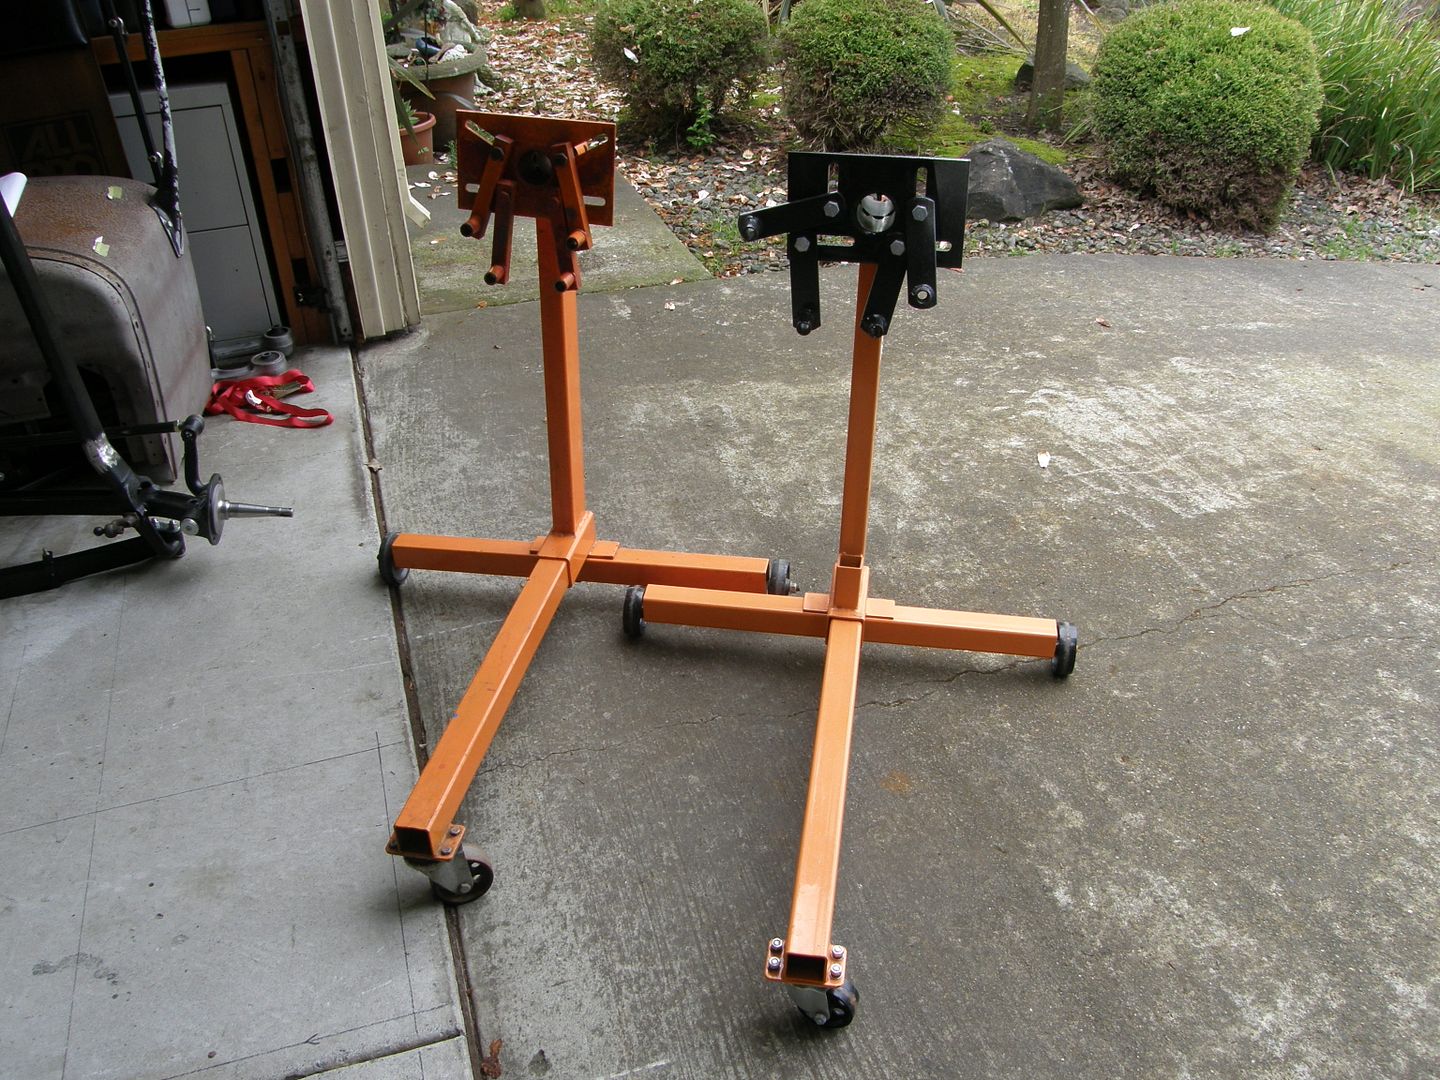
Now that the frame is built I needed to find a way to get it into the backyard for blasting. I also needed easy access to the underside and I was tired of fighting with my grandson to help me lift/move it. I started thinkin'. I've got a pair of cheap HF engine stands. One I've had since the 80's and the other I picked up on CL (brand new) for $10 for just such an occasion as this.

P3300001_zps6b3218c9.jpg


Build materials include the stands, a chunk of scrap steel and 1/2 a stick of 1" square tubing.

P3300002_zps0efa36c5.jpg


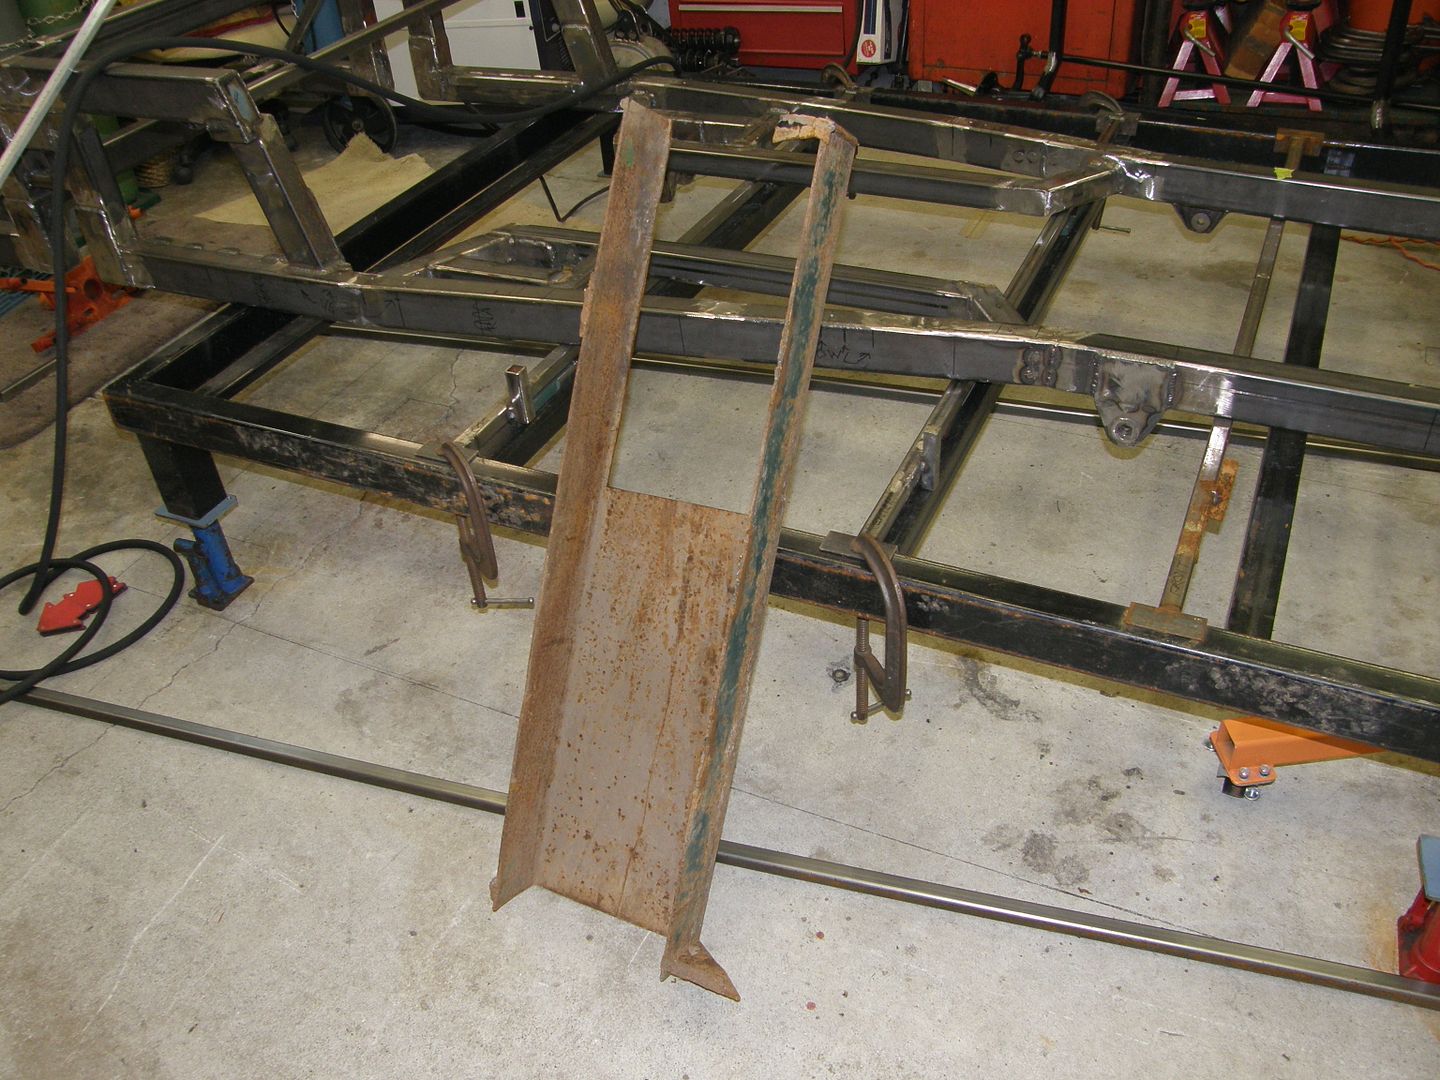
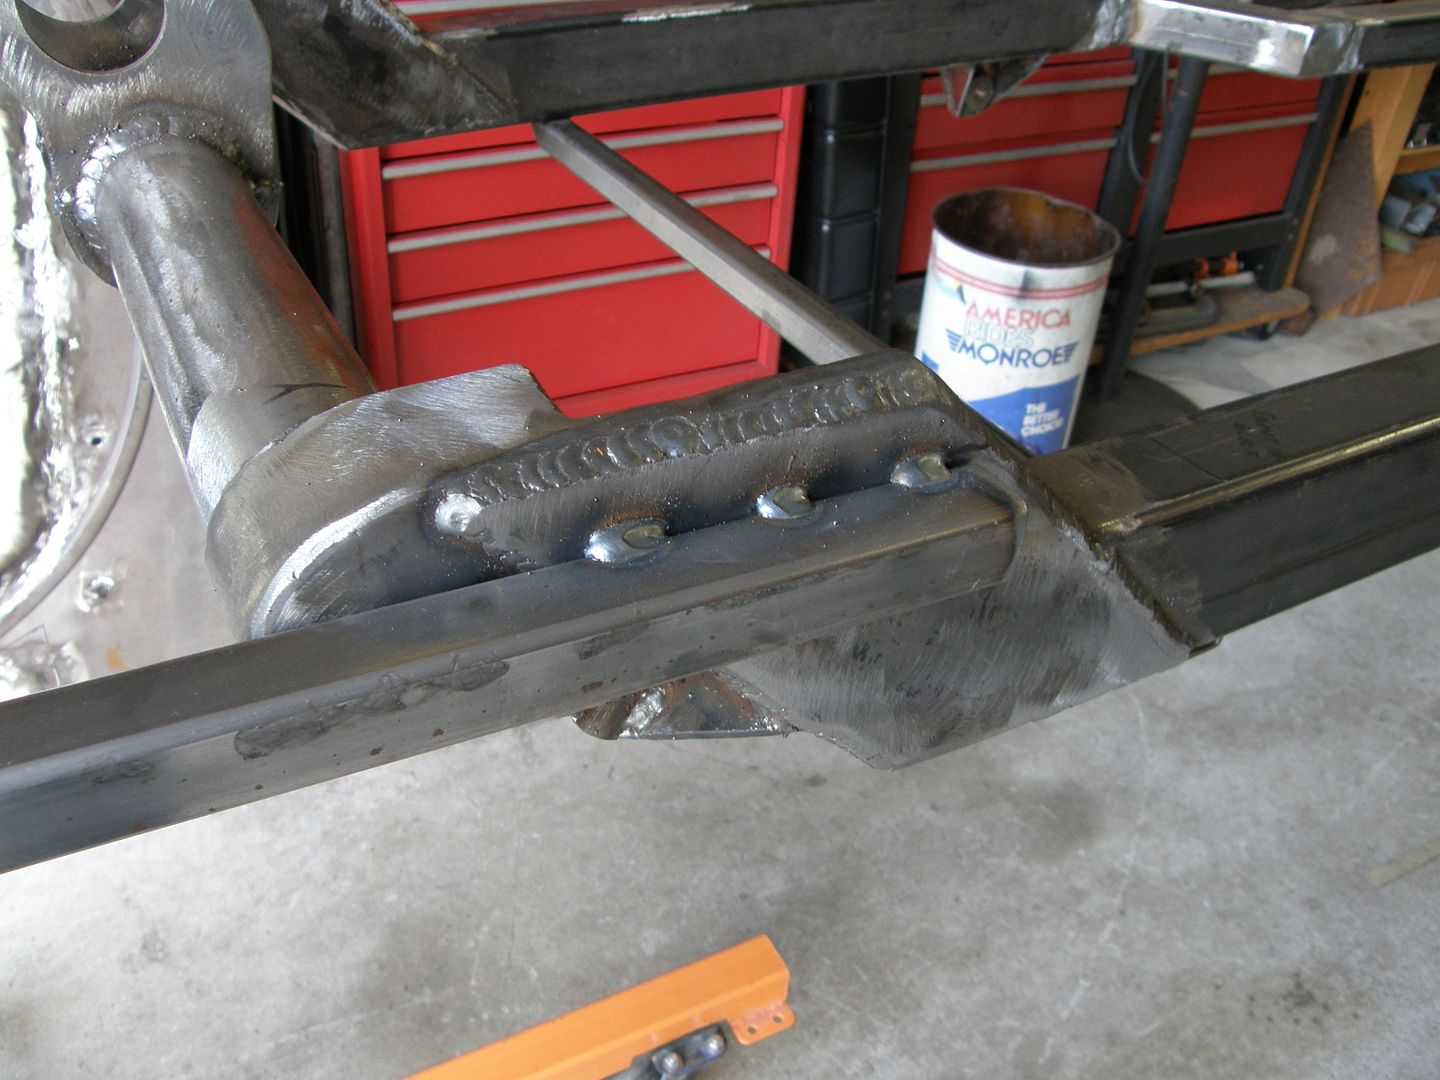
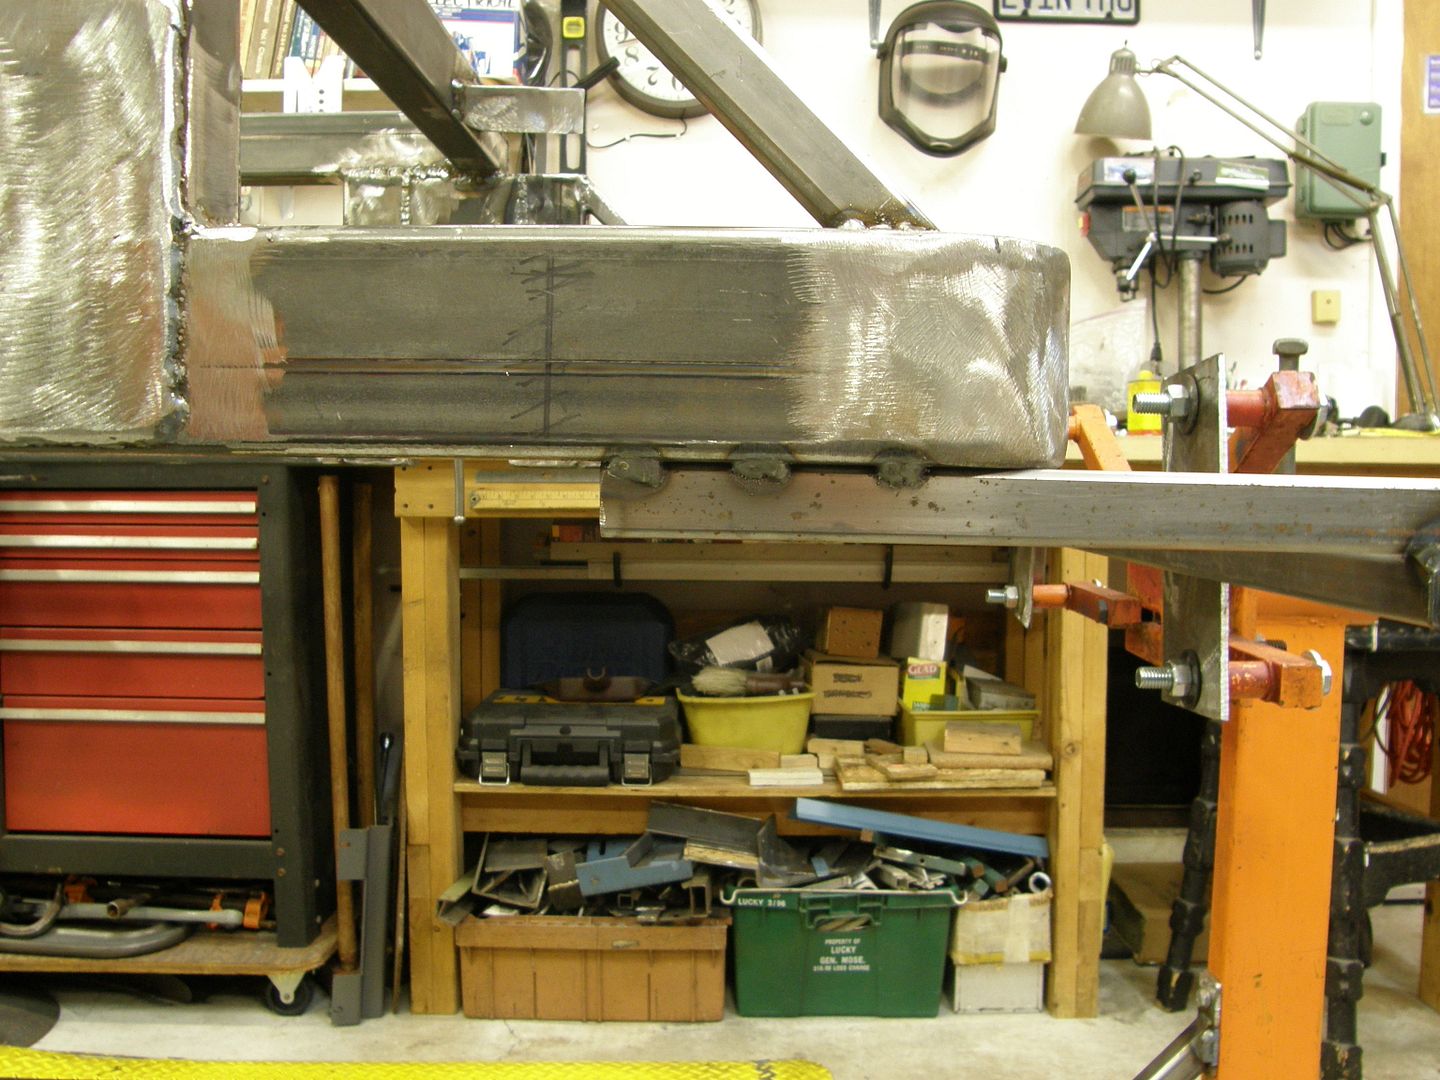
I built some front and rear structures, welded them to the rails and bolted the ends to the engine stand heads.

P4020010_zps1f8d7a9c.jpg


P4020019_zps3ac73478.jpg


P4020009_zps801fe2fa.jpg


P4030003_zps6081bddd.jpg


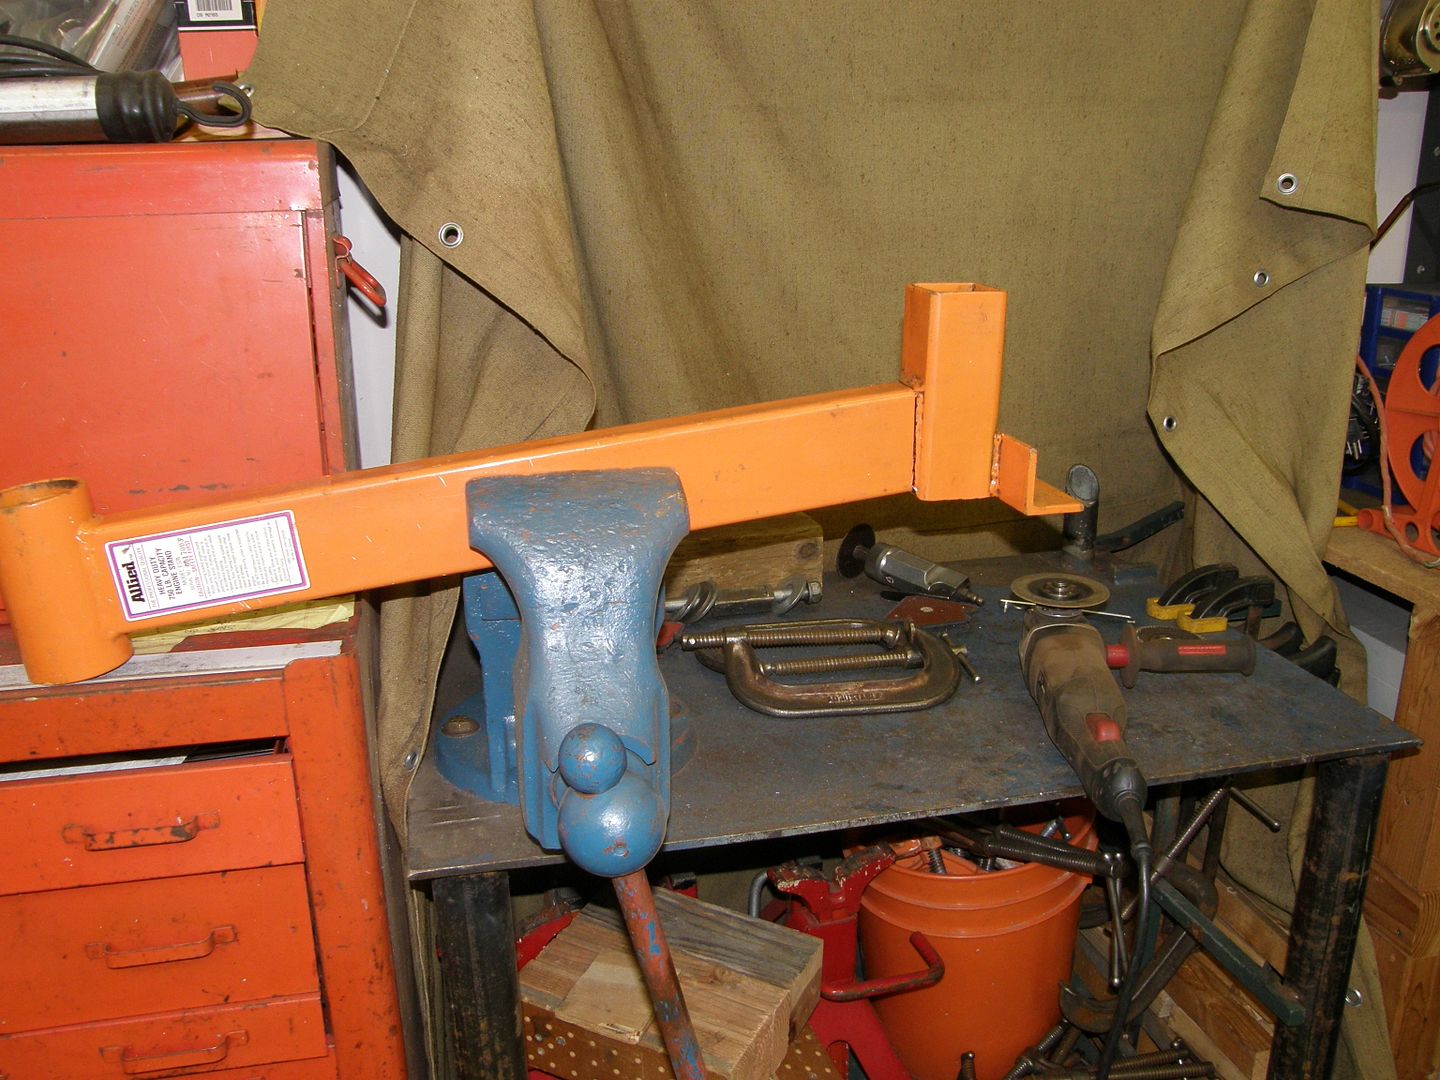
Had to make some mods to the stands. The main bars come from the factory at a 30* angle.

P3310003_zps18181064.jpg


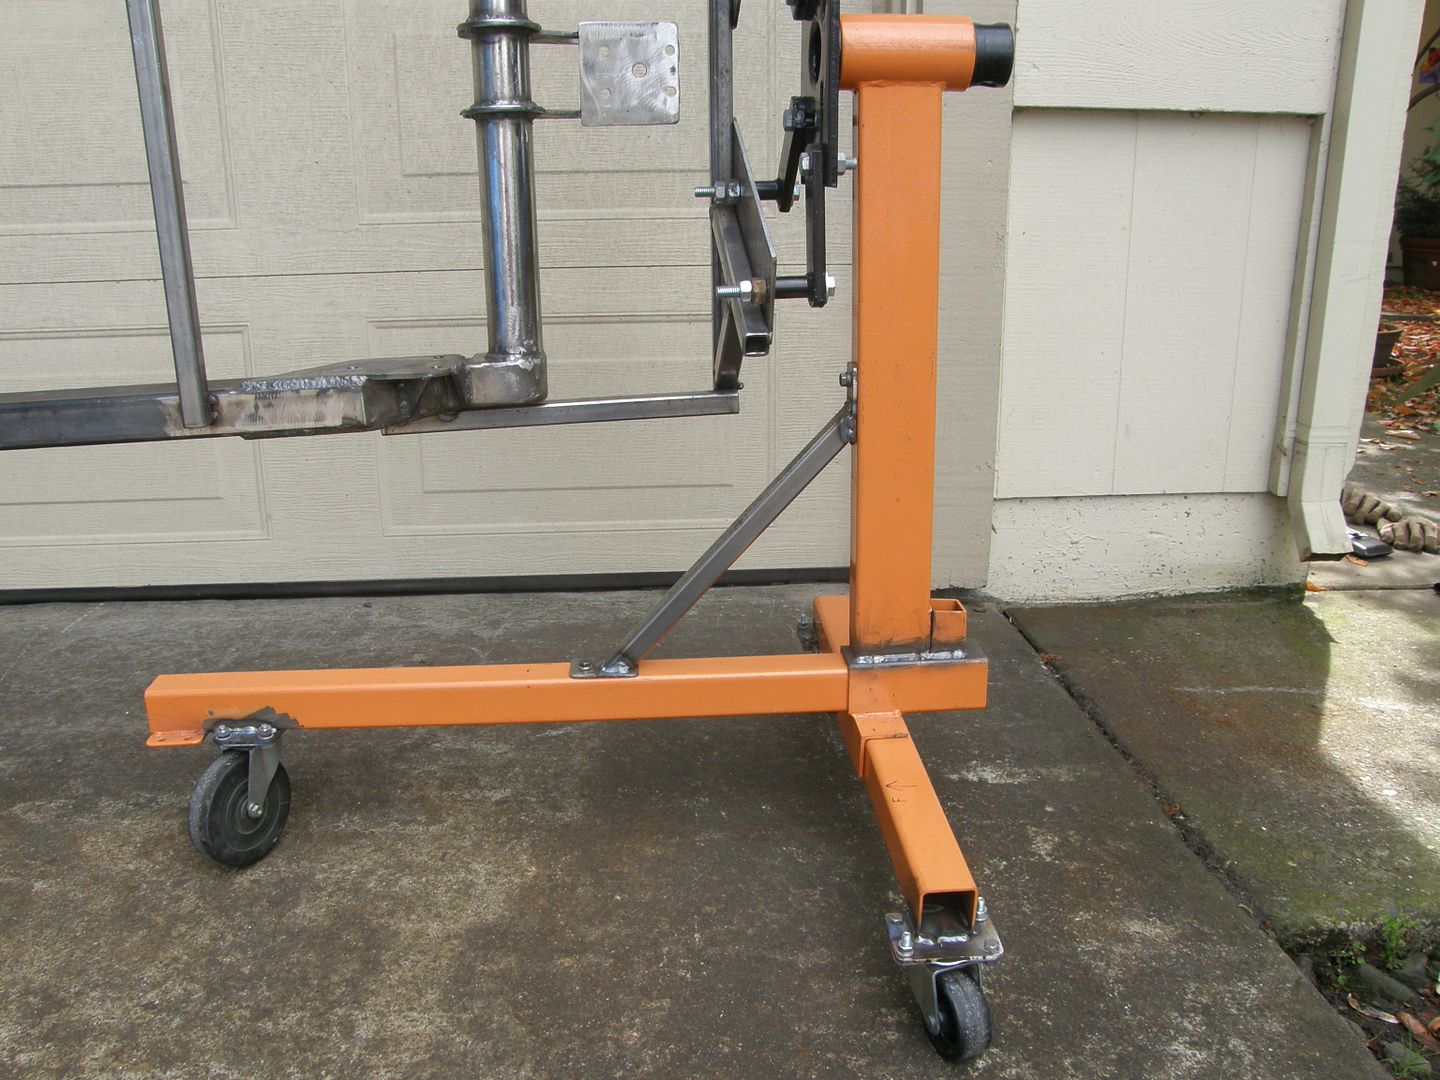
I cut 'em off, trued and leveled 'em to a 90* angle. I added removable support bars (for breakdown purposes) and I removed the fixed casters and added swivel casters so I could steer the beast!

P4030008_zpscacc1c8f.jpg


I was gonna add a length of tubing between the stands but it turned out not to be necessary. The whole thing is very stable and balanced! Built the contraption in a day and it cost me virtually nothing 'cause I used materials I had on hand. I greased the inside of the engine stand heads and this thing spins super easy and it's very easy to roll around! Simple to put together. If I can do it, anybody can!

P4030004_zpsa75496f9.jpg


P4030005_zpsfb0dc129.jpg


P4030006_zpscd43ea43.jpg
 
Last edited:

Kevin54

MEMBER EMERITUS
Joined
Jan 12, 2005
Messages
29,341
Location
Urbana, Ohio
I whipped this out from a piece of aluminum I had. Just something to hold pens and pencils.
 

Attachments

  • Pen holder.JPG
    Pen holder.JPG
    111.7 KB · Views: 198

willymakeit

Well-known member
Joined
Apr 27, 2009
Messages
1,244
Location
Springfield Mo.
Hello, new guy here. I am big into Sim Racing and needed a cockpit/rig, so instead of spending hundreds even thousands on one pre-built, I worked with my Pops and came up with this.
IMG167.jpg

IMG169.jpg

IMG175.jpg

IMG180.jpg

IMG185.jpg

203_0878-1.jpg

203_0882.jpg


Great site by the way, haven't posted much but very useful info, thanks!
What kind or brand of bender are you using?
 

E.rodz

Well-known member
Joined
Nov 11, 2009
Messages
2,435
Location
st.paul MN.
Here is a couple of my favorite creations the first on in the pict. is MY SON! this was some of my best work I made him about 13 years ago. I must say this was one of my favorite things to make when I am bored.:lol_hitti;)
The second one was the bike that we built together but that is nothing the first one trumps that one!
 

MarkG

Well-known member
Joined
May 23, 2012
Messages
1,219
Location
Elgin, IL
What kind or brand of bender are you using?

Hello, new guy here. I am big into Sim Racing and needed a cockpit/rig, so instead of spending hundreds even thousands on one pre-built, I worked with my Pops and came up with this.
IMG167.jpg

IMG169.jpg

IMG175.jpg

IMG180.jpg

IMG185.jpg

203_0878-1.jpg

203_0882.jpg


Great site by the way, haven't posted much but very useful info, thanks!

Hey! Just add a motor and some wheels and you can do some real racing! :D
 

jimnickol1986

Well-known member
Joined
Feb 17, 2010
Messages
142
Location
Massillon Ohio
hey black sheep...how did you make that tank bracket holder? i been wanting to start a new cart and cant figure out how to secure my tanks
 

mo2872

Well-known member
Joined
Nov 17, 2008
Messages
402
Location
Oklahoma
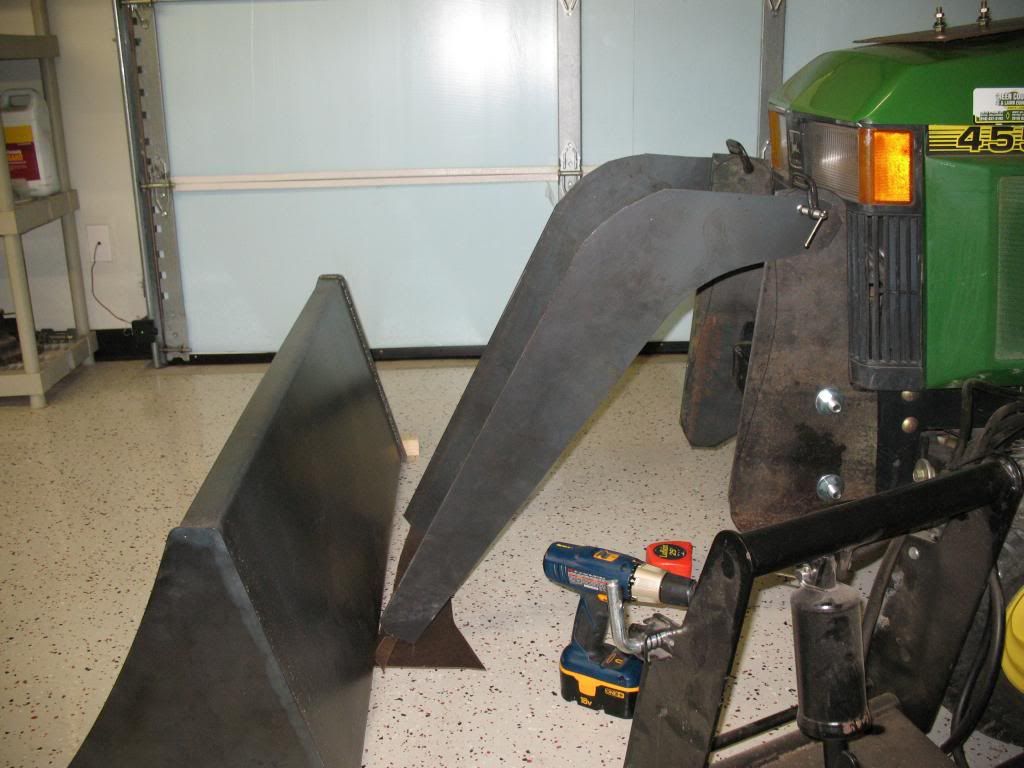
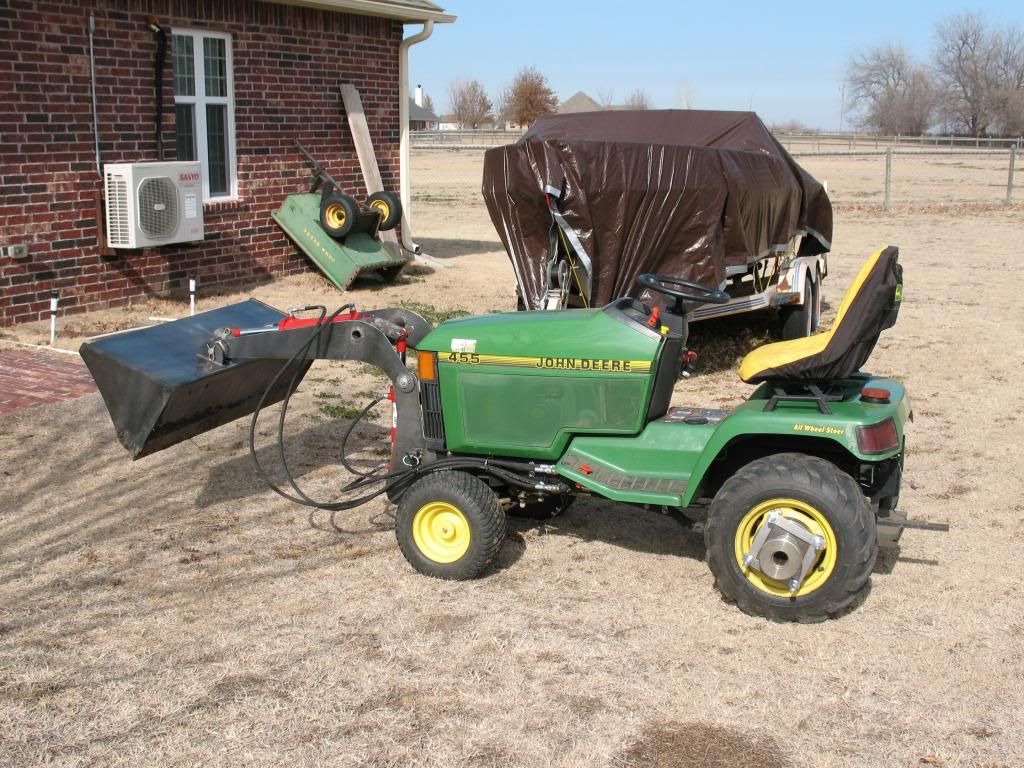
My winter project:

Tired of shovel/wheelbarrowing, so, "Mini loader" for the tractor!

Mock up:
IMG_4706_zps4e734d3a.jpg


Now metal:
IMG_4709_zps0b3a053f.jpg

Not quite "done" yet, but FUNCTIONAL!!!!!

IMG_4719_zpsf8a02d9b.jpg


SUCCESS!!!

IMG_4720_zps4cd2c459.jpg


And finally, after paint, reworking a cylinder bracket, and changing the cylinders from red to green:
green_zpsa92a64f9.jpg

green2_zpsa941f7b1.jpg
 

Black Sheep

Active member
Joined
Jul 19, 2011
Messages
25
Location
Manchester, MI
Just bent a piece of 1/8 X 1" flat stock, welded it to a piece 1" square tube and welded that to the lower shelf, then I bent the corresponding piece, clamped them together and drilled 5/16th holes and welded a nut to the back side, you can see it a little better in the picture where it is still primer
 

alxdgr8

Well-known member
Joined
Mar 27, 2012
Messages
668
Location
Seattle, WA
Project from college (ignore the messy garage back then). Had a pocket bike that everyone that rode it wrecked. Decided to make it a bit safer and had an old steel mountain bike frame around so I put the two together. Top speed dropped a bit, but it was still around 25-30mph depending on the rider.

IMGP0689.jpg
 
To avoid these ads, REGISTER NOW!

Vegaman_Dan

Well-known member
Joined
Jun 1, 2012
Messages
2,453
Location
Pacific, WA
I was gonna add a length of tubing between the stands but it turned out not to be necessary. The whole thing is very stable and balanced! Built the contraption in a day and it cost me virtually nothing 'cause I used materials I had on hand. I greased the inside of the engine stand heads and this thing spins super easy and it's very easy to roll around! Simple to put together. If I can do it, anybody can!

I did this same thing back in 1996 for my Spitfire and it worked well. I didn't think to cut and reweld the vertical tubes to remove the angle, and that is definitely something I'd do today.

I do strongly advise putting a stringer between the two stands at the base. This isn't for stability, but for when you're rolling it around that the stands don't catch on ledges or debris and bind up. If they do, they'll leverage and torque the bolted connections to the framework and stand, and with a heavy enough object like a body, possibly fold the whole thing.

Outriggers are good to have. Easy to add a couple of angle iron or square tube outriggers that go out a foot or two on each side. THey can be pinned in place and easily removable. That will make it much safer to rotate bodies on the stands.

The last mod I'd do, and I'm sorely tempted if I can get a pair of stands to do it, would be to cut the head off the vertical post, slip a piece of rectangular tubing over it for a telescoping fit. You could drill and pin it then at different heights. The default height isn't high enough for a car body to rotate fully.

If you want to put more effort in, you could put a hydraulic tall jack cylinder to lift it as well parallel to the main shaft for around $50 each.

I like mods like this. They are fun. Now we need a mod that would let you store it easier with a removable center leg- something that folds up like on engine hoists.
 

nsogiba

Well-known member
Joined
Jan 16, 2013
Messages
232
The cam lamps? Yes, I am working on a few right now. Shipping is somewhat expensive due to weight, and I also ship them without a bulb and lampshade so the bulb won't break in shipping, and so the lampshade doesn't get crushed. I will send you a PM.
 

scab

Well-known member
Joined
Sep 20, 2012
Messages
462
My winter project:

Tired of shovel/wheelbarrowing, so, "Mini loader" for the tractor!

Mock up:
IMG_4706_zps4e734d3a.jpg


Now metal:
IMG_4709_zps0b3a053f.jpg

Not quite "done" yet, but FUNCTIONAL!!!!!

IMG_4719_zpsf8a02d9b.jpg


SUCCESS!!!

IMG_4720_zps4cd2c459.jpg


And finally, after paint, reworking a cylinder bracket, and changing the
cylinders from red to green:
green_zpsa92a64f9.jpg

green2_zpsa941f7b1.jpg

Very cool, how much do you figure it can lift?
 

garboui

Well-known member
Joined
Jun 30, 2011
Messages
999
Location
Southern Ontario
love that cam lamp. I have an old ls1 cam lying around myself, plan on making one similar when I finish building the motor

Might do something similar to with the old exhaust cam from my k24 now as its been sitting but I can't stand ten thought of throwing it out. Now if I could find some way to integrate the 4 cam followers too.
 

neel2008

Well-known member
Joined
Oct 11, 2010
Messages
294
Location
Mt. Etna, IN
My winter project:

Tired of shovel/wheelbarrowing, so, "Mini loader" for the tractor!.....


.....And finally, after paint, reworking a cylinder bracket, and changing the cylinders from red to green:


They would work better if you left them red, that's what color they paint real equipment...:p lol
 

Brens

Member
Joined
Aug 14, 2013
Messages
6
Location
Jersey
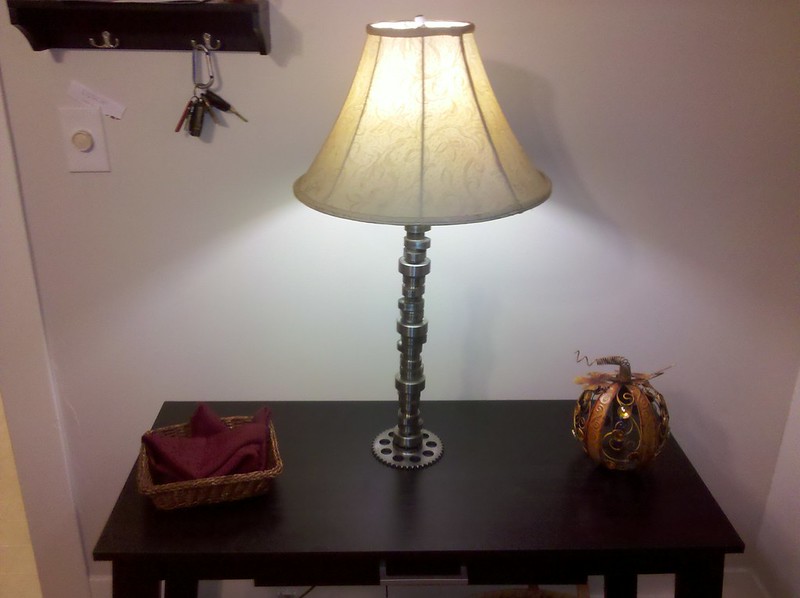
LS1 Cam Lamp

8090014459_cd7e479092_c.jpg


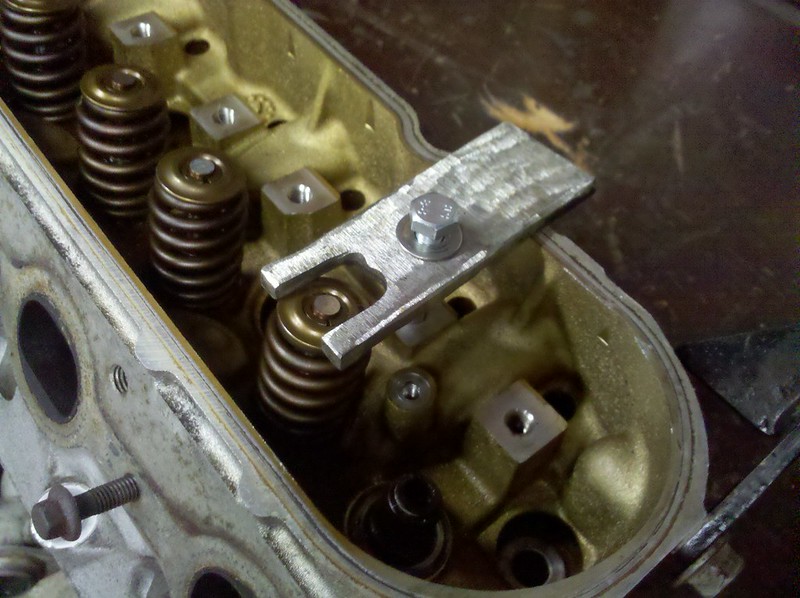
Valve Spring removal tool

May I ask how you ran the cord for that lamp? I don't see anything, and I highly doubt you drilled through the cam to get it up there...

or it's battery powered. :dunno:

Nice work though! I'm doing that soon.
 

nsogiba

Well-known member
Joined
Jan 16, 2013
Messages
232
love that cam lamp. I have an old ls1 cam lying around myself, plan on making one similar when I finish building the motor

Following your build over on BF.C. Coming along nicely. My swap is on there as well. Good group of guys.

May I ask how you ran the cord for that lamp? I don't see anything, and I highly doubt you drilled through the cam to get it up there...

or it's battery powered. :dunno:

Nice work though! I'm doing that soon.

LS Cams are hollow, roughly a 1/2" OD hole running top to bottom. I drill out one of the oiling holes at the bottom to let the cord exit through the side at the very bottom. I am taking orders for these if anyone is interested.
 

NHBandit

Well-known member
Joined
Jan 11, 2012
Messages
2,757
Location
East Tennessee
One of many, and not real impressive, but most people get a kick out of it as I have it on a nick-nack shelf in the shop. I made this back when I was ~13 and started to get into bladesmithing. Made out of 3/16" spring steel. It was rust blued, but has since worn off from extreme use. It is as sharp as it looks, both wings are sharpened to a shaving edge and all points are pointed. Lets just say I would hate to be on the receiving end of it. At 20ft I can put it through 1/2" plywood or one side of a steel 55 gal drum.

1001381h.jpg
I would like to see the video of you manually throwing that through the side of a STEEL 55 gallon drum... You must have Arnold Schwarzenegger arms :thumbup: Or are you talking about hitting it just right so it pokes a tiny hole in the drum ? Sorry bro but I call ********.
 
Last edited:
To avoid these ads, REGISTER NOW!
Top Bottom