Fretters
Well-known member
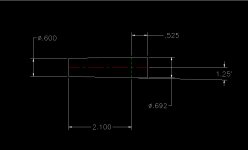
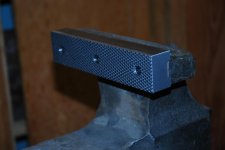
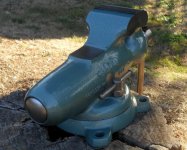
Have to belt sand it down a little and It will be perfect
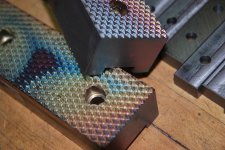
Get the files on it.
 Sanders/grinders are, personally, the last thing I'd let near any type of machined or mating surface. You have a level of control and subtlety with files which you can't surpass with much barring precision equipment.


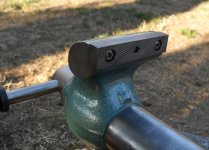


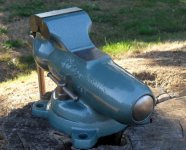


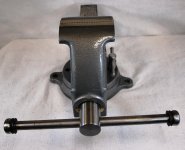


 Even across here those don't appear often.