To avoid these ads, REGISTER NOW!

1966 F100 EcoBoost Engine Swap (EcoBoosted)

Status
Not open for further replies.
To avoid these ads, REGISTER NOW!

meathooker

Well-known member
Joined
Dec 10, 2013
Messages
254
Location
Iowa
Just found this thread. Glad to read you are doing better. Good luck on the Eco, can't wait to follow the progress.
 
OP
T

TimeWarpF100

Well-known member
Joined
Aug 21, 2010
Messages
6,784
Location
not here
This is a photo lost link repair. It will no longer allow me to add to original post #350. Says too many characters.

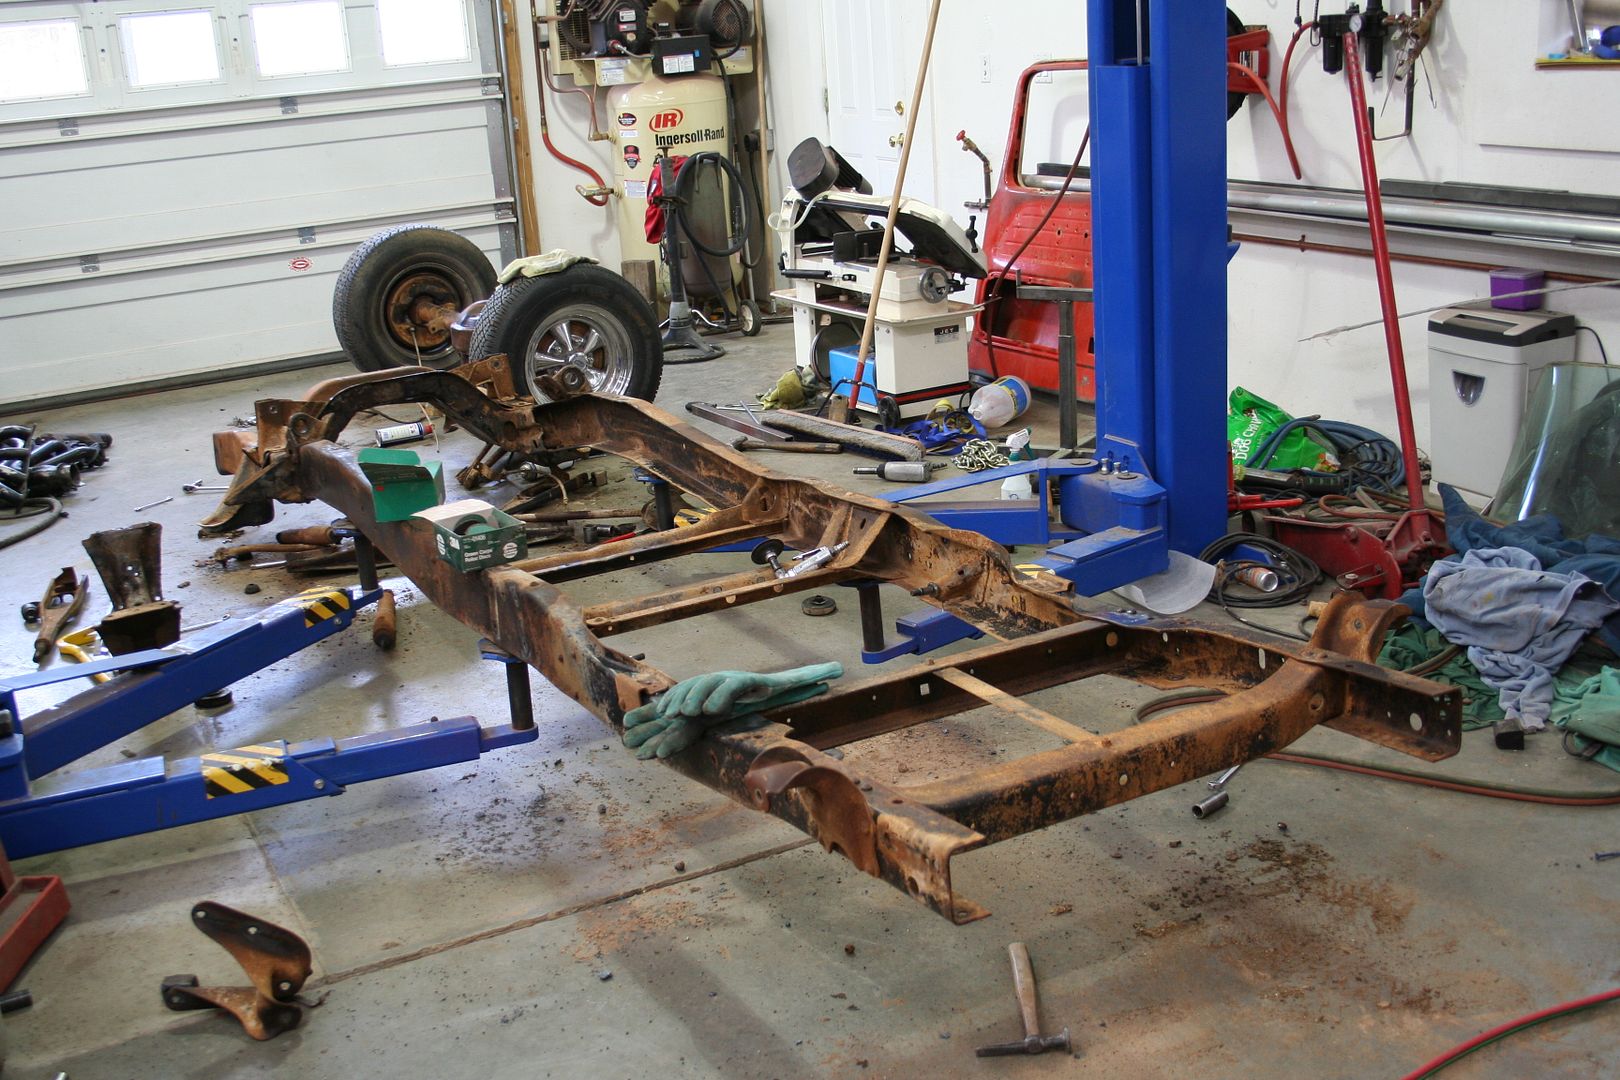
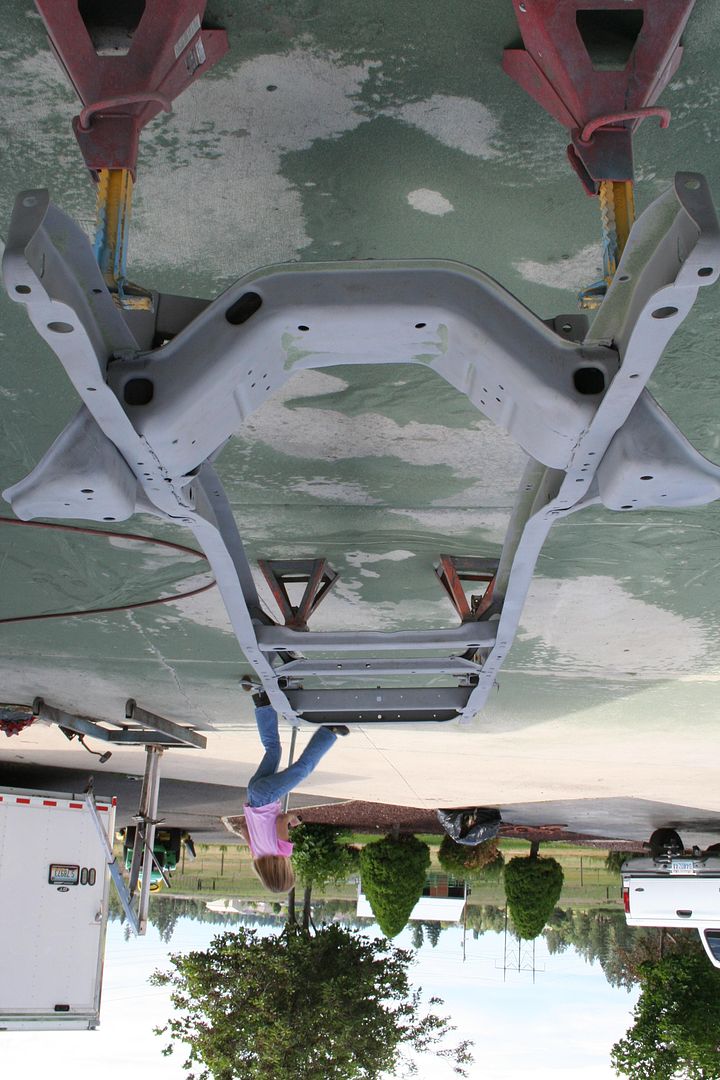
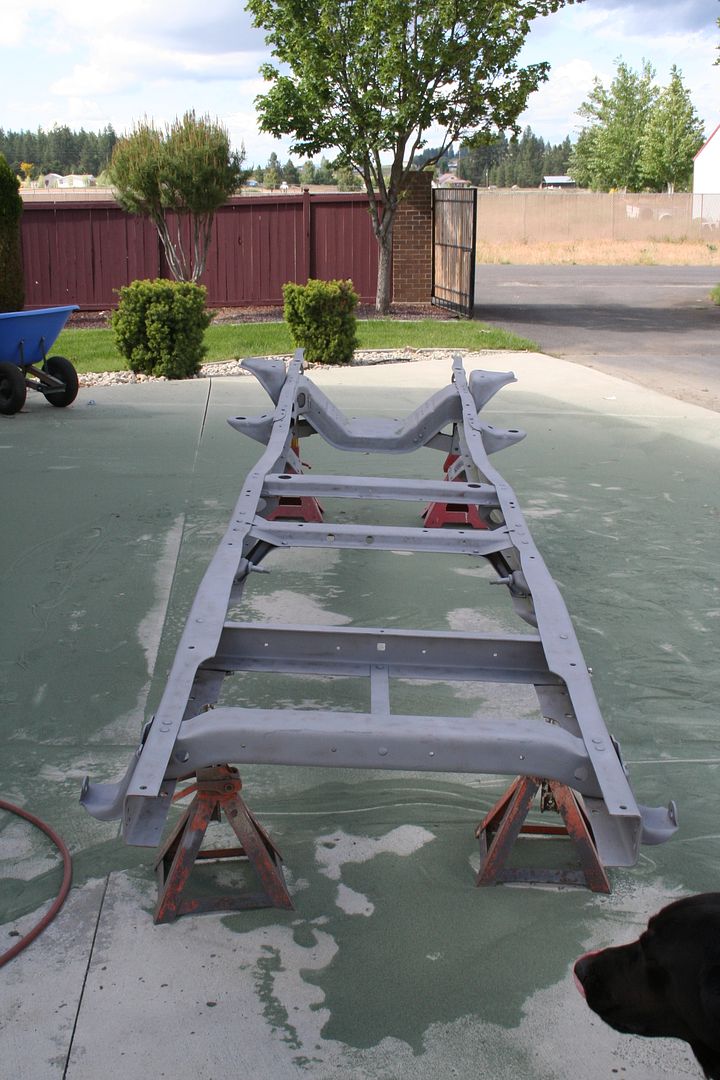
Prior to complete teardown did a mock up of engine, then it was time to strip frame down and give it a sandblast before off to powdercoater.

IMG_0824_zps85a5bf2b.jpg

IMG_0823_zps86c807d0.jpg

IMG_0822_zps46eb8328.jpg

IMG_0821_zps5e4947cf.jpg

IMG_0803_zps623a04fe.jpg

IMG_0802_zps7c4eaeaf.jpg

IMG_0793_zpsc8887eac.jpg

IMG_0792_zps802335d8.jpg


IMG_0848_zpsf29a3131.jpg

IMG_0847_zpsb7fbfebc.jpg

IMG_0832_zps71a301d5.jpg

IMG_0831_zpsfae9d131.jpg


all hardware and other bare metal went into the evapo rust for a bath prior to trip to plater

IMG_1142_zps9bc0fc4d.jpg

IMG_1141_zpsbc252567.jpg

IMG_1136_zpse28f1e9c.jpg

IMG_1132_zpse0af457a.jpg


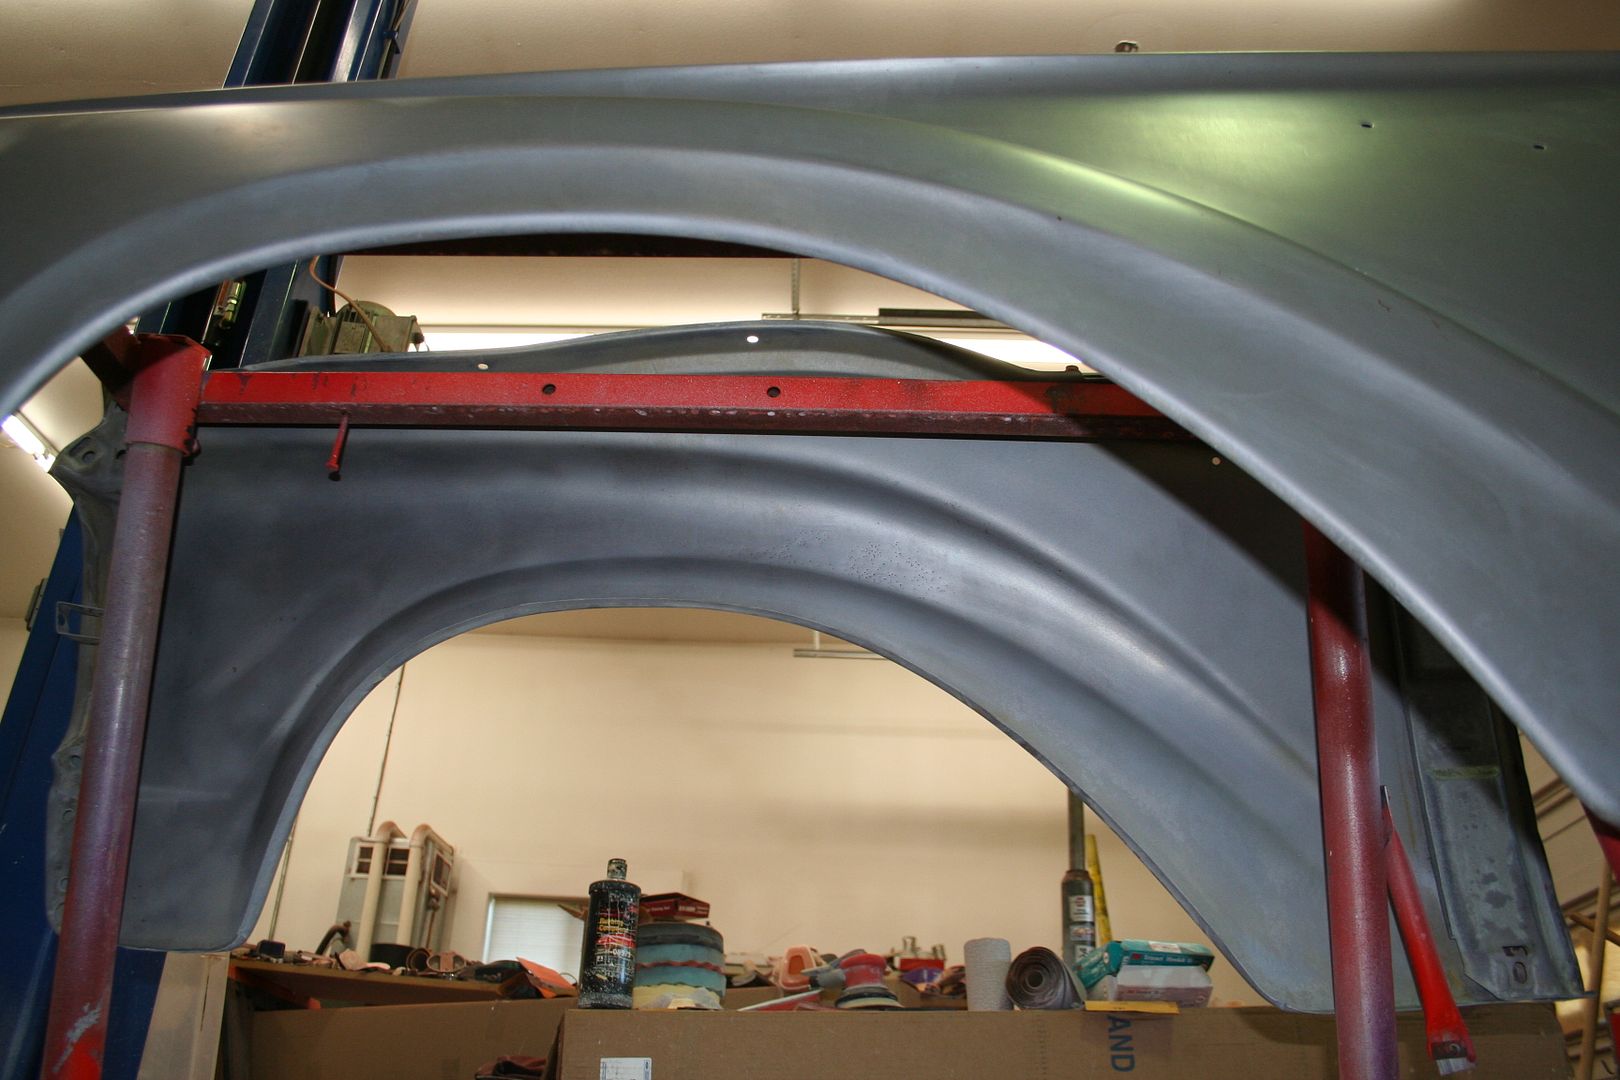
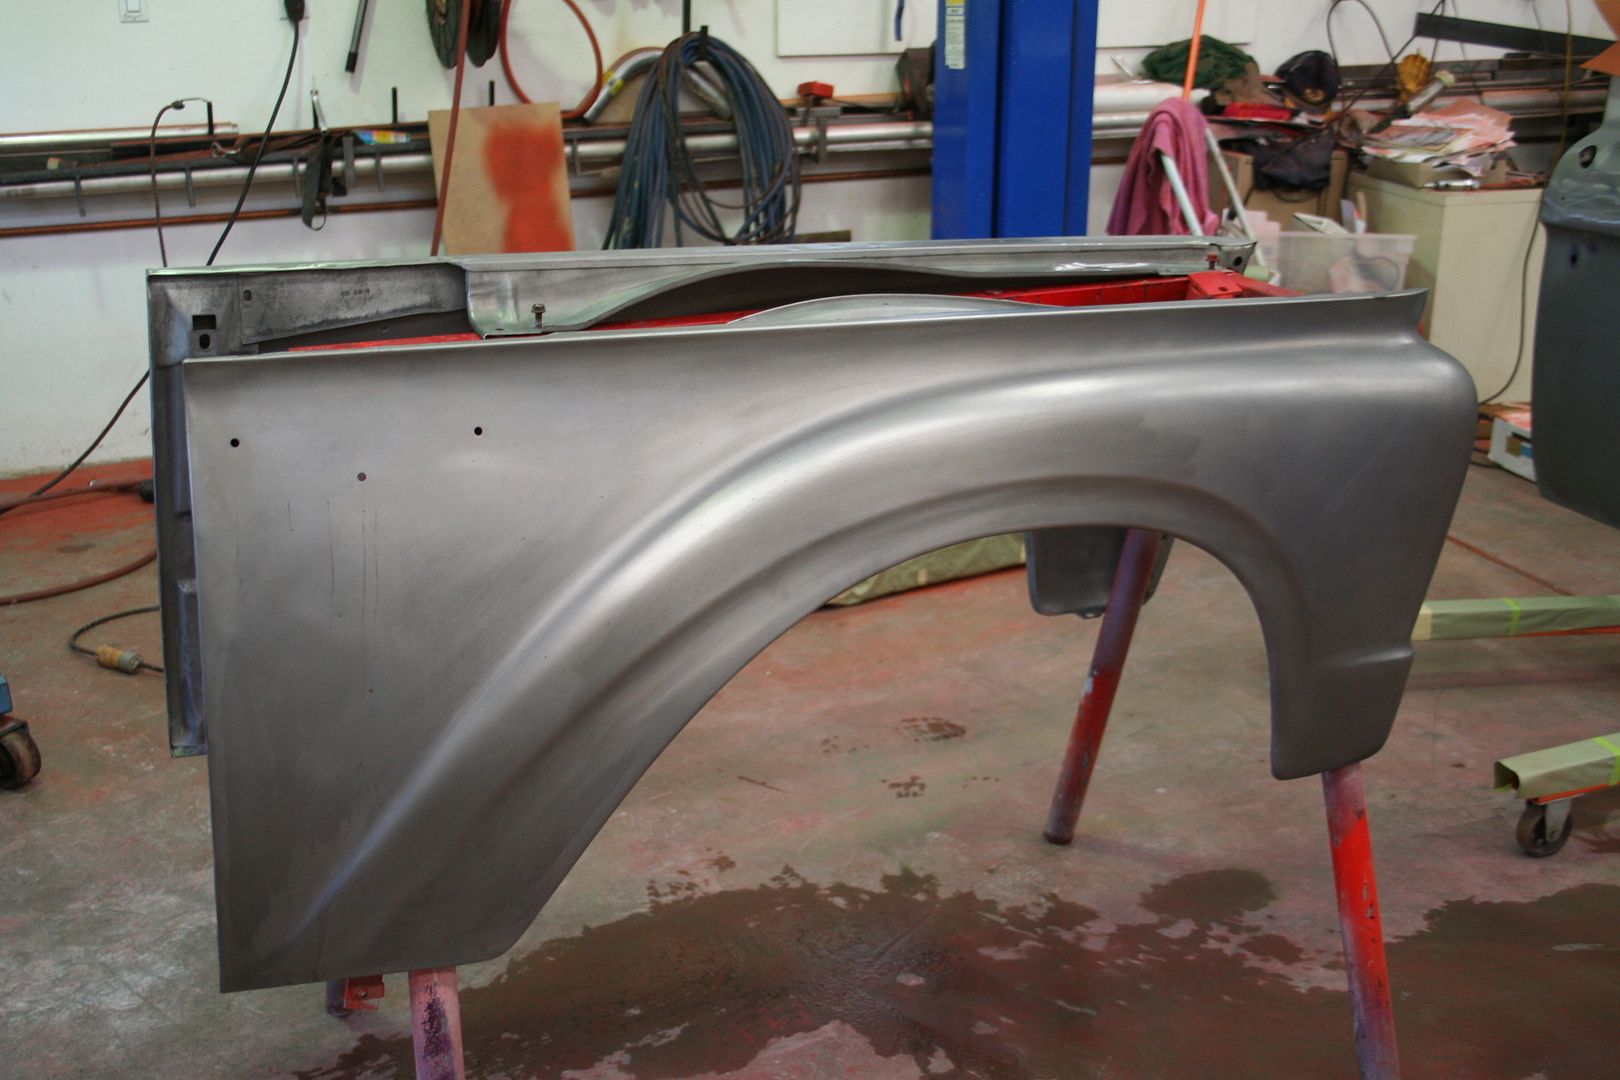
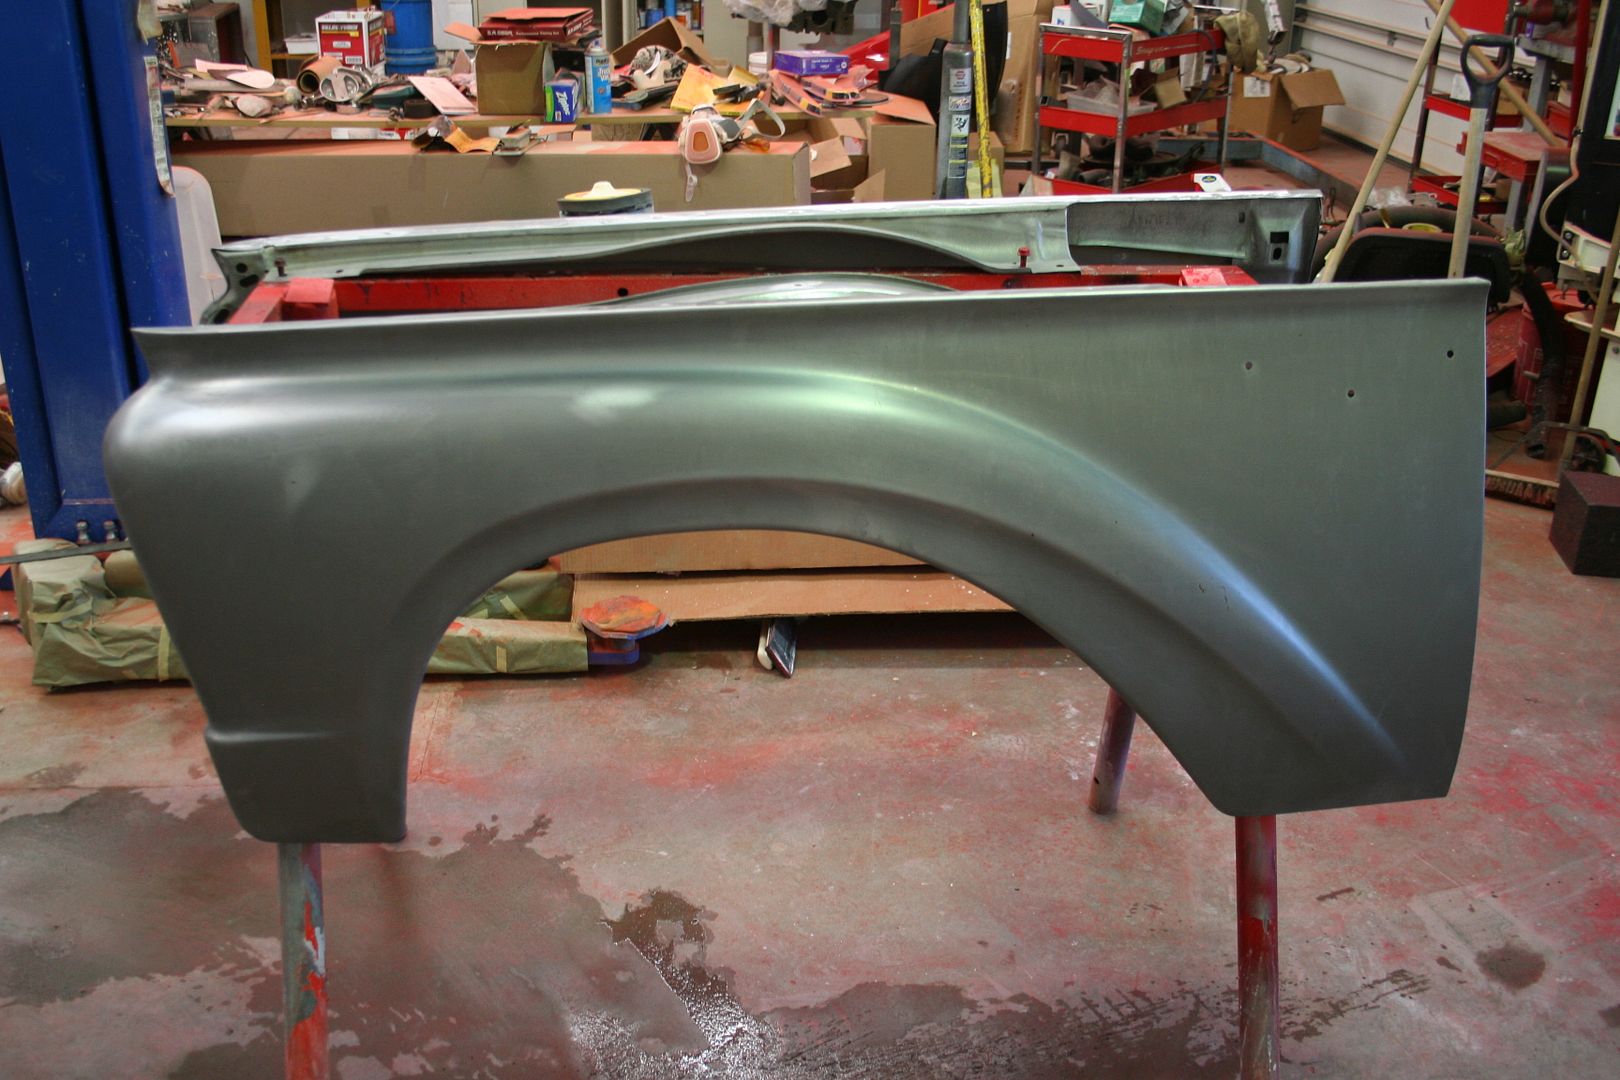
stripping of paint found some simply AMAZING sheet metal!

IMG_12682_zps0aa92e66.jpg

IMG_12672_zps6028da50.jpg

IMG_12652_zpsb94465d3.jpg

IMG_12632_zpsa53f9128.jpg

IMG_0398_zps787487a7.jpg

IMG_0396_zps719544f0.jpg

IMG_0389_zps1721e08c.jpg

IMG_0388_zpsfd3154a3.jpg

IMG_0385_zps501ff2be.jpg

IMG_0384_zps159ca3ad.jpg

IMG_0382_zps560b5920.jpg


This wheel combo with NOS hubcaps was planned on setup, things changed because of clearance with the added disc brakes.

IMG_1151_zps4972e043.jpg

IMG_1146_zps45996db9.jpg


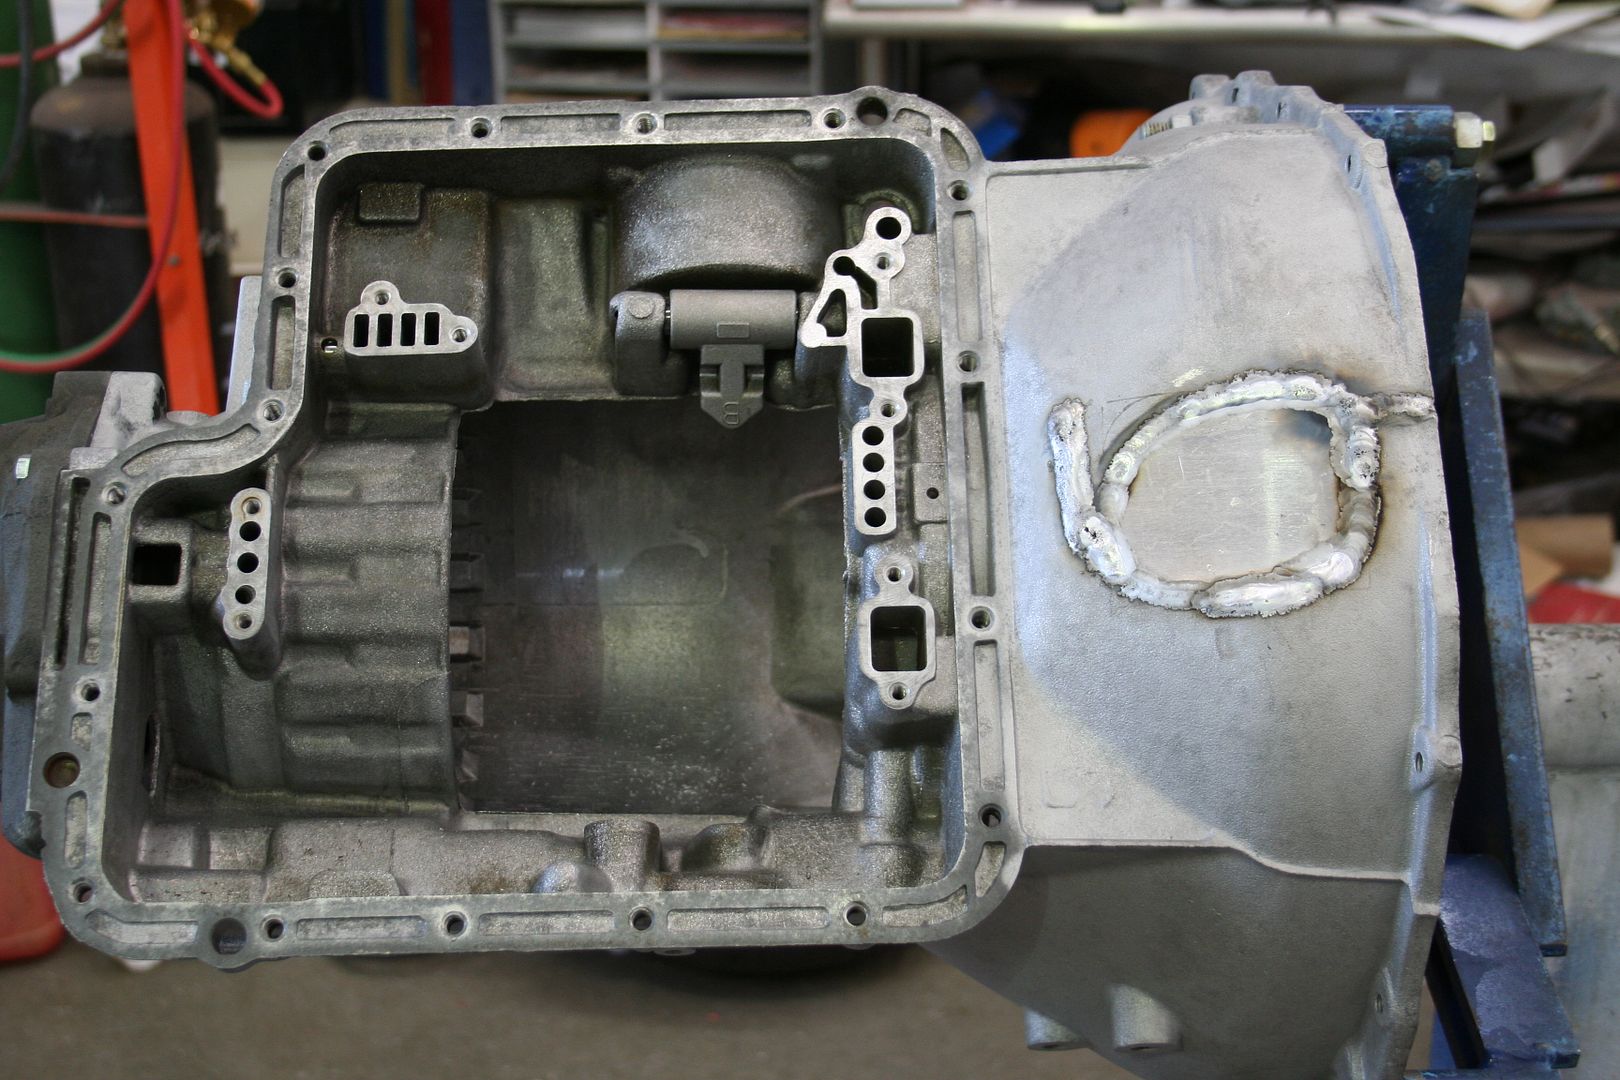
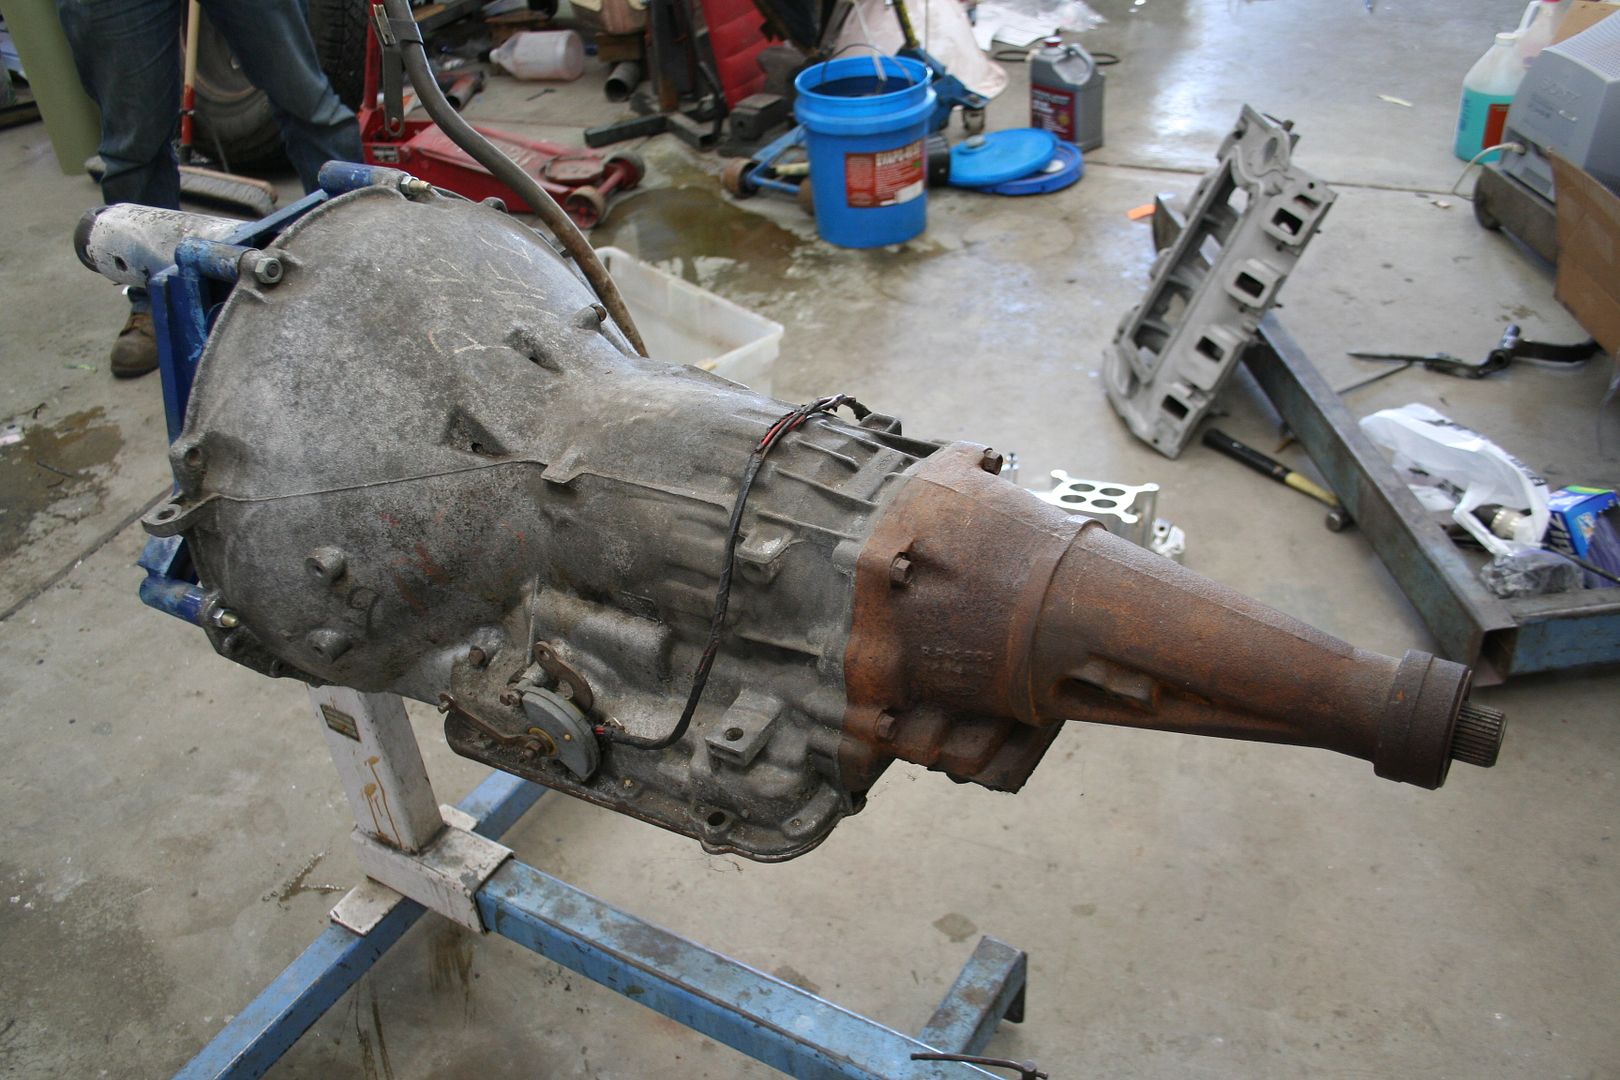
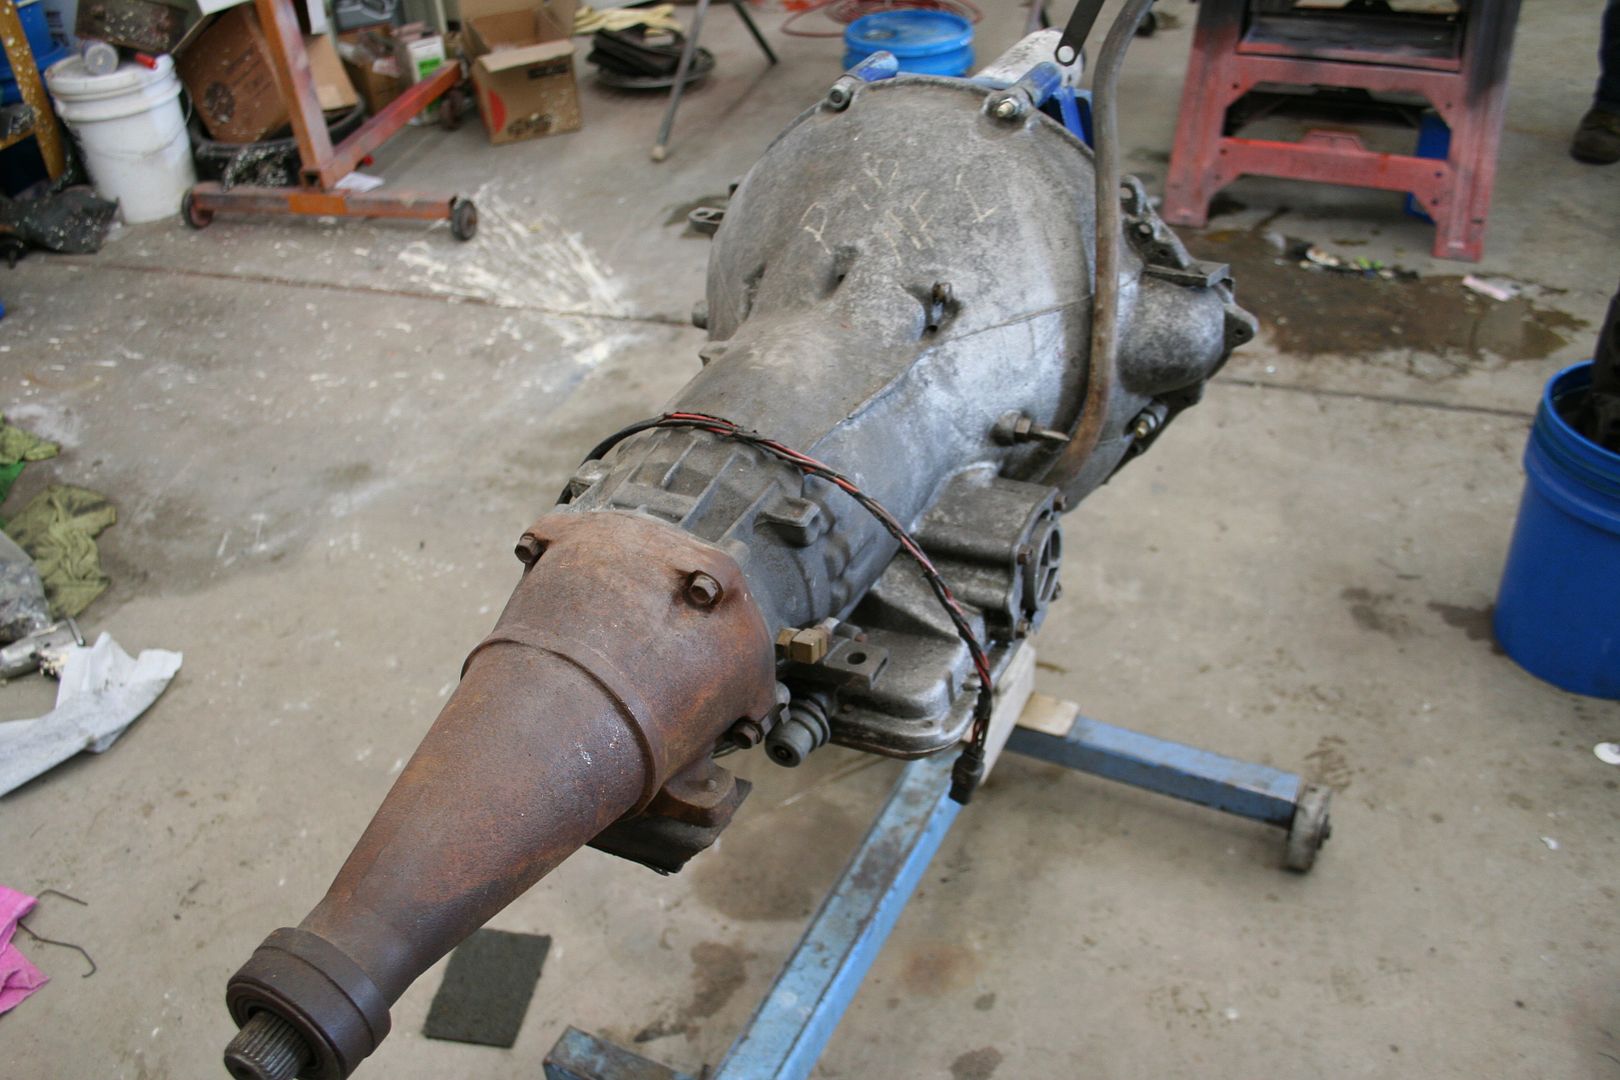
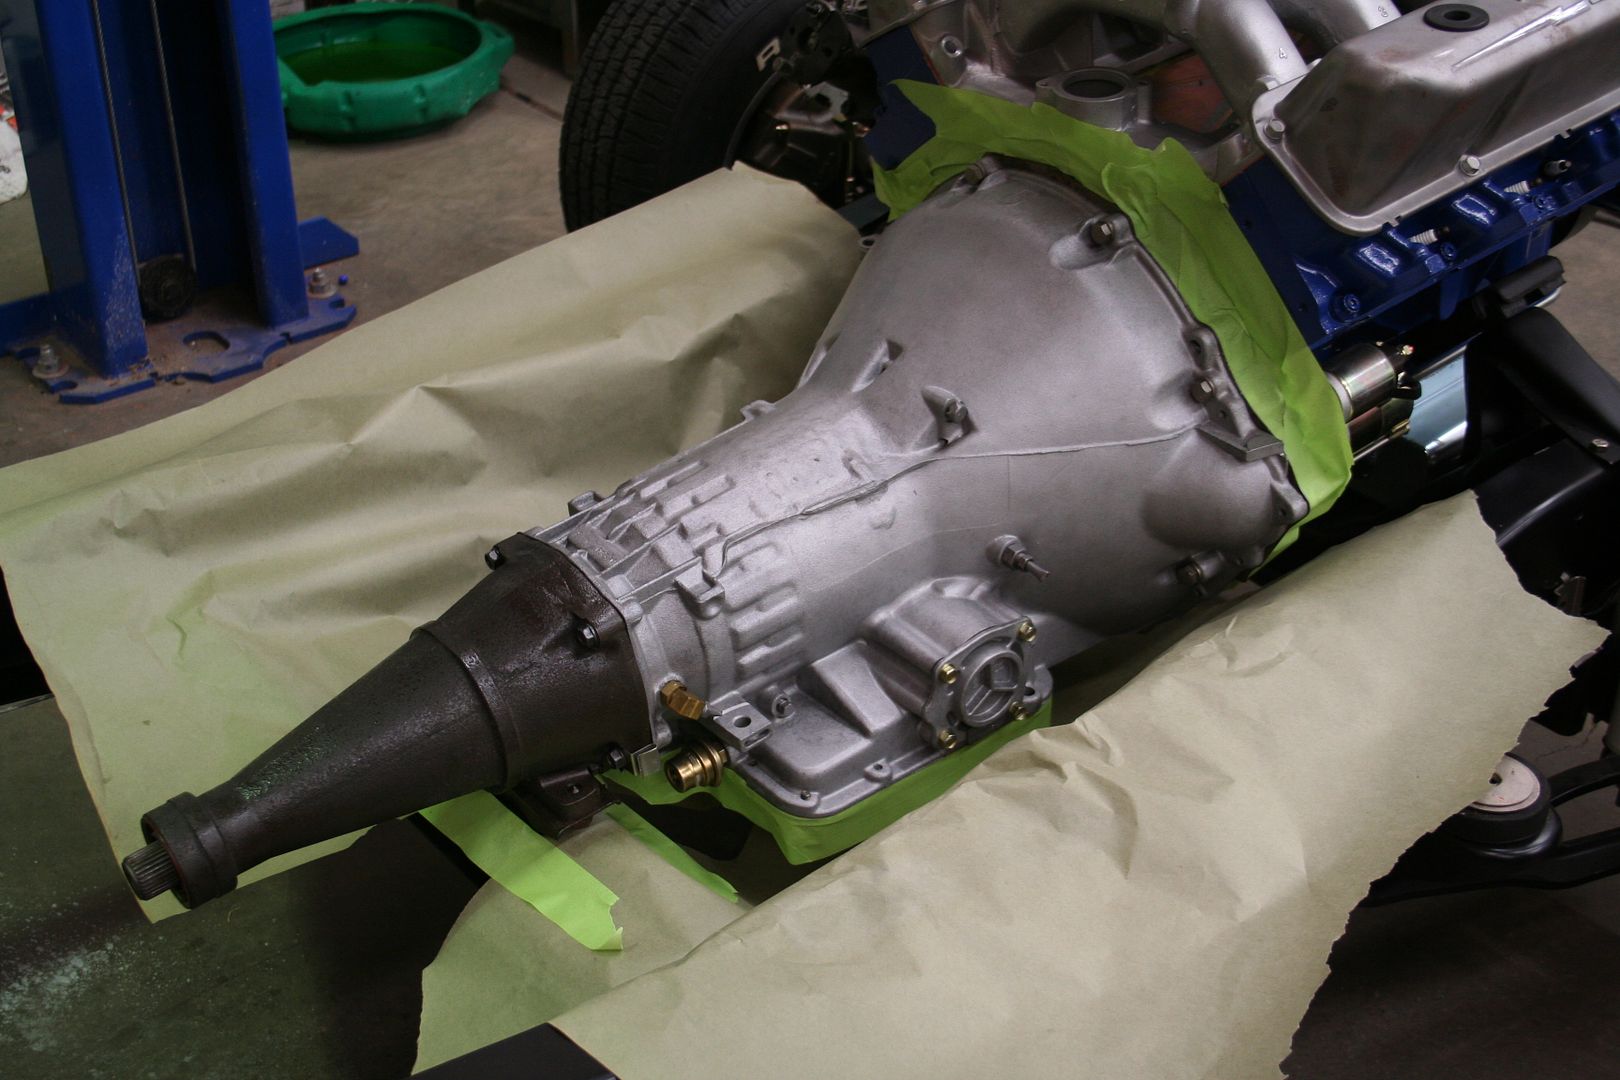
The cobra jet c-6 had been sitting for nearly 40yrs so decided it should be gone thru, my first auto trans complete rebuild so lets hope it works!

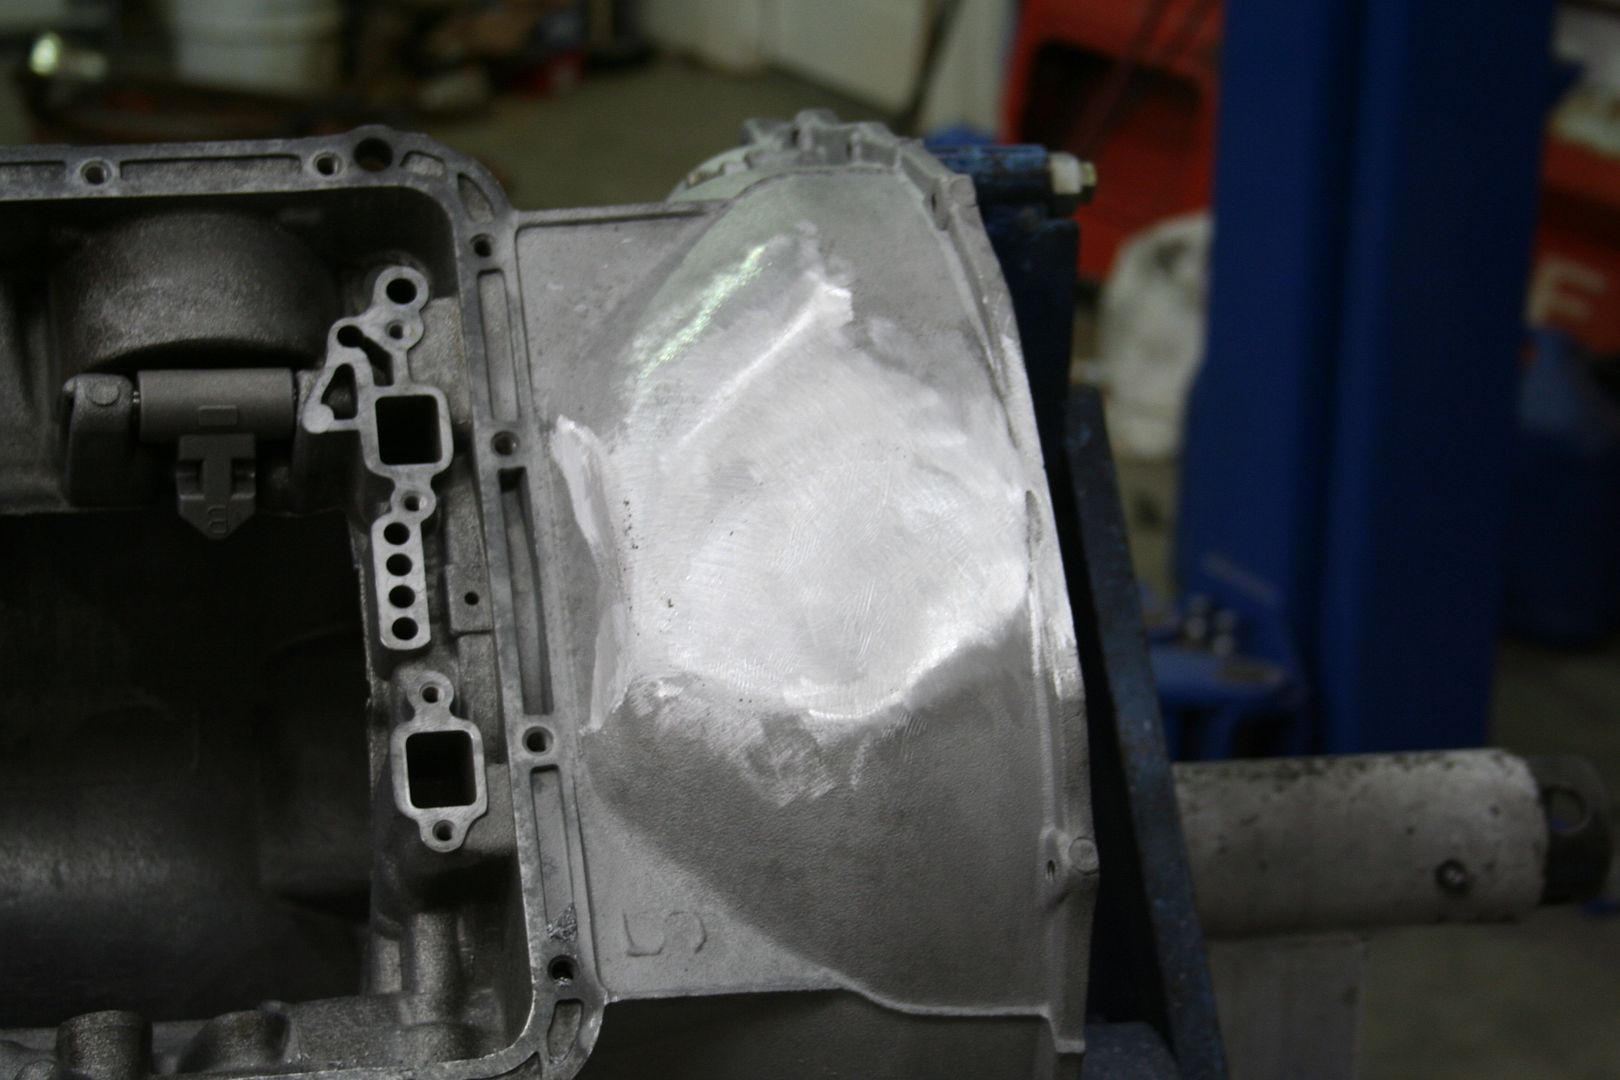
Unfortunately someone put a bottle jack on trans front and popped a hole in it so I just made a patch and welded it up.

IMG_0957_zpsc3986996.jpg

IMG_0956_zps36ee48e3.jpg

IMG_0950_zpsc7eddc80.jpg

IMG_0911_zps7e579b22.jpg

IMG_0910_zps3676ccb2.jpg

IMG_0908_zps0ea1e4ef.jpg


Trans complete and restored.

IMG_1059_zps8ea2e9c4.jpg

IMG_1058_zpsa9cd7119.jpg


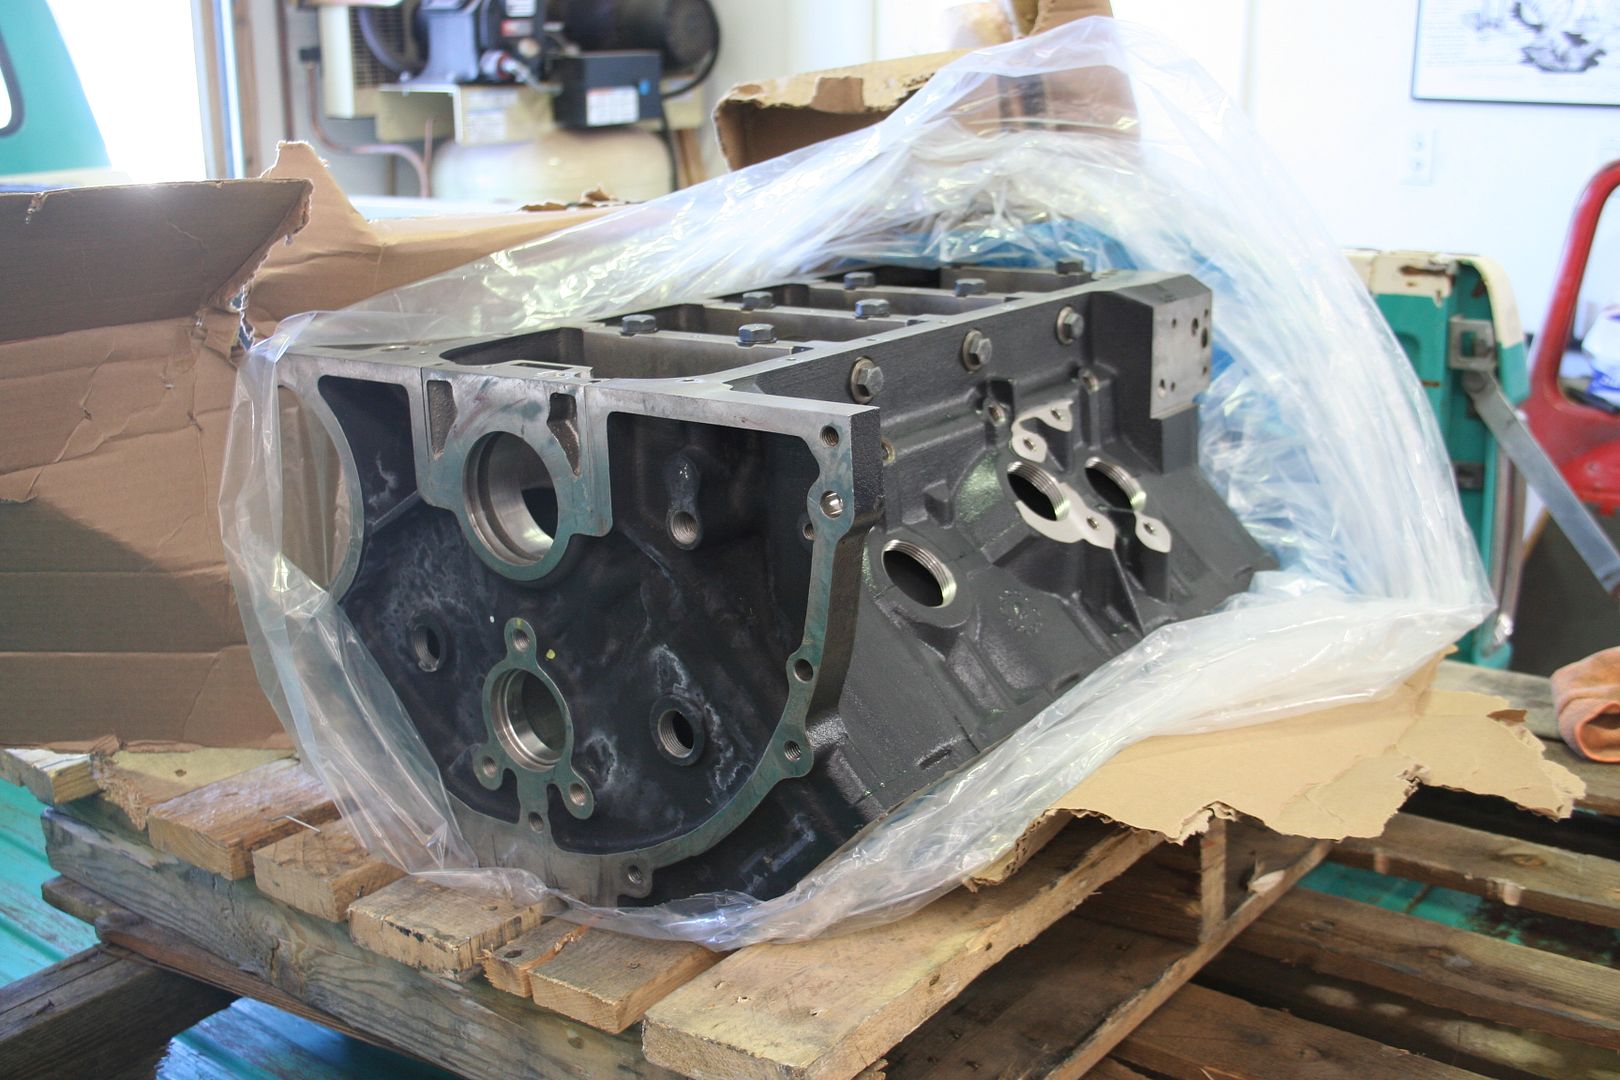
Although I had the complete 427 Side Oiler hanging around decided to built a complete brand new engine. What better way than a new side oiler block with same date code as the trucks original engine? What better way to haul it home than in a 1965 F250!

IMG_05042_zps76605903.jpg

IMG_05032_zps40d3497a.jpg

IMG_05012_zpsb8215670.jpg


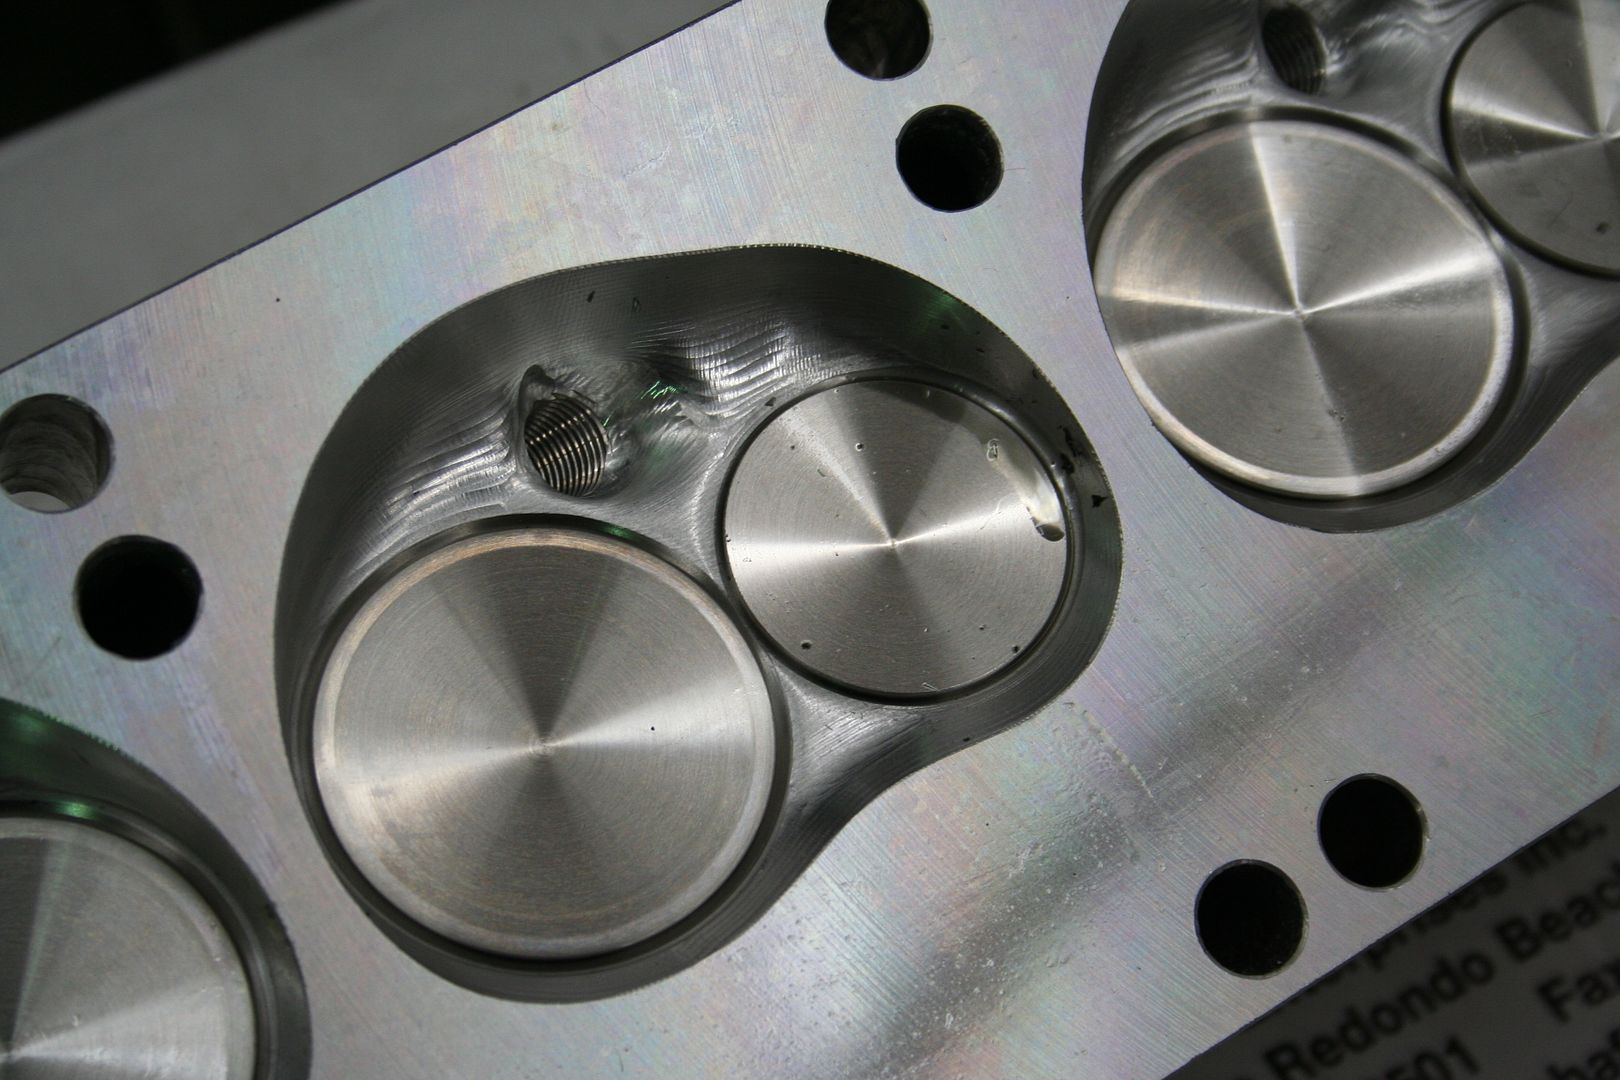
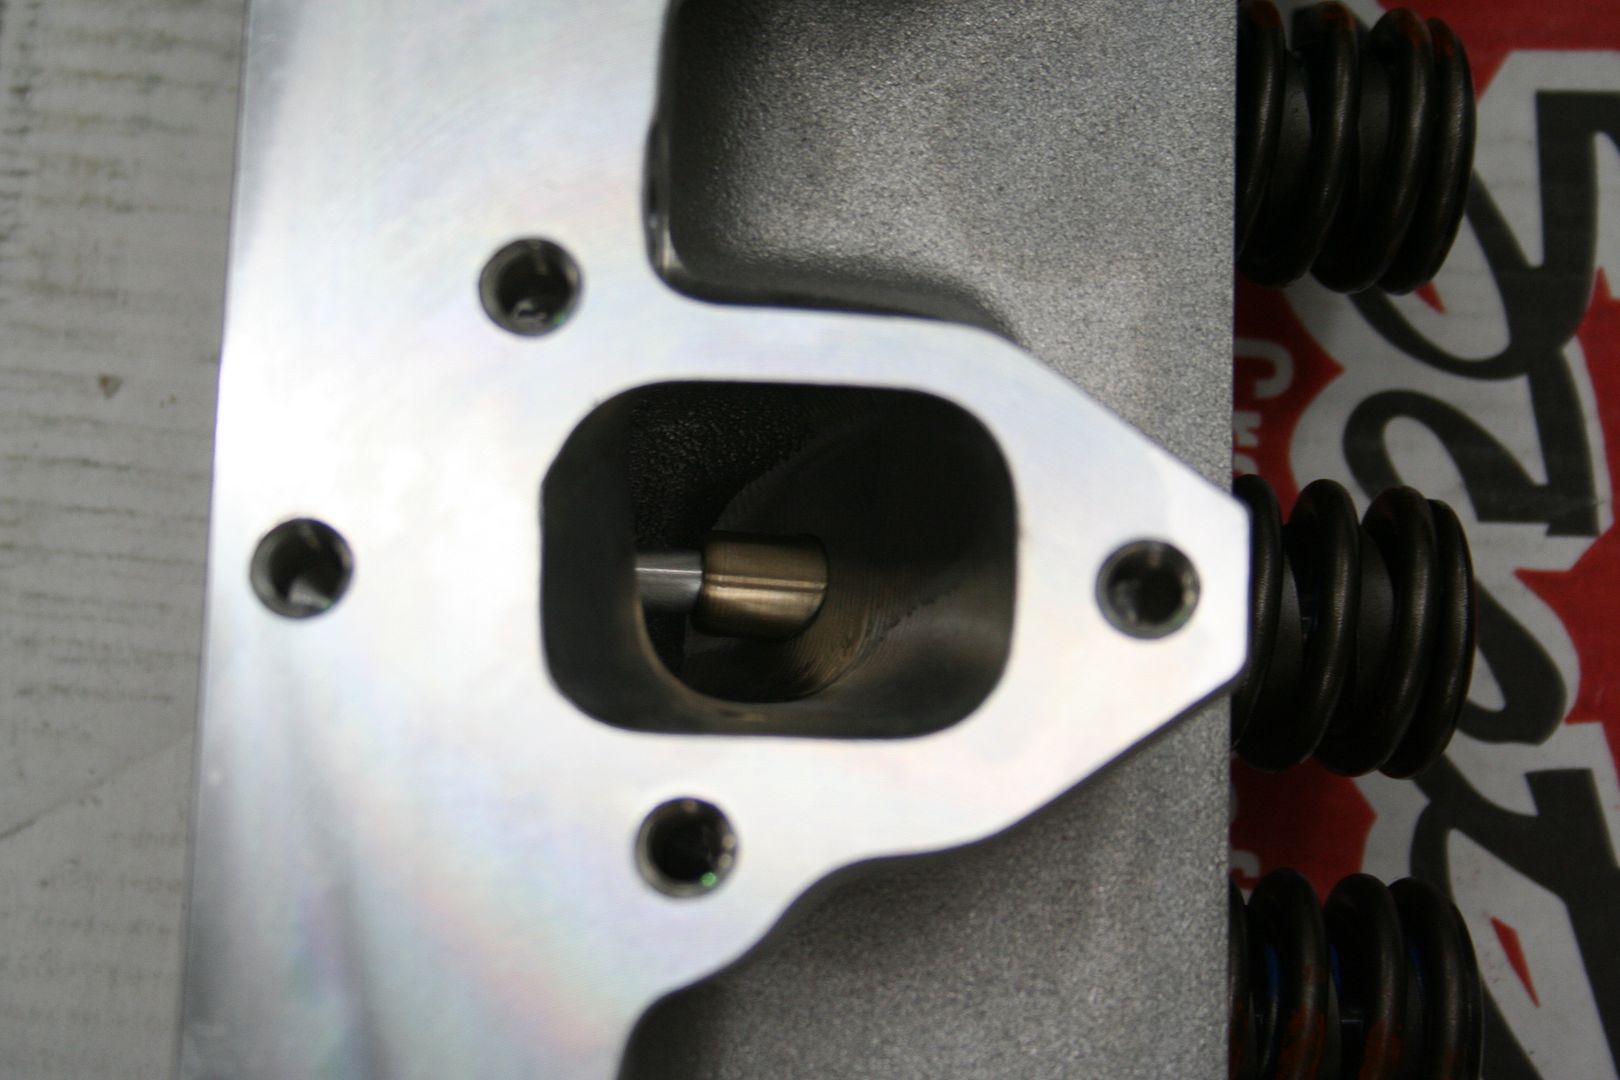
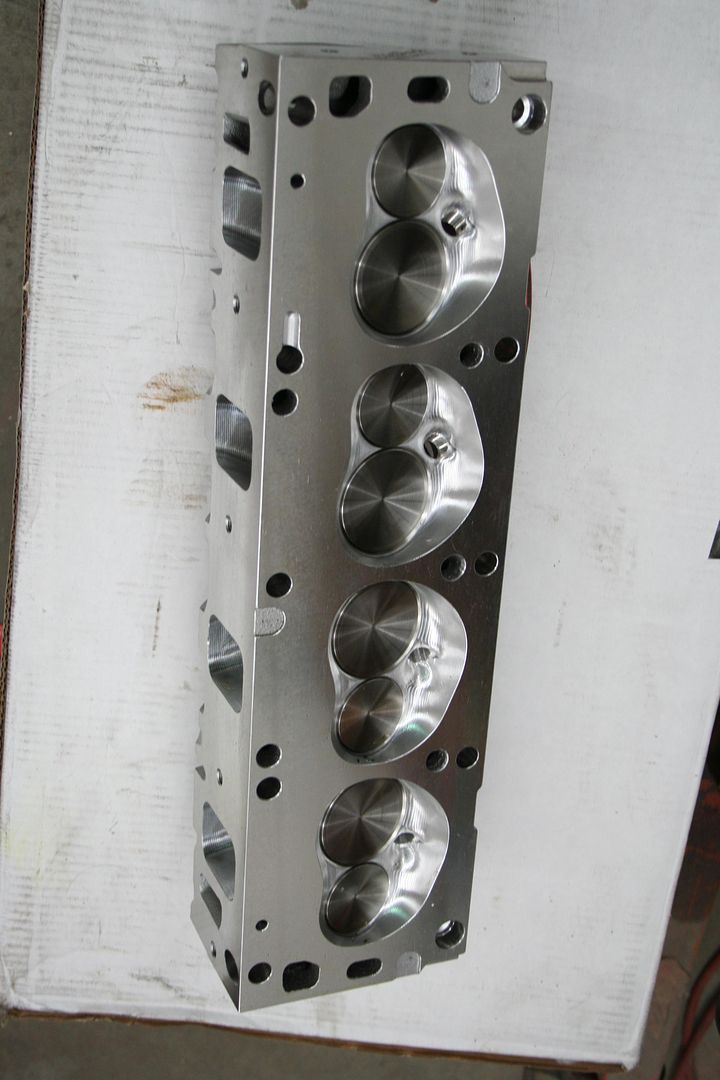
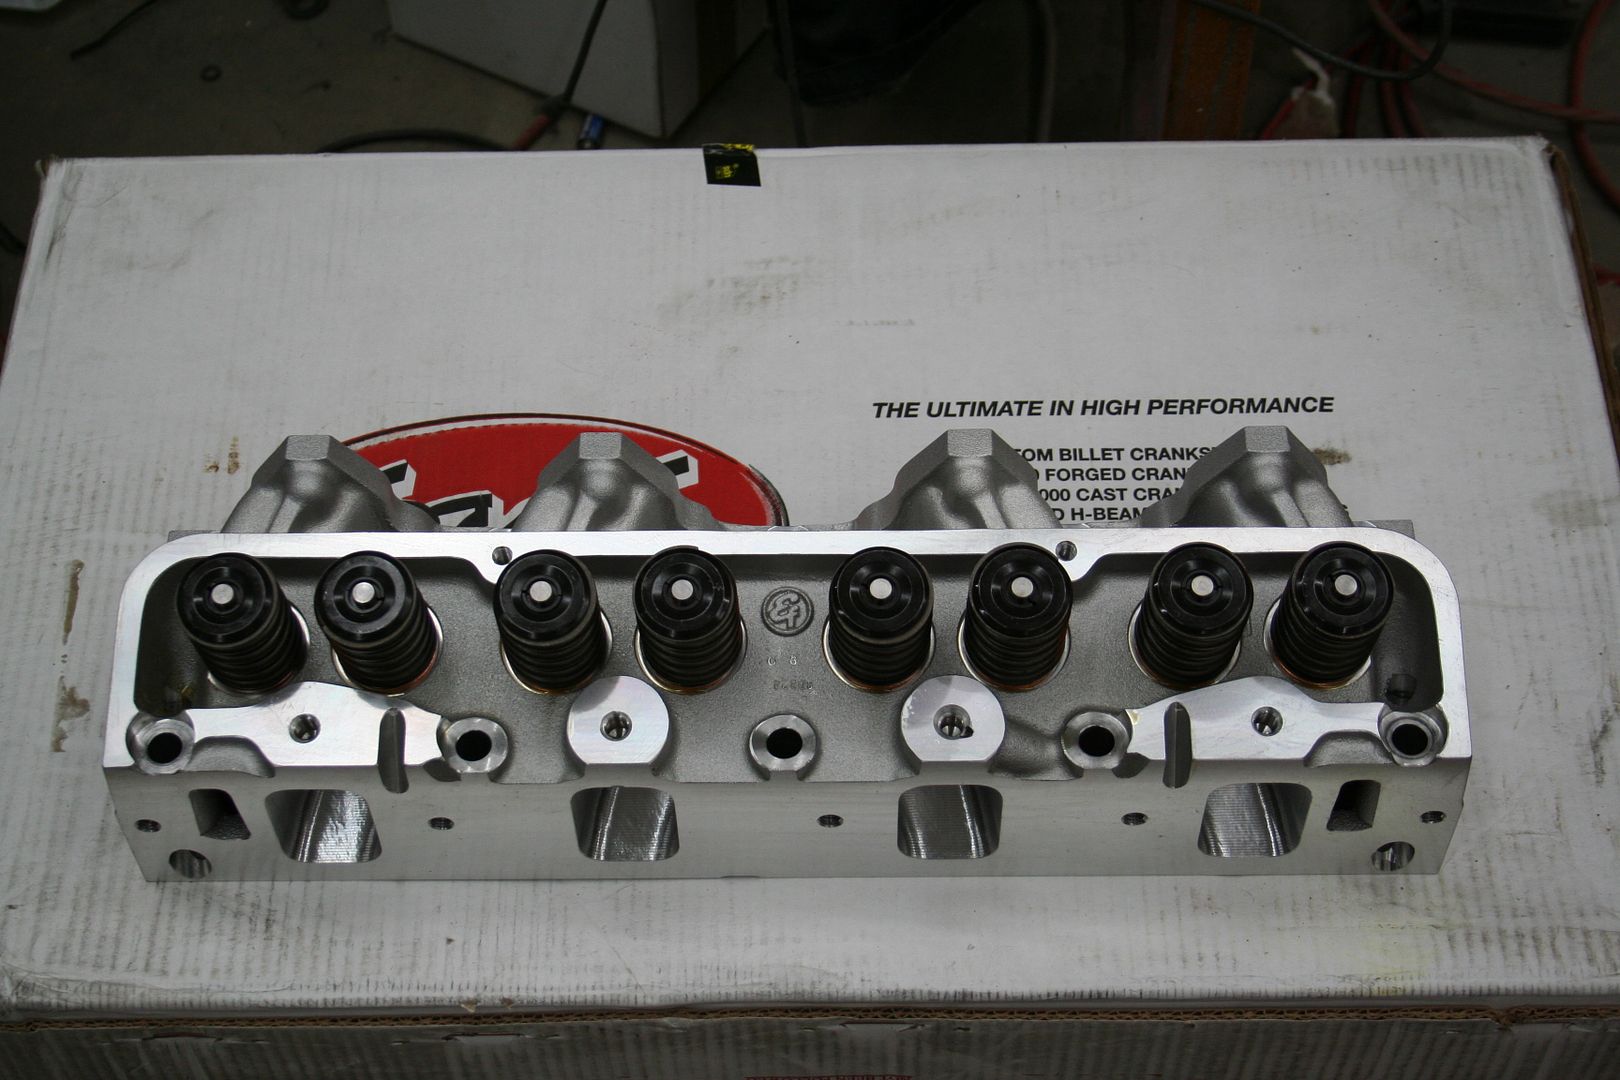
Also ordered up a set of CNC'd edelbrock heads and a 4.25 x 4.25 Stroker kit with custom pistons, nice solid street roller cam, a custom Precision Converter and more.

IMG_0510_zps1d8b6a83.jpg

IMG_1093_zps4e420453.jpg

IMG_1091_zps4feaef53.jpg

IMG_1090_zps78beffc7.jpg

IMG_1088_zps2f06e54d.jpg

IMG_0977_zps9c9202db.jpg
 
OP
T

TimeWarpF100

Well-known member
Joined
Aug 21, 2010
Messages
6,784
Location
not here
Still repairing lost photo's.

Now on page 18 or post 353. Will resume in the next few days when time allows.
Our monsoon season so hot and muggy. No room in shop for my projects until the '56 Chev goes away. Its one of those will work on it when owner shows. Plan was gone by August 1st but ....
 
OP
T

TimeWarpF100

Well-known member
Joined
Aug 21, 2010
Messages
6,784
Location
not here
OP
T

TimeWarpF100

Well-known member
Joined
Aug 21, 2010
Messages
6,784
Location
not here
Finally found pic of wheel I want to use on 427 Project.
Have not decided what color center yet but similar to this one.
It looks clean with no visible lug nuts . .

test33.jpg
 
OP
T

TimeWarpF100

Well-known member
Joined
Aug 21, 2010
Messages
6,784
Location
not here
What process did you use to clean up the transmission? It looks great!

:beer:

I first hit it with the magic soap and hot pressure washer then hit it first with a fine abrasive with low pressure then come back and hit it with medium pressure and a #4-6 Glass bead.

Not in pics above but when it was installed I applied a flat clear to keep it like that. Looks much better now.

After the cast iron tailshaft was cleaned it went into EvapoRust. No blasting or media of any kind or it kills the natural finish.

All hardware was dipped in the evaporust and then replated.

IMG_2628_zpsdcb229e7.jpg

IMG_2627_zpsbd16792b.jpg
 
OP
T

TimeWarpF100

Well-known member
Joined
Aug 21, 2010
Messages
6,784
Location
not here
Nice wheels! Those will really set it off.
Took a long time to find a wheel that would give me the look I was after.

Darn pricey but . . . prob have to sell the F600 in order to buy the wheels.

Each one will cost more than I have ever spent on a complete set of 4

Already have the tires which are getting old now. Better check the dates . . LOL

Anything 6yrs old or older they will not touch here in town
 
OP
T

TimeWarpF100

Well-known member
Joined
Aug 21, 2010
Messages
6,784
Location
not here
I've got a transmission/transfer that will [eventually] go into my old truck. I'll have to do something like this to get it up to snuff.

I saw in some earlier photos you were using EvapoRust in what looked like a galvanized tub. Do you have any problems with that?

I used a galvanized pan with Evaporust for some large flat parts. The galvanizing started coming off after a couple days.

The galvanizing was coming off. It was only thing I could find large enough to fit the parts. I use a PVC pipe for driveshafts, brake cables, lines etc.

Plastic bins for sure the best. I have one I can put engine block or transmission into then used filled plastic bottles to displace fluid so I do not have to use as much.

IMG_2720_zps3bd8ca46.jpg

IMG_2717_zps7b8c9a58.jpg


A bellhousing under there somewhere.

IMG_2721_zps82ac0288.jpg
 

bulletpruf

Well-known member
Joined
Nov 28, 2013
Messages
11,088
Location
San Antonio
Nicely done on the C-6. Those CJ models with the iron tailhousing bring a LOT of $$$ with the restoration crowd.

Scott
 

slickgt1

Well-known member
Joined
Oct 11, 2010
Messages
1,674
Damn fine thread. Actually there seems to be a lack of completion on the Eco project, but the side track posts are keeping me entertained thats for sure.

Glad you feeling better, and hope you keep getting better.

Hamb sure seems like a great site. You aren't the first person that was dissed by the group there.

Subscribed for more updates. Cant wait to see that Eco put together.
 
OP
T

TimeWarpF100

Well-known member
Joined
Aug 21, 2010
Messages
6,784
Location
not here
Nicely done on the C-6. Those CJ models with the iron tailhousing bring a LOT of $$$ with the restoration crowd.

Scott

Friend just sold one for 2400.00

I paid under 300.00 for mine but it was 20+yrs ago. It was pulled out of a rolled over 1969 Mach 1 when car was nearly new. Very low miles on it and it had never been apart.

Damn fine thread. Actually there seems to be a lack of completion on the Eco project, but the side track posts are keeping me entertained thats for sure.

Glad you feeling better, and hope you keep getting better.

Hamb sure seems like a great site. You aren't the first person that was dissed by the group there.

Subscribed for more updates. Cant wait to see that Eco put together.

You and me both on the eco project. Its been 2 yrs since I really touched it although keep dreaming someday soon.

Because I started the '66 427 Truck back in 2008, built the engine in 2009 and the engine has never been fired along with having the nearly done box taking up space in the shop, I will get to that first.

Before I can get started on any project I need shop space first. Really no room to remove the front clip on 427 truck and keep the stuff damage free.

Its just too hot in summer to do much outside. 100's during day and around 80 at night~early morning. Monsoon season this time of year. Never know when the rains will come.

Because of health I have been unable to do much of anything for the 2yrs.

When I do get something done it has been trying to get shop finished, shop bathroom, in the middle of this the wife decided to do a major remodel inside of house.

So its giving me major anxiety not being able to work on the projects I want to work on.

Biggest factor for having no room is my friends '56 Chev that we painted 17yrs ago and he never finished it. Shop is just too small for more than one project at a time.

I really am hoping the '56 will be going away this week.

Preparing for when It does leave I have ordered a few parts to help finish up the '66 427 Project.

A little input into that soon::::

Thanks to all for following and patience on the long wait!

I did have a Major allergic reaction again last week unknown to what caused it. Seems to be clearing now.
 
OP
T

TimeWarpF100

Well-known member
Joined
Aug 21, 2010
Messages
6,784
Location
not here
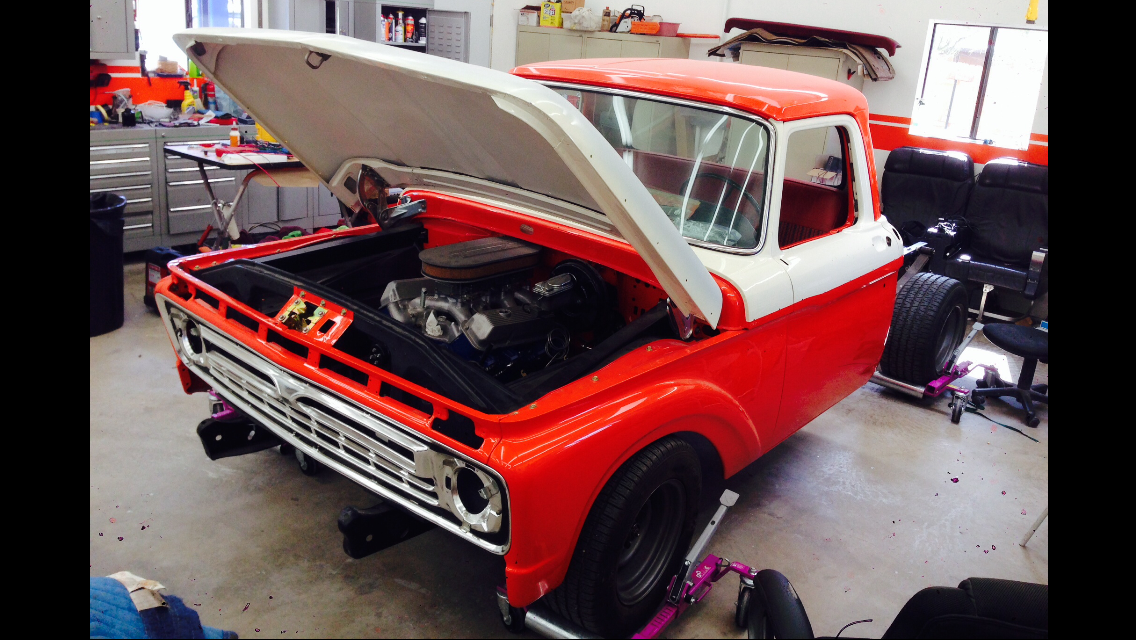
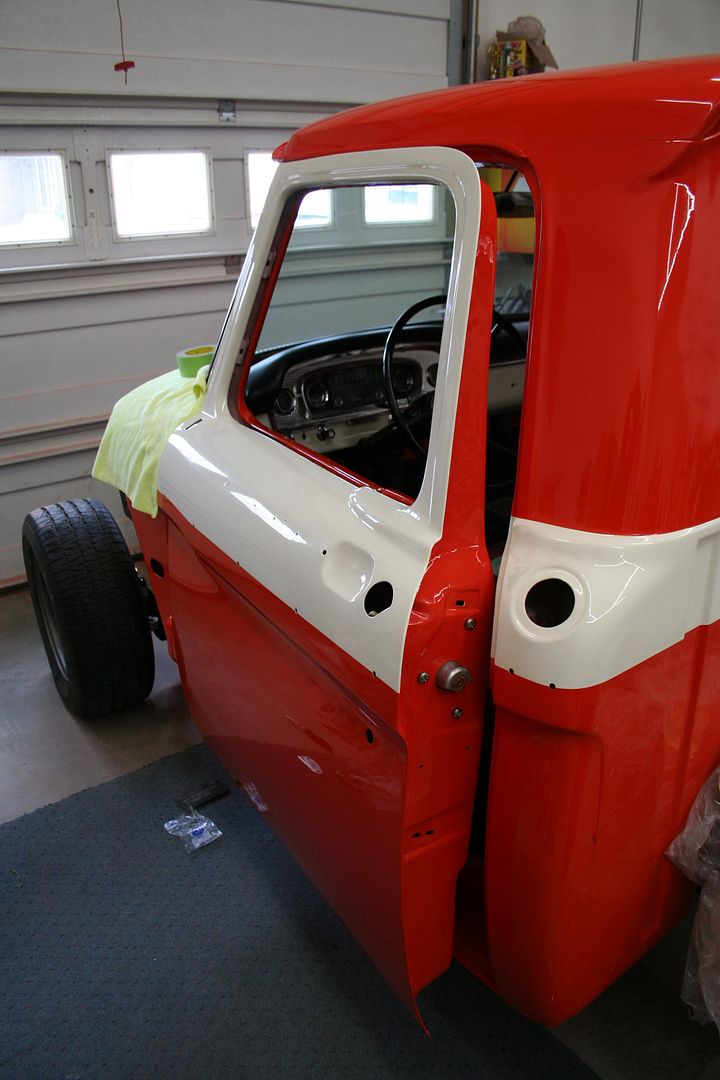
This day has been a long time coming. 427 Project truck has been on hold pretty much since 2009-10 except for a bit of work on box a month or so ago.

Well good news at least for me as I was finally able to get truck out of storage where it has been collecting dust and into shop.

I have been promising updates forever it seems so here is the first!

Crappy cell phone pics but I was actually pretty excited to have it in shop.

Better pics very soon!

4-5yrs of collecting dust! Yuck!

IMG_6219.png

IMG_6216.png

IMG_6215.png
 
Last edited:

bulletpruf

Well-known member
Joined
Nov 28, 2013
Messages
11,088
Location
San Antonio
This day has been a long time coming. 427 Project truck has been on hold pretty much since 2009-10 except for a bit of work on box a month or so ago.

Well good news at least for me as I was finally able to get truck out of storage where it has been collecting dust and into shop.

I have been promising updates forever it seems so here is the first!

Crappy cell phone pics but I was actually pretty excited to have it in shop.

Better pics very soon!

4-5yrs of collecting dust! Yuck!

Gorgeous truck! Can't wait to see it done.

Scott
 
To avoid these ads, REGISTER NOW!

bigboy308

Member
Joined
Nov 22, 2012
Messages
7
Location
Merlin, OR
I thought I had read all your posts, but can't recall anything other than "427" in this p/u/. Is the engine a Tunnel-port? Looks kinda like a T/P intake manifold to me.Anyway, interesting lookin' manifold--Not anything like the Old Shelby Sidewinder I had on my boat engine!!
 
OP
T

TimeWarpF100

Well-known member
Joined
Aug 21, 2010
Messages
6,784
Location
not here

Gorgeous truck! Can't wait to see it done.

Scott

Good to see the 427 is next on the list! :rocker:

Thanks All!

I thought I had read all your posts, but can't recall anything other than "427" in this p/u/. Is the engine a Tunnel-port? Looks kinda like a T/P intake manifold to me.Anyway, interesting lookin' manifold--Not anything like the Old Shelby Sidewinder I had on my boat engine!!

Its actually a Medium Riser

The intake manifold is a NOS stock ford piece. Single Plane Tunnel Wedge
very few manifolds work better for the street especially in bigger cu in engines. Because of the design its a great working and looking manifold.

I had a Sidewinder on this car

67427FairlaneGTA003_zps3ad6862f.jpg

67427FairlaneGTA002_zps22639a49.jpg


This is Tunnel Wedge


IMG_06072_zps437c8387.jpg

IMG_0186_zpsfb36ec4f.jpg

IMG_0180_zpsbe85d304.jpg
 
OP
T

TimeWarpF100

Well-known member
Joined
Aug 21, 2010
Messages
6,784
Location
not here
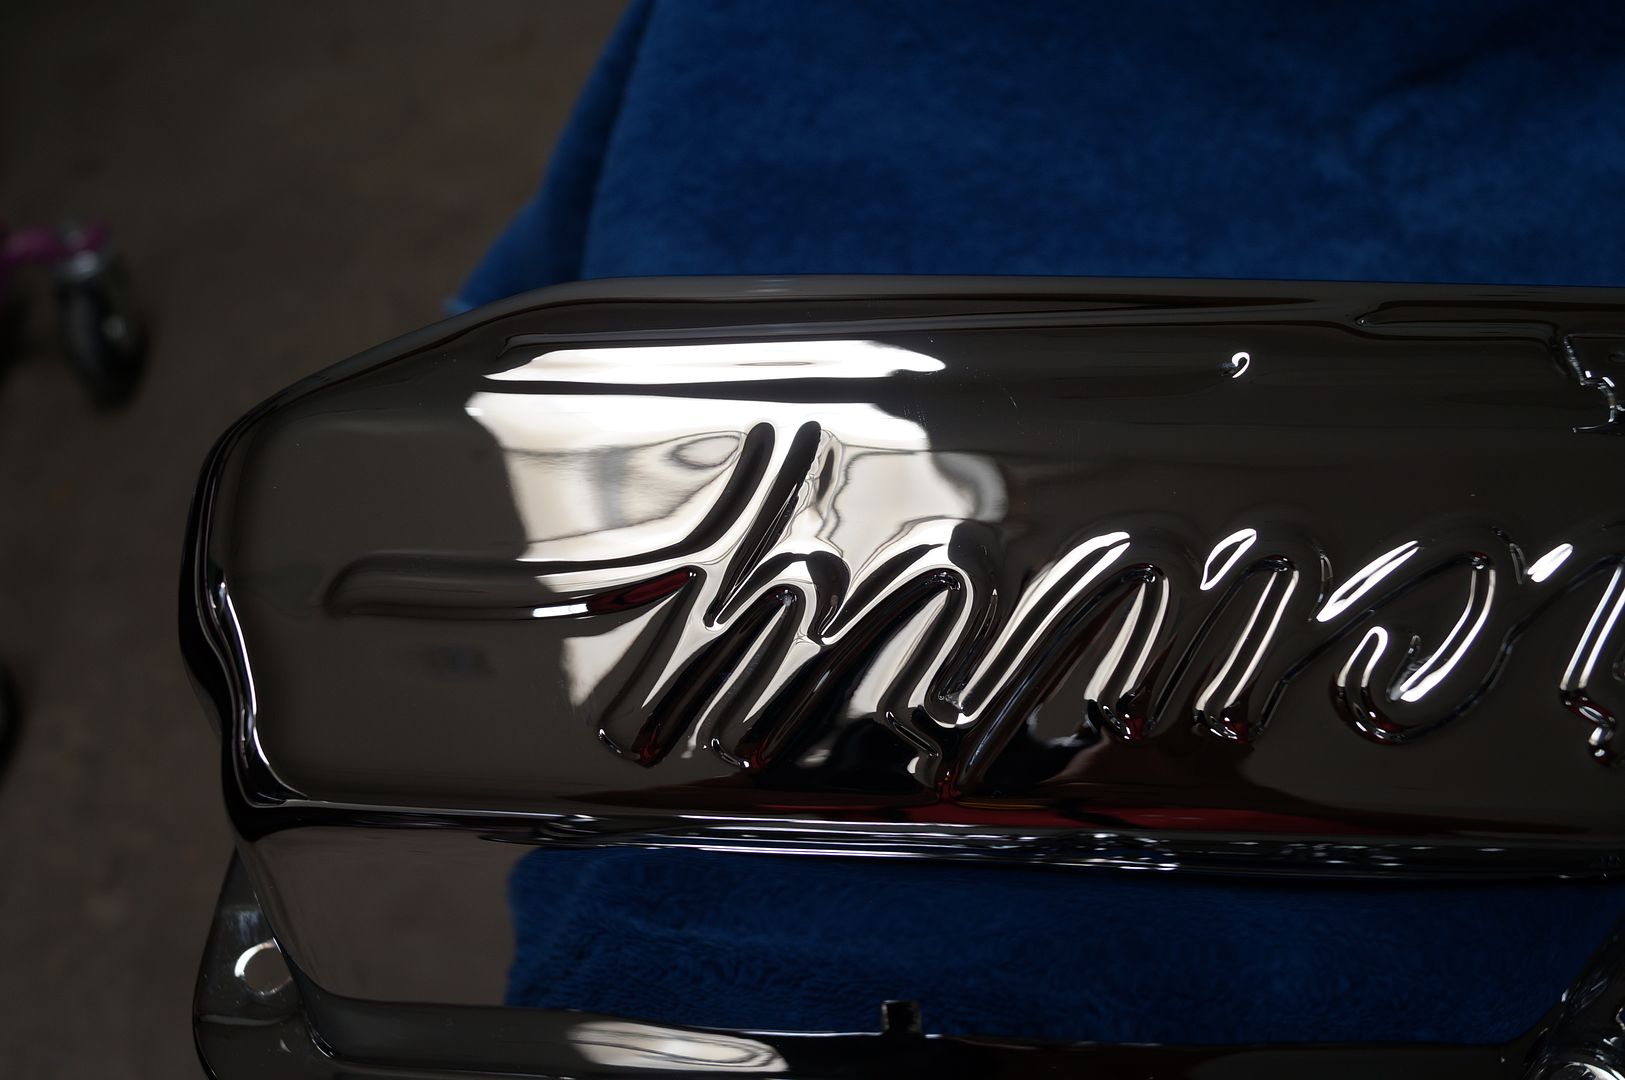
Had the Mercury valve covers show chromed. The Cobra Jet covers just do not look right for this application. They are there just to keep the dirt out and so I could prime engine.

DSC03396.jpg

DSC03394.jpg
 
OP
T

TimeWarpF100

Well-known member
Joined
Aug 21, 2010
Messages
6,784
Location
not here
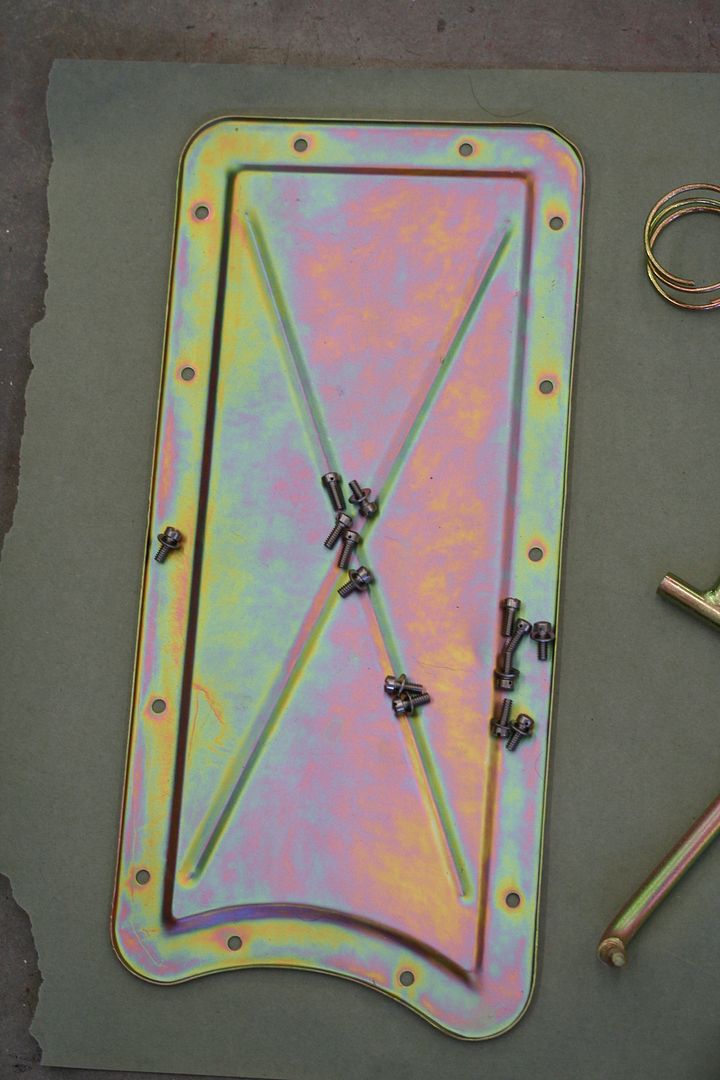
This is plate and screws for manifold. Replated the plate and the screws. Screws done in electroless nickle. Safety wired of course using a stainless wire.

IMG_1375_zps6bd7f8f1.jpg
 
OP
T

TimeWarpF100

Well-known member
Joined
Aug 21, 2010
Messages
6,784
Location
not here
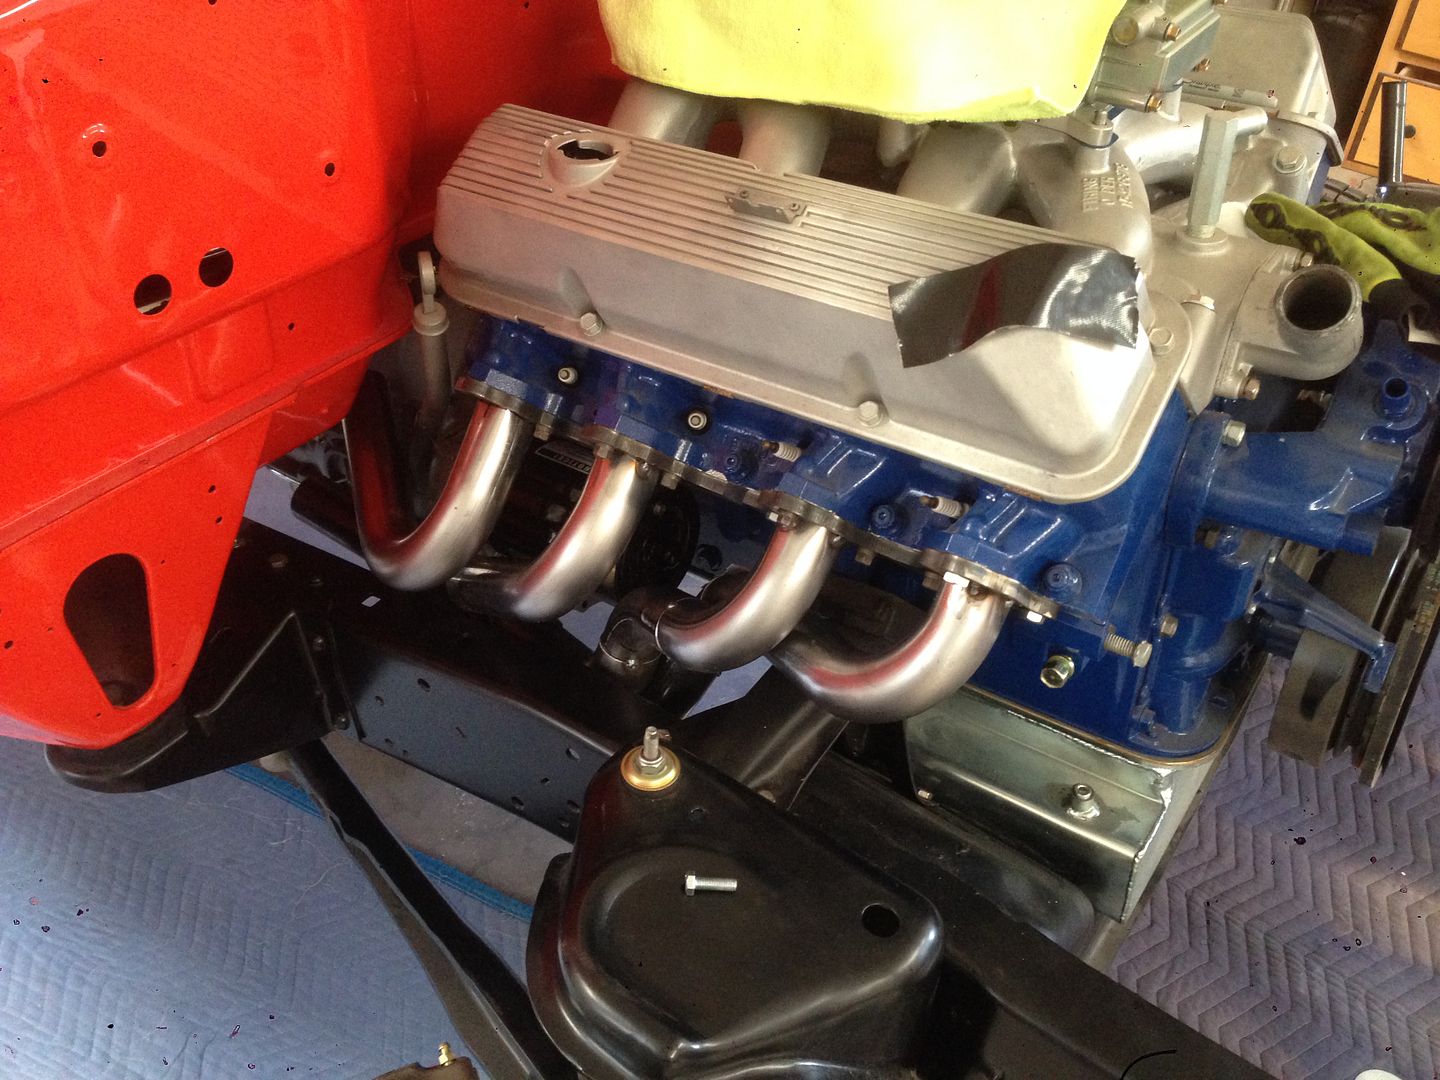
Now that the truck is finally in shop the first order of day was to remove front clip, then the fun part of building a decent step header that will match the engine specs fairly close.

Using PipeMax software I was able to come up with pipe size and lengths. Now the TOTAL challenge will be to get them close to equal lengths and also fit within the confines of chassis~body!

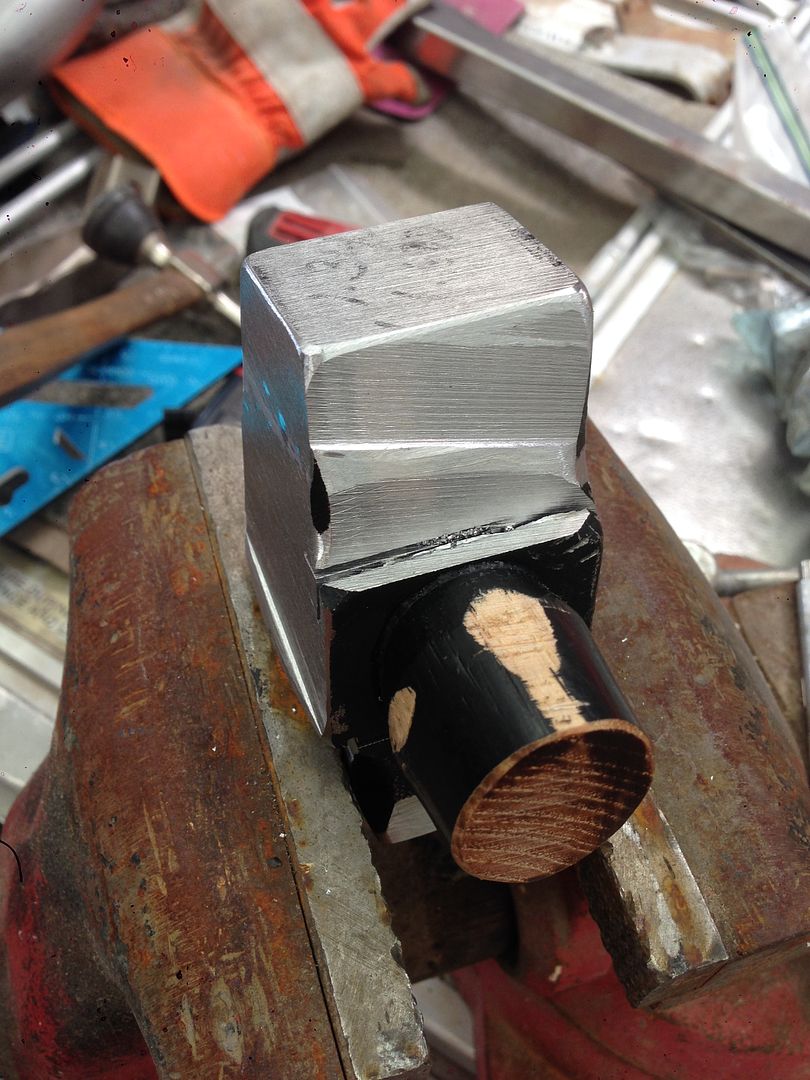
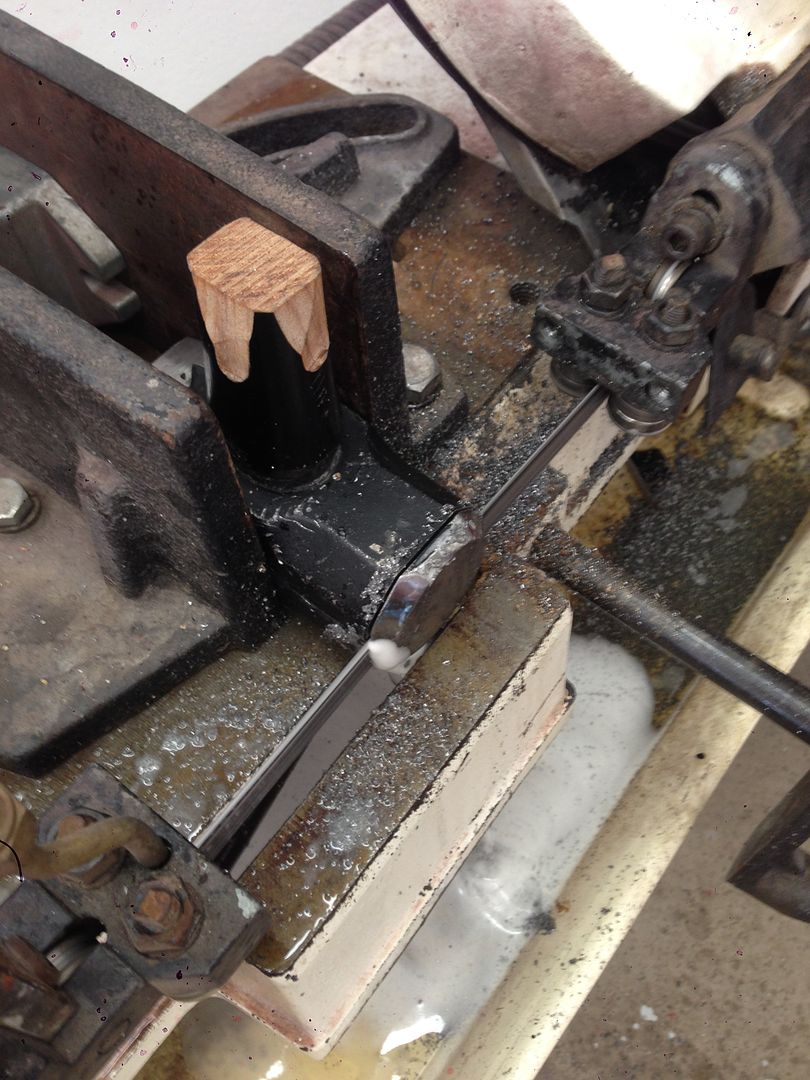
I always make a basic tool for helping me form the pipe where it goes into flange.

I have basic hand tools for doing this so started off with a hammer that was left here and know one claimed. Did some basic measurements after forming the first pipe end by hand

This is what I have come up with. Now it will only take a minute or two per pipe to get it to fit the flange. They will also come out exact each time.

I cut up the Kobalt hammer . . .

IMG_6288.jpg

IMG_6286.jpg

IMG_6282.jpg

IMG_6281.jpg

IMG_6279.jpg

IMG_6278.jpg

IMG_6277.jpg

IMG_6273.jpg

IMG_6272.jpg
 
OP
T

TimeWarpF100

Well-known member
Joined
Aug 21, 2010
Messages
6,784
Location
not here
I have 2 pipe sizes. 1 7/8" & 2"

Because of port size the 1 7/8" pipe is a bit small for flange size. The 2" fits really nice.

One end of hammer end is for 1 7/8" pipe the other is for 2" pipe.

For a test fit i did my first ends to see how close they would match.

IMG_6280.jpg


Reasonably close for initial test!
 
OP
T

TimeWarpF100

Well-known member
Joined
Aug 21, 2010
Messages
6,784
Location
not here
2" pipe fit

IMG_6276.jpg


1 7/8" pipe fit

IMG_6289.jpg


Those are both 1 7/8" the 2" pic did not upload . .

Only problem is using the 1 7/8" pipe I have .200" clearance on bottom side of flange!

Another "Major" issue is the 2" primary into a 3.5" out collector does not physically fit the chassis.

Very very tight on the passenger side. I still need to make room for a starter in there!

IMG_6291.jpg

IMG_6290.jpg
 
Last edited:
OP
T

TimeWarpF100

Well-known member
Joined
Aug 21, 2010
Messages
6,784
Location
not here
Valve covers look awesome. Who did you use for the plating?

Advanced Plating out of Nashville.

Now that someone has asked I must say the first time around there was peeling of chrome when I took them out of box. Not very speedy on the "fix" but they did it no charge of course.

IMG_4649_zpsa03ebe0a.jpg

IMG_4646_zps0c818757.jpg

IMG_4645_zpsa8991bab.jpg

IMG_4644_zpsc7bbd523.jpg

IMG_4638_zps21ee4b15.jpg

IMG_4636_zpsb182320e.jpg
 
OP
T

TimeWarpF100

Well-known member
Joined
Aug 21, 2010
Messages
6,784
Location
not here
Is the Fairlane an original R code car? Either way, it's cool as hell.

Scott


No, it was a "W" code "clone". (GTA) I have owned numerous R codes though.

The W clone was my first attempt at a complete restoration. It was done back in 1988 or so.

I had a complete NOS side oiler that I added a 428 crank and 9.6 comp.
Solid roller cam etc. It was still standard bore. It ran 12 flat @ 113 street tires thru the mufflers. Pretty fast back in the day especially with very limited traction. It also ran a CJ C-6 with 3.50 gears.

Car started out as a legit GTA

67427FairlaneGTA001_zps3f4e5997.jpg

2012_07_07_23_55_410002_zps53b36a8e.jpg

67427FairlaneGTA002_zpsfd7dcf60.jpg
 
Last edited:
OP
T

TimeWarpF100

Well-known member
Joined
Aug 21, 2010
Messages
6,784
Location
not here
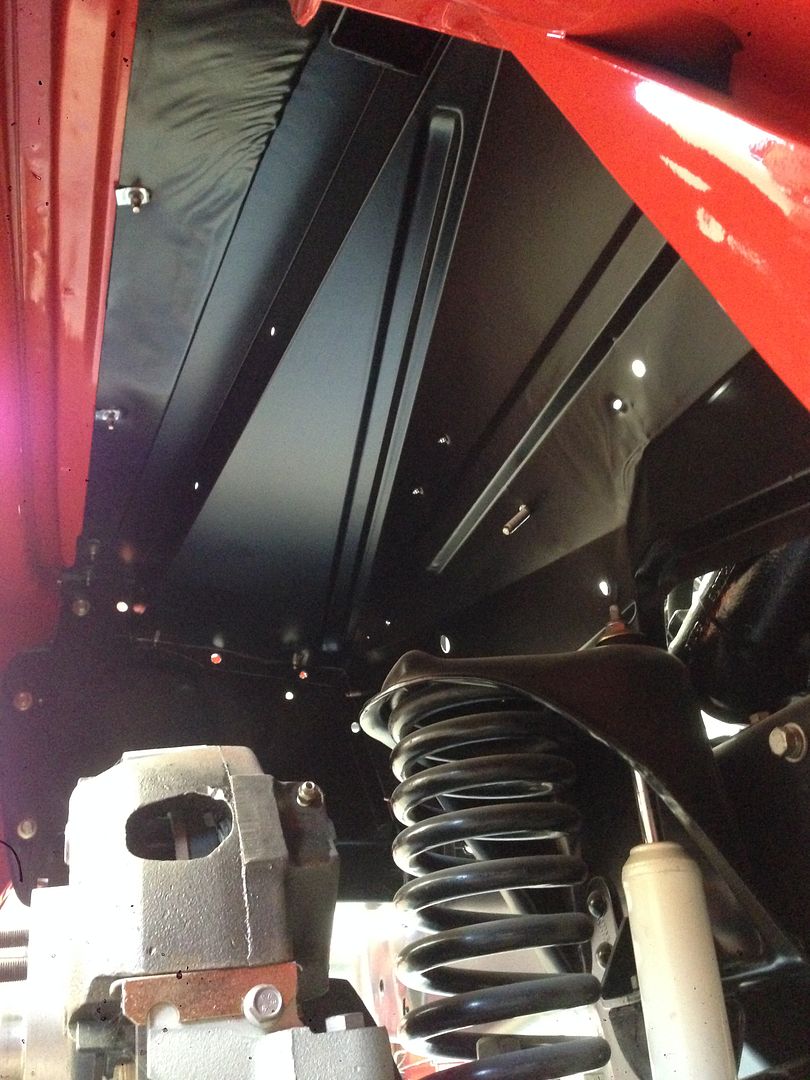
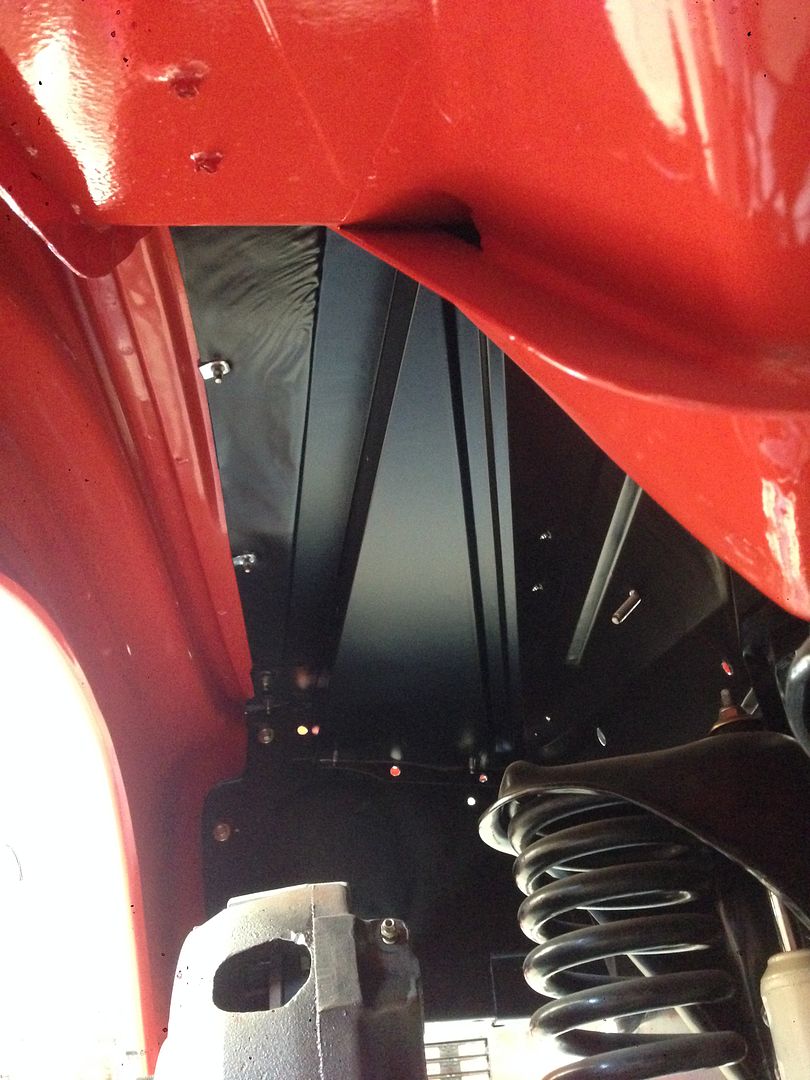
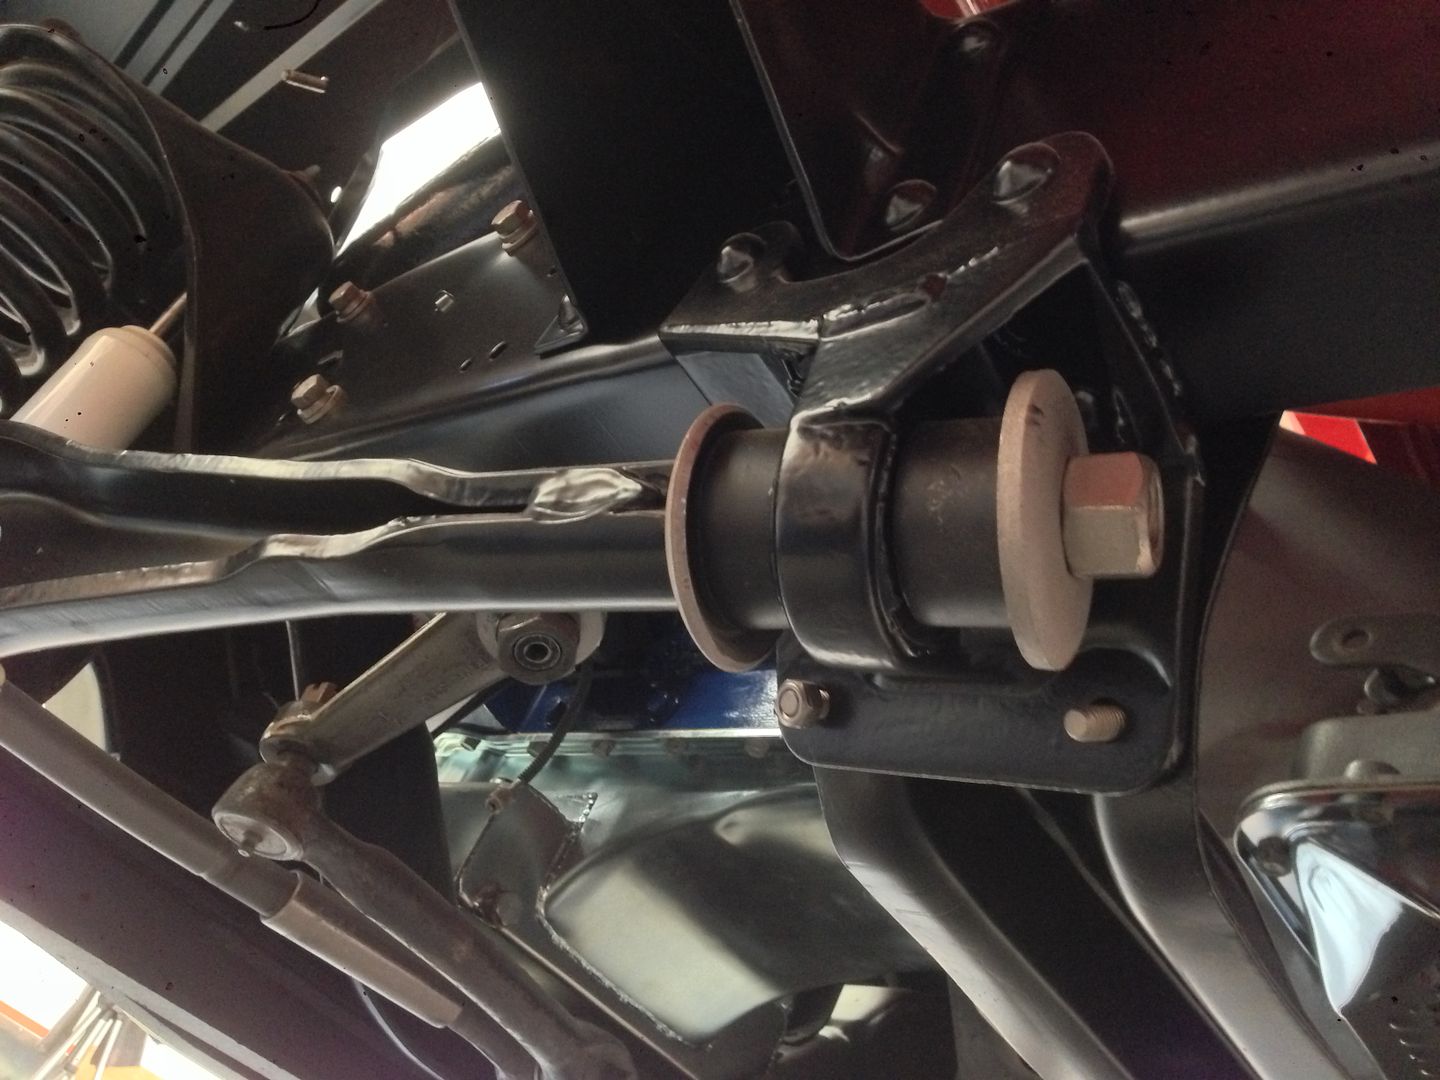
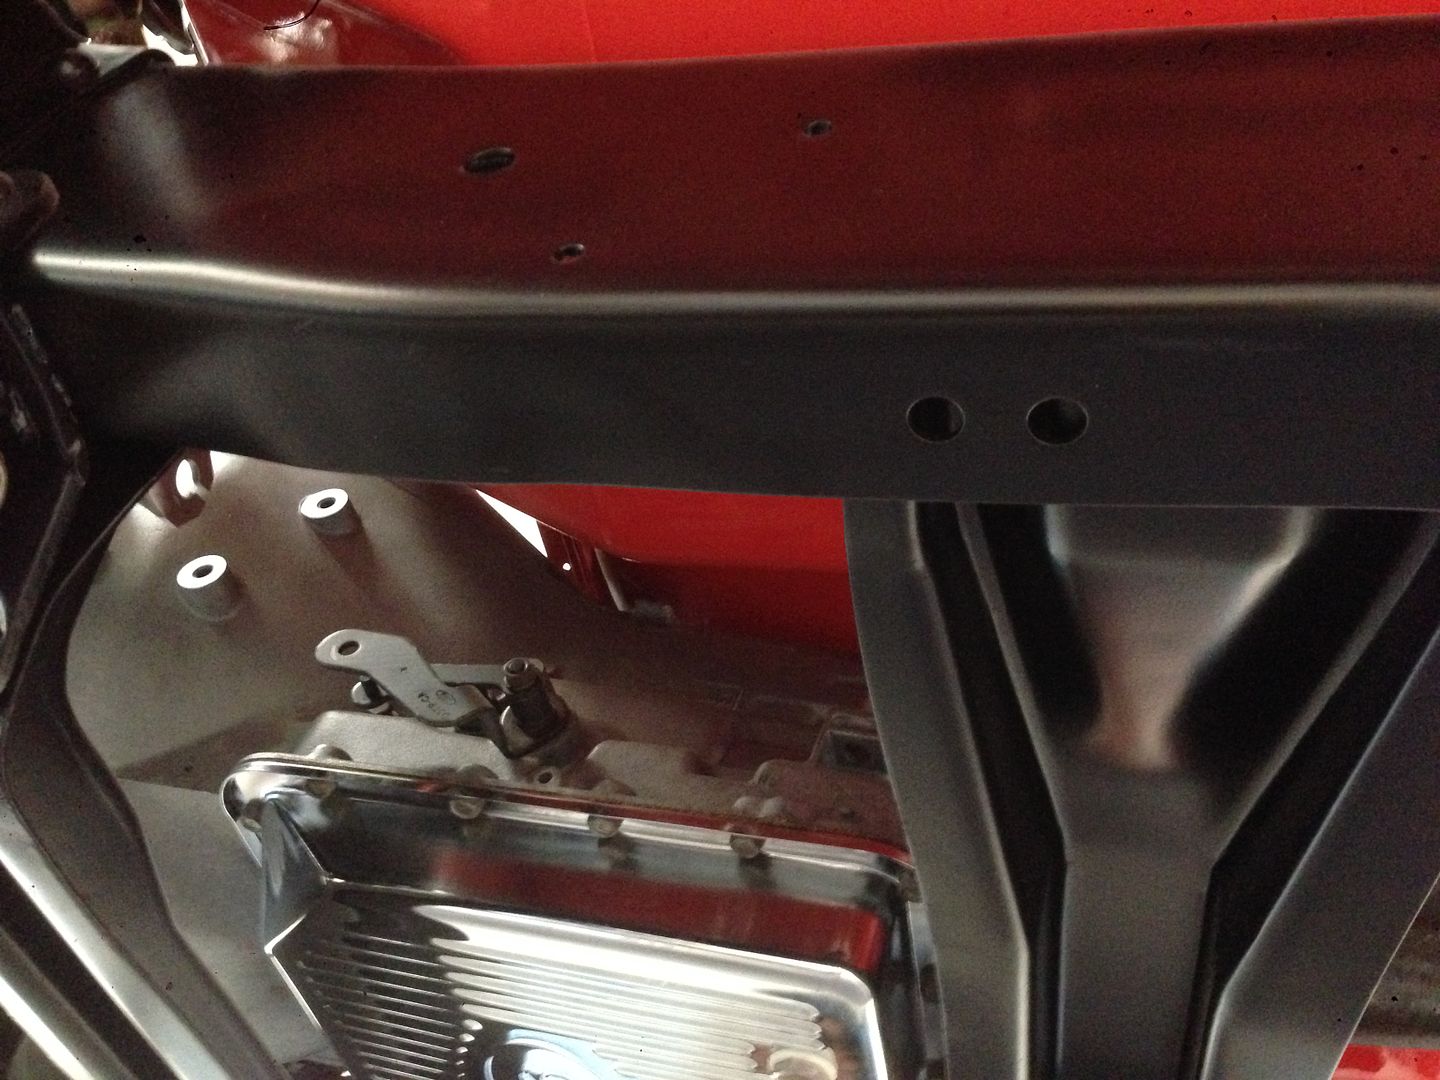
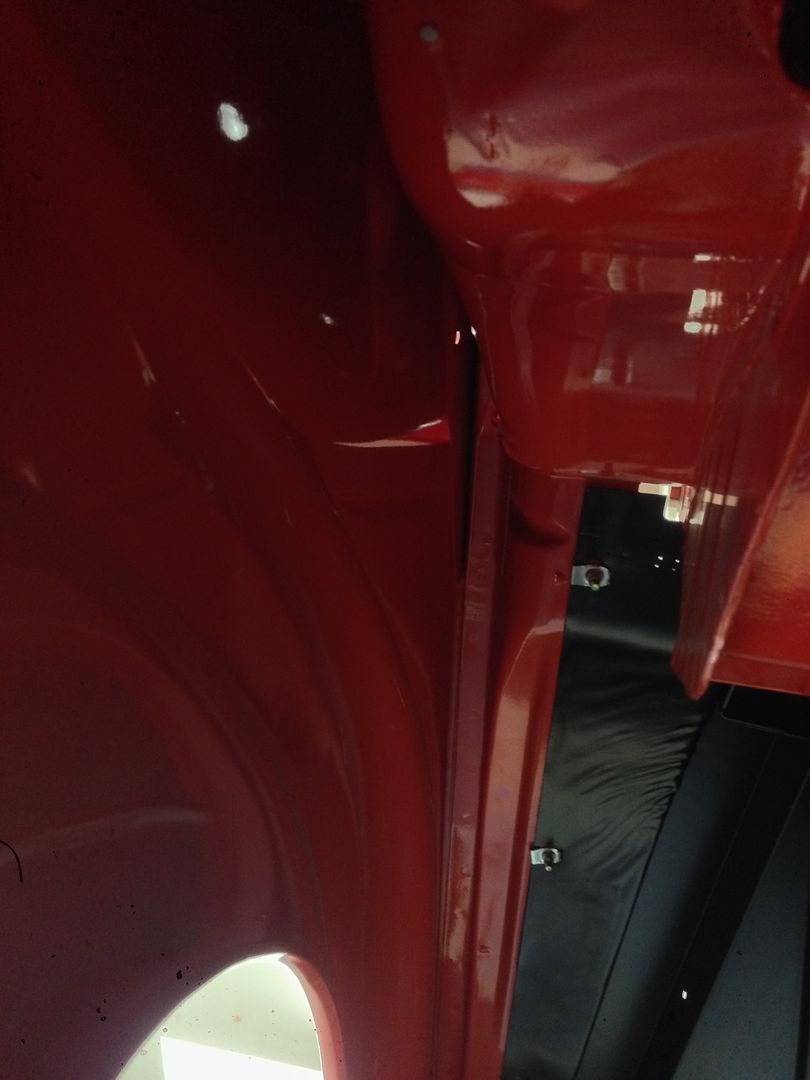
A few crappy undercarriage pics taken from cell phone. all the fuzz in picture is from when the iphone went thru a full WASH cycle but thats another story . .HaHa


I do have a good digital camera and also recently picked up a GoPro. Better pics soon! May even get some video once I learn how to operate it.
Thought was to do a timelapse but have to figure it out first.

Oh yeah, Its got many years of dust covering everything, looks a bit nasty right now.

IMG_6266.jpg

IMG_6265.jpg

IMG_6262.jpg

IMG_6258.jpg

IMG_6257.jpg

IMG_6254.jpg

IMG_6252.jpg

IMG_6249.jpg
 
OP
T

TimeWarpF100

Well-known member
Joined
Aug 21, 2010
Messages
6,784
Location
not here
Progress is slow but at least made a bit . . .

At least its a little clearer how the pipes have to run and clear the starter.

Went out on 1st pipe step as far as I could before I made it turn. Gotta try to squeeze that last drop of HP out ..

IMG_6326.jpg
 
Status
Not open for further replies.
To avoid these ads, REGISTER NOW!
Top Bottom