No need to be a douche to the guy. You're basically talking to him in a very condescending manner. They guy's already overcome some pretty steep obstacles in this inspiring project, and he's merely voicing his frustrations. Sorry everyone elses projects don't go as smooth and perfect as yours.
Timewarp - ignore the negativity. You didn't piss
anyone off. Some people are just fueled by negativity.
Keep on keepin' on, brother! I know it's frustrating and if I lived closer, I'd gladly come over and lend a hand... or three. As I'm sure many other forum members would as well, if they could. Like many others on here - we're anxiously anticipating every update you post!
I have a 2014 4x4 Supercrew, and have been recently eyeing a solid '66 candidate for a restore. Always been a Ford man, and have been fortunate enough to have had many nice F-Series trucks. I never realized until you posted the comparison pics, how much larger the new truck really is!
Just a thought - and I'm sure it would take some measuring to figure it out, but ever thought of some seats from a late-model Ranger? They'd be of the same style and fabric colors, just smaller. Maybe an option worth looking into. Can't wait to see more progress pics and updates! Somewhere, I have some pics of one of my Ranger's interiors. I'll see if I can find it for you.
Here's a pic of my last F100...
TW, it appears you don't want to modify the exterior dimensions of the cab, and I agree completely. The idea is to have the ECO drivetrain in THIS '66 truck, not a stretched or misshapen version of the truck. It seems like the only viable option would be to make a custom dash. It will definitely be a lot of work and you may even need to employ a little design help, but I feel like if your energies were directed that way, you would be on your way to a solution. The other fitment problems in the cab would mostly go away as well, correct?
Space, the final frontier and in a 66, you don't have it under the dash. Back then they didn't have to stuff much up under there, now they do.
Timewarp, I feel for how much you are up against, and how overwhelming it must be. But you cannot take what you feel as negative to heart. It seems to me that Bam is just trying to help in his own way, just like the rest of us. You post here, you are like a public figure, you are going to get good and bad, kiss *** and critical comments. It seems all are just throwing ideas out to you to see what you like or may have to do even if you don't like to get this done faster than your friends 56.
I was thinking that maybe you can make the back wall of the cab, an electronics rack. Relocate all the clutter from under the dash to somewhere it is easy to access. With a cover, it might be able to be hidden. Use a center console to hold some of the controls and as conduit to run the wires as you will have lots of them.
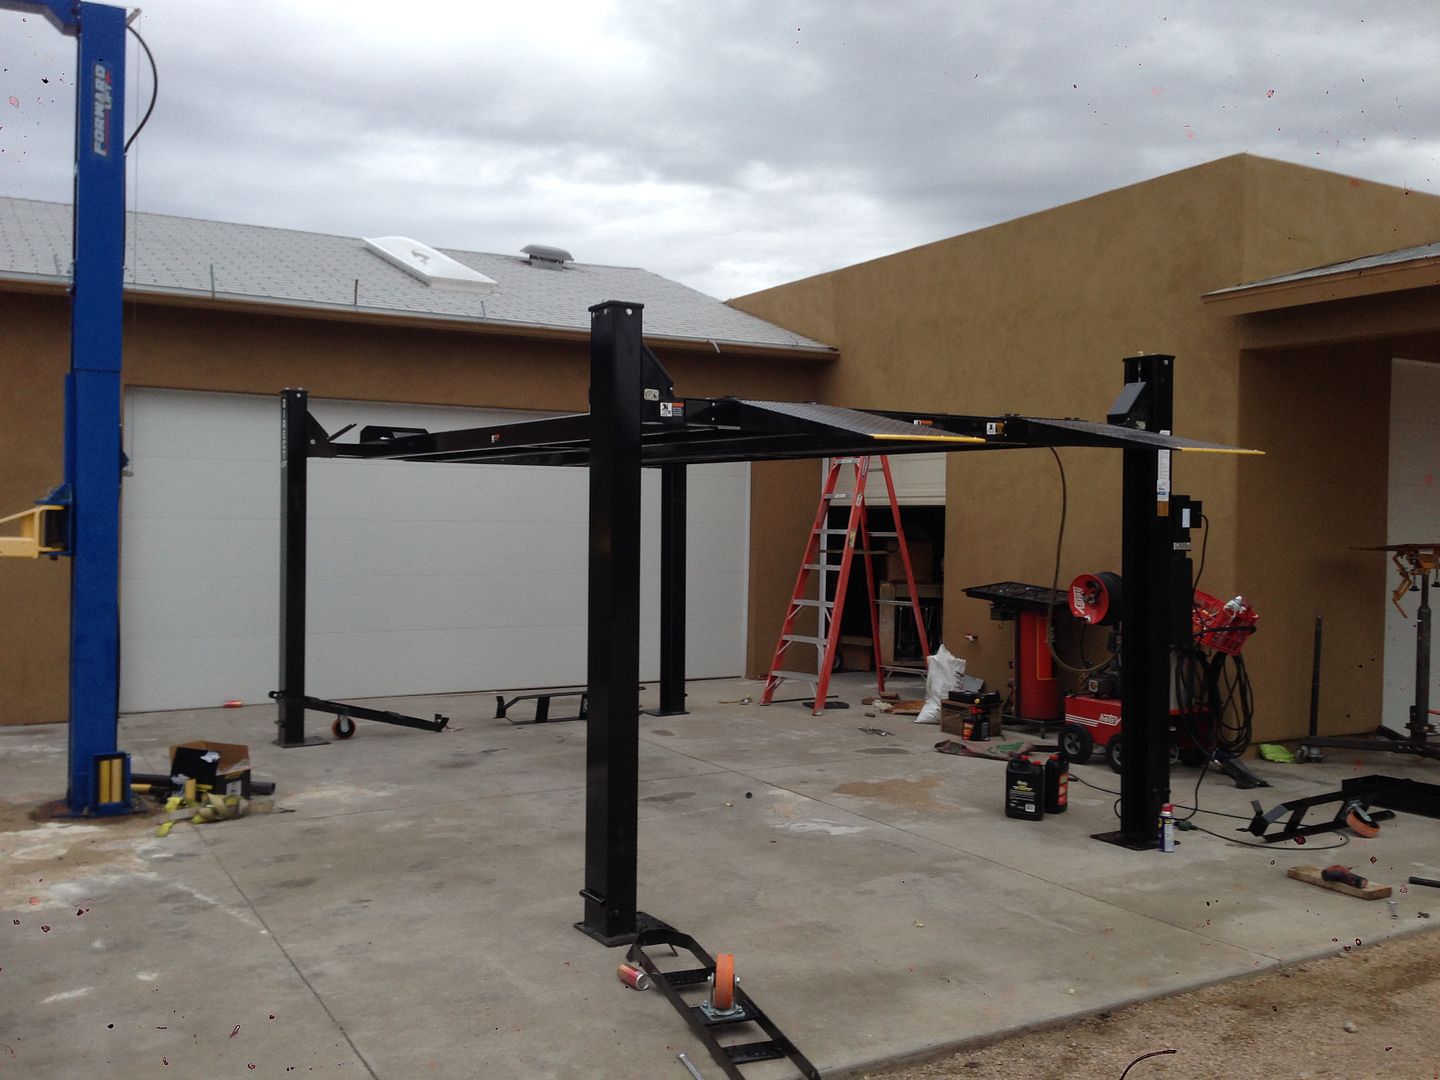
Good news on the lift modification "fix".
Regarding the truck.. I will just ramble a bit here. Hate to see you bail out but it's not my money.
Gut that dash - it's got to be 75% plastic. Probably will lose airbags which ***** but totally different cab volume probably means airbags would be dangerous in smaller cab anyway.
I think the suggested center console idea is a good one (to move some of the electronics and offset some dash space) but it may mean no 3 across seating.
This build has many followers because it is heroic. It remains a great project. I hope you can make it work.
Seeing side by side photos is eye opening. New trucks are huge. Ford could use steel and cut enormous amounts of weight by scaling them down a bit.
One trick that might help save a good amount of space behind the dash, allowing you to move it further forward might be to investigate one of the Vintage Air systems. Some are much more compact than the stock '11 system.
Hey TW, as OHSCrifle said "...Gut that dash..." - get rid of any stuff that you don't want/need (be very, very careful with the air bags though - they go off with a lot of force).
I would imagine that the '11 had hard ABS plastic ducting for the heat/AC, which could be replaced with flexible convoluted hose, etc.
Perhaps a smaller evaporator/box could be used (maybe Vintage Air, Old Air, etc. could supply?) - or move it down lower into the passenger footwell area (passengers don't need all that space

).
Attach a sling to the '11 dash and
support the weight of it from overhead with an engine crane, lift, gantry or whatever you have - this will help greatly to make it a one-man operation to position it.
I would also remove most of the existing mounting tabs or brackets from it as well - again to make it easier for you to move it around/tilt it, etc. (weld them or new ones back on once the position is found).
I know that you'd like to keep the '11 seats (and you've invested extra in them), but they do appear to dominate the interior - maybe Wanna Ride's suggestion of looking at some Ranger seats (or similar) would be worth considering?
Sad to hear about the fire engine having to leave.

Don't give up, where there's a will, there's a way.

I just see that Skyline's beaten me to the after-market AC idea

(Obviously, it's taken me about an hour to compose my "essay"
)
I am still here, I have a lot of time & $$ that could have been better spent into this truck. There have been many a project's in my day that I have not finished when the going gets tough.
I am just very poor at trying to explain my thoughts and have a lot on the table right now.
I know what I am thinking but when I try to type it out its just not there.
My wife is always on my case about just that. Brain going a zillion directions at once.
There are a few things on this truck that just cannot change.
One of them is location of cab as far as forward and back unless of course I were to stretch the front fenders and hood. At one time I thought of widening the cab 2". If i was able to get a 2" wider windshield I would do just that.
Again not going to go into detail of all the reasons.
So with cab position established it then boils down to cab height.
Again, I have to consider the time it will take and also the expense of doing that.
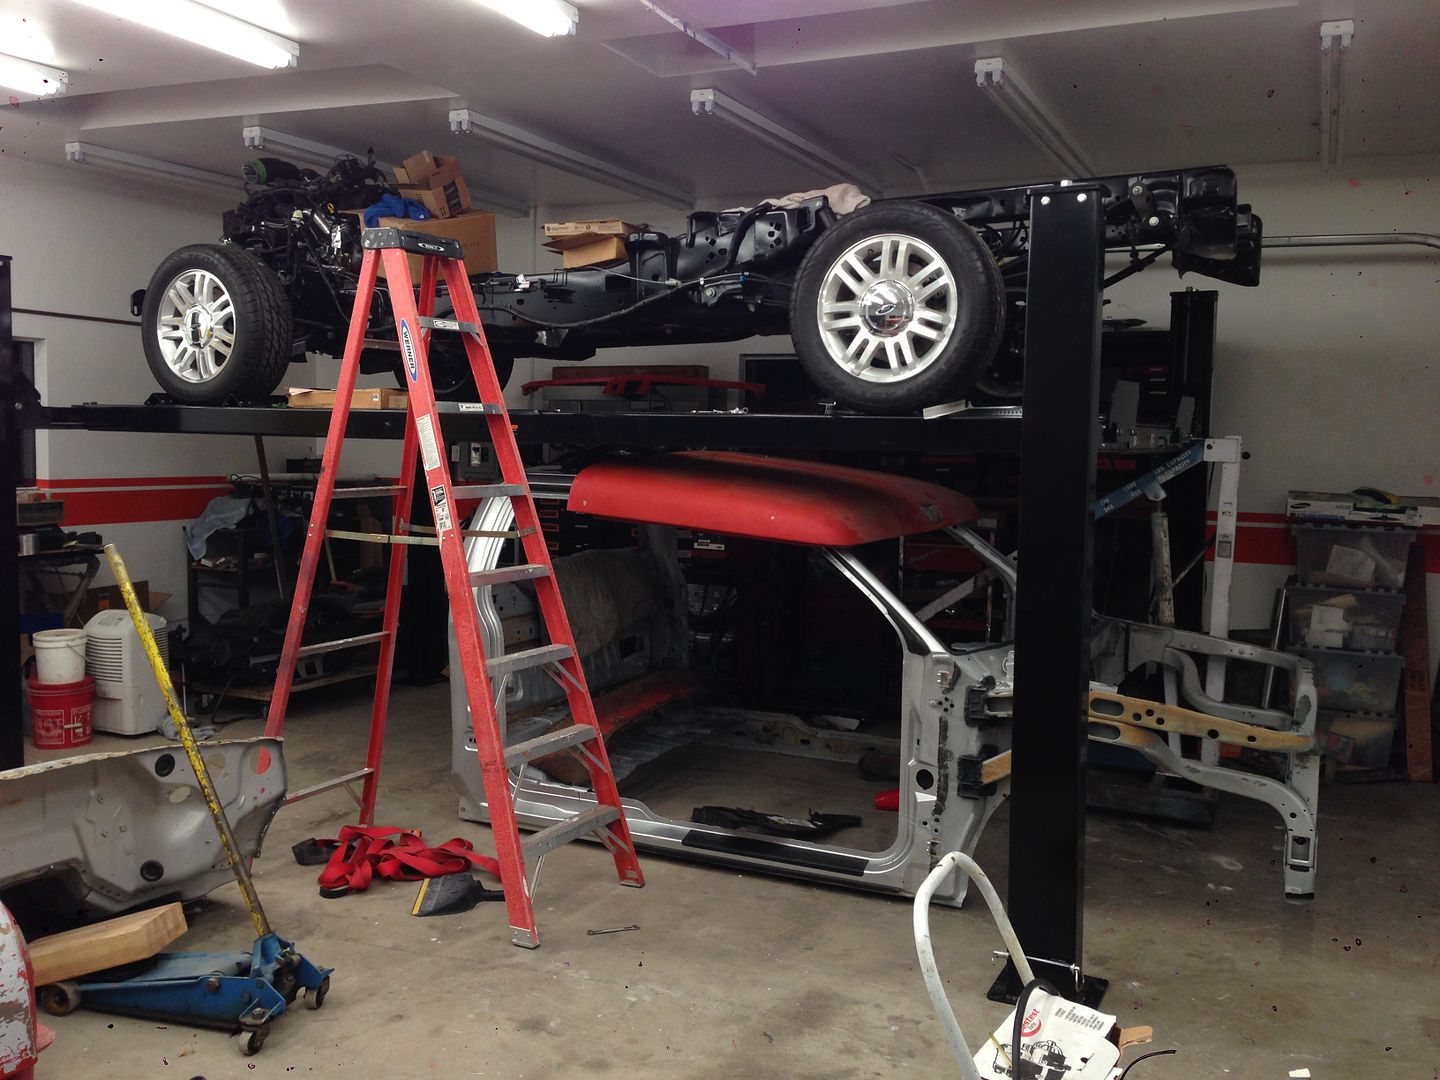
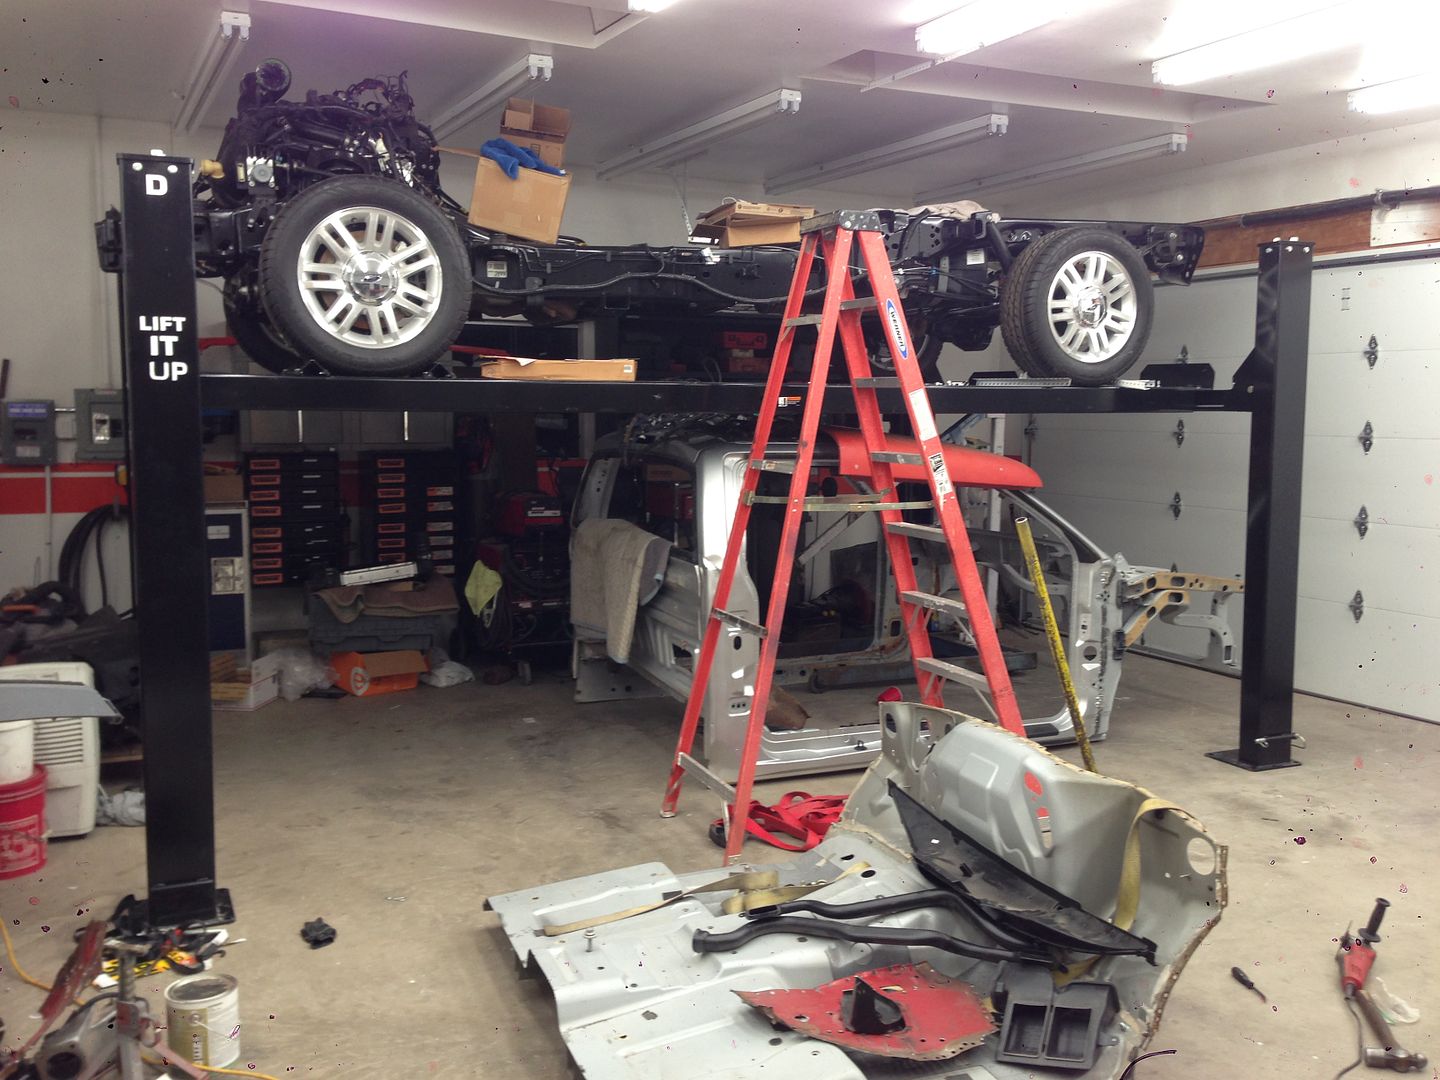
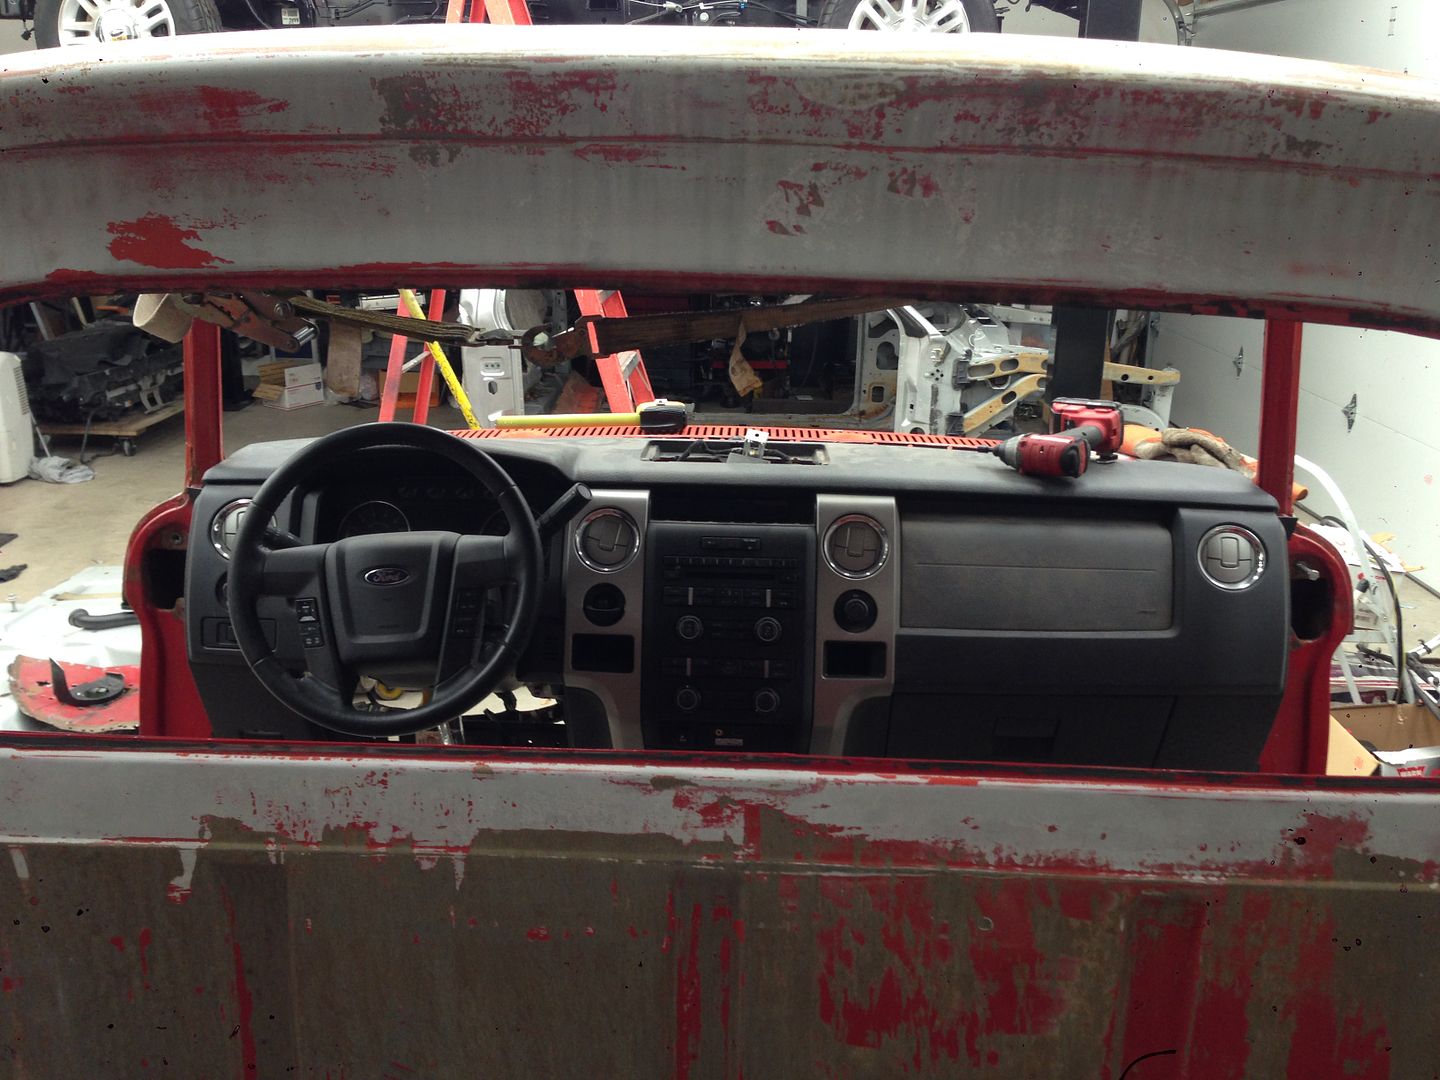
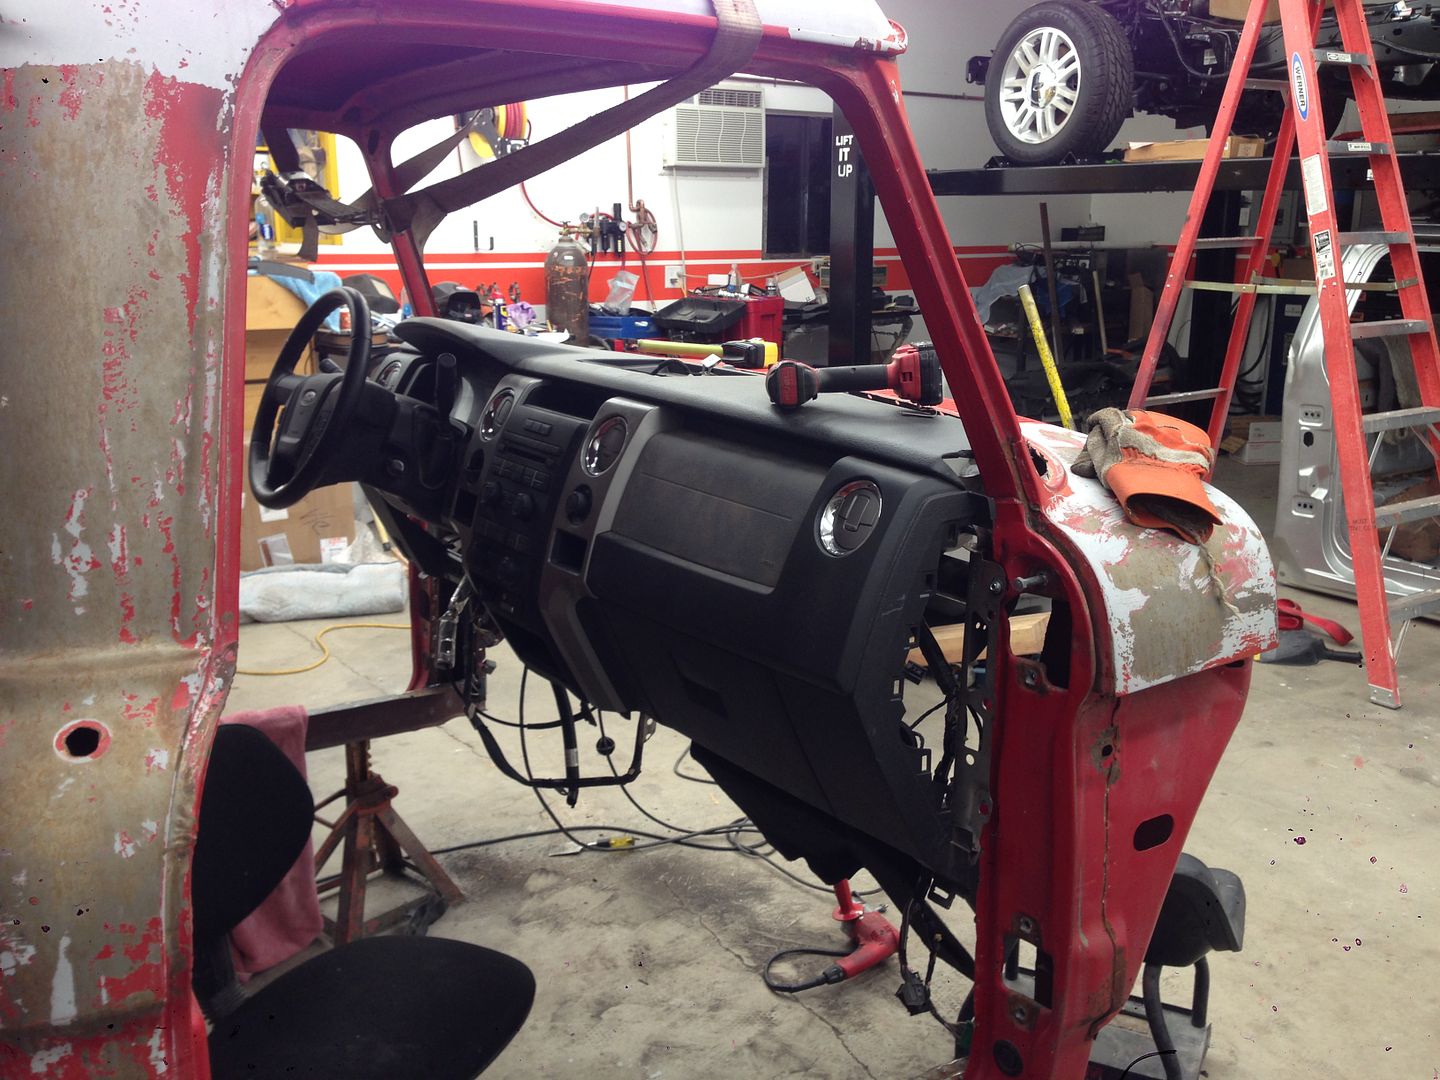
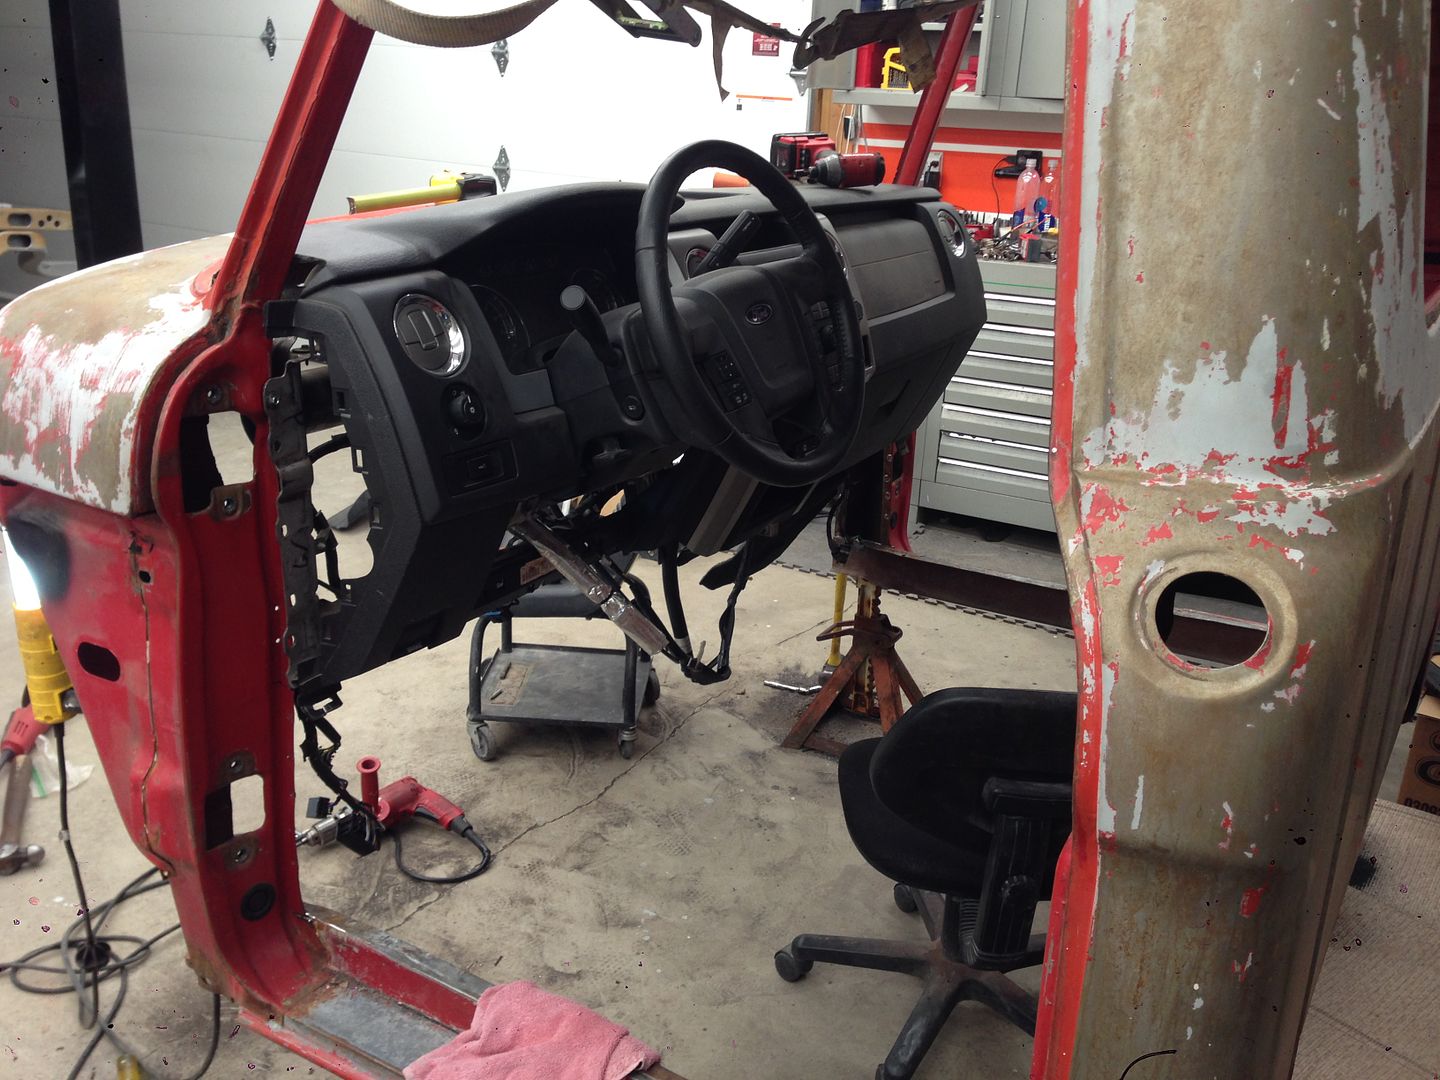
In the last photo's with floor and dash in cab the floor was just sitting on lip of rocker panel that I left for welding purposes.
To me the ideal height would be the cab dropped down 2" from that point to get the cab further down over the frame.
As others have pointed out it causes a issue with the seat height in cab. Just not going to happen.
Because I am using the '11 firewall that choice has a lot to do with mounting of pedals, Hvac and also because its made of quiet steel. Sound deadening at its finest.
I have already purchased the kick panel area of cab new to weld into the '66 cab and also a spot to mount electronics and mount the dash assy.
Again, Just because I purchase something I "think" will work does not mean I have to use it. At this point its still in the early planning stage.
Now the point of seat position, until just in past few days I have not had the dash and floor in at same time. Its not the back side of cab that is giving me a issue as far as fit. Its all in the dash and firewall. By lengthening the cab or modding it to make seat fit better in back of cab will do the opposite of help. The firewall will be too far away to reach.
The height and depth of dash assy is the main issue.
I do read each and every suggestion many times over and some if not many of those idea's will be in fact used in some form or another. Some I was aware of but just did not mention.
This is way way way over my head as far as construction and most a first for me. Most of my stuff has been stock restorations.
It has been mentioned a few times of using a smaller seat. I will do my best of trying to make these work first. So if I seem to be ignoring those suggestions I am not. The funds are very limited now so I have to take every measure there is no way no how that seat will work before I make the decision to get another. In the end if changing to a smaller seat will make this project move on that is what I will do.
If I have to chop things apart to see if they will work that is route I will take. After I feel and see first hand after everything I can think of or other suggestions I will then take said seat and put it in dumpster!
Something I have not mentioned is how the core support and intercooler etc will all work. By first appearance it flat out will not work.
I feel first up is to get cab mounted to frame but that means getting HVAC to work first.
A few have mentioned using a aftermarket HVAC. From day one my goal has been to use current for a cost stand point and I know how well they work.
If push comes to shove and I can get everything else figured out it is one of the MUST have's is A/C. After cutting and fitting and doing my best with the Stock '11 HVAC if it flat out will not work It will hit the trash also.
I am just rambling here . . .