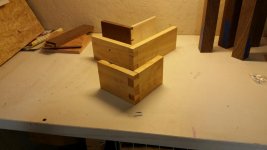
A new (to me) way to mortise!
As I noted above, the drill press w/ mortising attachment process worked fine, but was a bit time consuming to set up perfectly.
Also noted above, the method of using the router table for mortises makes sense to me, but I'm not on speaking terms with my router table at the moment.
BUT, my edge guide finally arrived in the mail!
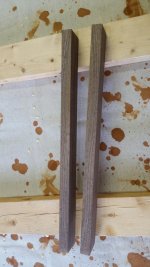
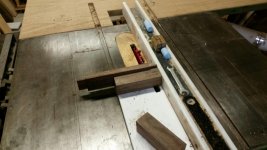
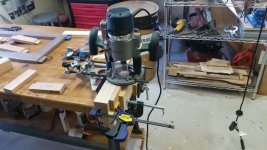
Pic 1 shows the simple L-shaped jig I built to do mortises. The nature of the L-shape is that the top part offers a nice wide flat surface for the router to rest on as I cut the mortises, and the thinner bottom part is easily held in the vice.
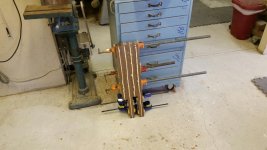
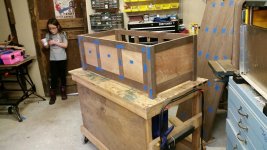
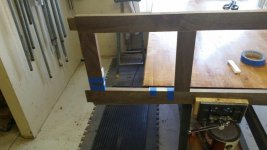
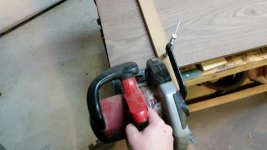
The first step is to align the piece that I'm mortising flush with the top / wide part of the L-jig, and clamp it there. To avoid any slippage of the piece during routing, I then put a block under the piece that I'm working on and clamp the whole thing into the vise. See the stop block in Pic 2.
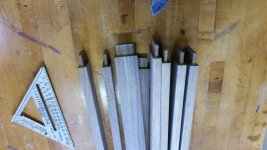
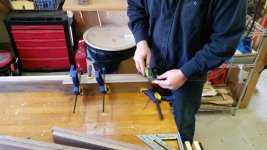
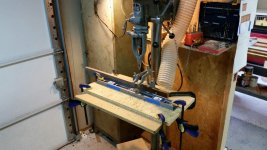
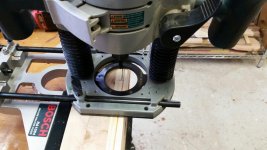
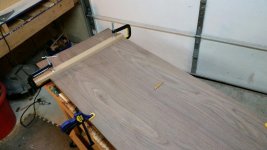
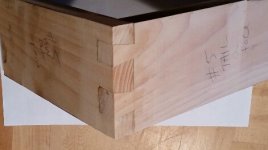
Pic 3 shows a top view of where the mortise will be. I wasn't precise for this test, but you can get the general idea. Then, as seen in Pic 4, I simply line my router bit up with the mortise placement, and lock the edge guide in to hold that position.
In pic 5, I plunge a full depth hole at the start and stop point of the mortise. Then, I take a couple passes starting a shallow plunge and progressing to a full depth plunge to complete the mortise (see pic 6). The resulting mortise is perfect.
This test mortise, including setup, took me about 30 seconds.

Pic 1 = L-Shaped Jig
Pic 2 = support block
Pic 3 = mortise placement
Pic 4 = lining up the router (fence is set during this step)
Pic 5 = start and stop holes
Pic 6 = completed mortise