To avoid these ads, REGISTER NOW!

What did you do "IN" your garage today?

56vette461

Well-known member
Joined
Jan 13, 2013
Messages
495
Location
Northern California
Set up a muriatic acid bath to soak some very old and rusty blacksmith hammers. Put one in the bath and let it set for about 4 hours as a test. When I looked at the process I think it will work to clean up all the old tools and prep them for a finish of some type. These are late 1880 tools from my wife's grandfather's blacksmith shop and farming operation. Many of the tools were made in the shop. Handles for the hammers are oak slates from an old harvester straw walker. Using what you have to make what you need at it's best. I'll post some before and after photos of the tools.
 
To avoid these ads, REGISTER NOW!

Cypherian

ALLIANCE MEMBER
Joined
Oct 11, 2014
Messages
1,197
Location
Delaware
Uncrated my 2nd HF 44" and 18" side cabinet and tied them in with the first 44" I had previously purchased. Also, spring cleaning of the garage.


Nice set up LOL The MALINUT sticker made me chuckle. How many folks even know what that is besides a " SKINNY GERMAN SHEPHERD" LOL :}

Cypher
 

Catadj78

Well-known member
Joined
Aug 11, 2014
Messages
1,009
Location
Alabama
20150328_194956_zpstyx2lxtg.jpg

Took the old computer server rack my son drug home and welded up two frames and bolted them in.
It will hold 10 of the deep HF cases and 28 of the shallow ones.
Now I have to watch for HF coupons so I can fill it up.


:bowdown::beer: Looks great
 

bmxdad

Well-known member
Joined
Feb 18, 2014
Messages
2,539
Location
Puyallup, WA
Um it is. Auto off when button released. You can see it in the video as I let off for a bit.


Sent from my intergalactic communicator using Tapatalk

What I mean is the type used on a press ... both hands needed to activate it.

I can see someone in a hurry with a bunch of cans. Can in .. hit button, remove can, add can hit button remove can hit button add hit ... squished hand.

Be careful ...
 

funks

Well-known member
Joined
Aug 2, 2009
Messages
102
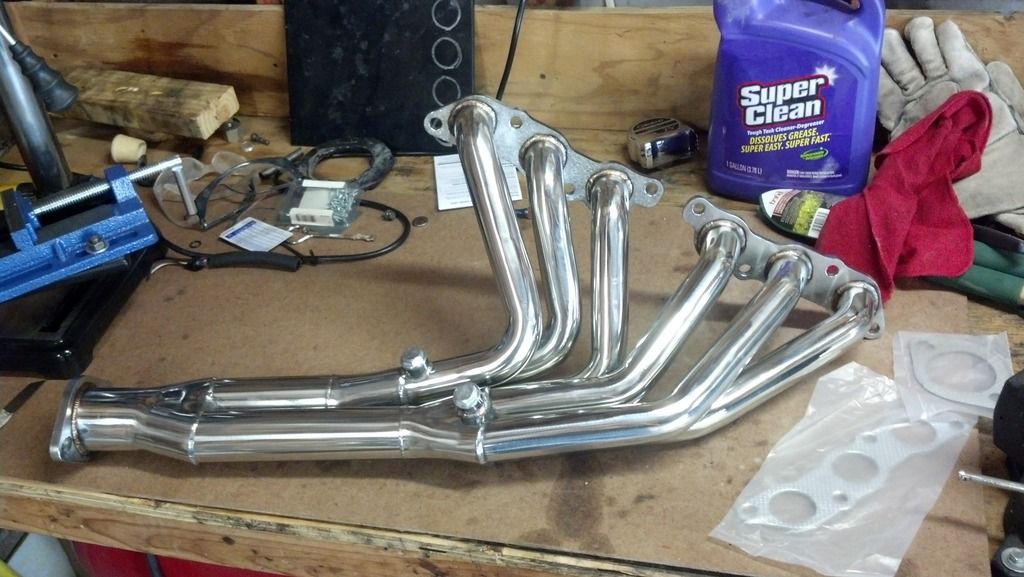
Opened up the HKS box I received from Japan, will be installing the Equal Length Header on my Subaru soon..
 

Outlander

Well-known member
Joined
Jul 30, 2010
Messages
5,154
Location
Quebec, Canada
I have been separated from my garage for a couple of weeks. It is "Robot Season" so I have been spending time at FIRST Robotics events in Toronto (Oshawa) & Montreal. So, not in my garage, but as a Judge, I visited quite a few team garages (fondly referred to as "pits"). Here are a couple shots of the pits of teams my company sponsored, those who have been involved in FIRST will probably recognize the set ups.

It was -16*c this morning when I woke up but it is supposed to be warm enough to work (~-5*c). I have some lights to install, and possibly some tidying up from the never-ending winter!
 

Attachments

  • DSC00422.jpg
    DSC00422.jpg
    148.6 KB · Views: 107
  • DSC00413.jpg
    DSC00413.jpg
    144.2 KB · Views: 95

LS6 Tommy

Well-known member
Joined
Dec 27, 2013
Messages
26,162
Location
Northern NJ
Nothing great, but I took the Grainger lanyard valve that I made a video about a few years ago off of my compressor and replaced it with a bungee loaded ball valve. This way I still only have to pull a string to get the moisture out of my compressor. I may modify it after I try it for a while, and if I like it I will replace the bungee with a spring.

Here is a video that I made of the new setup, that I plan on linking to my lanyard video to show people that the lanyard valve idea isn't a great long term solution.


Chris

Excellent thinking!

Another idea I will soon steal from a GJ member!

Tommy
 

soj

Well-known member
Joined
Dec 3, 2007
Messages
729
Location
North Georgia
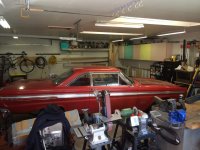
Made room for new project, 1964 CometImageUploadedByTapatalk1427576785.154029.jpgImageUploadedByTapatalk1427576803.401969.jpg

Nice! Looks like a better starting point than what I have. And I hope your progress is faster than mine. I have had mine since Nov 05. I should be ashamed. Actually I am. This is a pic from the e-Bay listing I bought it from.

untitled.png


It is first on my list when I finish house remodeling and add on to the shop. See how things you want to do get pushed back for things you need to do?

Again, I hope you can get started on it soon, if you haven't already.

In my garage, I did some cutting and welding, and made some sawdust. I also used a grand total of 4 pop rivets on a small project. But I spent more time finding the right size and length than drilling the holes and "popping" the rivets. So I organized ALL the rivets and the tool into a HF storage case.

P1060227.jpg


P1060225.jpg

Handwritten labels for use during organizing. Will replace with PTouch labels. "A" is for aluminium, "S" for steel, "SS" for stainless steel. As you can see, now I have to buy more rivets to fill in missing sizes. One of which I could have used on today's (now yesterday's) project.
-jp
 

JimVonBaden

Well-known member
Joined
Dec 2, 2011
Messages
15,716
Location
Northern Virginia
Can I ask what it is with Subie owners and those Hella horns? I understand upgrading the stock Subie horns, but the IMO Hellas aren't much better. Louder, yes. To me they still sound like a scooter. I guess I just don't like the way disc horns sound. I prefer the trumpet or "snail" style sound. When I upgraded the horns in my WRX, I got PIAA Power Sport horns and then just for fun I added PIAA Superior Bass horns later. Kinda reminds me of the Caddilac quad horns from the 70's. (I put them on the Malibu :thumbup:) Having (4) horns makes for a real attention getter when you lean on it, but it's not real annnoying if you just give someone a little "beep".

Tommy

These work great on my Sky!

Rt-Installed.jpg

Parts-layed-out.jpg

In-the-box.jpg

CompleteBoth.jpg
 

gunner 6165

Active member
Joined
Sep 20, 2009
Messages
37
Location
the first state
Finally got some time in the shop, and was productive out of necessity. Changed oil, trans fluid & fuel filter in the wife's Silverado.
Changed oil, water pump, thermostats, serpentine belts, idler pulleys & tensioners on the Suburban.


DSC_3411_zps87963b46.jpg
 

holdover

Well-known member
Joined
Feb 15, 2011
Messages
750
Location
VA
right rear spring shackle bracket on 97 F250 HD 4X4 , What a pain! The graded top bolts which you use to replace the factory rivits are near impossible to reach with the frame rail and fuel tank where it is, but about 2hrs later done with a big savings over paying to have it done. Part was 33.00, quality time with my son....
 

zyx5432

Well-known member
Joined
Jan 27, 2013
Messages
133
Nice set up LOL The MALINUT sticker made me chuckle. How many folks even know what that is besides a " SKINNY GERMAN SHEPHERD" LOL :}

Cypher

Not very many, for sure. The mailman and UPS guys seem to be more aware!
 

56vette461

Well-known member
Joined
Jan 13, 2013
Messages
495
Location
Northern California
57cd8f92003e7d8389c0881349334d4d.jpg
b6aede9e756095867323008fafa7b833.jpg
56fa477cd0820965ec50e0f929a260eb.jpg
13d362b53ece30b0619b0f8113480c98.jpg


As promised yesterday I have taken some before, during and after the acid bath. I'd be interested if any of you have an explanation for the striated look on the one photo.

These are two of several old blacksmith tools. I believe the last photo is of a hammer cast in the shop and not purchased from another source.


Sent from my iPhone using Tapatalk
 
Last edited:

Nexussian

Well-known member
Joined
Mar 12, 2014
Messages
639
Location
Alaska
13d362b53ece30b0619b0f8113480c98.jpg


I'd be interested if any of you have an explanation for the striated look on the one photo.

It looks (to me) like a hammer welded and folded (forge welded) piece of steel.

I've heard it called laminated or "Damascus" just coarser (thicker) laminations.

It looks like the one end was there it was last folded in half, while the other appears bradded over.
 

JimVonBaden

Well-known member
Joined
Dec 2, 2011
Messages
15,716
Location
Northern Virginia
57cd8f92003e7d8389c0881349334d4d.jpg

b6aede9e756095867323008fafa7b833.jpg

56fa477cd0820965ec50e0f929a260eb.jpg

13d362b53ece30b0619b0f8113480c98.jpg


As promised yesterday I have taken some before, during and after the acid bath. I'd be interested if any of you have an explanation for the striated look on the one photo.

These are two of several old blacksmith tools. I believe the last photo is of a hammer cast in the shop and not purchased from another source.


Sent from my iPhone using Tapatalk
Next time hit return between your photos. Scrolling sideways is a pain.

Pretty cool tools!
 
To avoid these ads, REGISTER NOW!

ultgar

Well-known member
Joined
Jan 11, 2005
Messages
1,119
Location
New Jersey
Nice! Looks like a better starting point than what I have. And I hope your progress is faster than mine. I have had mine since Nov 05. I should be ashamed. Actually I am. This is a pic from the e-Bay listing I bought it from.

untitled.png


It is first on my list when I finish house remodeling and add on to the shop. See how things you want to do get pushed back for things you need to do?

Again, I hope you can get started on it soon, if you haven't already.

In my garage, I did some cutting and welding, and made some sawdust. I also used a grand total of 4 pop rivets on a small project. But I spent more time finding the right size and length than drilling the holes and "popping" the rivets. So I organized ALL the rivets and the tool into a HF storage case.

P1060227.jpg


P1060225.jpg

Handwritten labels for use during organizing. Will replace with PTouch labels. "A" is for aluminium, "S" for steel, "SS" for stainless steel. As you can see, now I have to buy more rivets to fill in missing sizes. One of which I could have used on today's (now yesterday's) project.
-jp

You can buy a triple size yellow box online for your Stanley case to hold the riveter (see below)...
triplebox.jpg
 

k-os

Well-known member
Joined
Dec 29, 2012
Messages
995
Location
WI
Got the first layer of latex on the North wall tonight.


Also got a coat of Kilz on the East wall. Latex will be going up tomorrow night.
 

JimVonBaden

Well-known member
Joined
Dec 2, 2011
Messages
15,716
Location
Northern Virginia
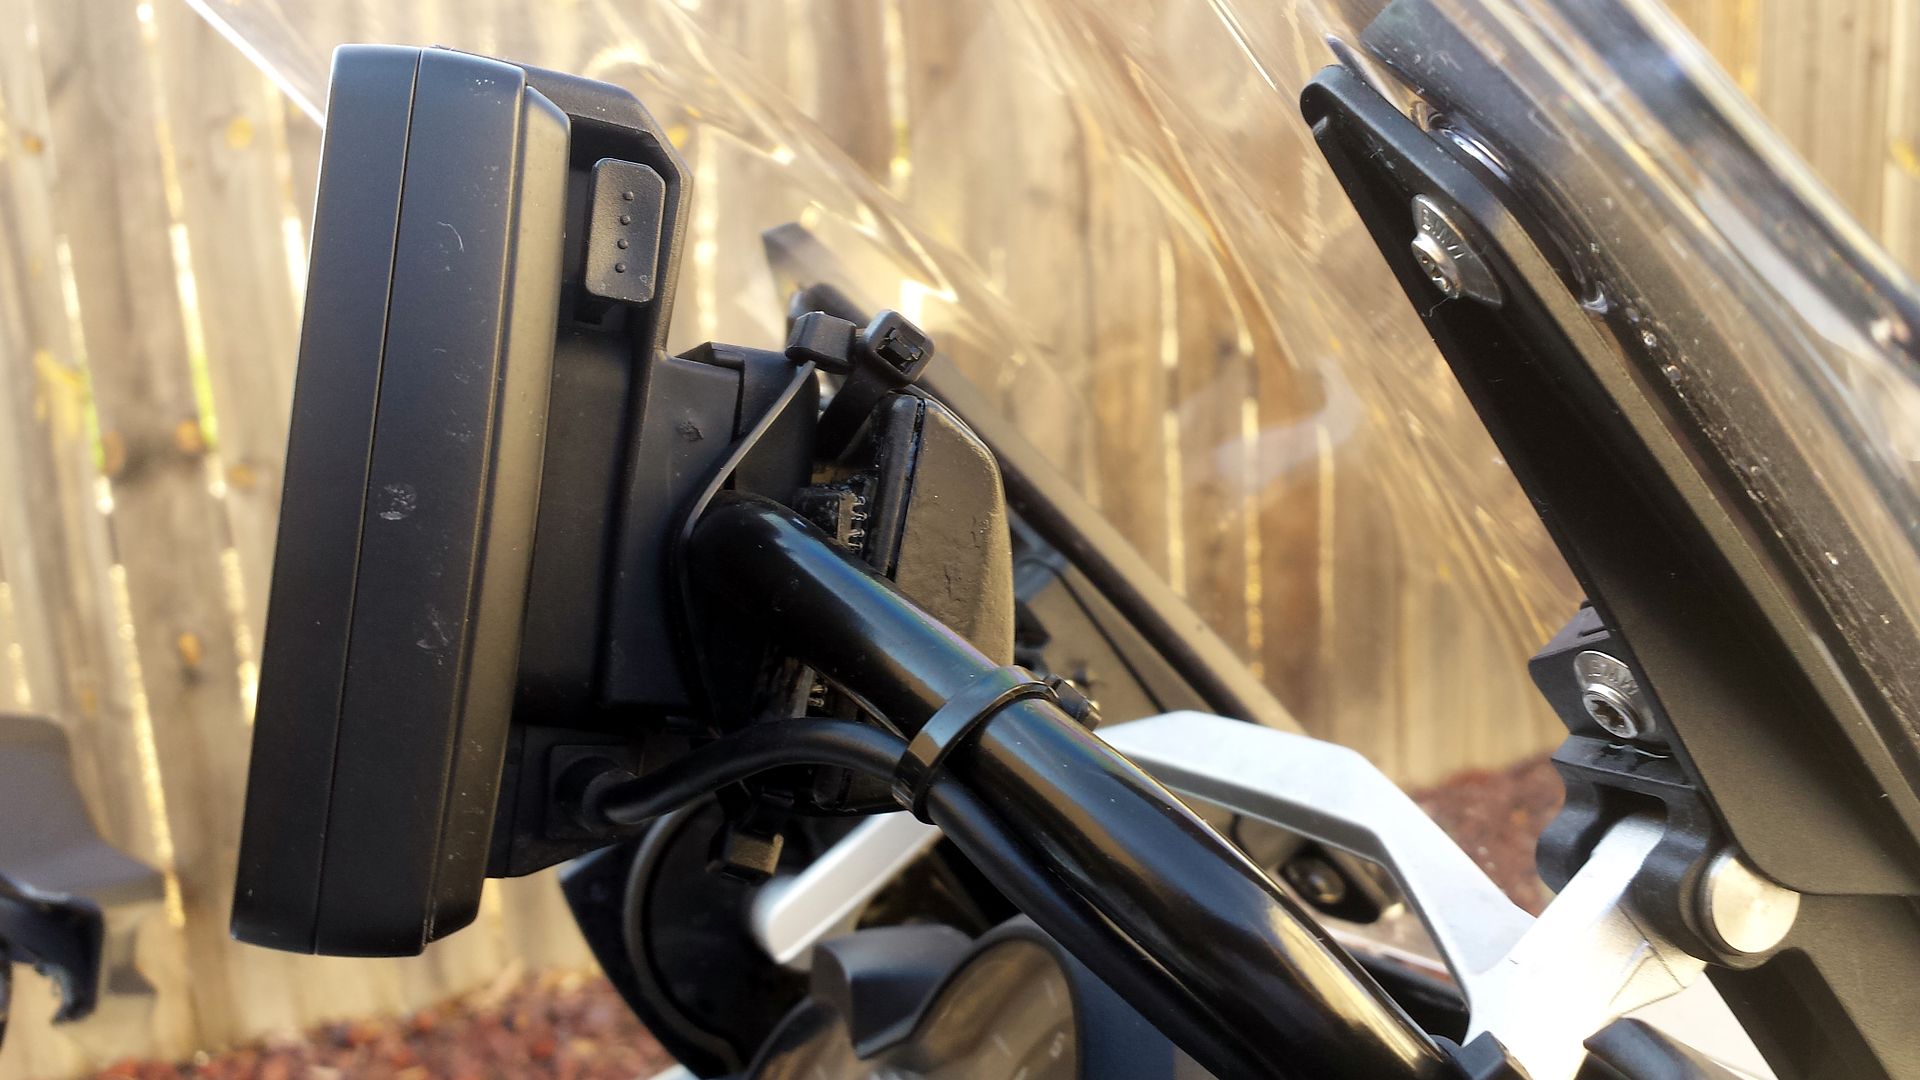
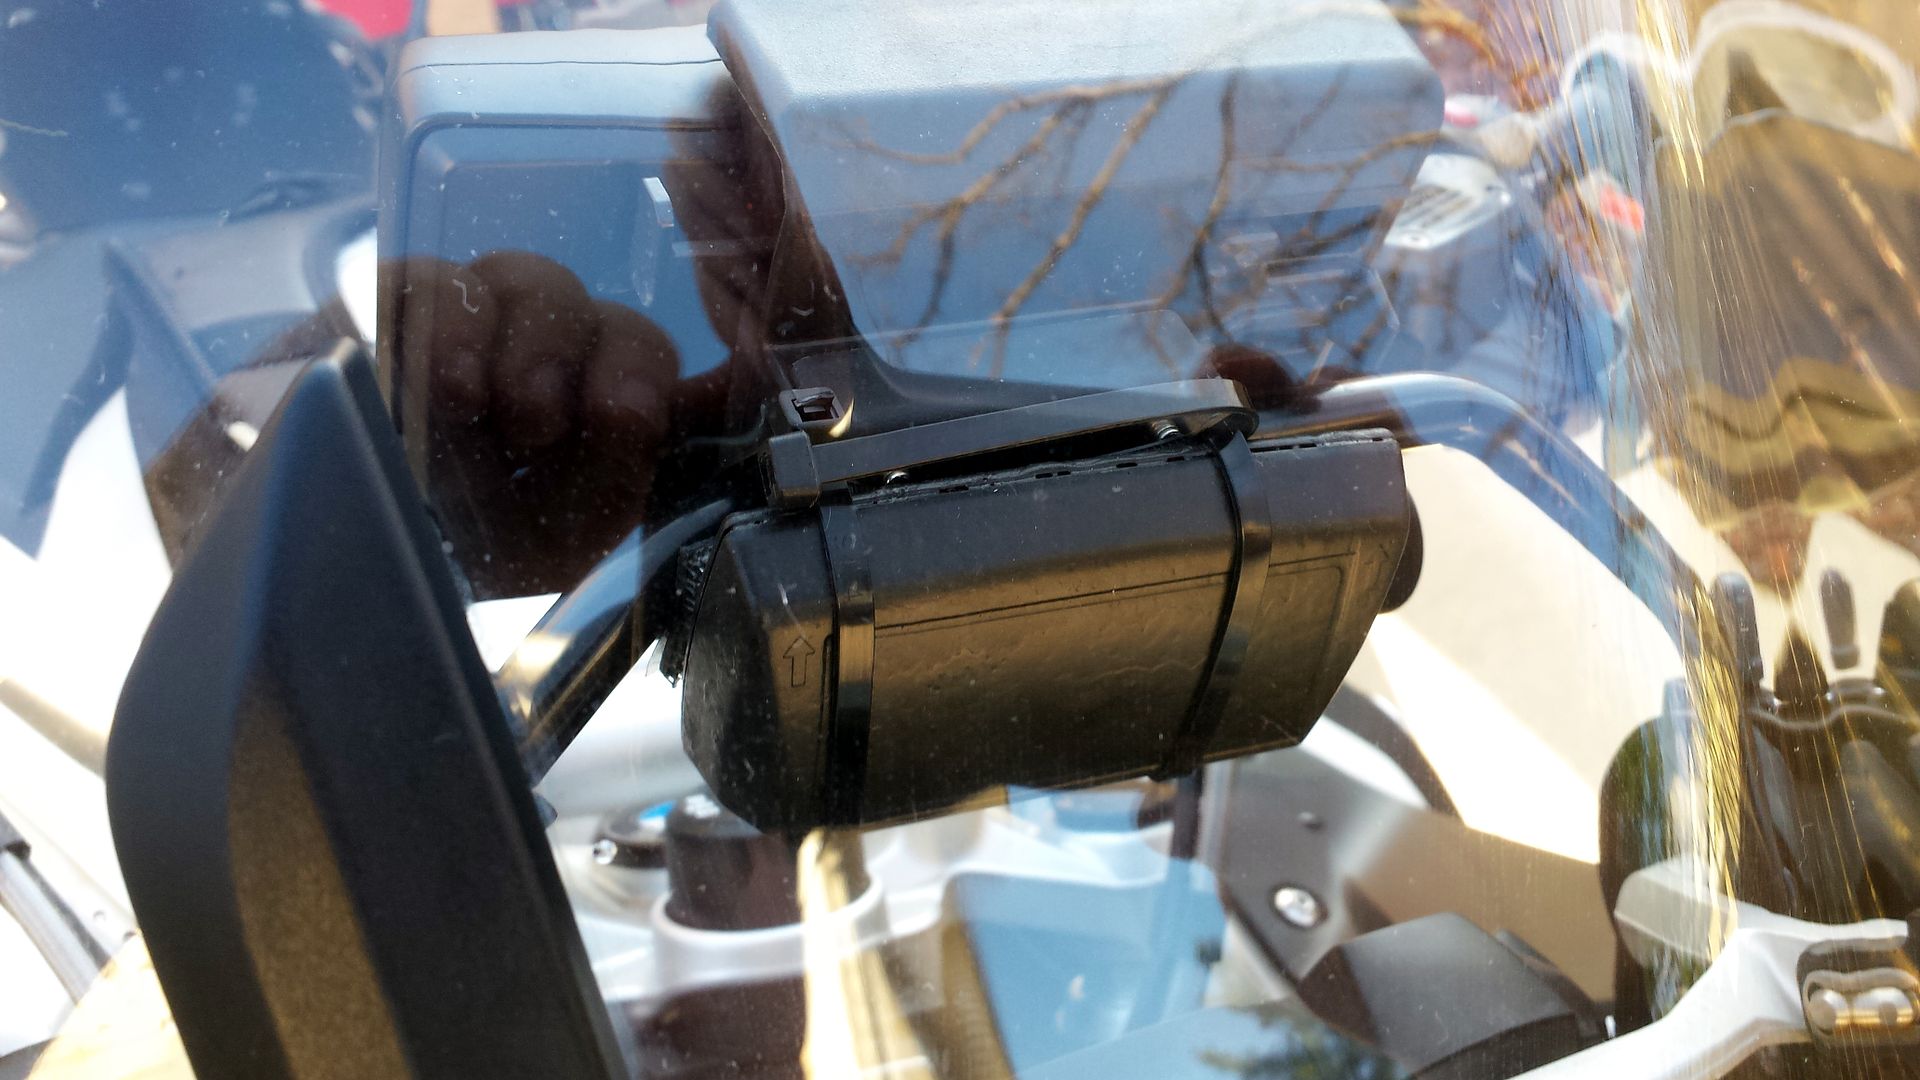
Plastidipped and installed, temporarily, and EZPass on a GSAw.

EZ%20Pass%203.jpg

EZ%20Pass%202.jpg

EZ%20Pass%201.jpg


I left the super Velcro on, for now, because I am not sure if I will use it after I make a permanent mount!
 

Kev442

Well-known member
Joined
Jan 15, 2009
Messages
5,386
Location
Wi
Got the first layer of latex on the North wall tonight.


Also got a coat of Kilz on the East wall. Latex will be going up tomorrow night.

You are really zeroed in on getting this done, Congrats!
 

k-os

Well-known member
Joined
Dec 29, 2012
Messages
995
Location
WI
You are really zeroed in on getting this done, Congrats!


Yeah my plan is to not do too much work inside the garage until I have it all painted. Figured it would be good motivation to get it done.


Sent from my iPhone using Tapatalk
 

TheOtherChris

Well-known member
Joined
Sep 15, 2013
Messages
226
Location
SE Idaho

Picked up the rest of the parts cases to fill the rack. Now I have to gather all the fasteners, connectors and other **** from around the garage and organize it. It sure will be nice to have it all in one (mobile) location though.
I also need to decide what to do with the top area.
 

wyo george

Well-known member
Joined
Jul 24, 2014
Messages
933
Location
Wyoming, USA

Picked up the rest of the parts cases to fill the rack. Now I have to gather all the fasteners, connectors and other **** from around the garage and organize it. It sure will be nice to have it all in one (mobile) location though.
I also need to decide what to do with the top area.


Holy cow, that's a lot of cases! How do they mount in the shelving unit? If you posted info on the system already I missed it.


Sent from my iPhone using Tapatalk
 

TheOtherChris

Well-known member
Joined
Sep 15, 2013
Messages
226
Location
SE Idaho


Steel angle (20ga) welded to 1" tubing bolted to each side of the tower.
The unit is deep enough that you can use both sides so it holds DOUBLE what you see. Total of 28 of the shallow cases and 10 of the deeper ones.
 
Last edited:

Kev442

Well-known member
Joined
Jan 15, 2009
Messages
5,386
Location
Wi
Our first 60+ degree day of the year, used it in the garage with the door open, Yay!
First I cleaned up and used the blowgun to clean the floor, sweeping can never equal air for getting all the nooks and crannys clean. First vehicle was actually done on the side of the garage because it's going to sit. Pulled the alternator to get tested. Either it's bad or the PCM. Got to use my new serpentine belt tool kit, man was that nice.
Got it done 20 minutes before the rain started.
Next up, an oil change in the little car, just about 4k on it.
Pulled it out and put the van in to drip dry abit and called it lunch.

With it up on the rhino ramps, it got an oil change and the front stabilizer bushings. Got to use my reaction less 3/8 air ratchet for the first time, very nice, saved me a bunch of time. Van still has front end noises, so I pulled the front wheels and could not find anything wrong with the ball joints or tie rod ends, so I will try the stabilizer ends next. Cleaned all the crust off the brake rotors while I was in there.
Last thing on the list was to lube the garage door everywhere, it was binding and auto reversing on its own.


I also used my fairly new 3/8 long ratchet today several times. All the tools I mentioned were picked up over the winter and some of them were those hot deals you all are trying to bankrupt me with.....

Happy spring, finally!
 

JasonJ

Well-known member
Joined
Aug 4, 2006
Messages
424
Location
Las Vegas
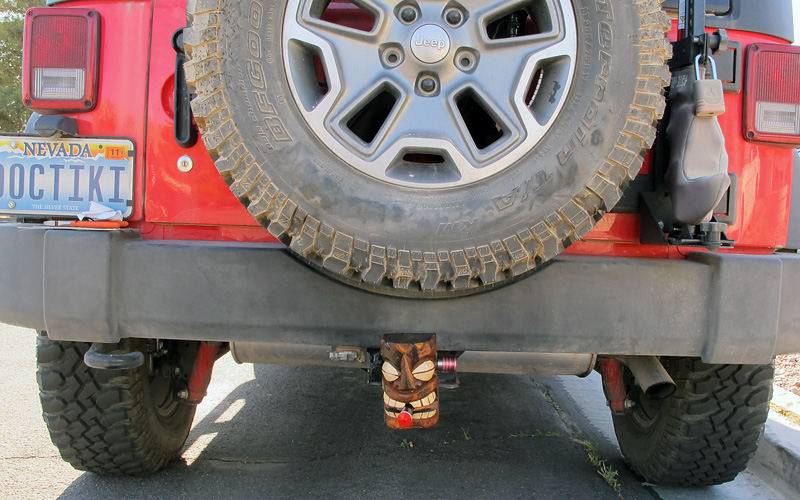
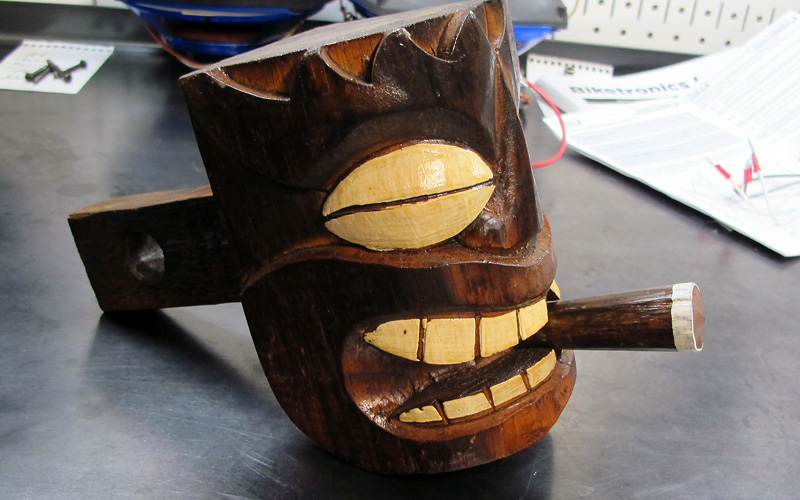
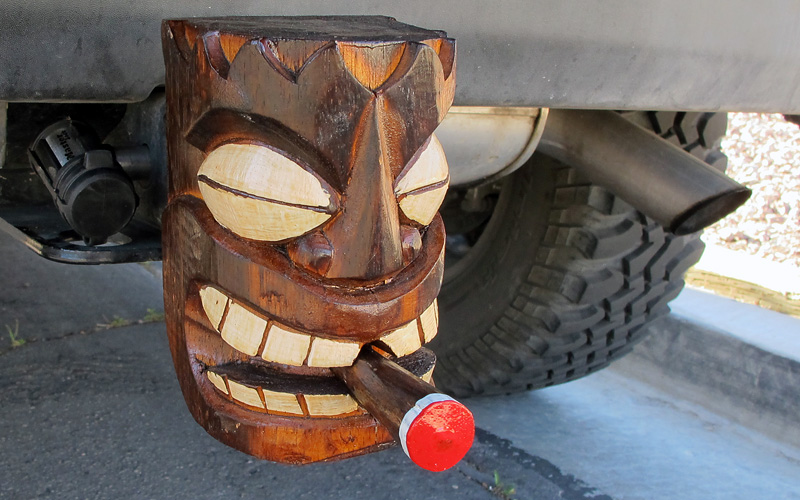
Got a new hitch cover off of eBay. :) The cigar was a little loose so I took it off and JB Weleded it back in place.
20150403012030-433d87b2.jpg


Painted the end of the cigar red and mounted it up.
20150403012031-eba4f4b2.jpg


20150403012032-82fd513f.jpg
 

Guster

Well-known member
Joined
Mar 11, 2012
Messages
1,543
Location
Auckland, New Zealand
Got this ugly little thing a few months ago.
12607531733_6c5033c278.jpg

Bit of cleaning, a little more cleaning. Then had to do some cleaning. Sourced a new motor. Made a new swarf tray. Got some bearings and a drive belt. Then started the real cleaning and painting. Last weekend I got into some major reassembly and started repairing a few bits. Currently sorting out the motor mount and wiring. Magnetic contactor on the side and a reverse tumbler on the motor.
Starting to look like progress and the workshop is starting to look tidier too.
16828990088_4c35286483_z.jpg
 

Nexussian

Well-known member
Joined
Mar 12, 2014
Messages
639
Location
Alaska
Got this ugly little thing a few months ago.
12607531733_6c5033c278.jpg

Bit of cleaning, a little more cleaning. Then had to do some cleaning. Sourced a new motor. Made a new swarf tray. Got some bearings and a drive belt. Then started the real cleaning and painting. Last weekend I got into some major reassembly and started repairing a few bits. Currently sorting out the motor mount and wiring. Magnetic contactor on the side and a reverse tumbler on the motor.
Starting to look like progress and the workshop is starting to look tidier too.
16828990088_4c35286483_z.jpg

Horizontal mill?

I know very little about them, what were you planning on using it for?
 

ADSR

Well-known member
Joined
Jan 12, 2013
Messages
10,713

Picked up the rest of the parts cases to fill the rack. Now I have to gather all the fasteners, connectors and other **** from around the garage and organize it. It sure will be nice to have it all in one (mobile) location though.
I also need to decide what to do with the top area.

That's awesome! Nice work, bud!:beer:
 

Guster

Well-known member
Joined
Mar 11, 2012
Messages
1,543
Location
Auckland, New Zealand
Horizontal mill?

I know very little about them, what were you planning on using it for?

Yup. Old fella too. Tom Senior M1 circa 1945'ish according to the serial number on it.

Removing large amounts of metal efficiently. :lol: I have a vertical mill but have a few jobs where a small horisontal mill would excel without upgrading to a larger mill. I have a self imposed ~500kg limitation on machinery, single phase power supply and limited space. This machine was cheap and fits in well.
First job will be making some QCTP tool holder for my lathe.
 
Last edited:

JimVonBaden

Well-known member
Joined
Dec 2, 2011
Messages
15,716
Location
Northern Virginia
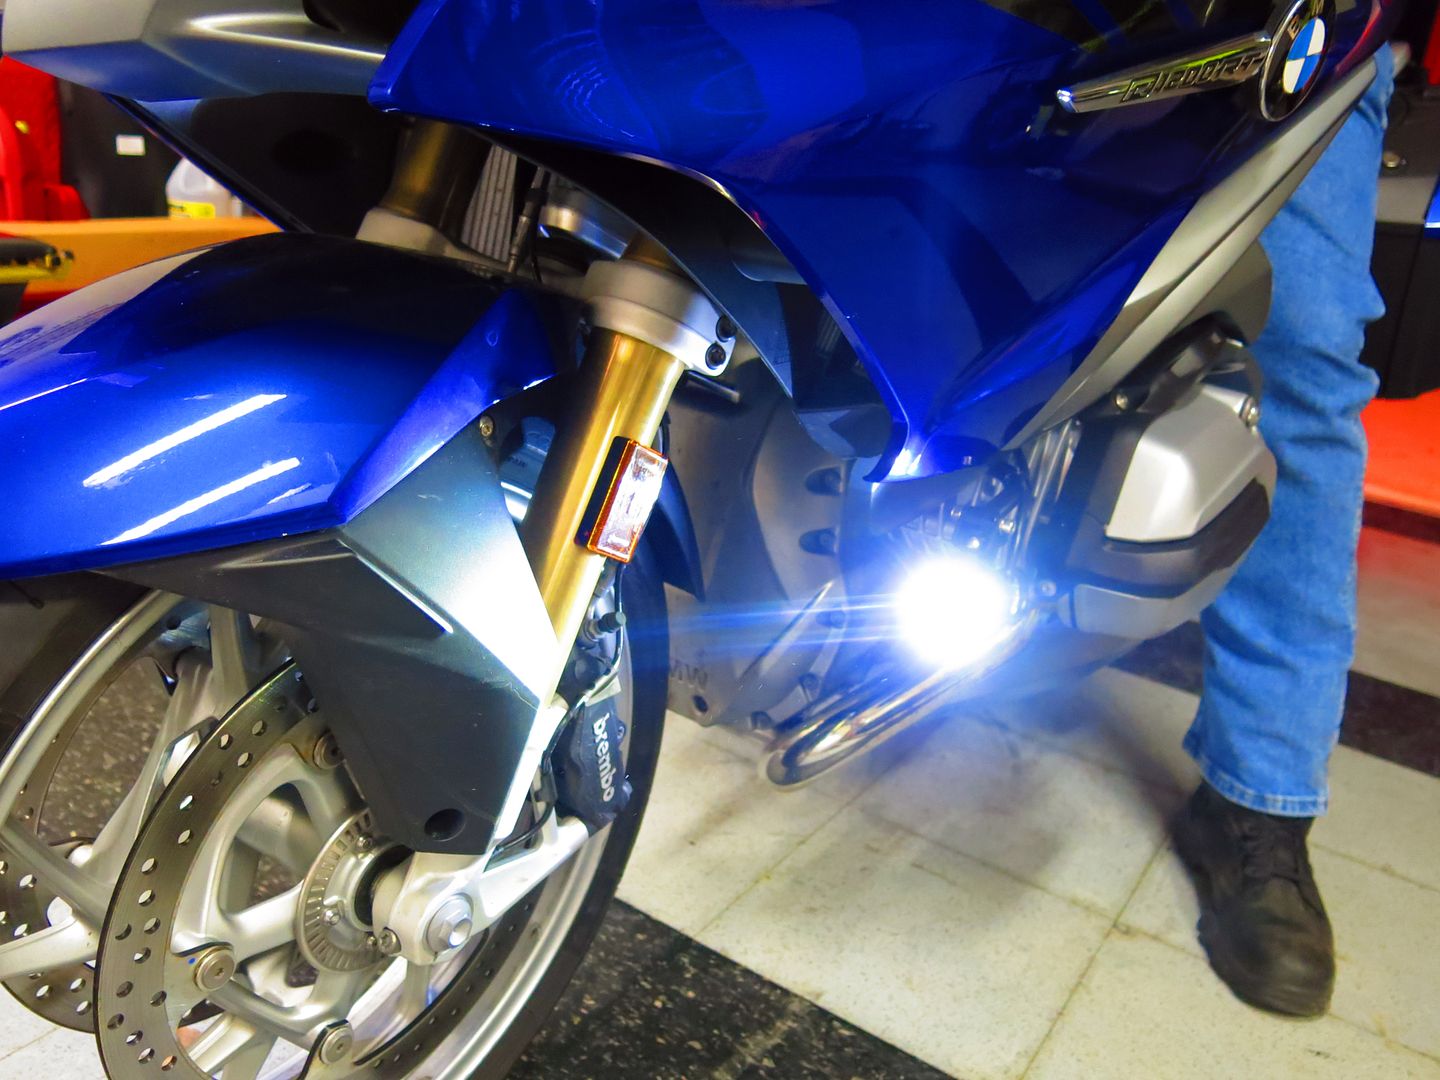
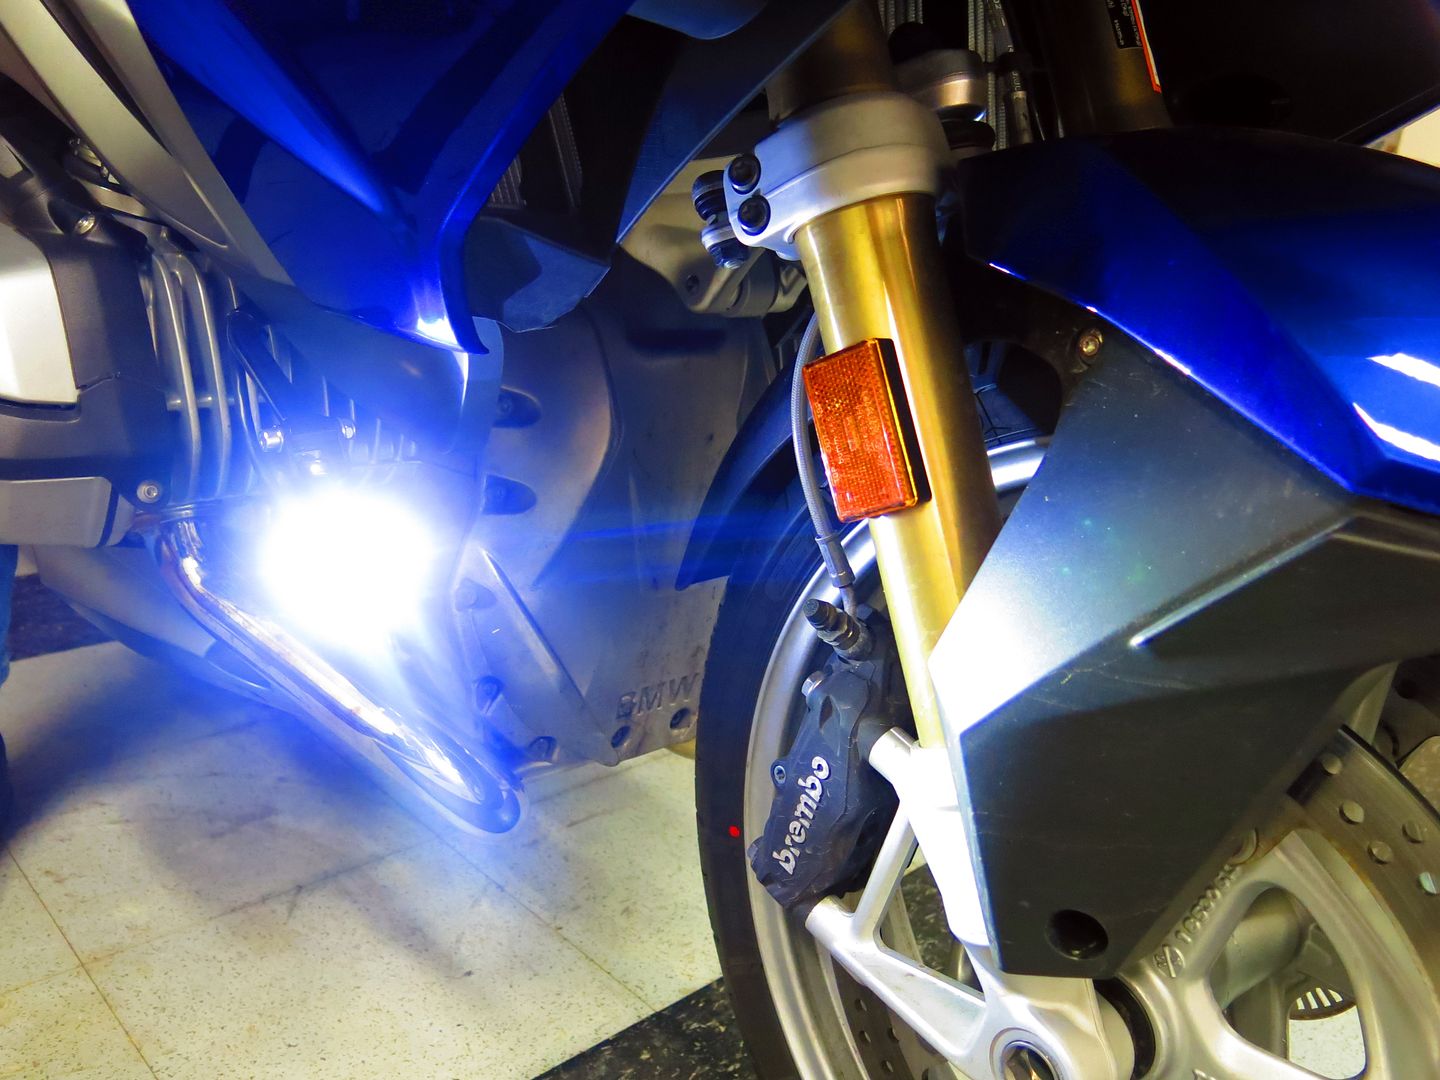
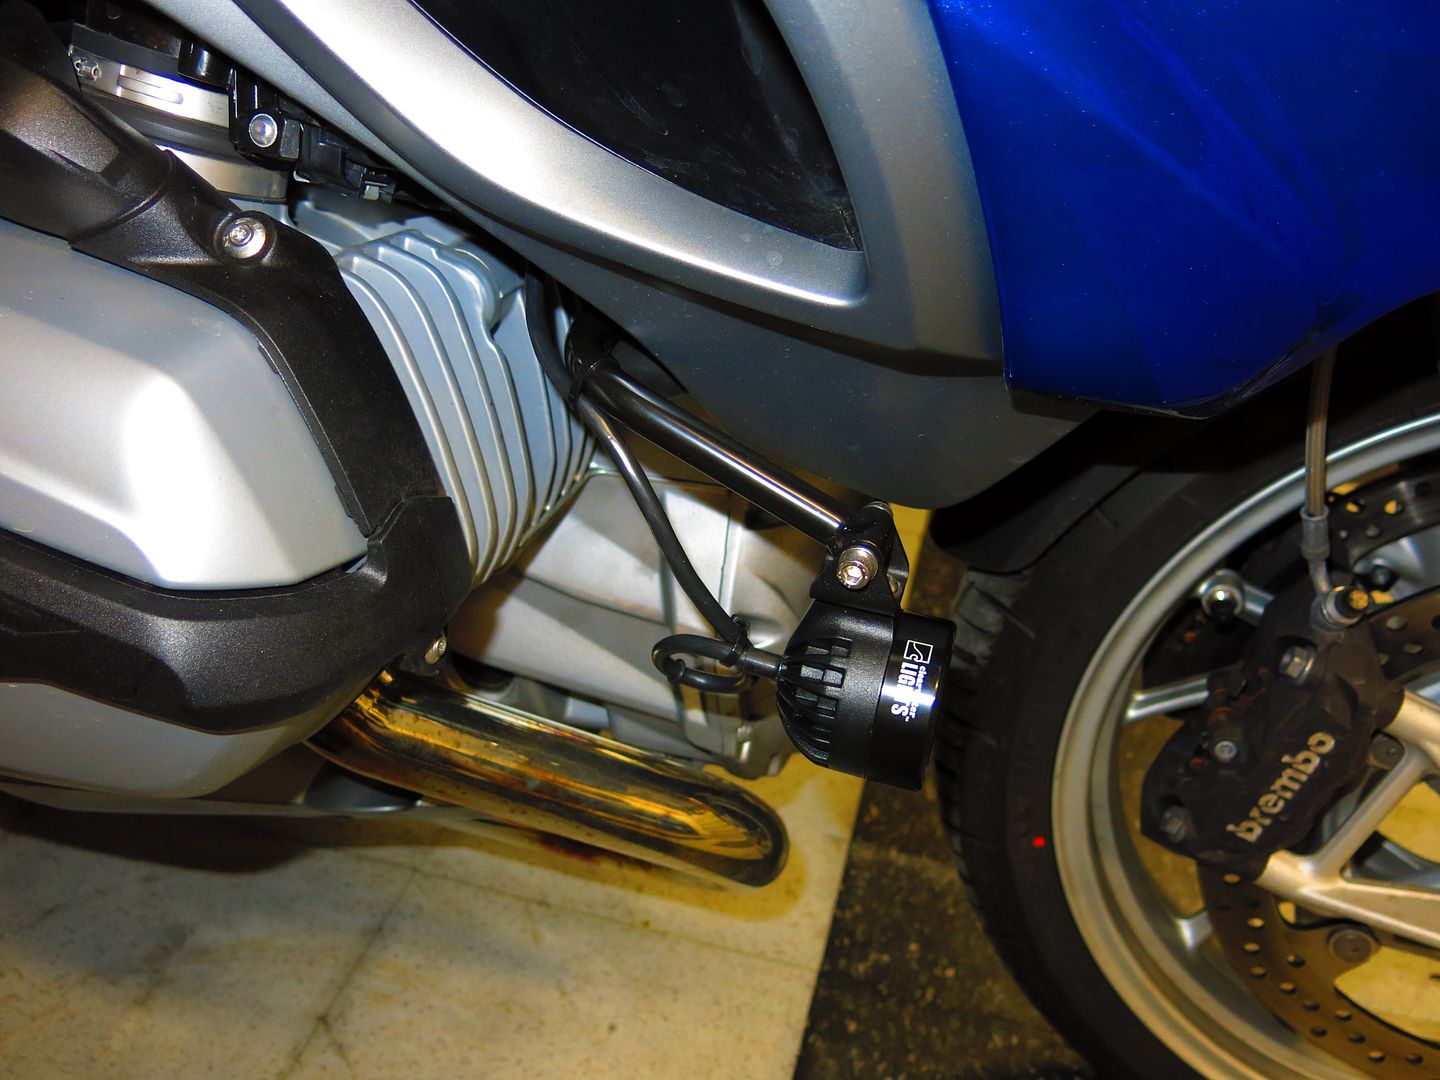
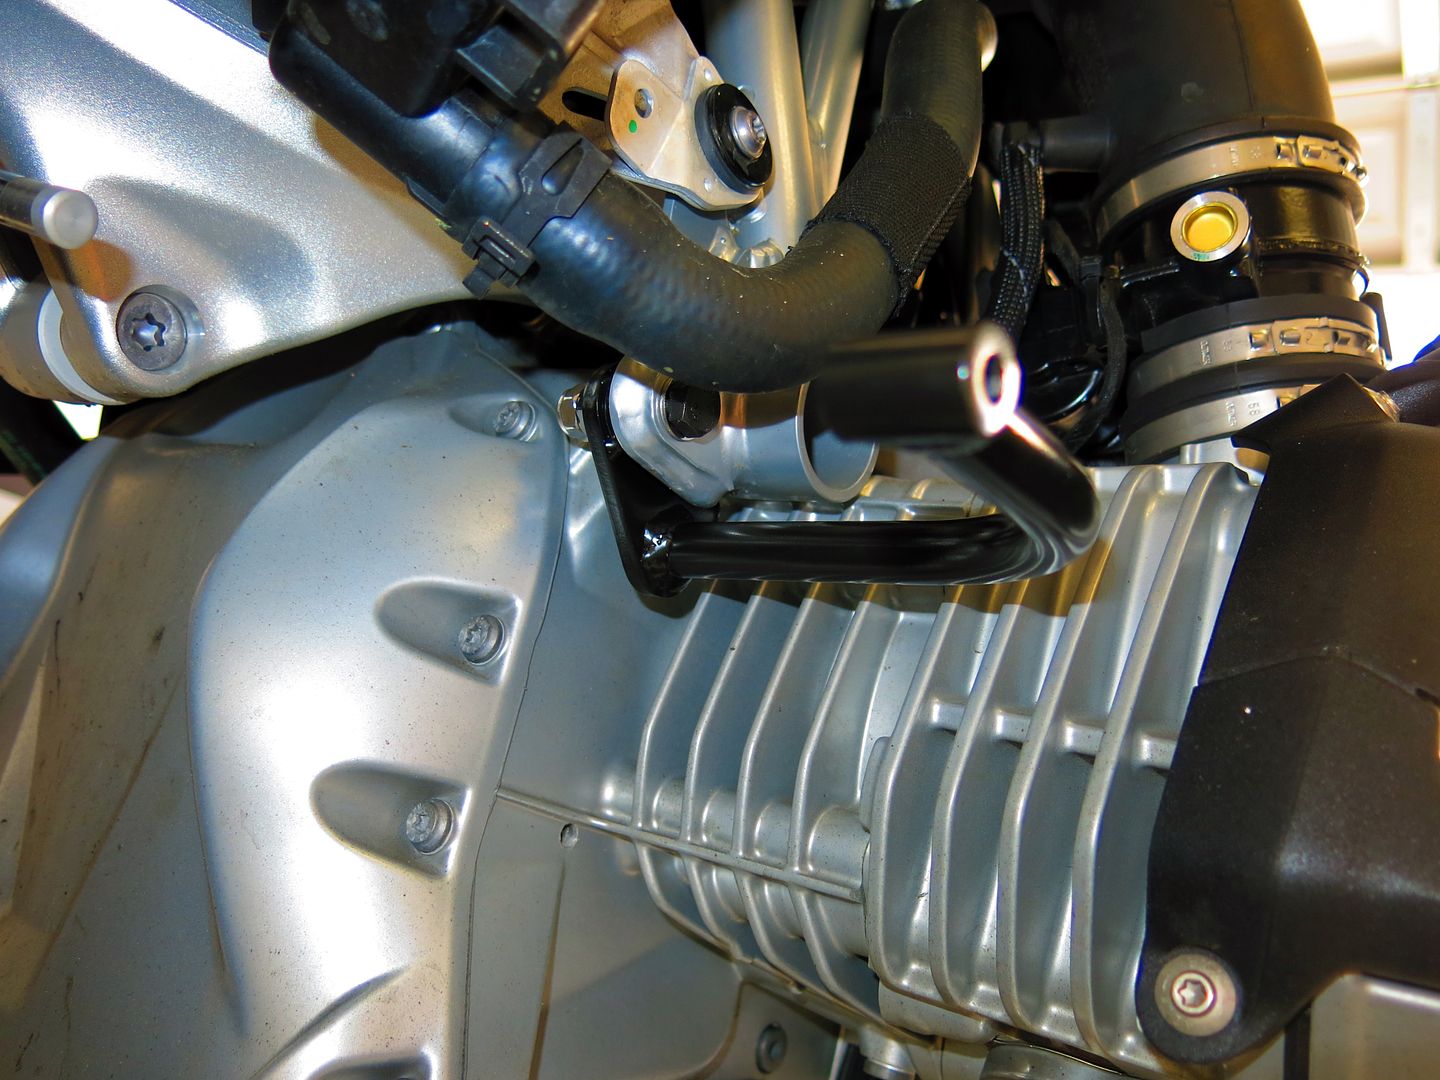
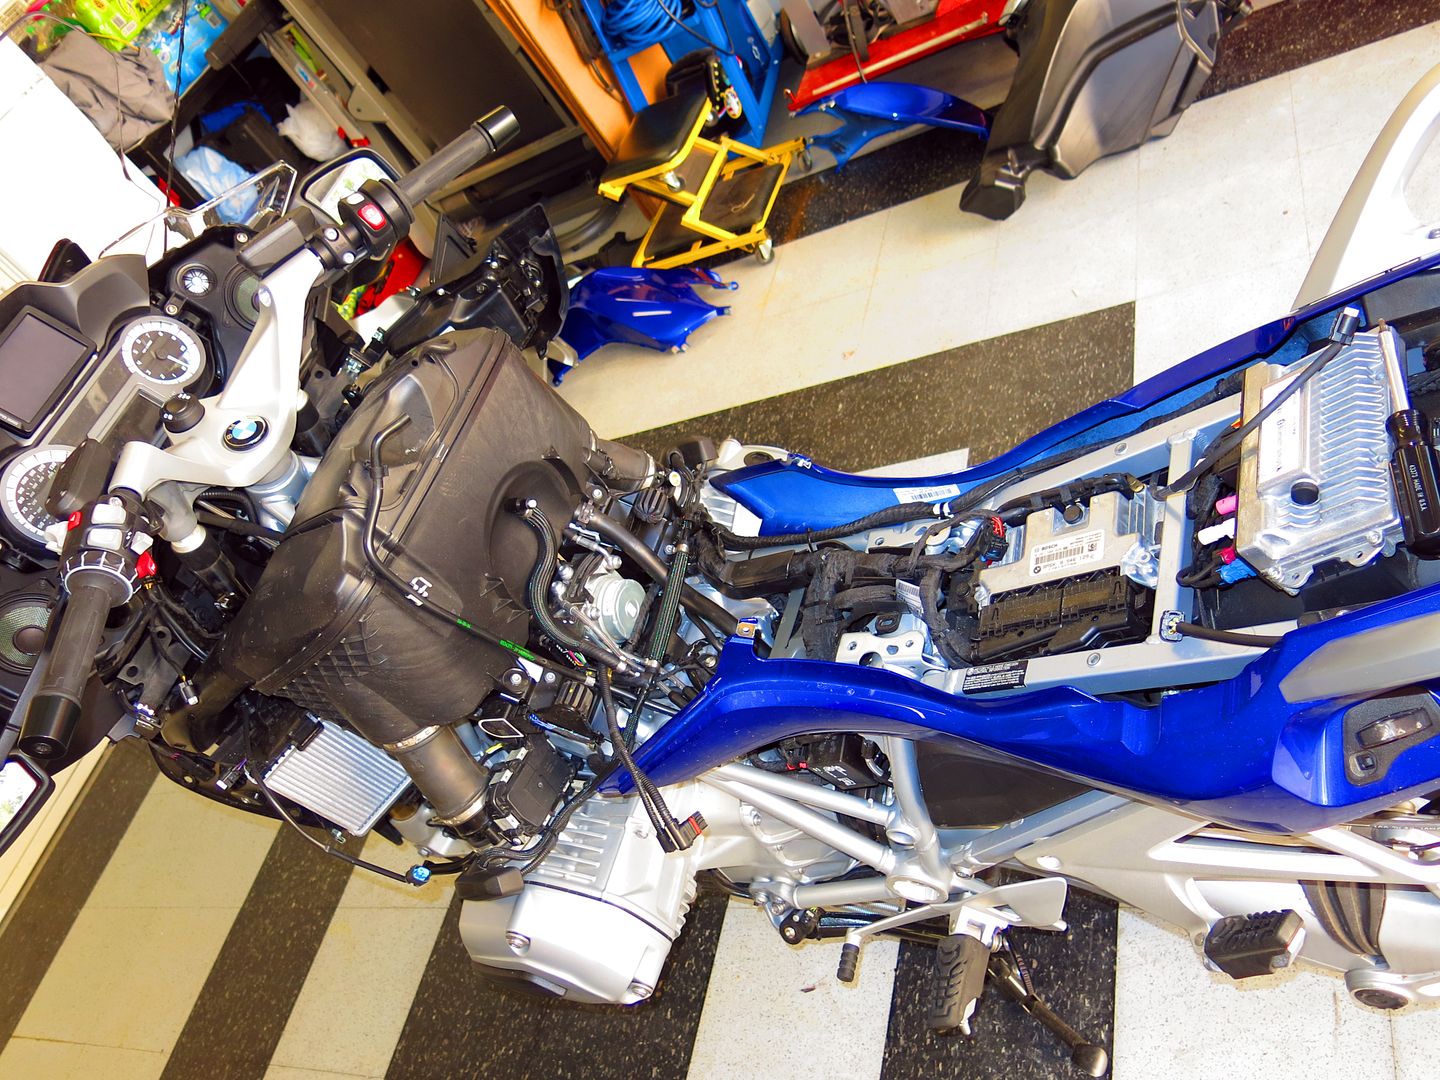
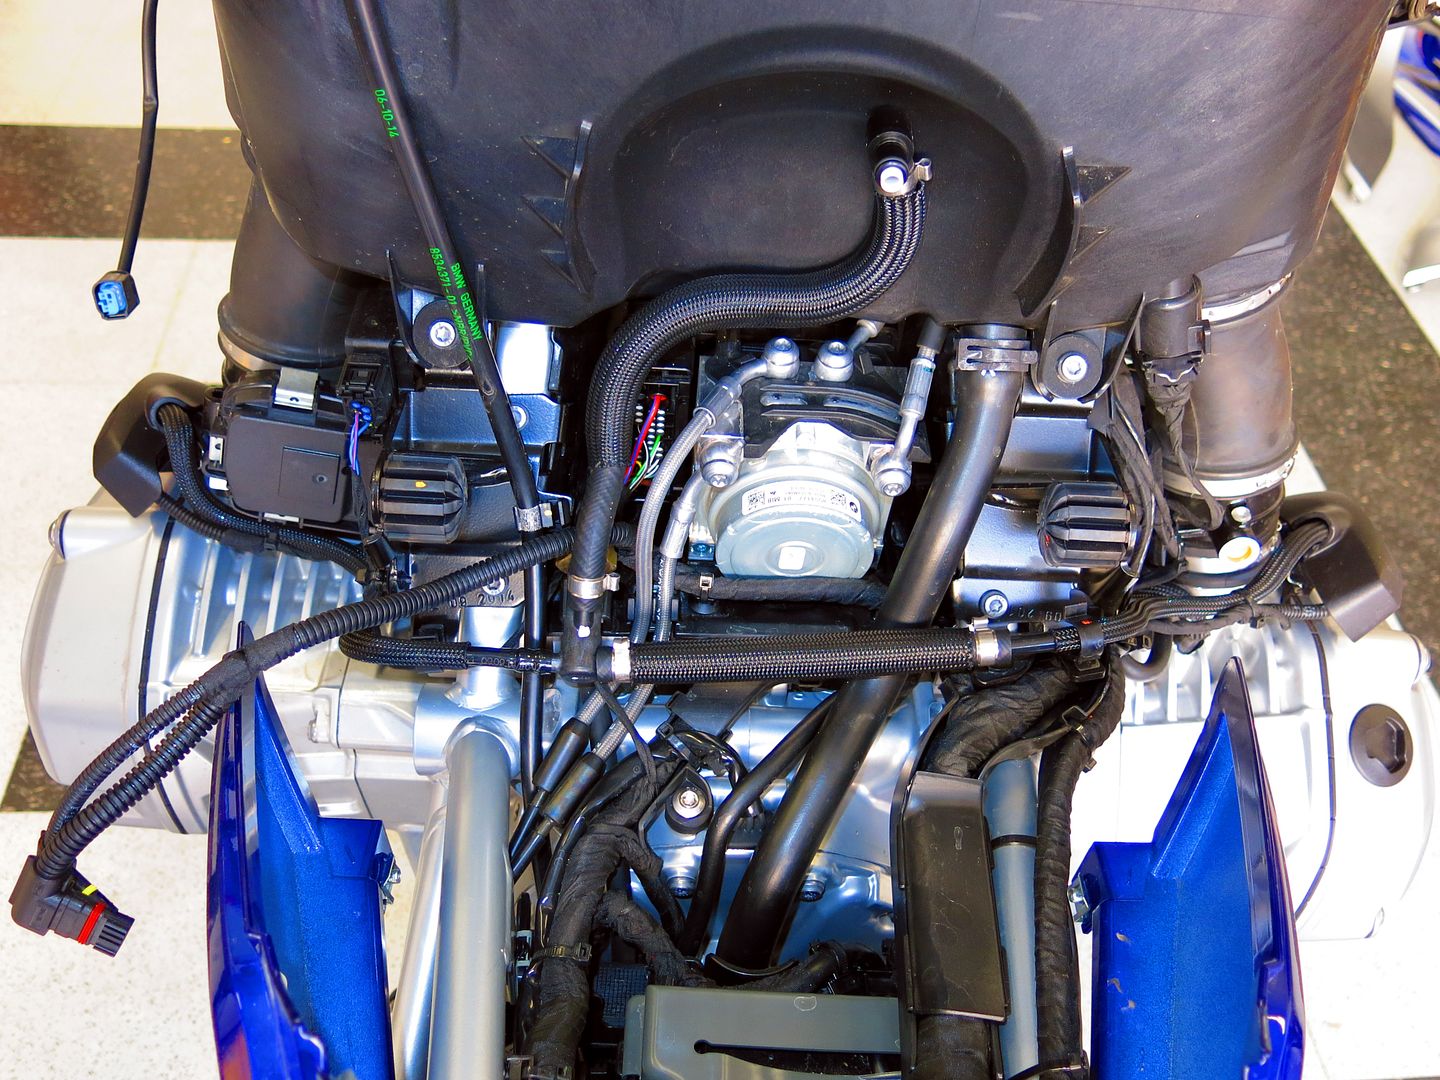
Helped to add Clearwater Darlas on BMW mounts, and a Billie brake light and Stebel horn.

Hopefully the Kermit will post a few photos. It was late and he needed to go.

Darla%20Stebel%204.jpg

Darla%20Stebel%205.jpg

Darla%20Stebel%207.jpg

Darla%20Stebel%208.jpg

Darla%20Stebel%209.jpg

Darla%20Stebel%2010.jpg
 
To avoid these ads, REGISTER NOW!
Top Bottom