OP
porschedude996TT
Well-known member
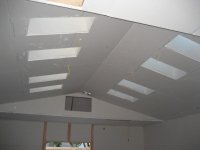
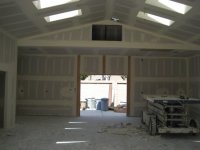
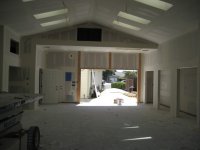
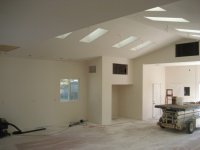
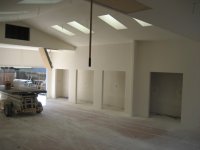
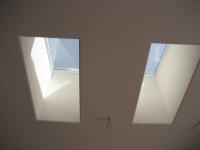
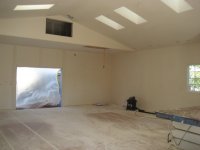
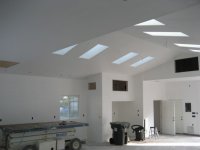
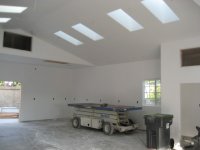
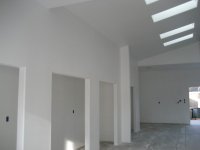
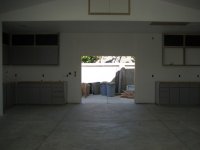
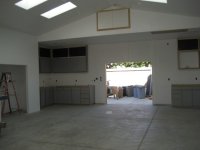
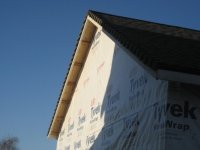
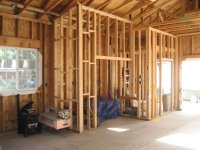
The roof went on this weekend and the electrical is about 80-90% on the rough-in. I set the eight skylights and 30# felt. Had a young relative-in-law and his brother nail the roof down. Thank God for youth...
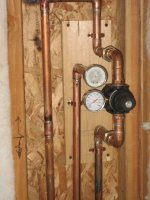
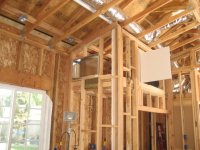
The plumbing rough-in is done and tested. Let me explain the need for the wall mounted toilet. My existing 3" drain line was at the end of the run and the top of the pipe was only 6" under the soil. To install a toilet in the shop needed to either put in a closet carrier (see picture) or a basement lift system. I really didn't want to depend on electrical power to flush the toilet and at some point the lift pump will fail and would rather not deal with leftover food...
There is finished concrete all the way around the house and the line runs to the street under the house. The standard toilet needs about 15-1/2" to the top of the drain pipe to incorporate a Sanitary Tee, a 90 degree sweep, and a toilet flange to the slab level of the floor. I didn't want a raised floor restroom either. So there was a few hundred dollars to overcome the problem with the closet carrier and the wall mount toilet.
What's next?
Exterior Lighting
Air piping in walls, 1 or 2 reg panels, 5 or 6 drops with QD's
Vacuum piping in walls
Exhaust System with damper to vent shop
Water to restroom
Alarm System
Doors
Interior closets
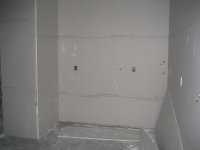
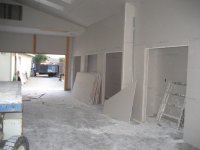
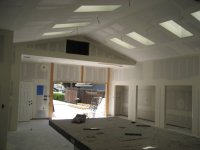
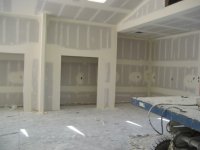
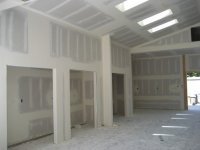
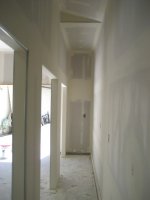
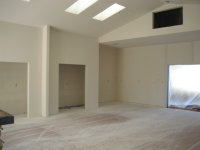
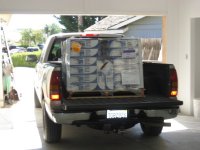
Drywall
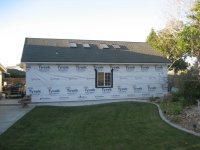
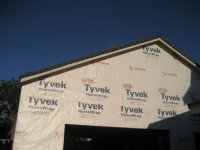
Siding
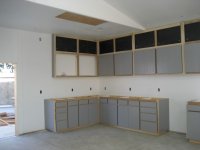
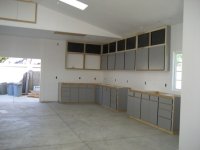
Cabinets and benches
The plumbing rough-in is done and tested. Let me explain the need for the wall mounted toilet. My existing 3" drain line was at the end of the run and the top of the pipe was only 6" under the soil. To install a toilet in the shop needed to either put in a closet carrier (see picture) or a basement lift system. I really didn't want to depend on electrical power to flush the toilet and at some point the lift pump will fail and would rather not deal with leftover food...
There is finished concrete all the way around the house and the line runs to the street under the house. The standard toilet needs about 15-1/2" to the top of the drain pipe to incorporate a Sanitary Tee, a 90 degree sweep, and a toilet flange to the slab level of the floor. I didn't want a raised floor restroom either. So there was a few hundred dollars to overcome the problem with the closet carrier and the wall mount toilet.
What's next?
Exterior Lighting
Air piping in walls, 1 or 2 reg panels, 5 or 6 drops with QD's
Vacuum piping in walls
Exhaust System with damper to vent shop
Water to restroom
Alarm System
Doors
Interior closets
Drywall
Siding
Cabinets and benches


")