OP
shortykorte
Well-known member
Must be referring to Taumac
Well, you know, ah maybe, maybe not……..
Well, you know, ah maybe, maybe not……..
Last edited:


Great work on the bases Shorty.

Must be referring to Taumac
Must be referring to Taumac
Well, you know, ah maybe, maybe not……..
What I do now? If it's bad.... It was me, I was out of town, I have a alibi. LOL
Great work on that base. Tons of work.
Shorty
In my mine there 's nothing better than marking a project done
nice work
don
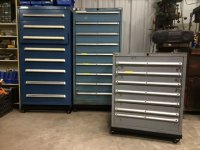
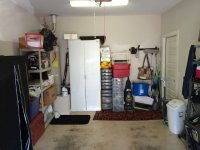
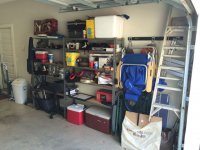
So where did the gray lockers go? They went out into the garage area along side the other two. Because these are 18" deep, they don't project out from the wall as much as the 28" deep tool cabinets. The lockers depth also match the tool boxes better.
I'm liking the symmetry of all the cabinets lined up. [emoji106] The entire area is spacing up nicely. [emoji482]
.
.
.
.
After riding the bike back home, I sure miss riding her. (Tampa - Riding the bike!)
I don't think Tampa's looking...., but you had me laughing.
Lyndon
A long way away.
WTF? Measuring the heights of the tall Lista and the Stanley, they turn out to be about 3/8' difference in height. The "feet" on the Lista is a little taller.
Oh welcome to Garage Journal where you will be shown wonderful tools and things you can't live with (the tool cabinets in this case). Oh, they don't match? Well they have to match or you will get your GJ man card suspended. ****, can't have that!

") I have to admit, two 2x4 spanning 12 feet isn't the best design so I put in a center support leg at the back of the bench and wah-la!
I have to admit, two 2x4 spanning 12 feet isn't the best design so I put in a center support leg at the back of the bench and wah-la!  Not being a battery charger guru, I'm hoping that hooking it up to the battery pack will be the cure. Being that it is an untested surplus charger, my luck won't be that good.
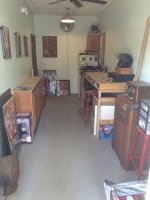
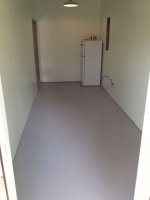
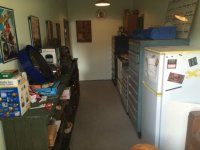
Here are more pictures of the place. This was going to be a used car lot and the owner had his loft upstairs. This is the office, the bathroom and the area where they detailed the cars. Please note how low the ceiling is in the orange area.
Here's another project which I wish I had done before now. After considerable planning and engineering, I fabbed up this outlet strip for the welding/work table. Five zip ties later, BAM! I have power for hand grinders and saws.
You wouldn't by chance of an exterior shot of that garage door with all the windows? I've never seen anything like that and it looks quite cool..
-Nigel