Dusten
Well-known member
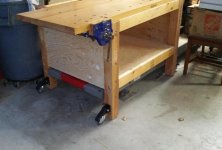
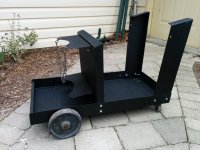
Put in my new bench, worked on my mower.


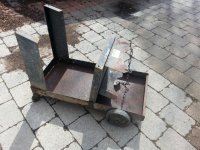
I fabricated a custom switch housing for my motorcycle


Finish Pics Kay!
:

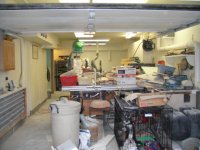
Coupla shots through the doors. As you can see it's a bit messy and dusty.
Tonight I swept, threw out and dusted with the air hose. still needs a lot more work.
The fuzzball in the second pic is Otto.


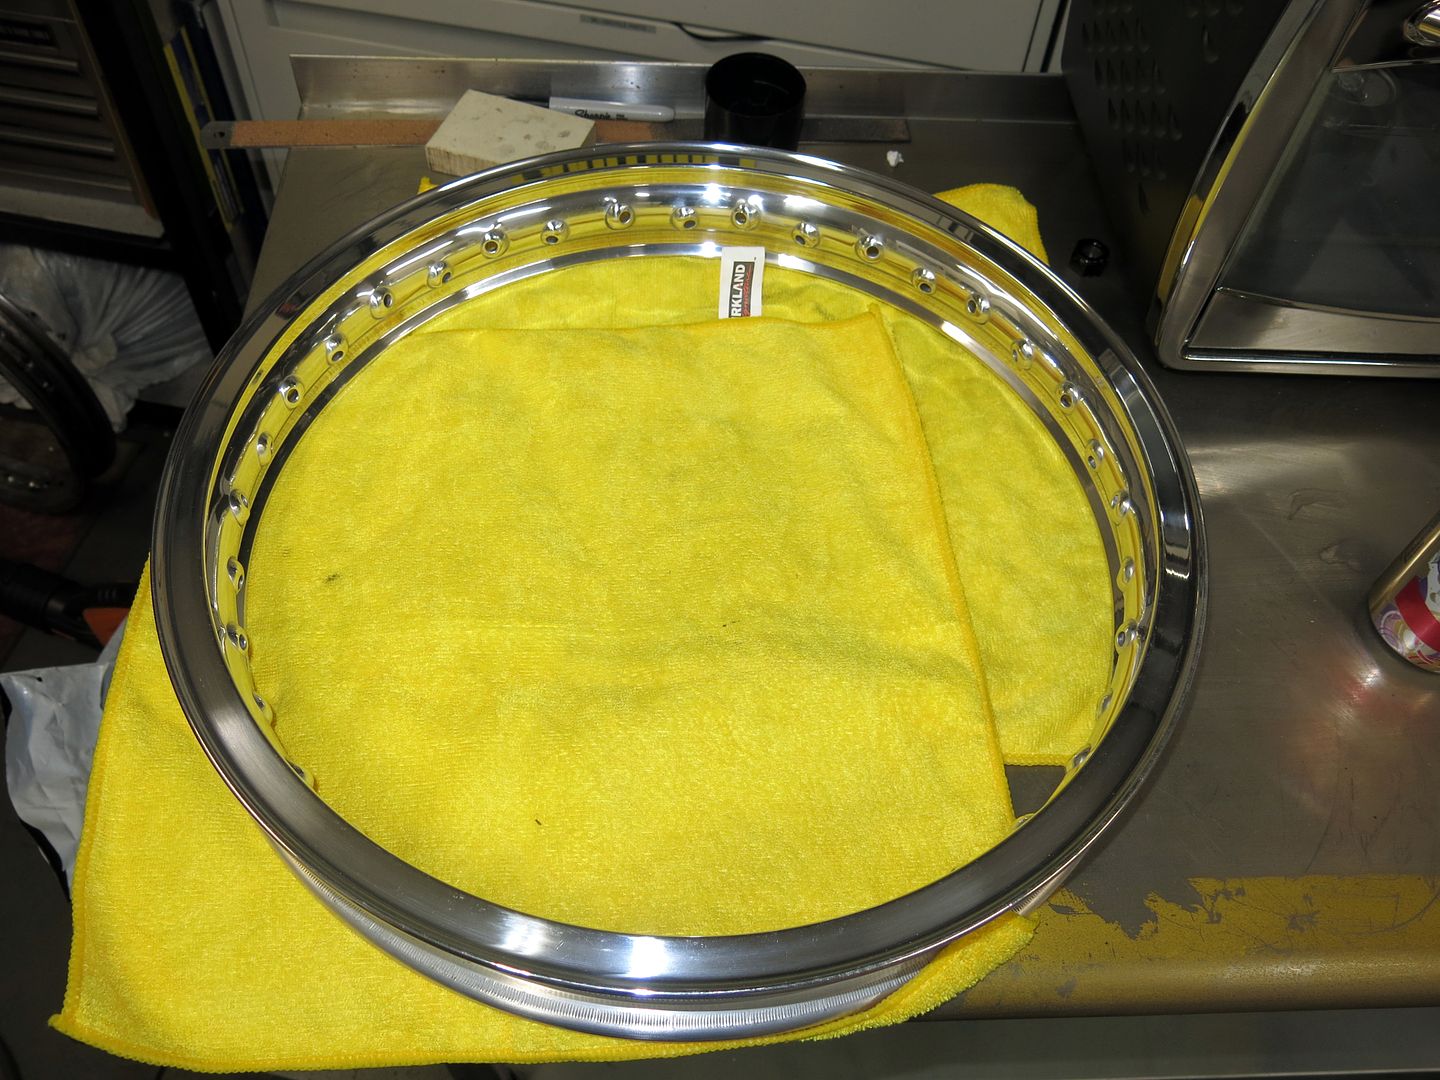
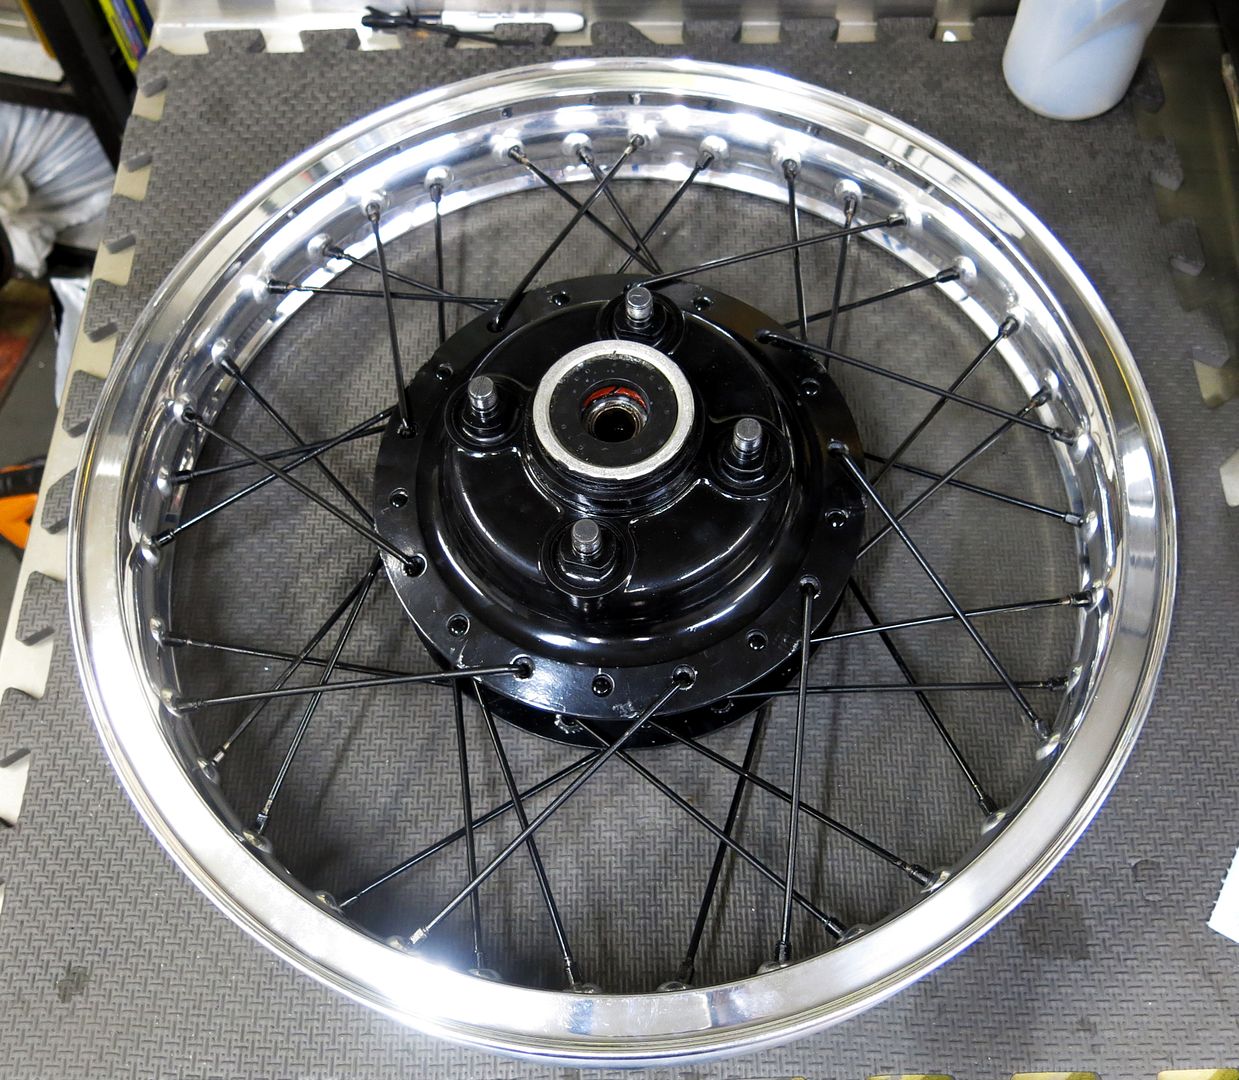
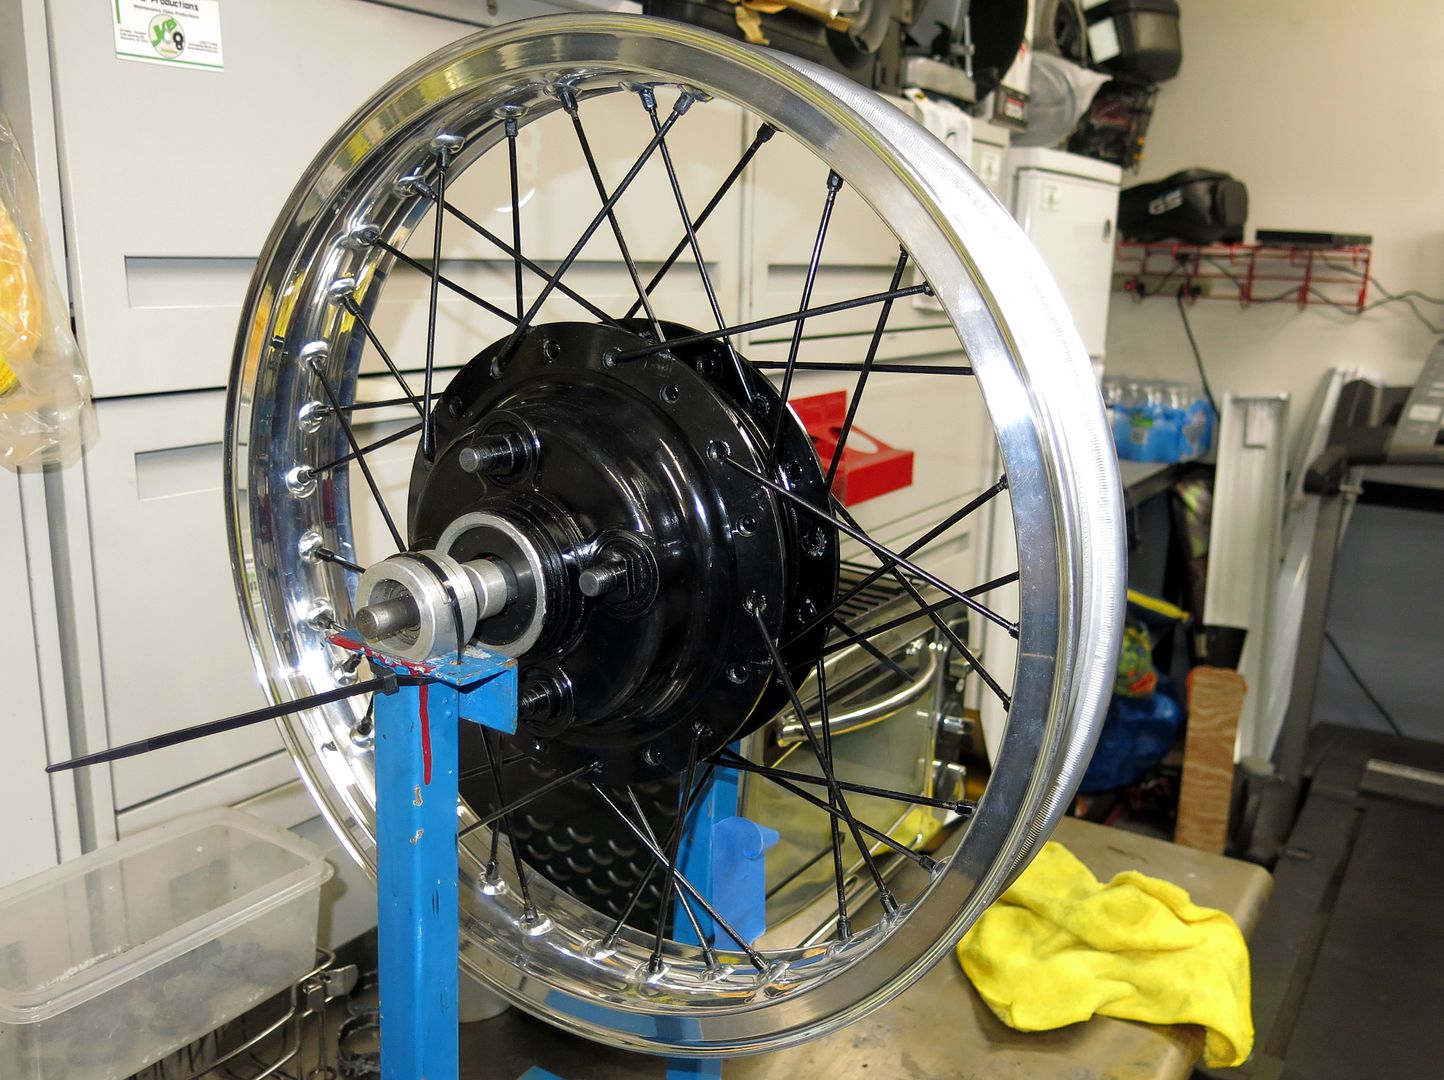
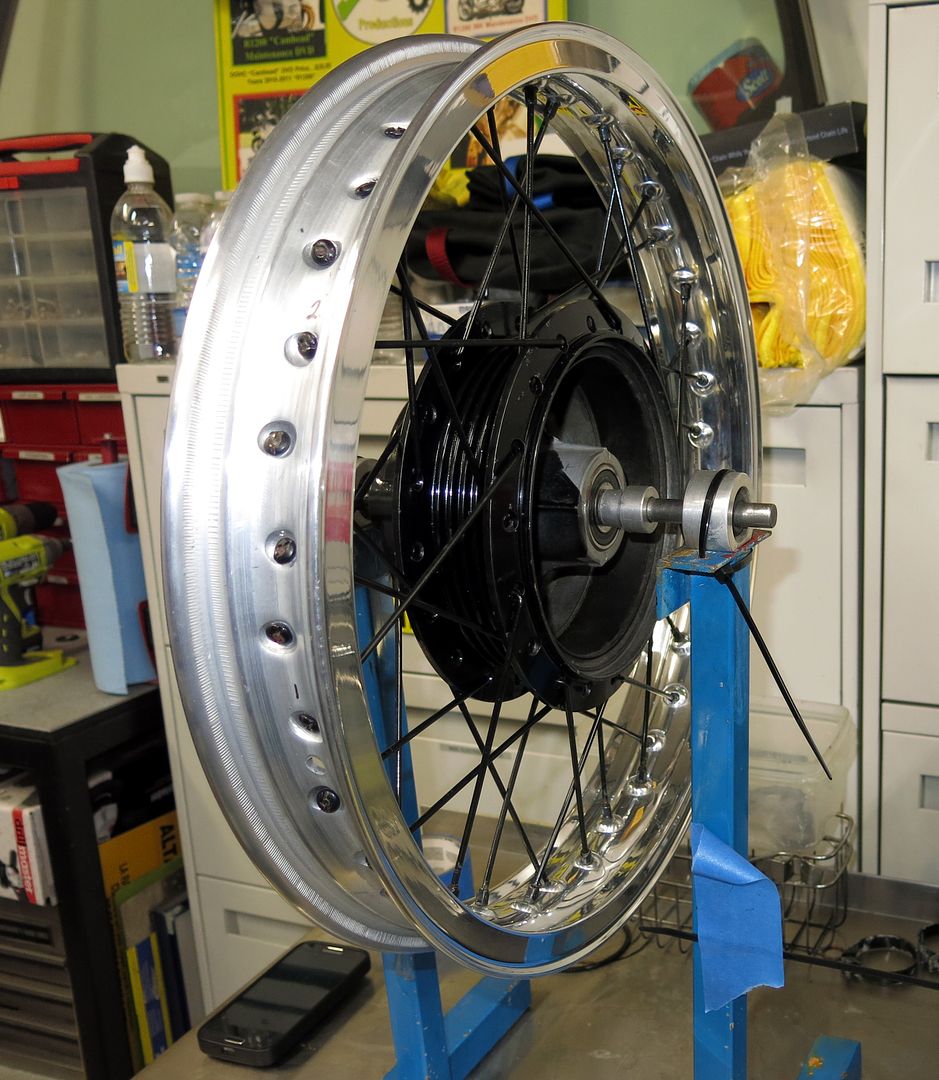
So, the new rims arrived, very quickly, so I decided to see how they would look.
Full of promise, nice and shiney!
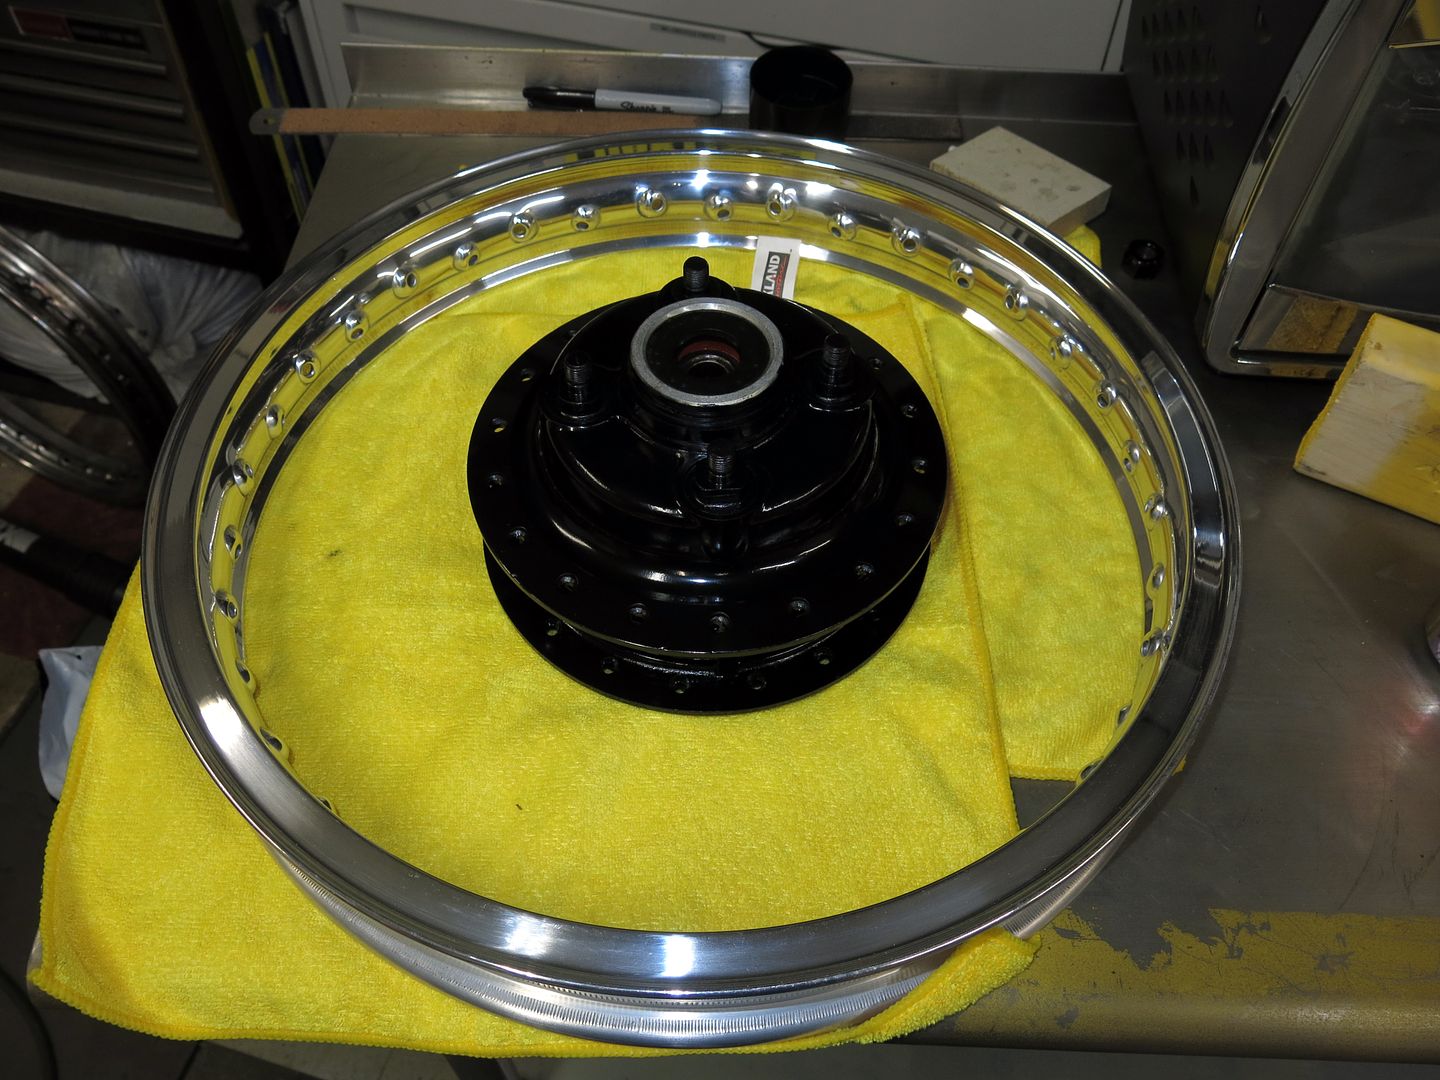
With the hub in the center.
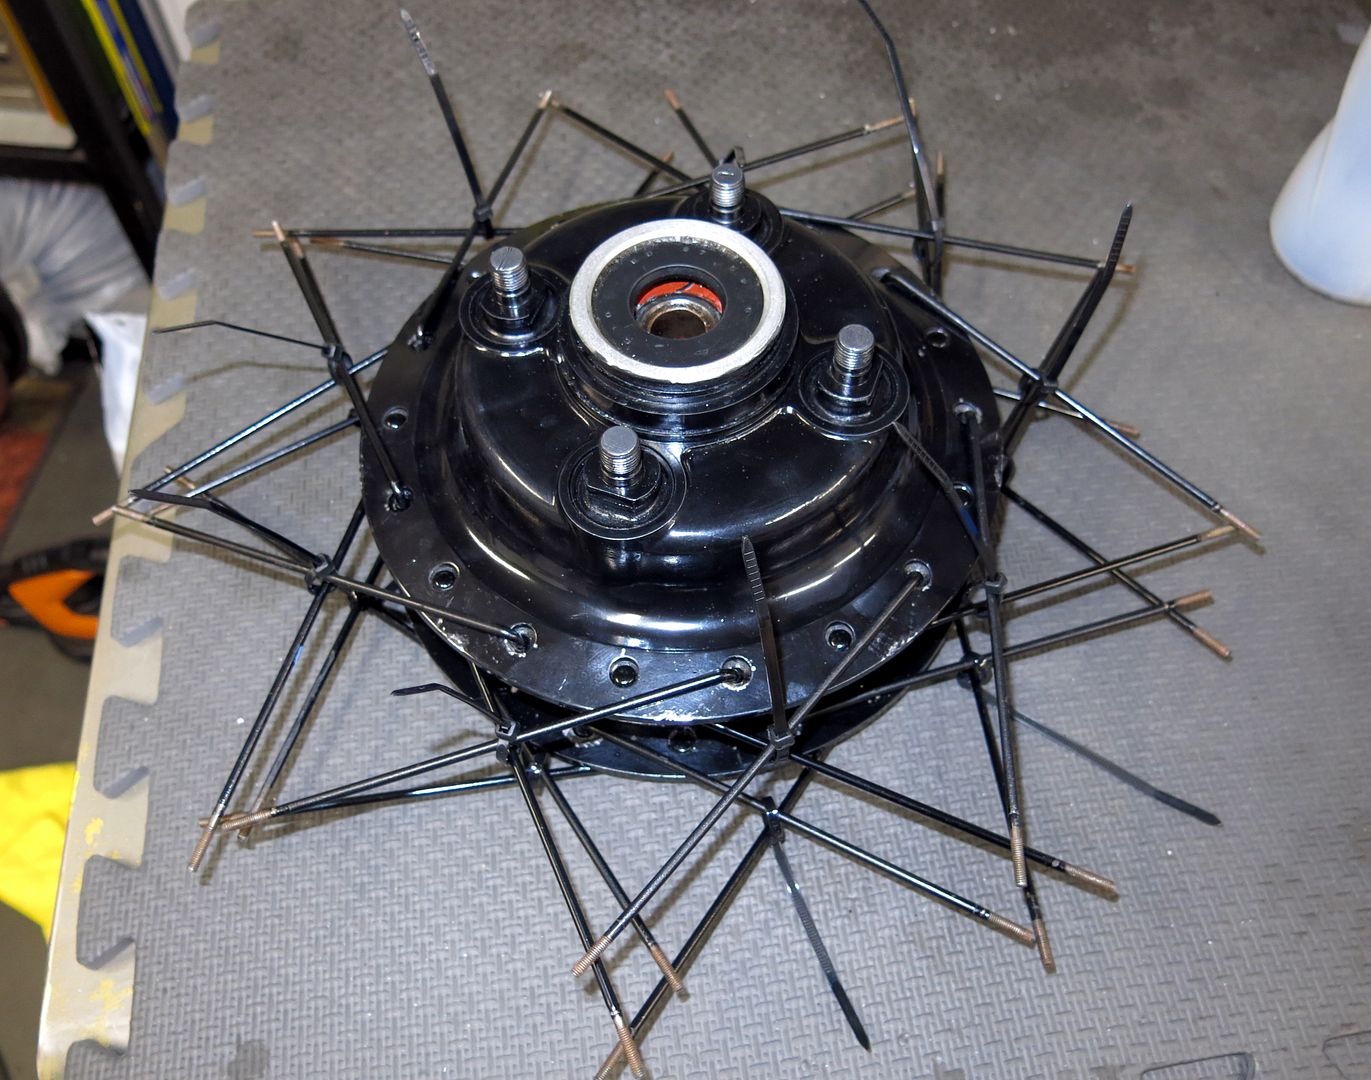
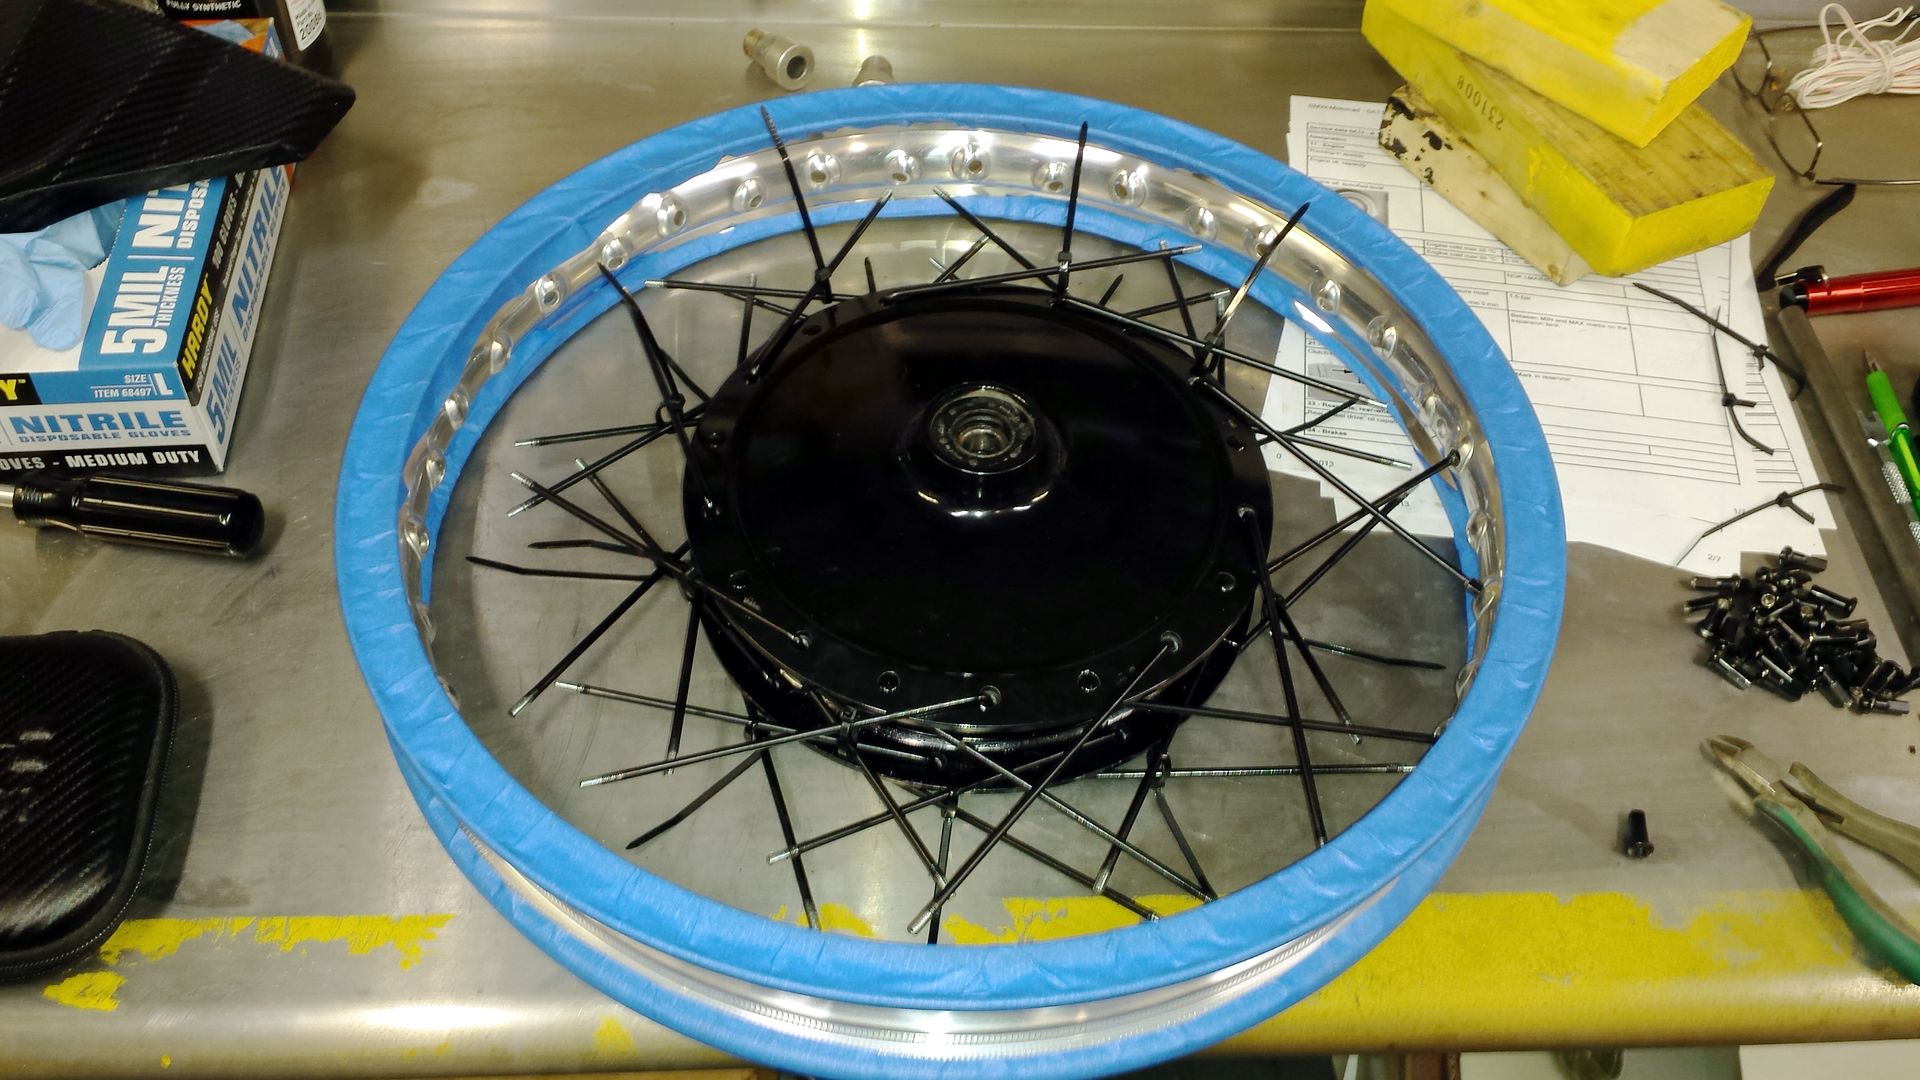
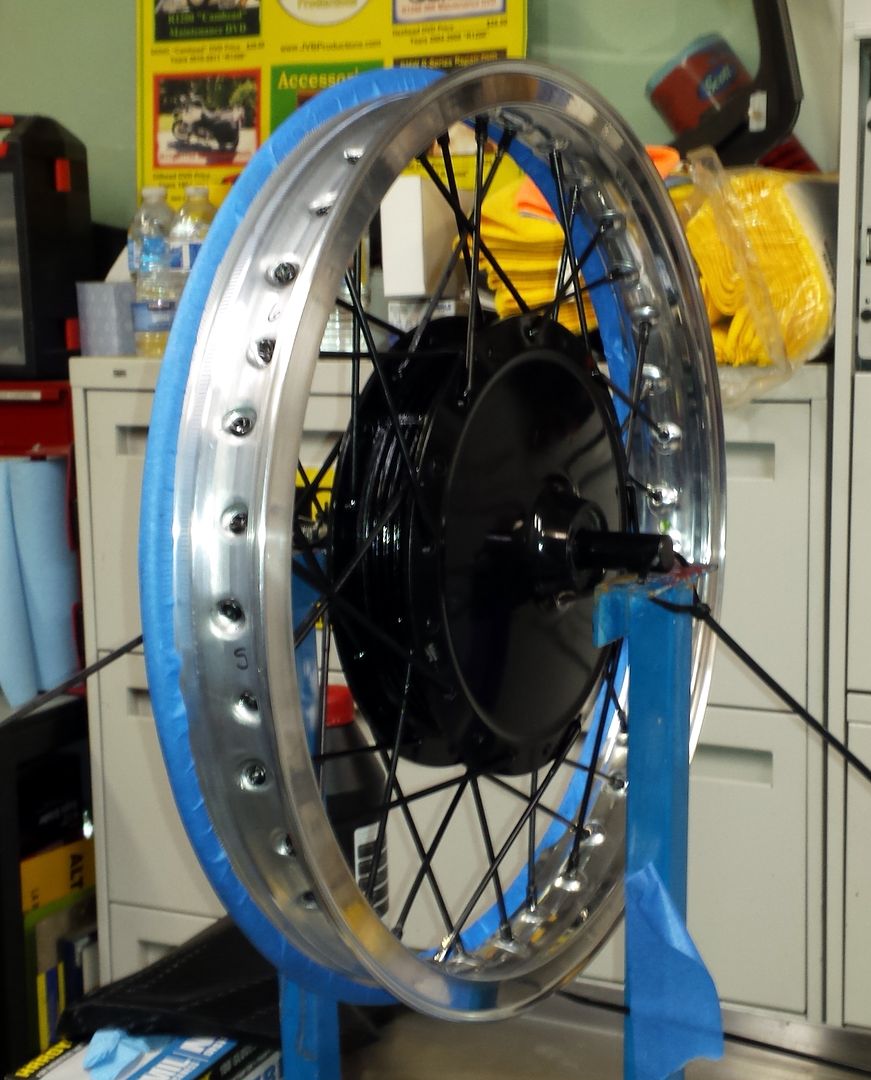
Over an hour of frustration and I still could not get all the spokes in. I watched several videos on it, and no help. Finally I decided to zip-tie the spokes into position and then introduce the wheel.
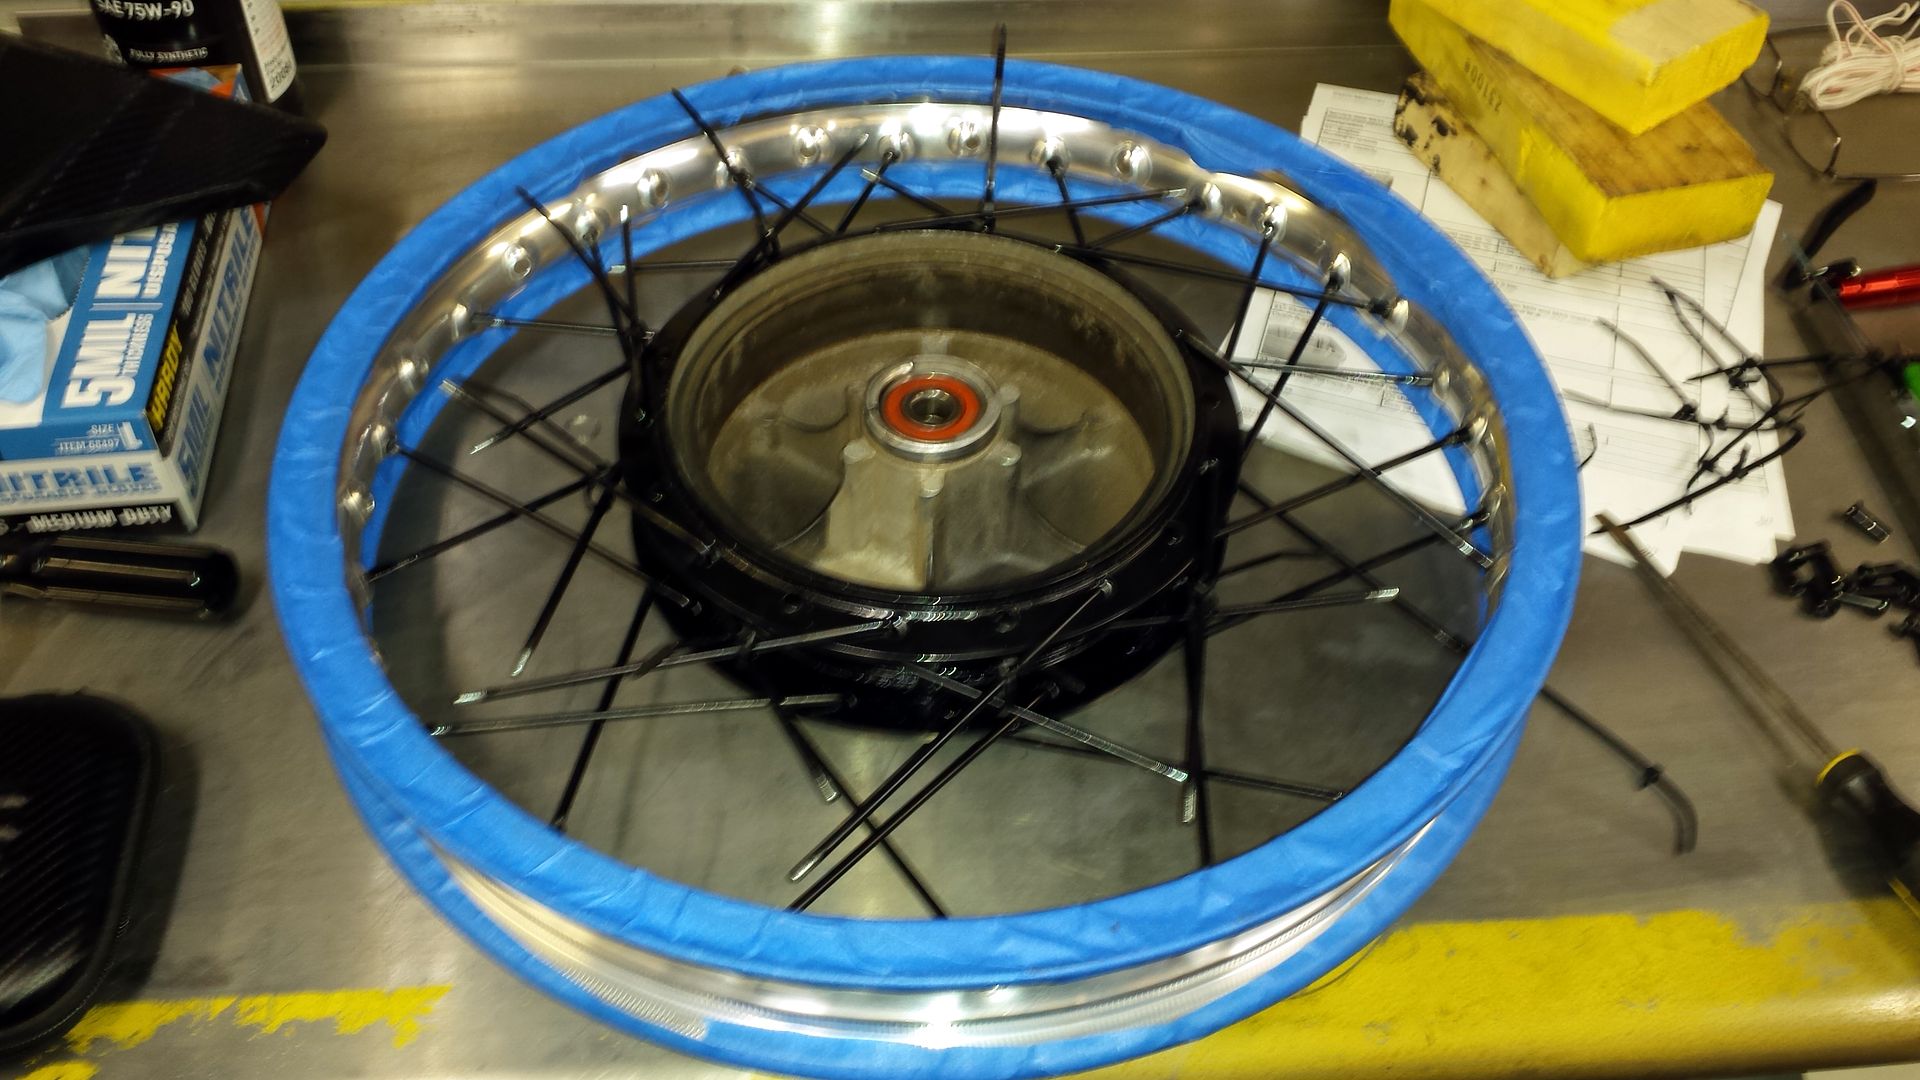
MUCH better. I cut each zip-tie as I fit them to the *******, and it went on easily until the last 4 spokes. To get them into the holes I had to bump the wheel on the floor on the opposite side, on some rubber matting, and the last 4 went right in.
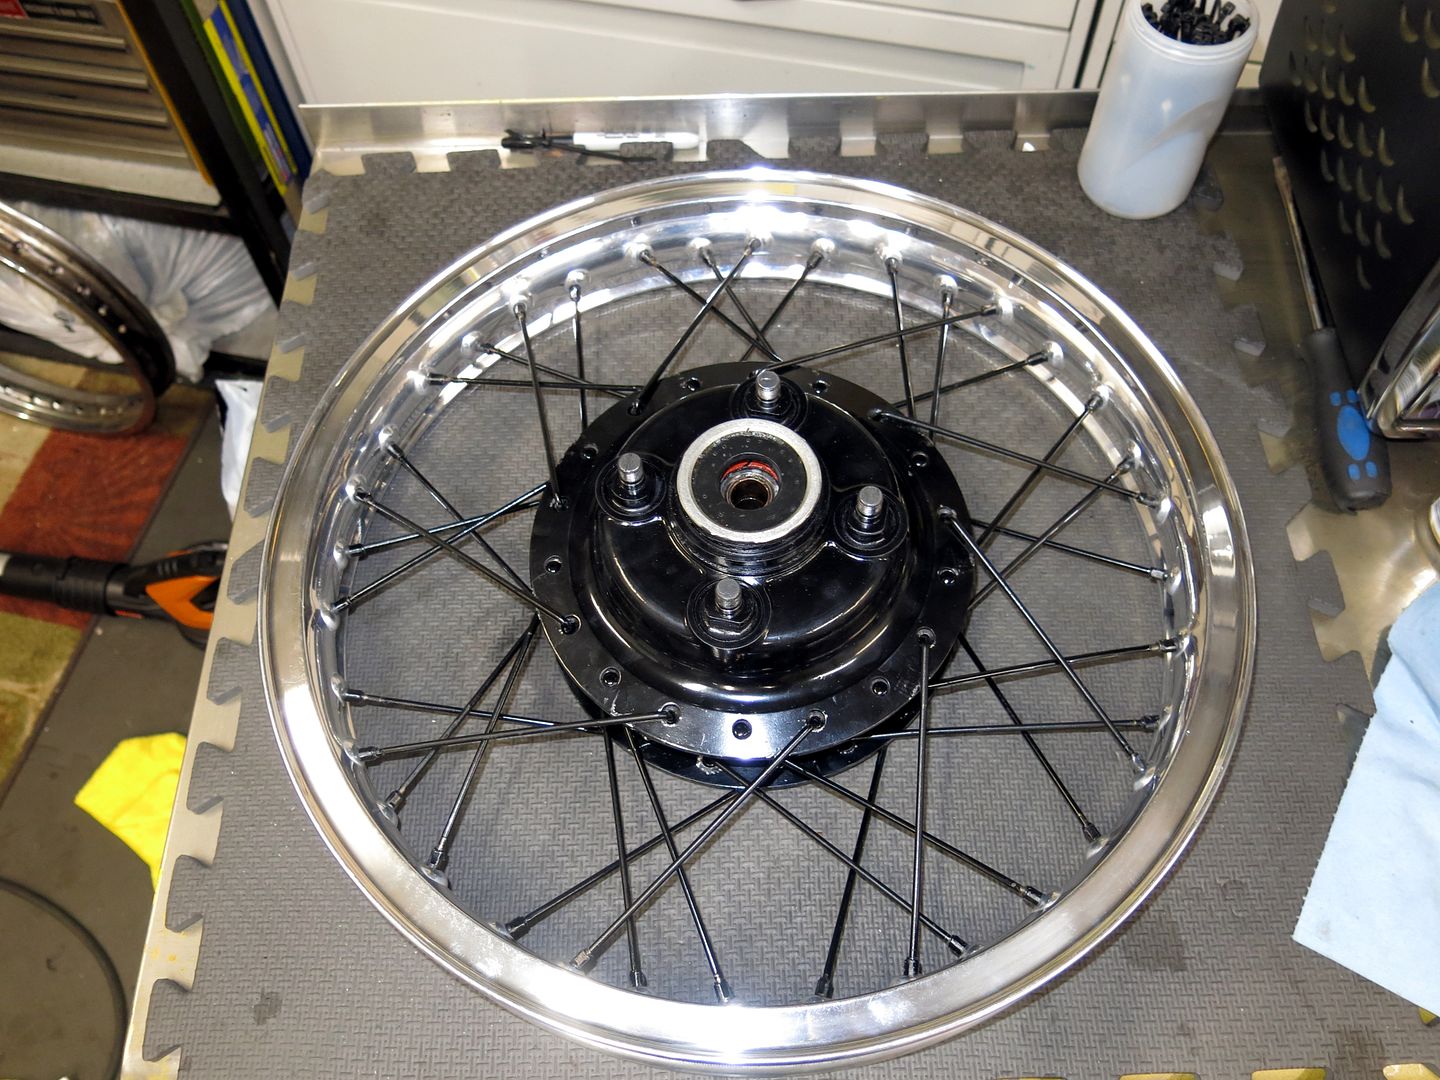
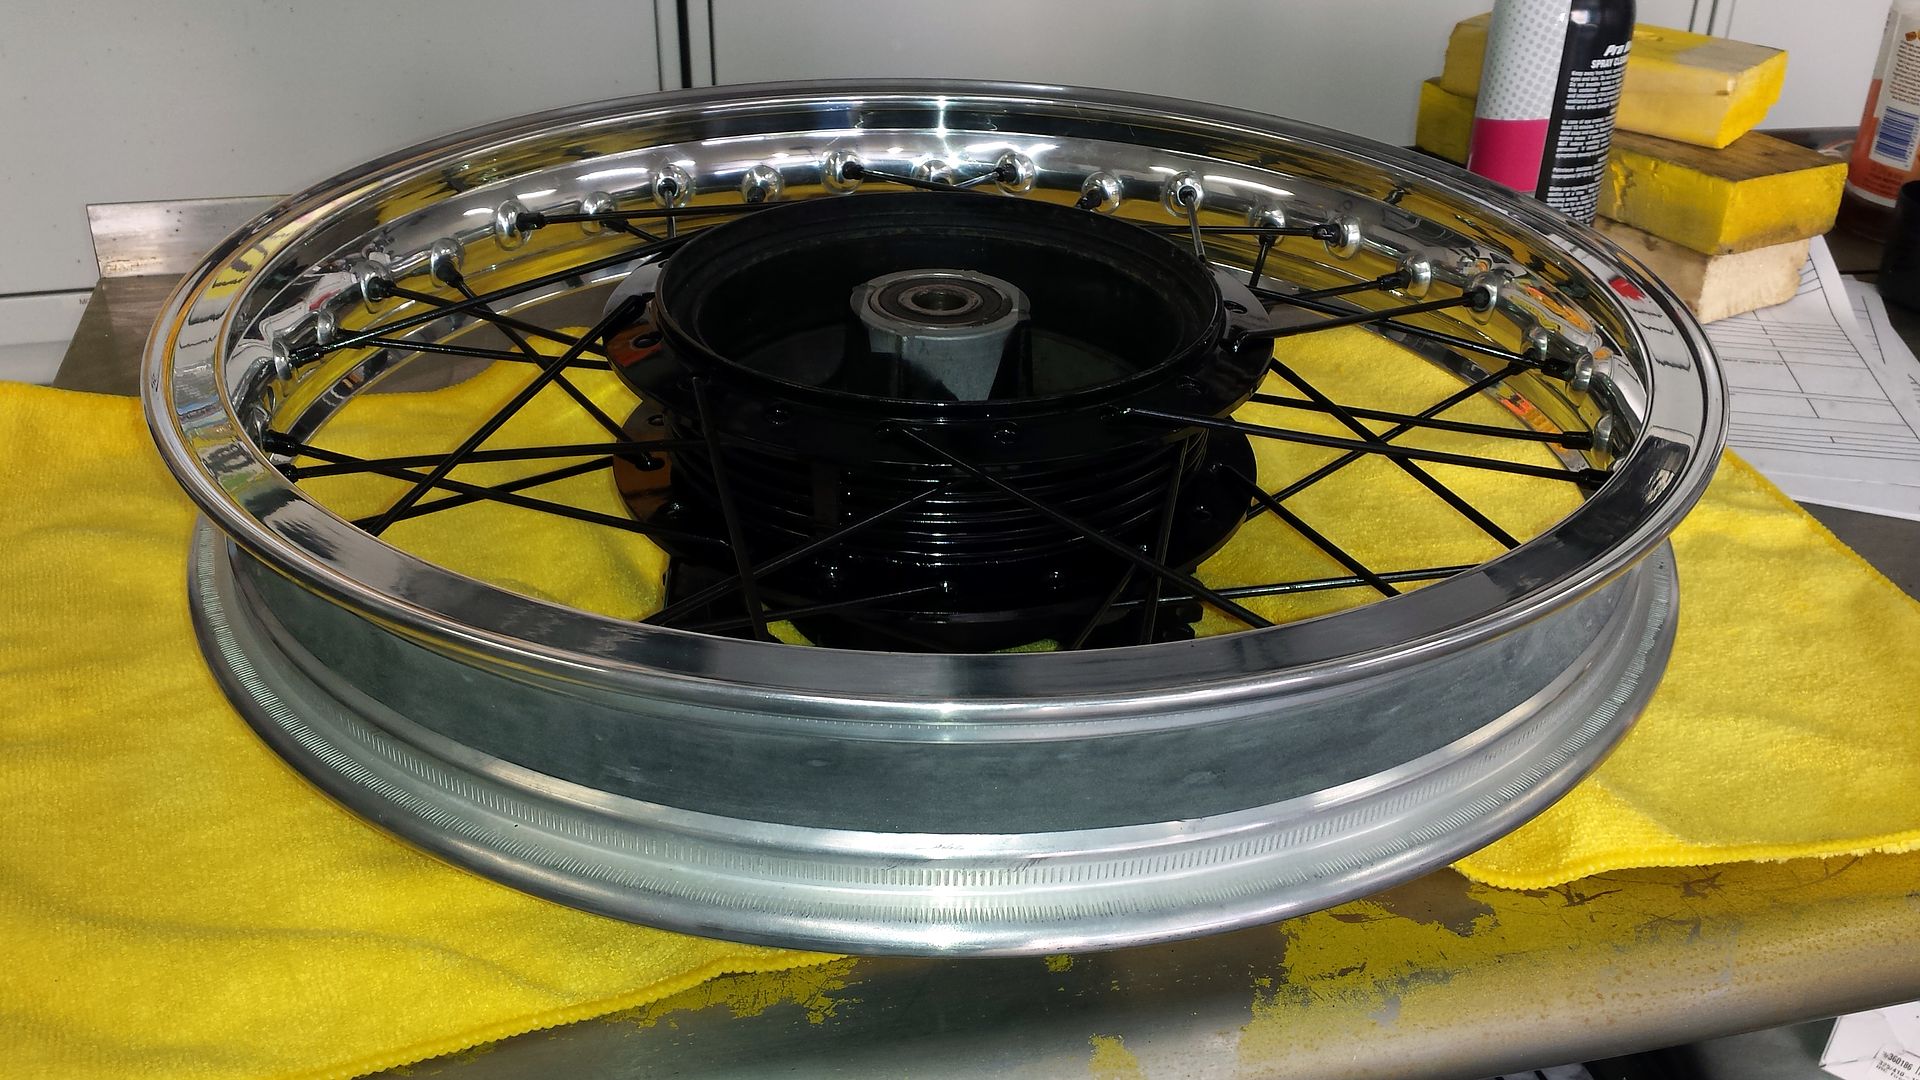
Then I snugged down each ******.
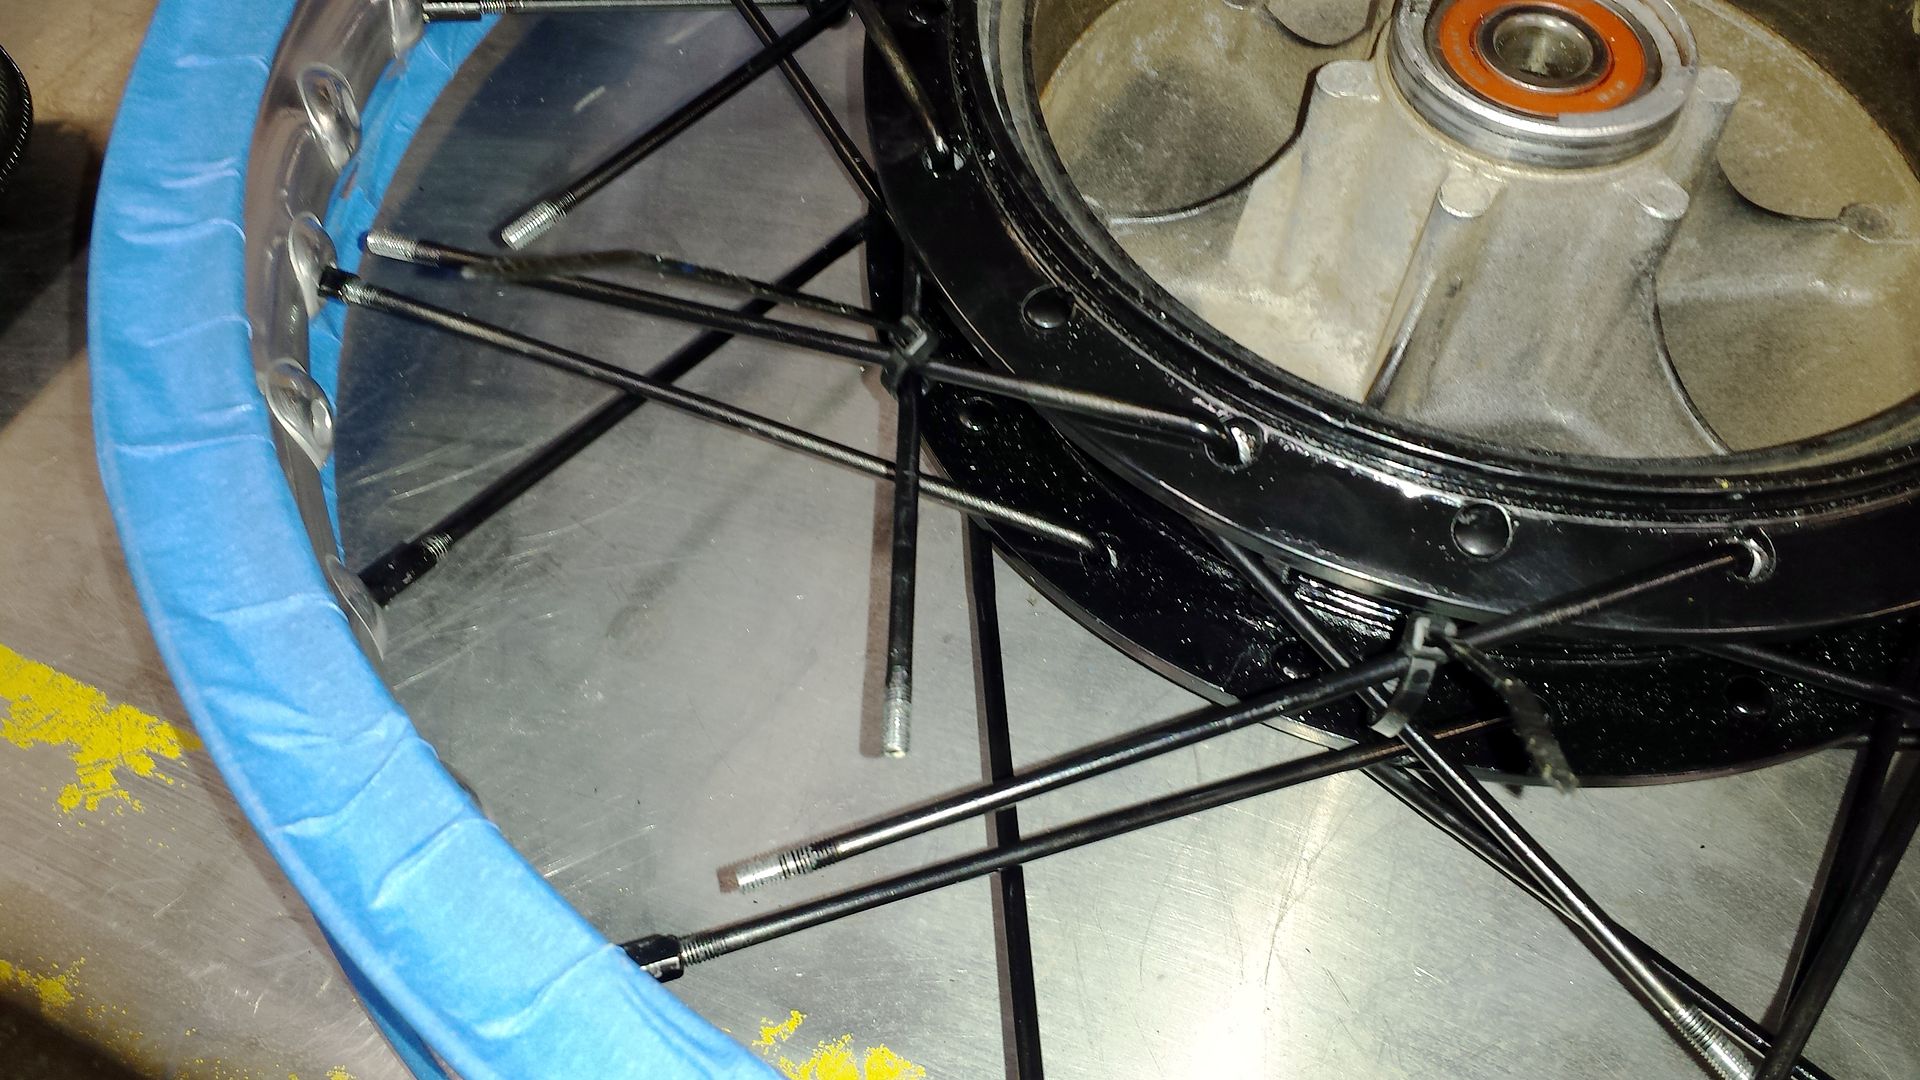
I checked with a screwdriver and the wheel was close to true, maybe 2mm off and no out of round.I will use my balancer to check and adjust it tomorrow.
Looks pretty good. I will need a little touch-up on the paint, but it was my first wheel lace, so I am OK with it.
Then:
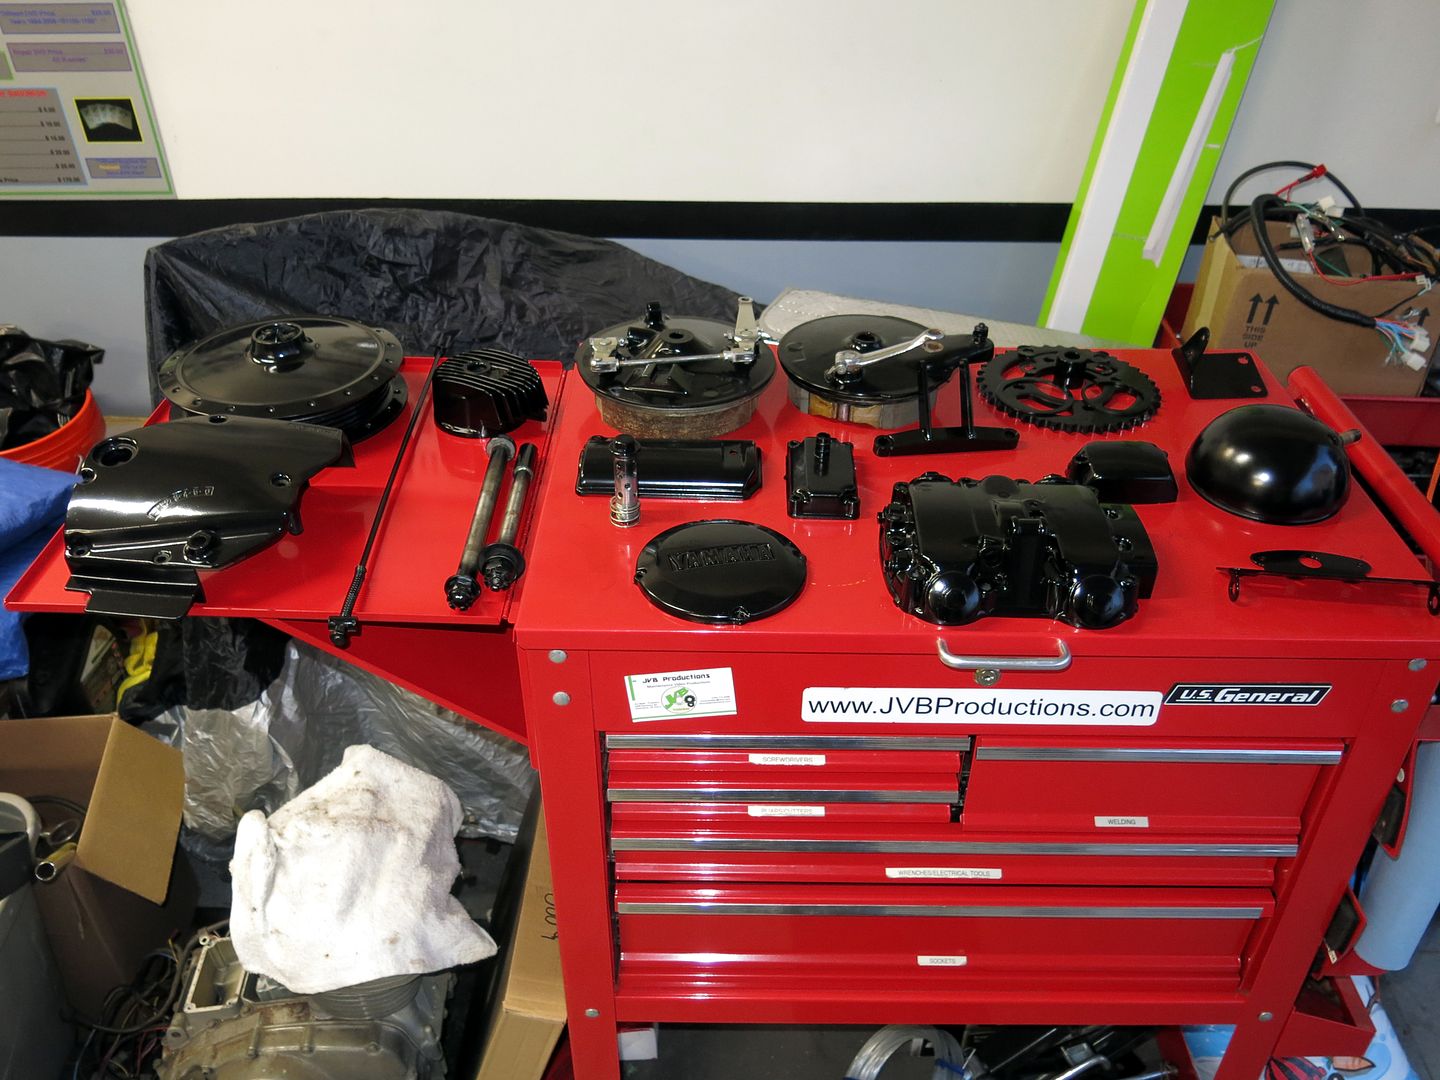
I broke two spokes taking apart the front wheel, so I am stalled there, but I did order a new set. In the mean time, I did some more powder coating.
I did get the rear on the stand and ready to true, but I lost my spoke wrench, so it will wait until the new spokes come in for the front, and the new tool.
Then I cleaned up the colossal mess in the garage.
Then:
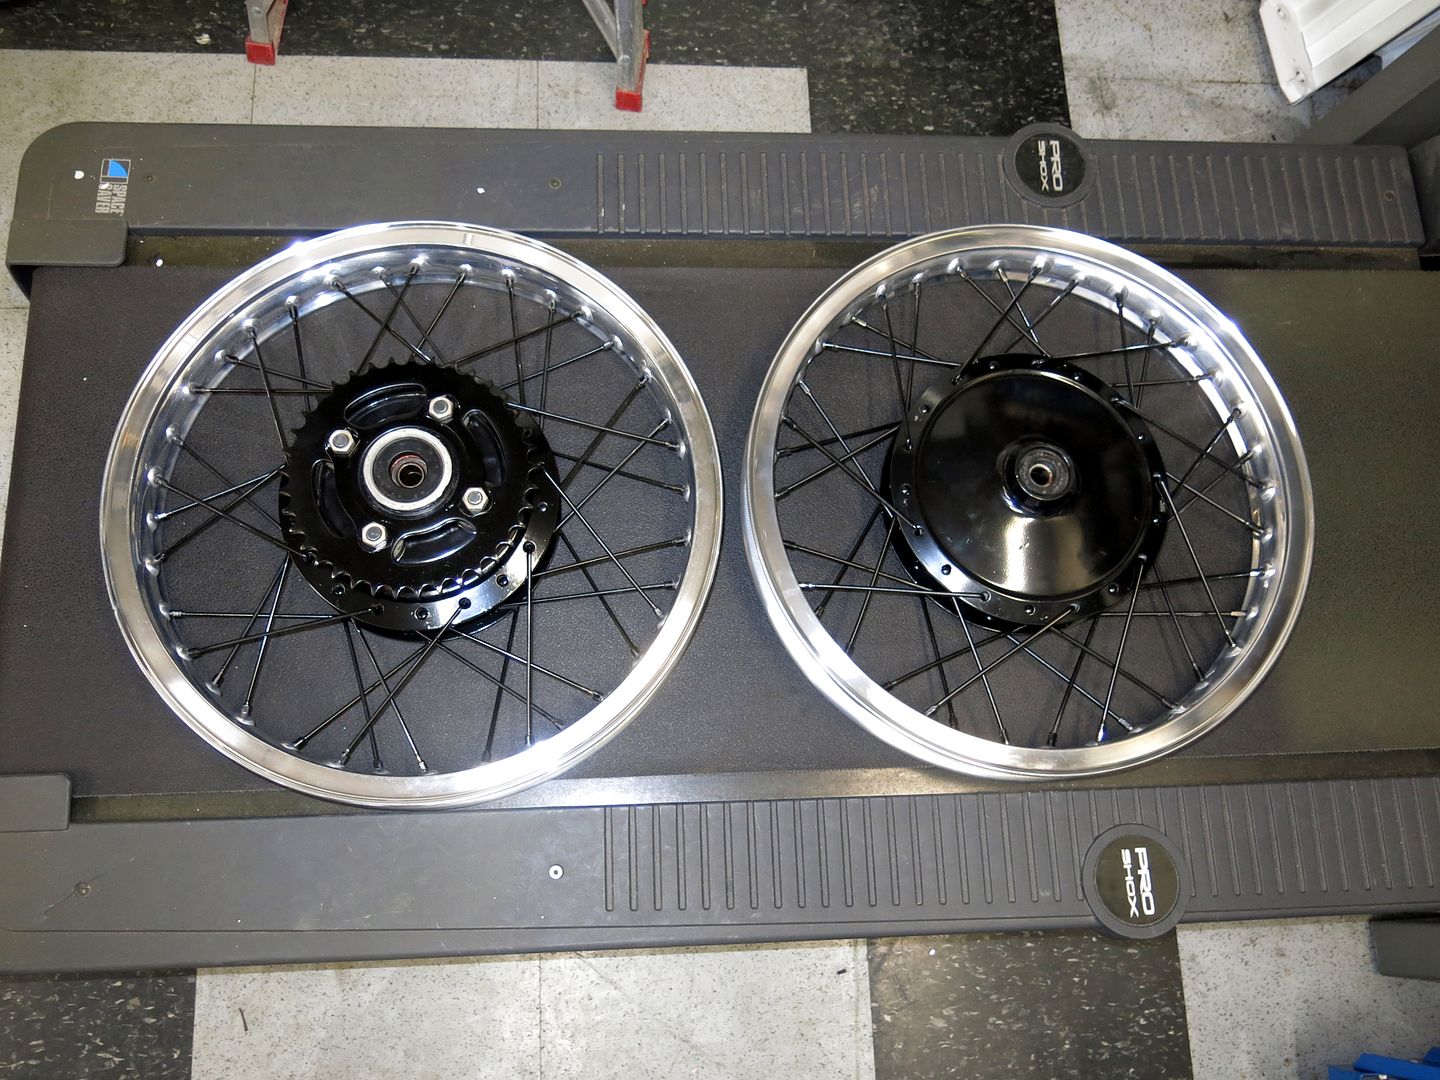
Both wheels laced and trued. The first took about 3 hours, the second an hour. It helps when you know what you are doing somewhat.
Less than 1mm variance side to side, and .5mm hop. Not too bad for the first time.
Then yesterday:
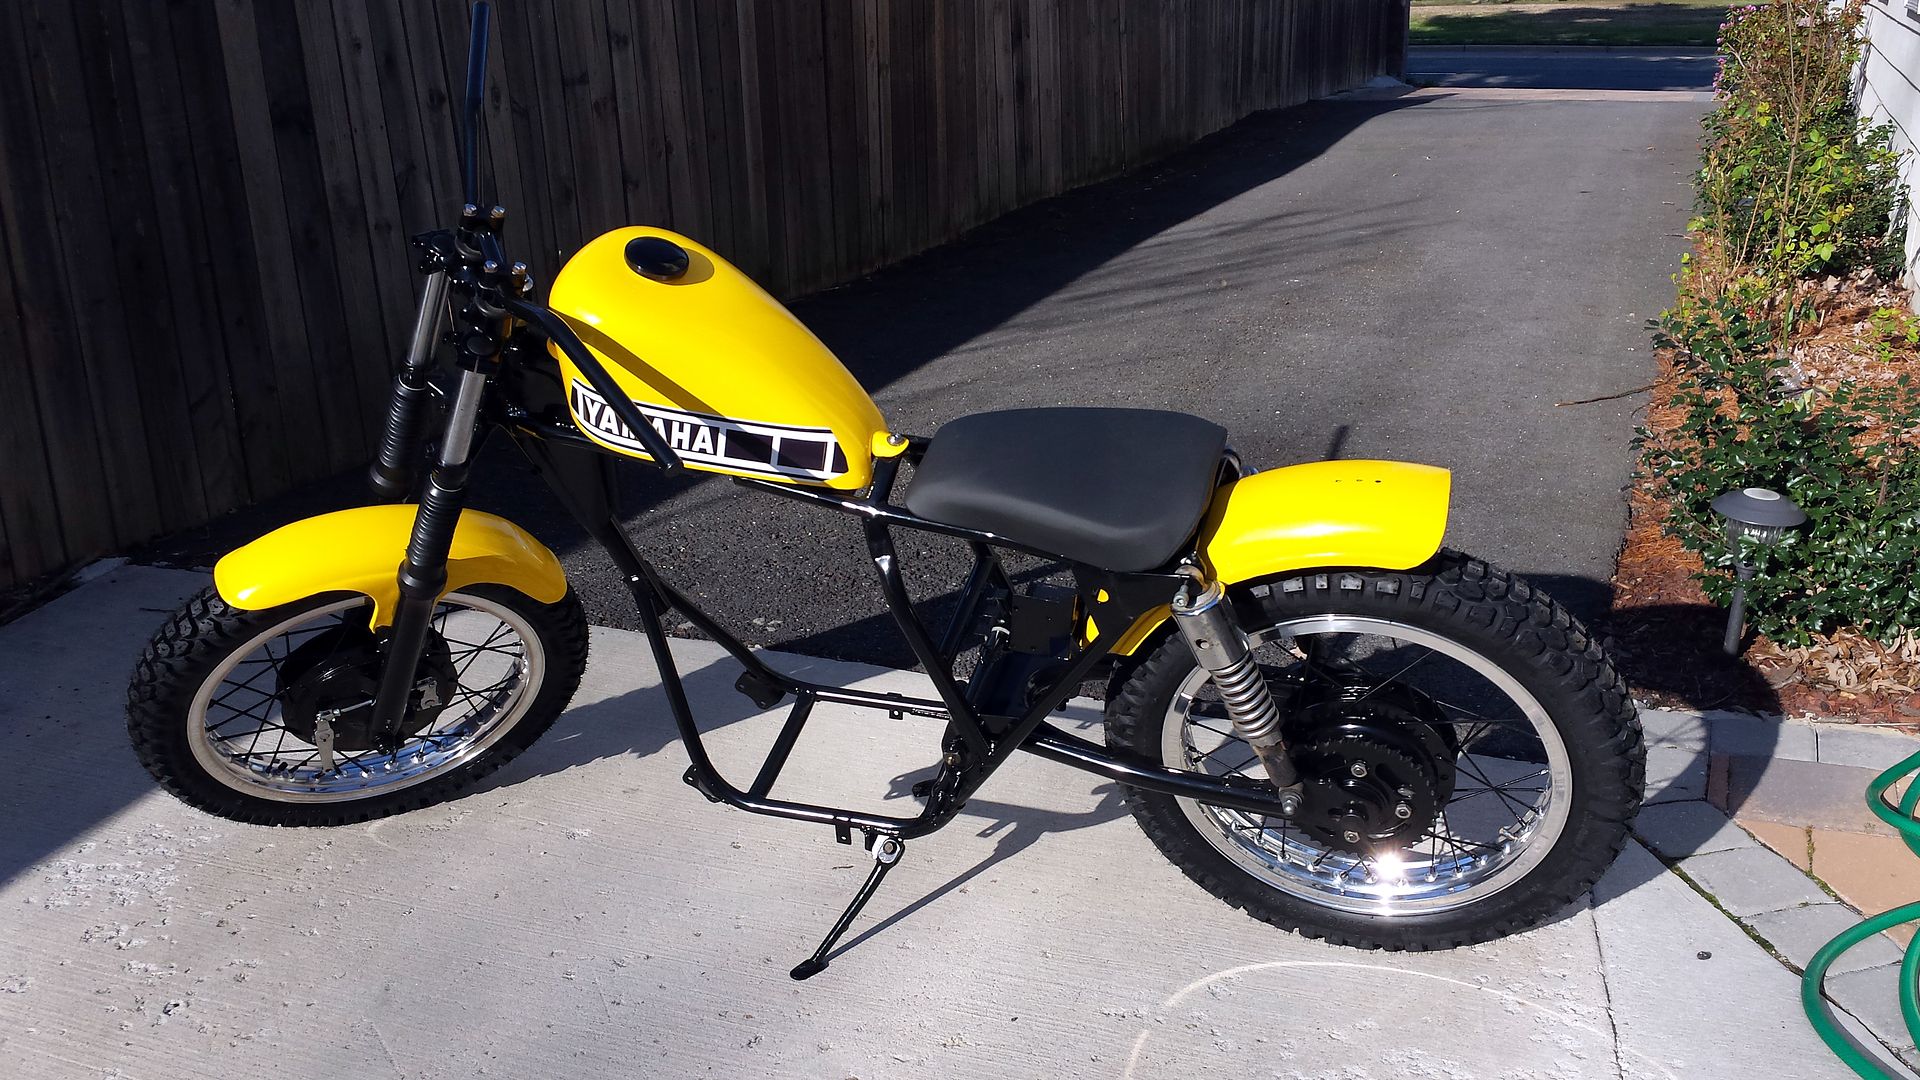
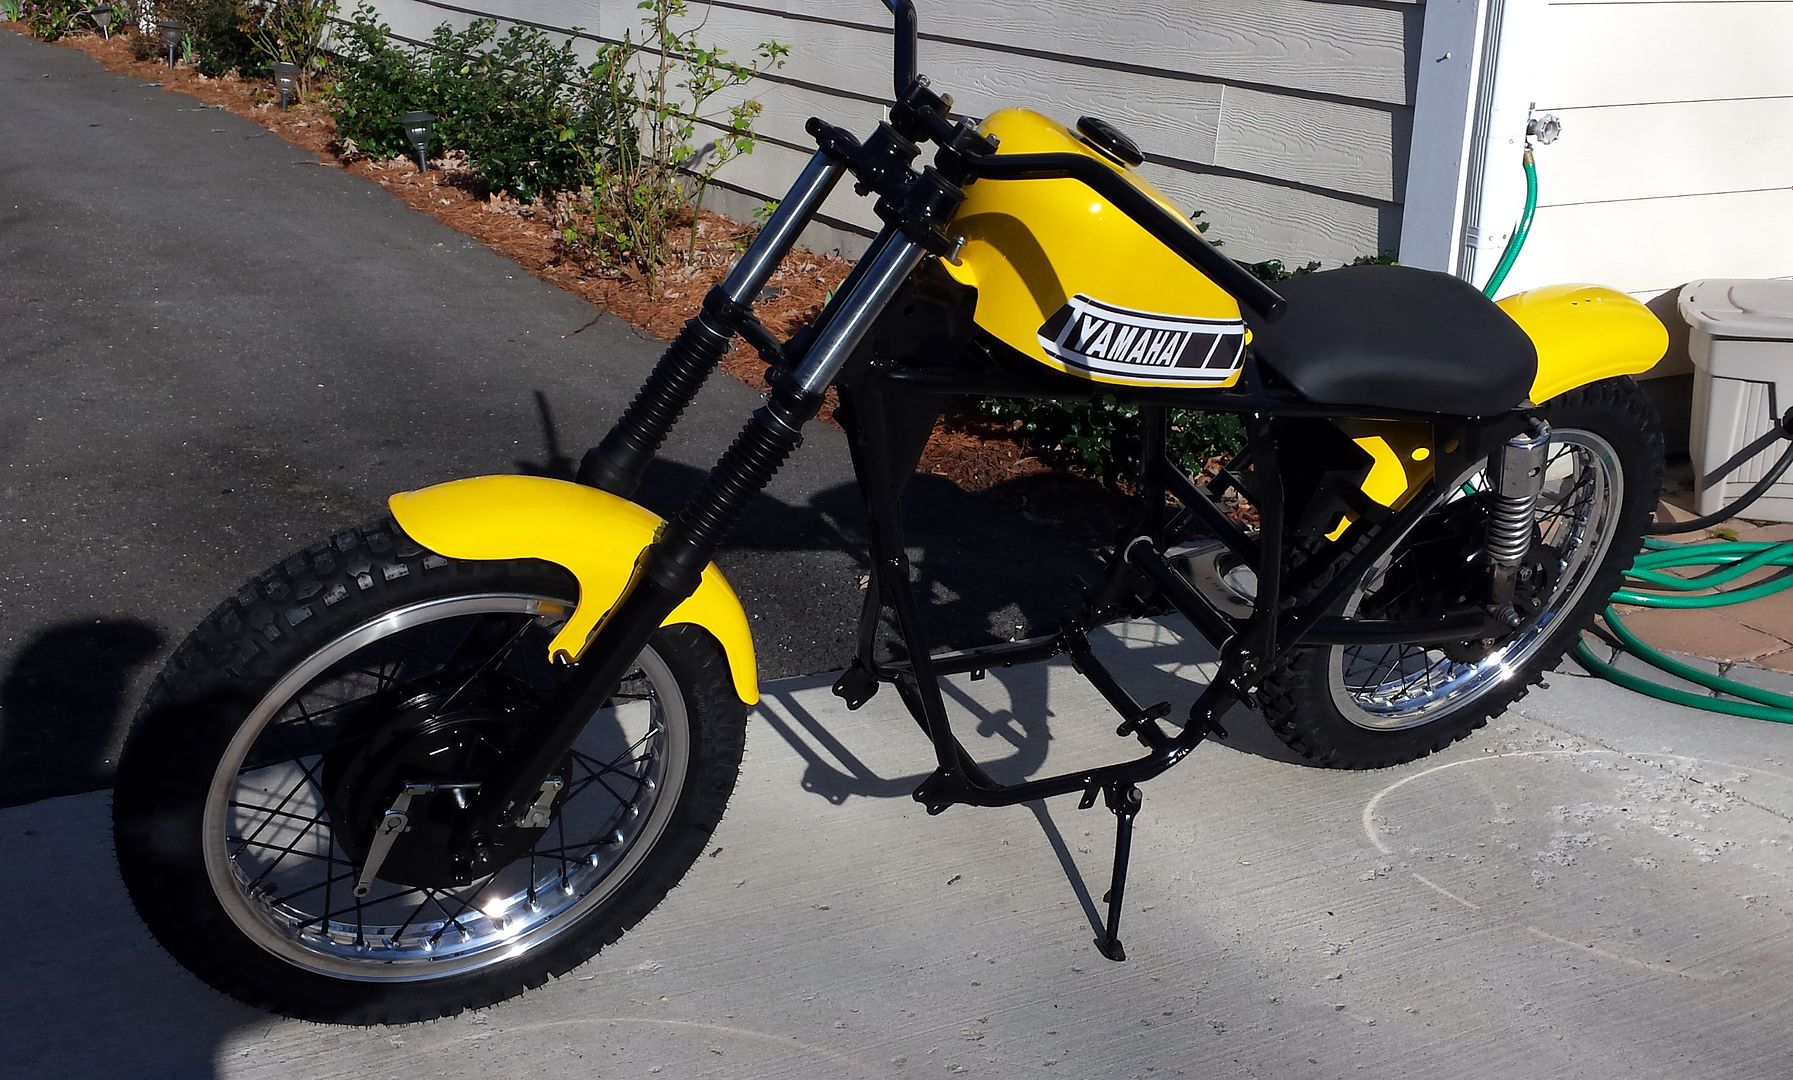
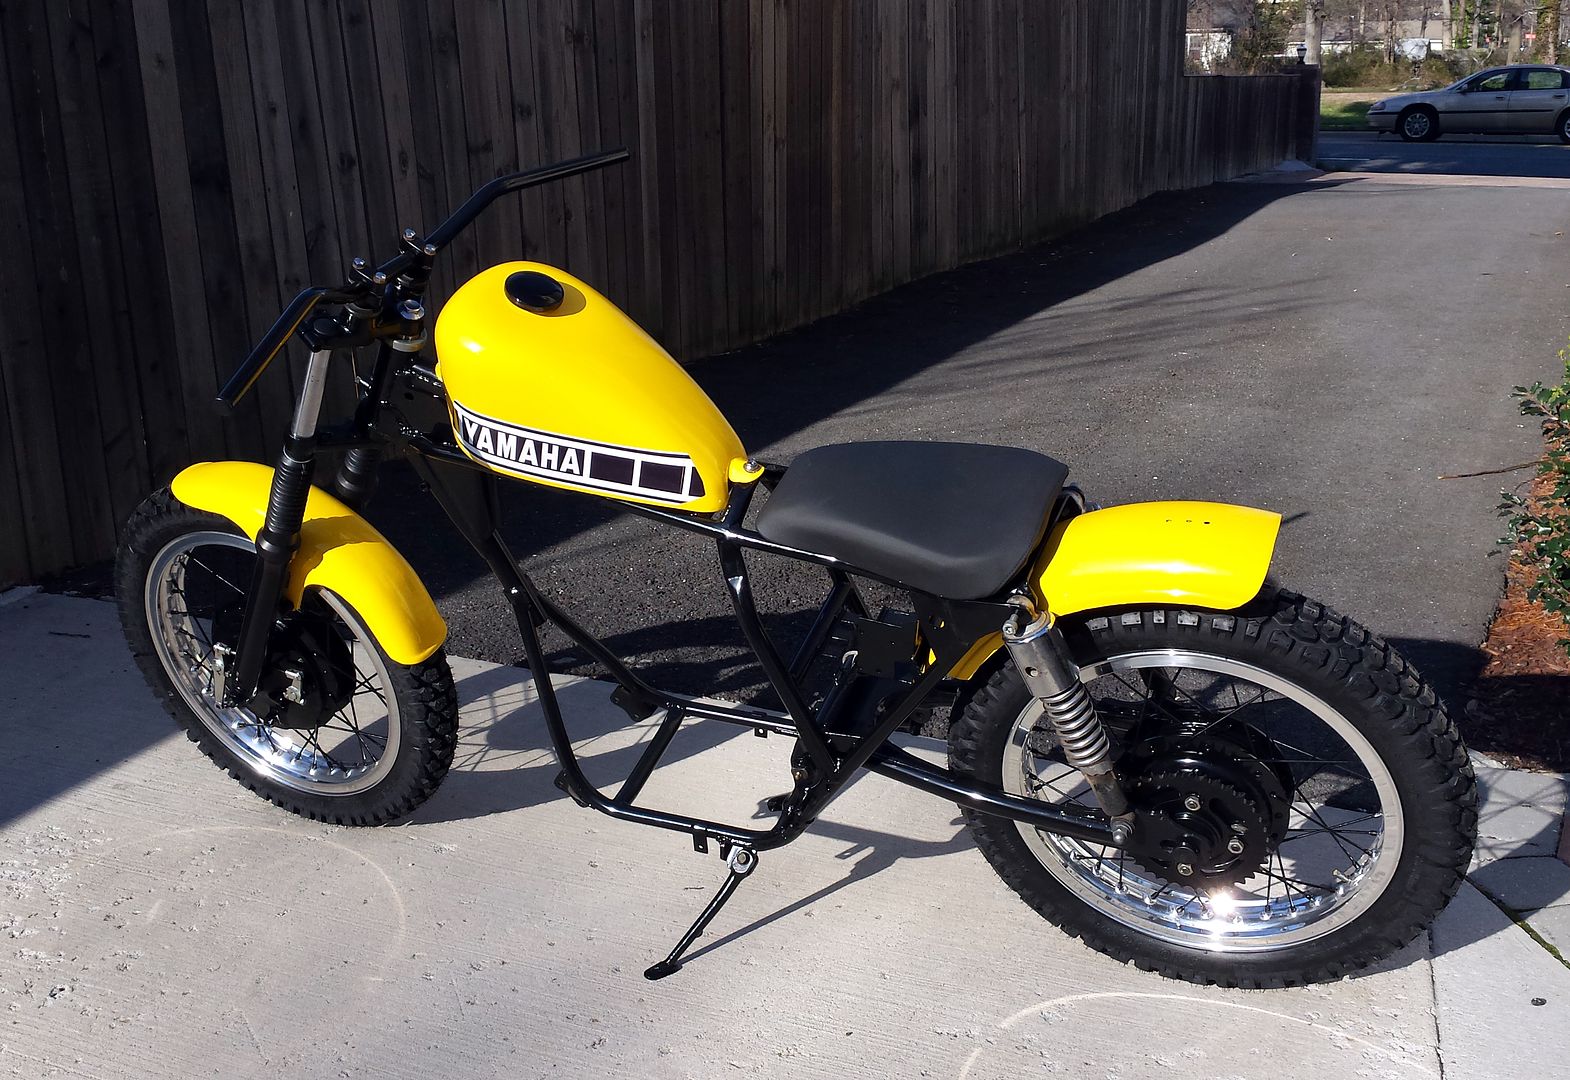
Now it is a roller. I did the zip-tie tire installation, but had to lever the last 6" on. I really like the tires and wheels. They looks great to me.
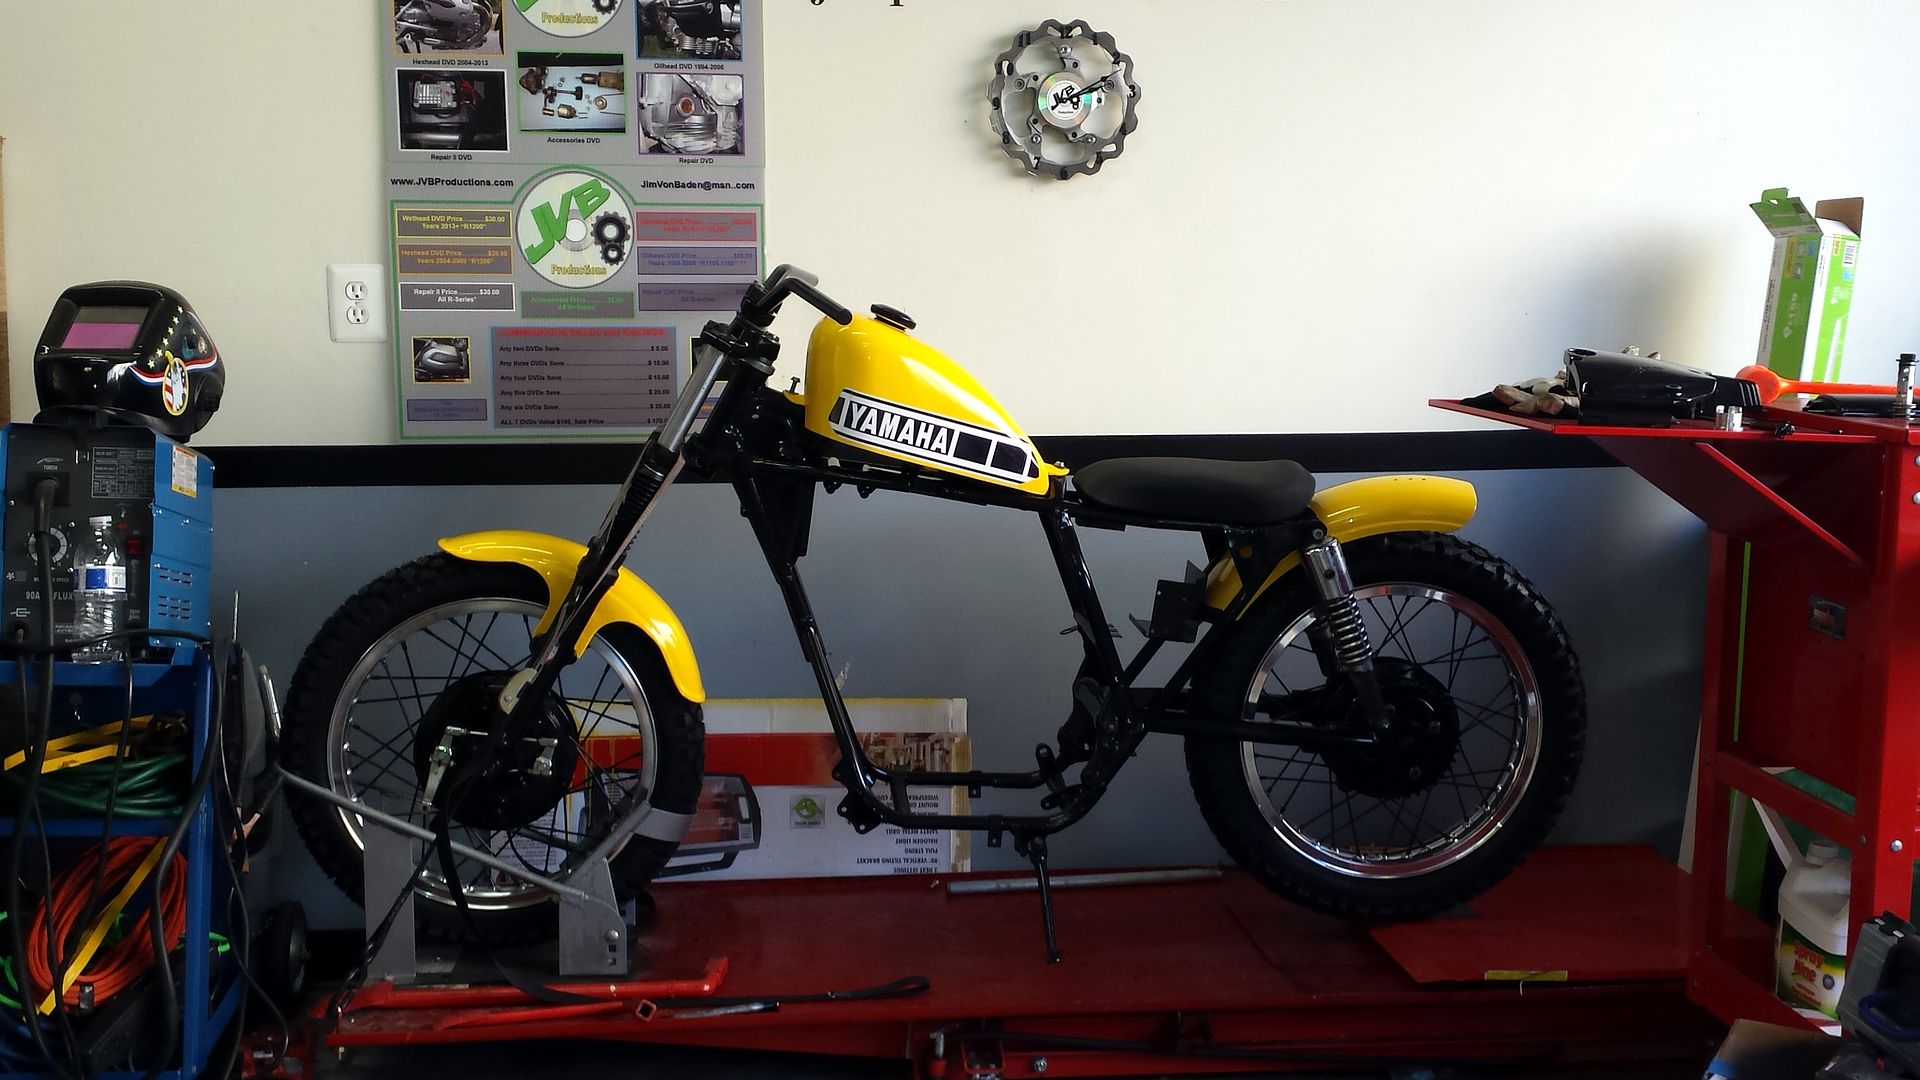
Back on the lift and out of the way for finishing the engine.
No problem at all with the powder coated spokes.
 Looking forward to its completion.
Man, seeing this makes me remember when they were new! You're doing it justice, Jim!
BTW, 3 hours to lace & true a rim is actually pretty good for the first time. I used to hate doing it. Bicycles are even worse because the hoops flex so much more.
Tommy
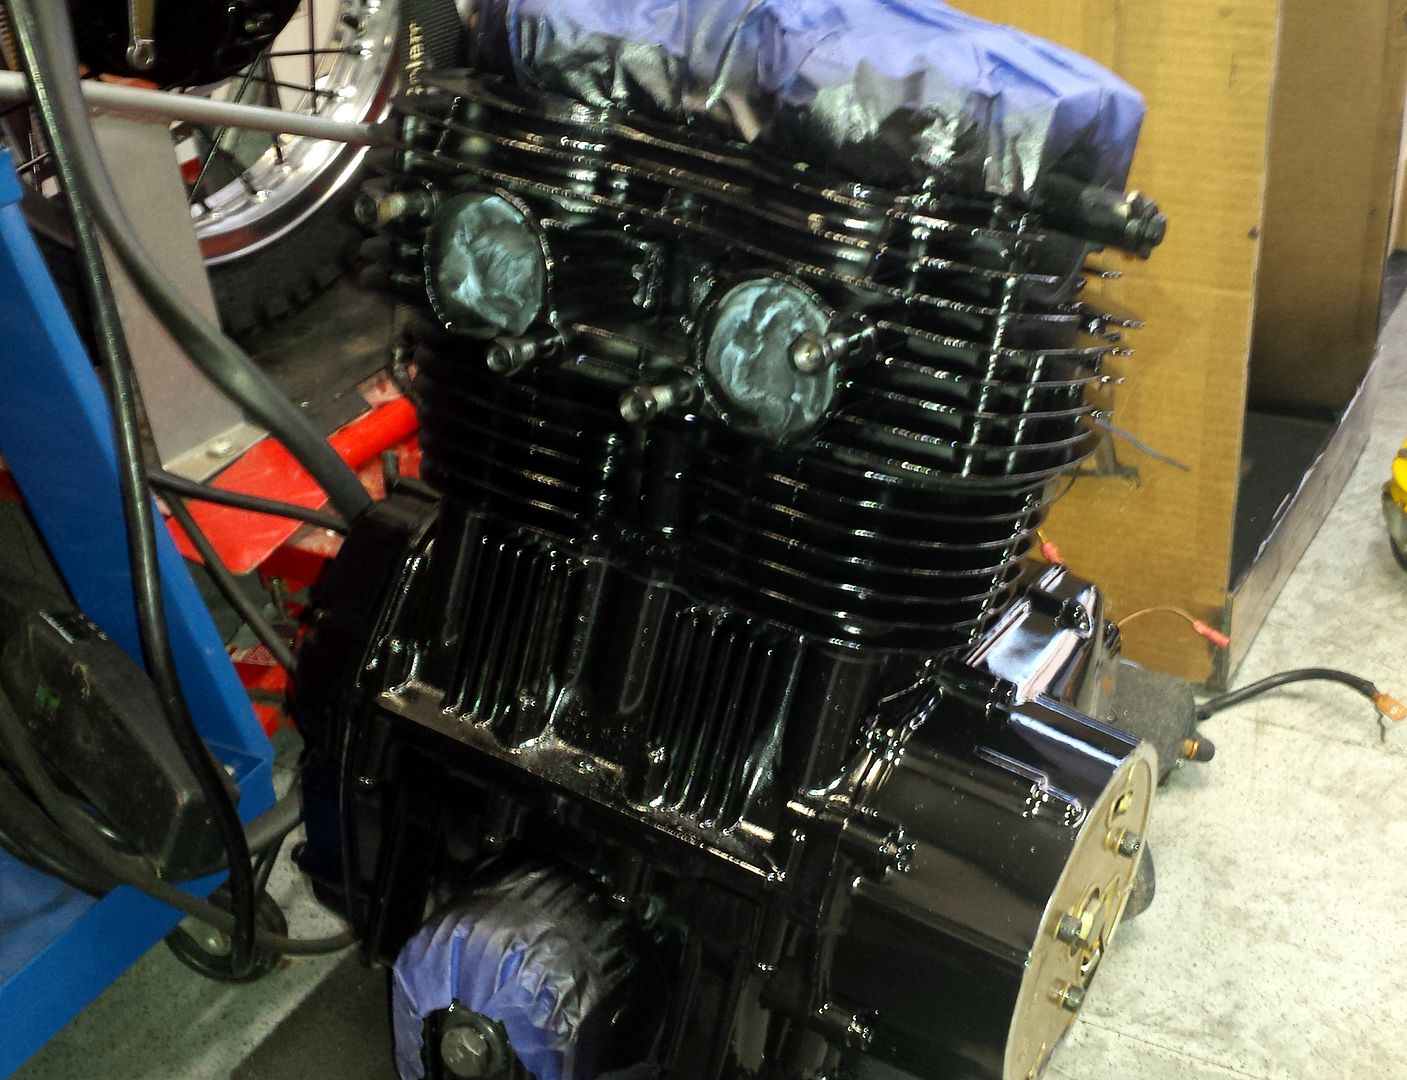
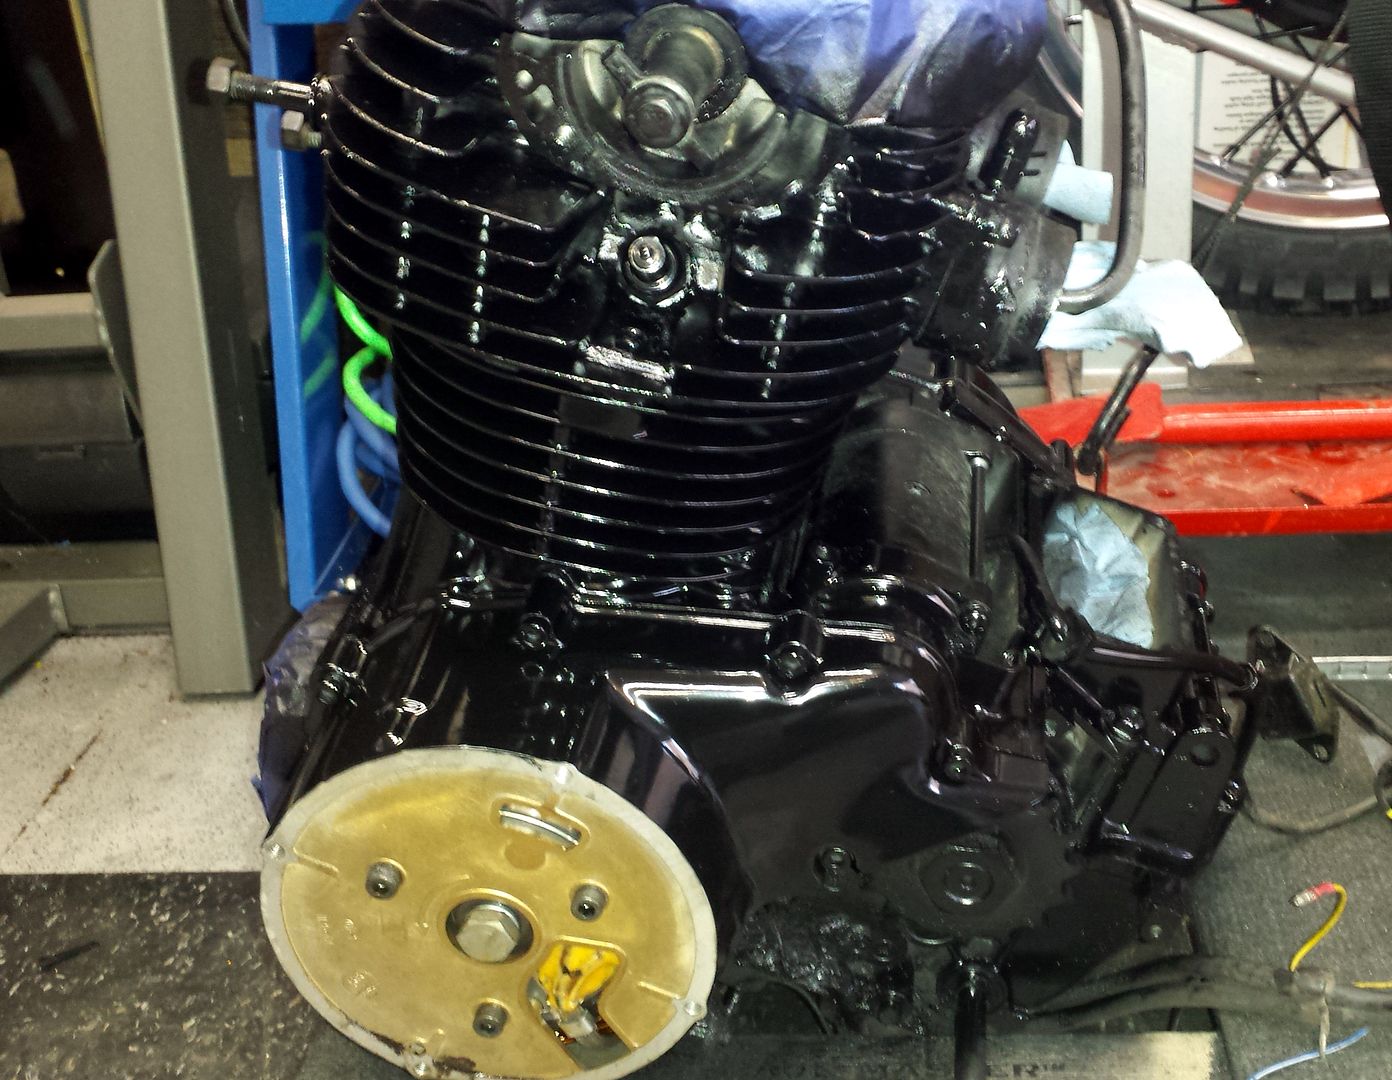
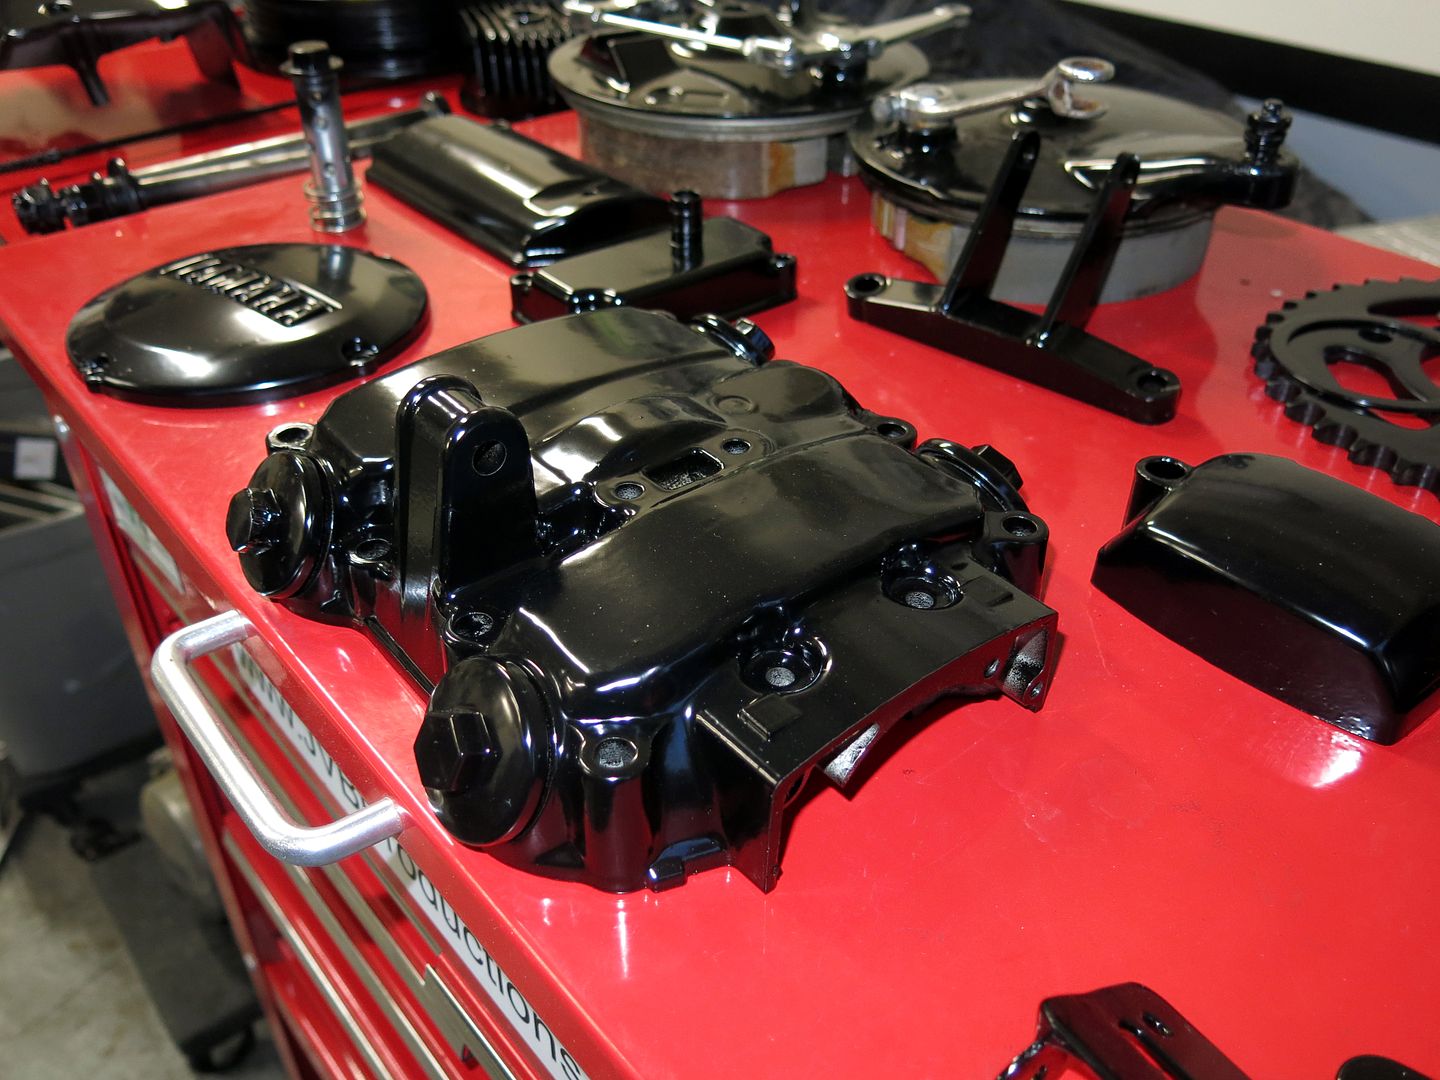
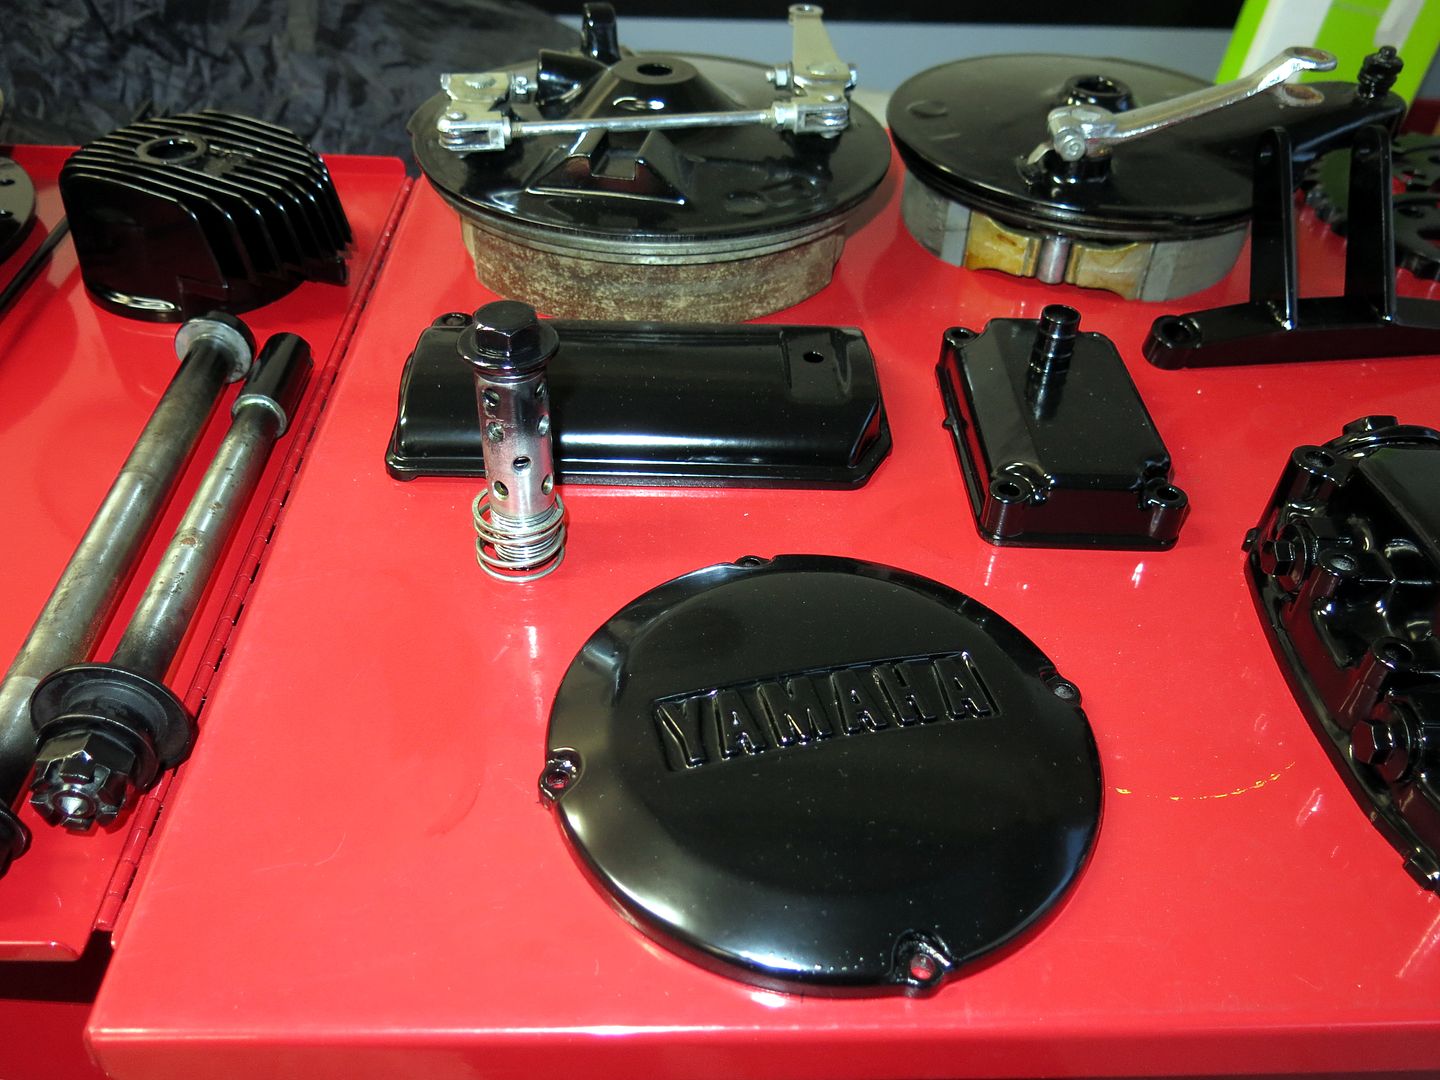
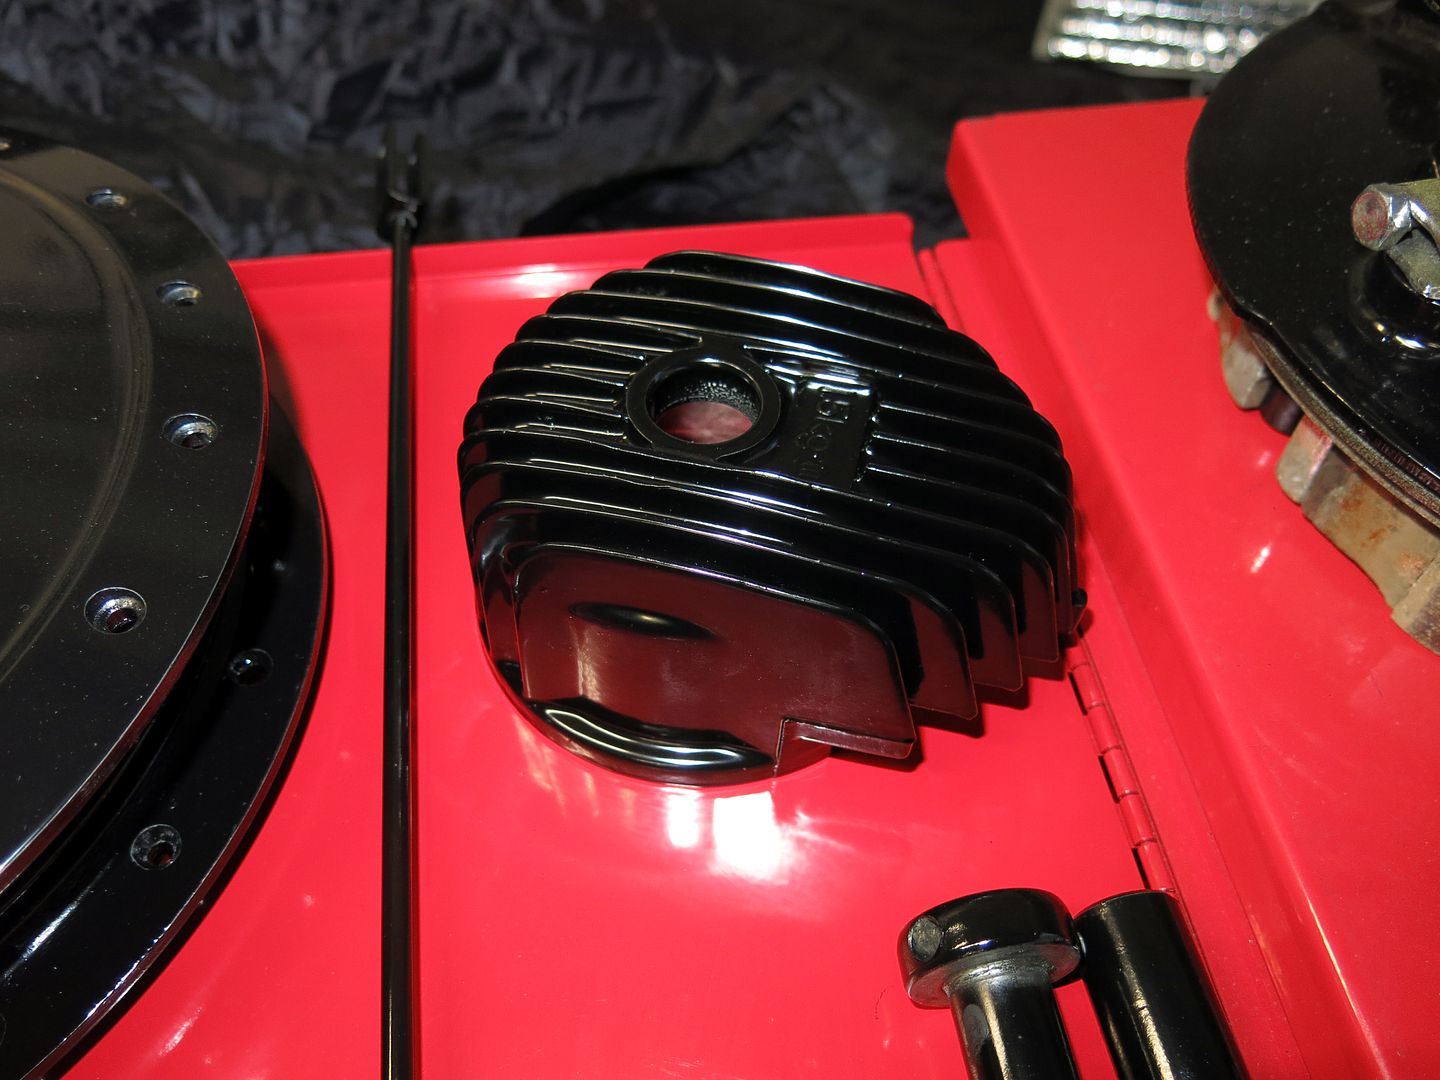
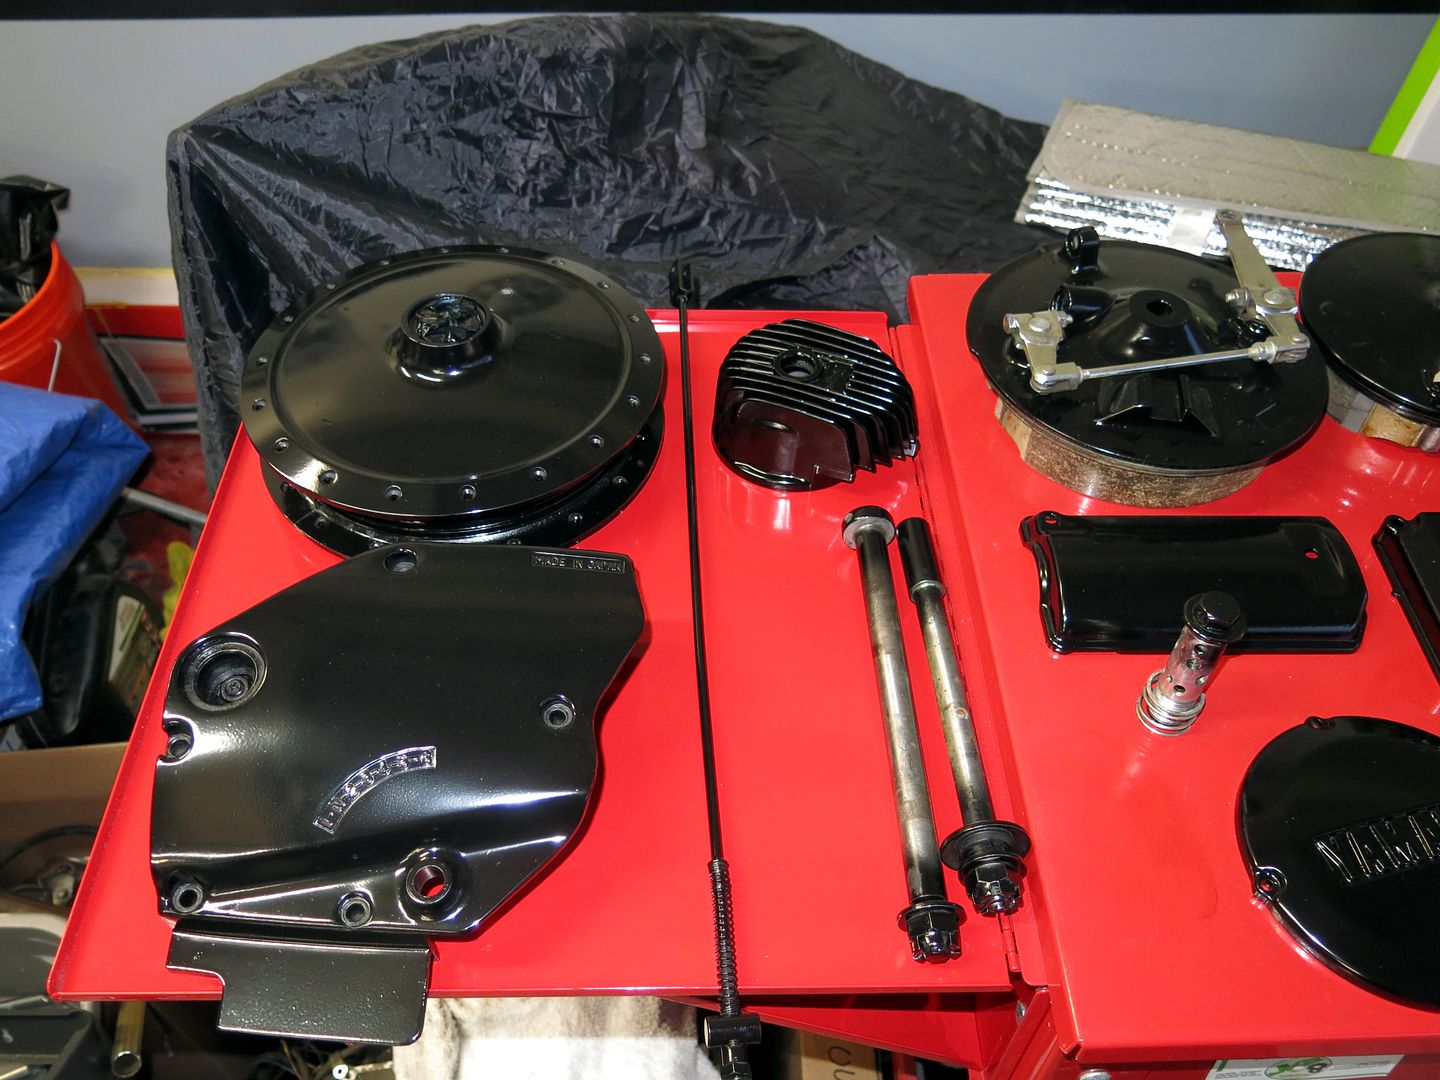
This

And this

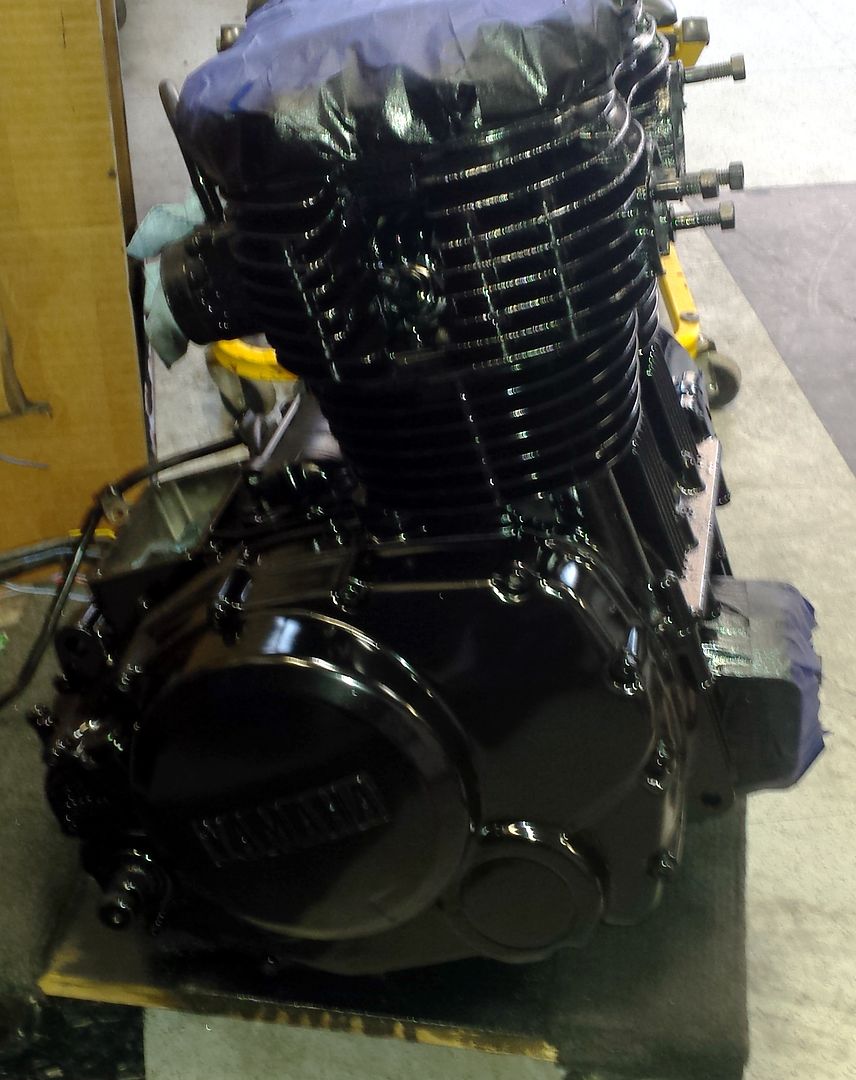
Bit of lapping and cleaning and it will be ready to go back on


If you like your tools handy likr that, you would love the Montezuma Upright/slamy front tool box: