fas-tel
Well-known member
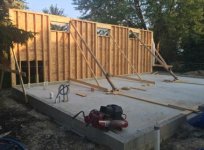
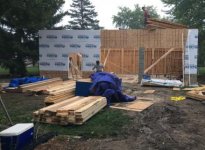
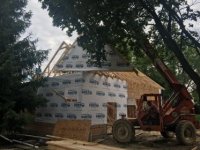
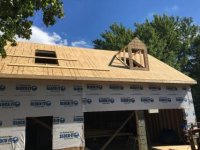
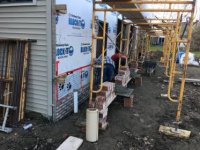
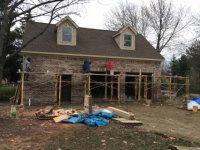
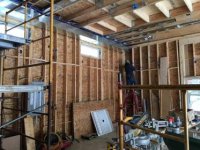
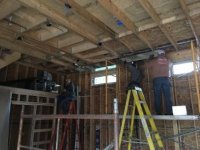
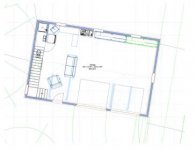
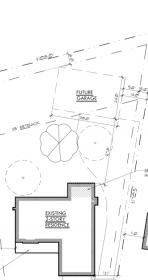
After a couple of years of planning I am finally ready to move forward with my build. Its may be a bit large for my lot, but I am within the rules and am making sure it looks like the house (including having a brick front fascia). The plan is to have 2 bays for vehicles with the remaining area for office/lounge purposes.
Here are the particulars:
• 38x24
• 12.5' ceilings
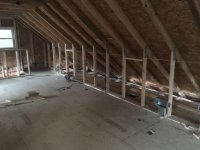
• 2nd floor/Loft
• 2x6 framing with R23 blown in
• 200 amp service
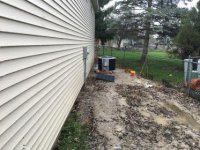
• Full utilities - Gas/Water/Sewer/Electric
• Restroom with shower
• HVAC system - Comfortmaker Furnace and AC
• Bar/Kitchen Area
Special thanks to this board for helping with research. Also special thanks to sd171 and his 24x34 that I am using for inspiration as well as Sixfeet4 and his windows on the back of his garage - copied.
I used Punch! Home & Landscape to design this stuff, got it for $20 at Sam's Club. Took quite a while to figure it out but I think the mock-ups look pretty good overall. Still have some issues with the inside shots and textures/etc that I am working on.
I have a few questions still regarding lift placement and spacing/etc. Will post those later.
In the meantime here are my renderings.


[IMG}https://www.garagejournal.com/forum/attachment.php?attachmentid=730273&stc=1&d=1517028287[/IMG]
Here are the particulars:
• 38x24
• 12.5' ceilings
• 2nd floor/Loft
• 2x6 framing with R23 blown in
• 200 amp service
• Full utilities - Gas/Water/Sewer/Electric
• Restroom with shower
• HVAC system - Comfortmaker Furnace and AC
• Bar/Kitchen Area
Special thanks to this board for helping with research. Also special thanks to sd171 and his 24x34 that I am using for inspiration as well as Sixfeet4 and his windows on the back of his garage - copied.
I used Punch! Home & Landscape to design this stuff, got it for $20 at Sam's Club. Took quite a while to figure it out but I think the mock-ups look pretty good overall. Still have some issues with the inside shots and textures/etc that I am working on.
I have a few questions still regarding lift placement and spacing/etc. Will post those later.
In the meantime here are my renderings.
[IMG}https://www.garagejournal.com/forum/attachment.php?attachmentid=730273&stc=1&d=1517028287[/IMG]
Attachments


Last edited: