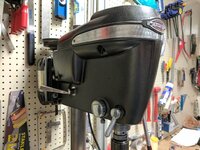
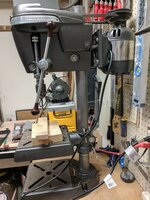
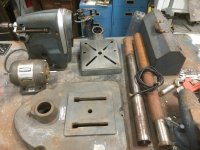
nali
Member
Nice job removing the rust, I'm still fighting making my Weiller shine 

thank youI have the same drill press. I may have to clean mine up now. Looks really good!
Sent from my iPhone using Tapatalk

thanks. honestly there wasnt much if really any rust.Nice job removing the rust, I'm still fighting making my Weiller shine


Thanks! Can't wait to see how you finish yours up.Just came across your thread buddy and read all the post. Very nice work brother.

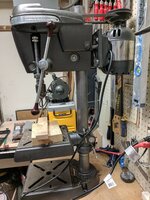


Thanks. Probably what I did. I'll replace them eventually or get them repacked.That came out great, looks like it's ready for another 50yrs of service!
The motor bearings are most likely metric inside diameter and the ones you ordered are std. They carry the same part number but different ID measurements. I did the same thing.
It's Ford dark shadow gray. Got it from Advance Auto.What's the paint? Great color.
I know. I've looked at his thread multiple times. Most likely I will be using this for wood. Some metal. I just need to find a project to justify buying it. Would be a great addition.This just hit me ..
rrich1, you're nearly done. Now you need one of the custom-crafted slow-speed pulleys from jziggy to top it off. He does excellent work!
I know. I've looked at his thread multiple times. Most likely I will be using this for wood. Some metal. I just need to find a project to justify buying it. Would be a great addition.
After looking through catalogs for my drill press my column seems to be the same as a model 100 and not the model 80.
Sent from my Pixel XL using Tapatalk

I don't have room for another drill press [emoji30] . I'm trying to figure out how I can fit a jointer and or band saw in what space I do have. My garage is a place to park our vehicles first. Then a workshop. I have no issue parking outside during an active project thoughSounds to me like there's another DP restore project in your future ....
Thank you. Runs great and put a wire wheel in it to clean pieces for my grinder restoration.Looking good, rrich...and nice job on that machine turned aluminum band!
Sorry I just checked. No pics of the quill return spring. Do you have a question about it? We did both with the wires. The wires that went directly I to the motor we covered using shrink wrap in places where it needed it. We replaced all of the other wires. Here is a pic I got off of vintage machinery to help with getting it wired back up correctly. When you take it apart be sure to take pics. Label the wires with tape if needed as they will be sorry and hard to differentiate in the pics.Very nice job on restoration. [emoji481]
Do you by chance have a picture of the quill return spring?
Also did you replace or cover the motor wires?
I have this sitting on my bench awaiting some wiring work.

My spring did not have a loop on both ends. One end was just kind of bent over and sat inside of the bottom of the last coil. That part then inserted into the tension knob on the left side.Thank you for the quick response and the picture of the wiring. The picture is my original spring. The replacement spring has loops on both ends and doesn't fit in the tension knob forks very well.