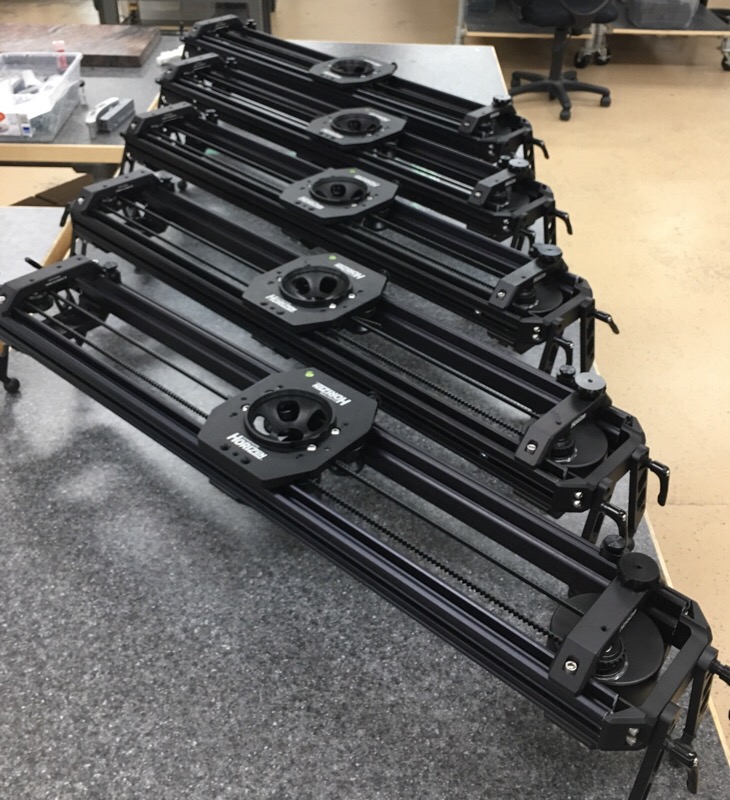
One of the projects that we've been busy with at the business is a new product launch, HoriZen. This is a product that supports cameras for super precise dolly shots. It will take 150lbs all day long, but only weighs 15lbs. It uses onboard inertial dampening and some very cool fluidic adjustable tension control to make slow, precise camera movements super easy to execute.
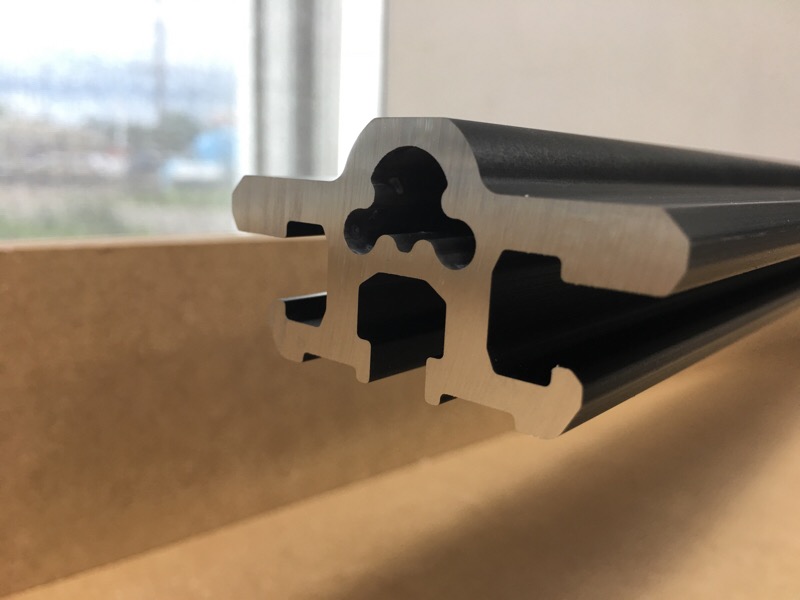
We needed to cut custom aluminium extrusions to length in-house, accurately, safely and cleanly for this product. The 12ft anodized extrusions need zero machining beyond cutting, and are part of a self-aligning system when combined with our machined bits. Everything attaches using 1/4"/20 square nuts which slide into the extrusion. This is our most technically advanced product ever, but using the simplest assembly method to date.
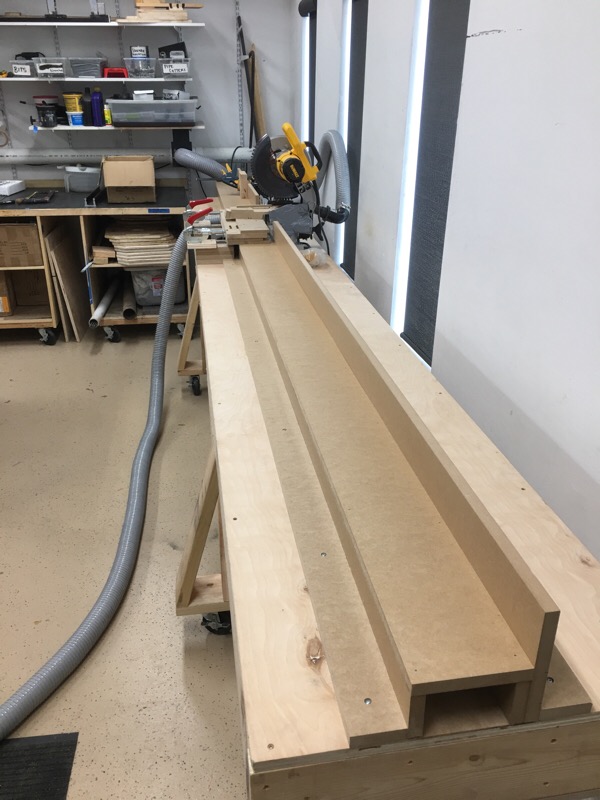
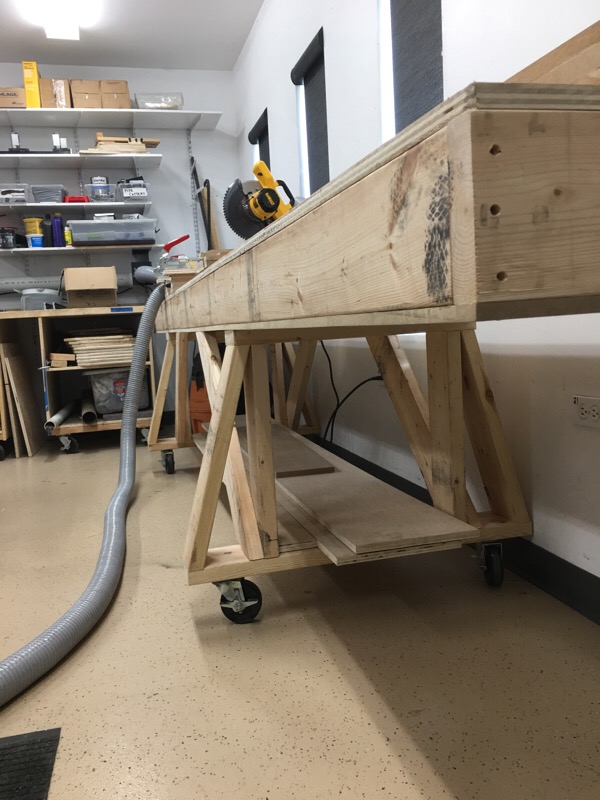
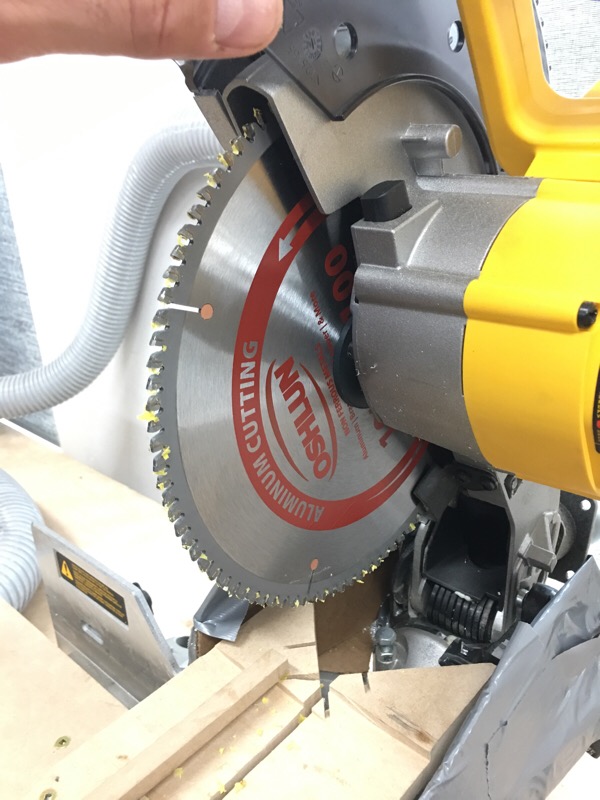
The workbench is based on a torsion box, with 3/4" birch top skin, four 2x6 stringers with blocking, and a 1/2" MDF bottom skin. It's crazy rigid...and heavy at 14' long. We demo'd a "proper" metal cut off saw (about $1000) and were not crazy about the cut quality with obvious steps in the cut up to 1/32". I decided to try a basic Dewalt chop saw, (about $250) and picked up a few Oshlun non-ferrous blades for about $50 each from Amazon.
This bench is on wheels so we can move it around as needed. The torsion box is so stiff that even a slight permutation in the floor is obvious as one or two of the wheels will be in the air. Construction is basic glue and screw.
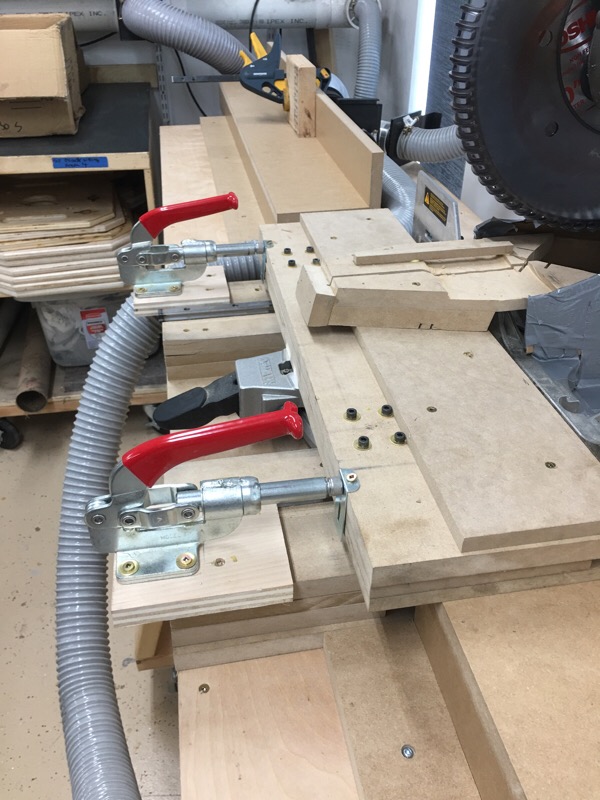
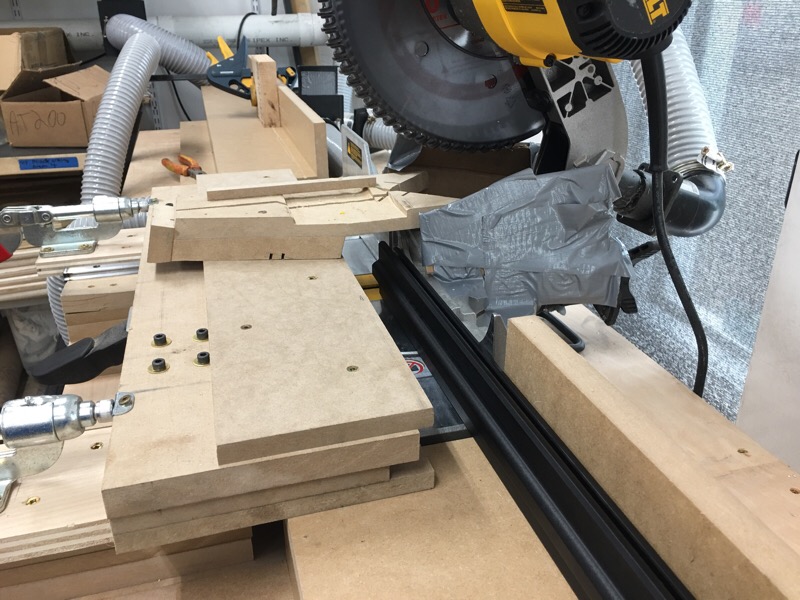
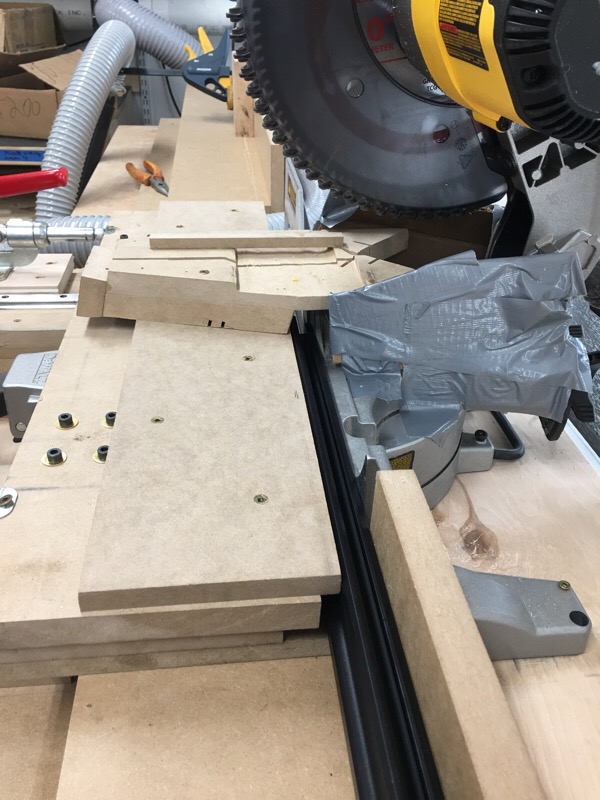
This clamping bed is built up from MDF and some clamps we sourced from McMaster Carr. Controlling chips was important, so I designed a zero clearance hood. Combined with side shrouds (just cardboard/duct tape) the chip collection is nearly perfect using the saw's dust port. Once slid to the cut stop, the extrusion can be clamped in 2-3 seconds. The cut stop is just a block right now..but will need a better system to ensure repeatably at the 3 lengths we'll be using.
This is the clamp in relaxed position.
This shows the extrusion secured for a cut. The aluminium is clamped over about 24" making this process very safe. Cosmetics are important so the MDF sacrificial material ensures we don't scratch or otherwise mar the anodised aluminium rails.
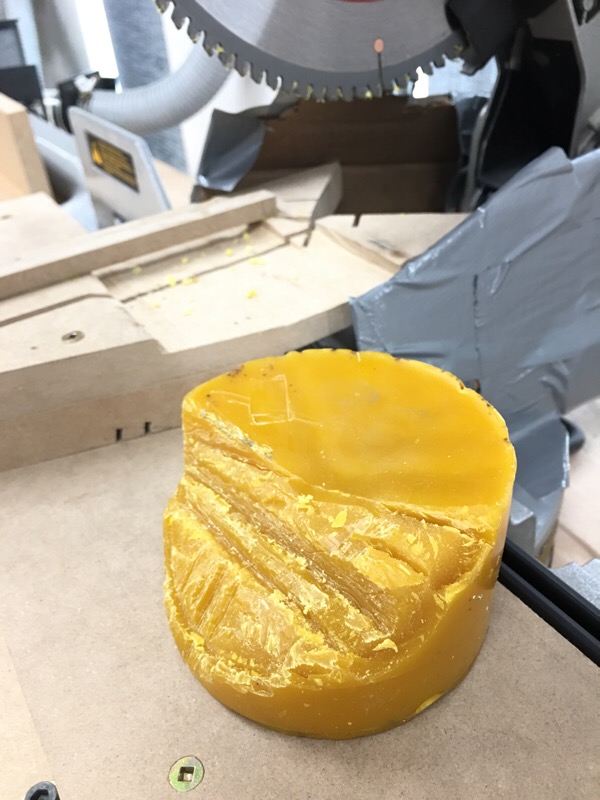
We had issues with aluminum plugging up the blade. Beeswax about every 8-10 cuts works nicely for blade lube that is zero mess. We've also ordered up some "Boelube" to give that a try.
One thing I've learned about dry cutting aluminium is that the tooth profile is usually "triple chip" which is a grind pattern repeating every 3 teeth. I also found that cutting aluminium over 1/4" thick works better with a 60 tooth blade, and under 1/4", this Oshlun is providing good results. We chipped a tooth on a 2nd Oshlun 100 tooth blade testing thicker aluminium with a lot of tooth plugs, smeared cuts etc.
These cuts are nearly perfect. After quite a bit of messing around, we've found a working formula. Using the right teeth count non-ferrous blade, solid clamping, dry lube (beeswax) and efficient chip collection was key to clean cuts.
Sneak peak...launch is next week. We've been working in this for at least 18 months now. Today was a special day