To avoid these ads, REGISTER NOW!

What did you do "IN" your garage today?

zmotorsports

ALLIANCE MEMBER
Joined
Oct 20, 2009
Messages
21,477
Location
Northern Utah
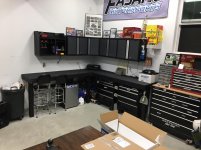
ZMOTORSPORTS, can you post pics of the LED lighting you used under your new age cabinets? I have some 13' ceilings and sometimes I just need some task lighting on my counters that the high LED lights don't provide. Thanks. I also own a 36' diesel pusher but I'm envious of yours !!!

I have quite a few pictures on my Shop Projects 2.0 thread. There is a link in my signature to the thread, they would be towards the tail end as they were the most recent upgrade to the shop.

They were a 6-pack of the T5 size LED's from Amazon that the wife purchased for me.

Here is a link.
https://www.amazon.com/dp/B01MUKSZE3/?tag=atomicindus08-20

If you don't mind me asking, what make/model of pusher do you have?
 
To avoid these ads, REGISTER NOW!

dragrcr890

Well-known member
Joined
Dec 11, 2011
Messages
47
Location
Salem, WI
very cool! that's kinda what I've been looking for, I like that they are linkable and have a smaller inline button. I actually have them in my amazon cart for purchase... Its an older Monaco Dynasty, no slides. 8.3 cummins. I use it to pull the 28ft enclosed with the dragster in it to events around the Midwest.
 

dragrcr890

Well-known member
Joined
Dec 11, 2011
Messages
47
Location
Salem, WI
I used to trim houses but now I test HV substation equipment but I'm looking into how high your uppers cabinets are.... I set my kitchen cabinets between 18-20 above counter top, my new age cabinets in my garage are at 19" but I'm considering going higher since I like the space clearances.... yours looks like 24" ? I'm only 5'9" so I don't want them super high but I like your height better it appears.
 

zmotorsports

ALLIANCE MEMBER
Joined
Oct 20, 2009
Messages
21,477
Location
Northern Utah
very cool! that's kinda what I've been looking for, I like that they are linkable and have a smaller inline button. I actually have them in my amazon cart for purchase... Its an older Monaco Dynasty, no slides. 8.3 cummins. I use it to pull the 28ft enclosed with the dragster in it to events around the Midwest.

Sounds good. I liked that the wiring was white so they blended well with the wall and I just mounted the rectangular plastic switch right to the wall next to each work bench so they are within easy reach.

That Cummins 8.3c in the older Dynasty coaches was a great engine as well as being mated to that MD3060 Allison transmission. We used to tow a 26' enclosed race trailer around with ours and it did it well. In race trim the trailer was right @ 10k pounds loaded but after we got out of racing and hauling our Jeep and Harley around the loaded weight was just under 13k pounds pushing our combined coach and trailer weight to 49k pounds. No ball of fire but it performed well for only being 400hp.
 

zmotorsports

ALLIANCE MEMBER
Joined
Oct 20, 2009
Messages
21,477
Location
Northern Utah
I used to trim houses but now I test HV substation equipment but I'm looking into how high your uppers cabinets are.... I set my kitchen cabinets between 18-20 above counter top, my new age cabinets in my garage are at 19" but I'm considering going higher since I like the space clearances.... yours looks like 24" ? I'm only 5'9" so I don't want them super high but I like your height better it appears.

Funny you mentioned cabinet height. That is one thing my son and I went back and forth on for the past several months. In my last shop they were quite high above the work bench surface and I had to get a step stool to reach the shelves. I had originally thought it would be good for working on transmissions, motorcycle engines, etc on the bench and not hitting the light or bottom of the cabinet. However, after working in that shop for more than 25 years and then building fixtures to hold transmissions and motorcycle/ATV/snowmobile engines on the cabinets didn't need to be that far off the work surface.

I've been placing blocks and cardboard boxes on my benches off and on for the past several weeks now to determine a better height than in my last shop. I am 6'2" and my son is 6'4" (maybe closer to 6'5" now) so we settled on 26" from the top of the work surface to the bottom of the cabinet. This will allow either of us to reach the bottom shelf and most items on the top shelf but we can't reach all the way to the back wall of the cabinet on the top shelf so a step stool may still be necessary for those few situations.
 

polexican23

Banned
Joined
Jun 11, 2013
Messages
2,168
Location
burbs-Illinois
I broke down the shop computer and moved it inside the house. My work provided laptop took a dump and this one is the only thing i have to login remotely.
 

C_F

ALLIANCE MEMBER
Joined
Jan 21, 2005
Messages
9,675
Location
Utah...SNOW BLOWS!
I did a garage walk through, to make sure I didn't have any leftover Escape parts before it's new owner arrived to take it off my hands. It's next owner is a young lady, she likes it because "it's cute". :D

6vbnS5Jt.jpg
 

Joshua_Russo

Well-known member
Joined
May 14, 2015
Messages
104
Location
Huntsville, Alabama, USA
Installed the transmission fill tube and the starter on the Land Cruiser.

First time wrenching in a flurry since we left New Hampshire more than 15 years ago.
79aa592b401ebc3f11072753ef0edc2f.jpg
3b8427c2b84c9c56822411161041d3fb.jpg


Sent from my VS988 using Tapatalk
 

JimVonBaden

Well-known member
Joined
Dec 2, 2011
Messages
15,716
Location
Northern Virginia
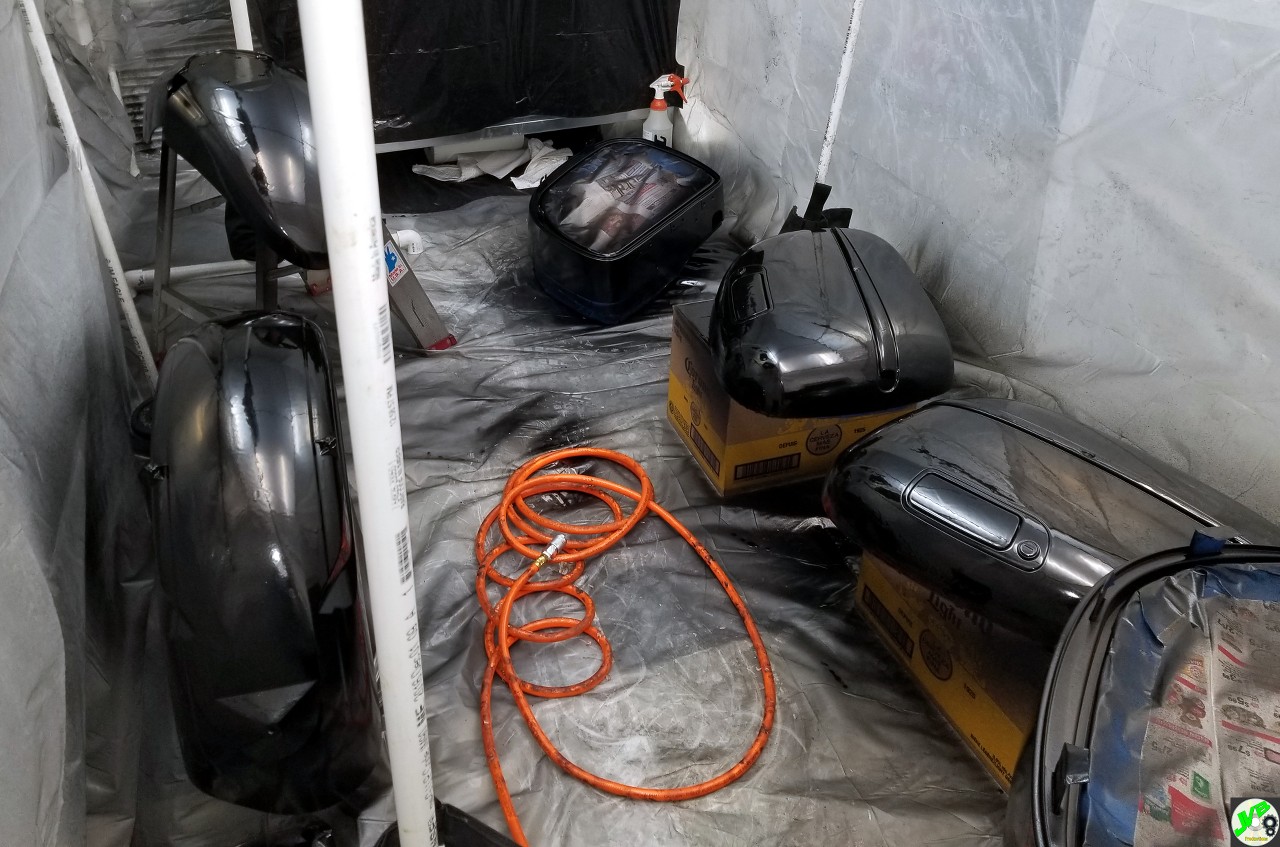
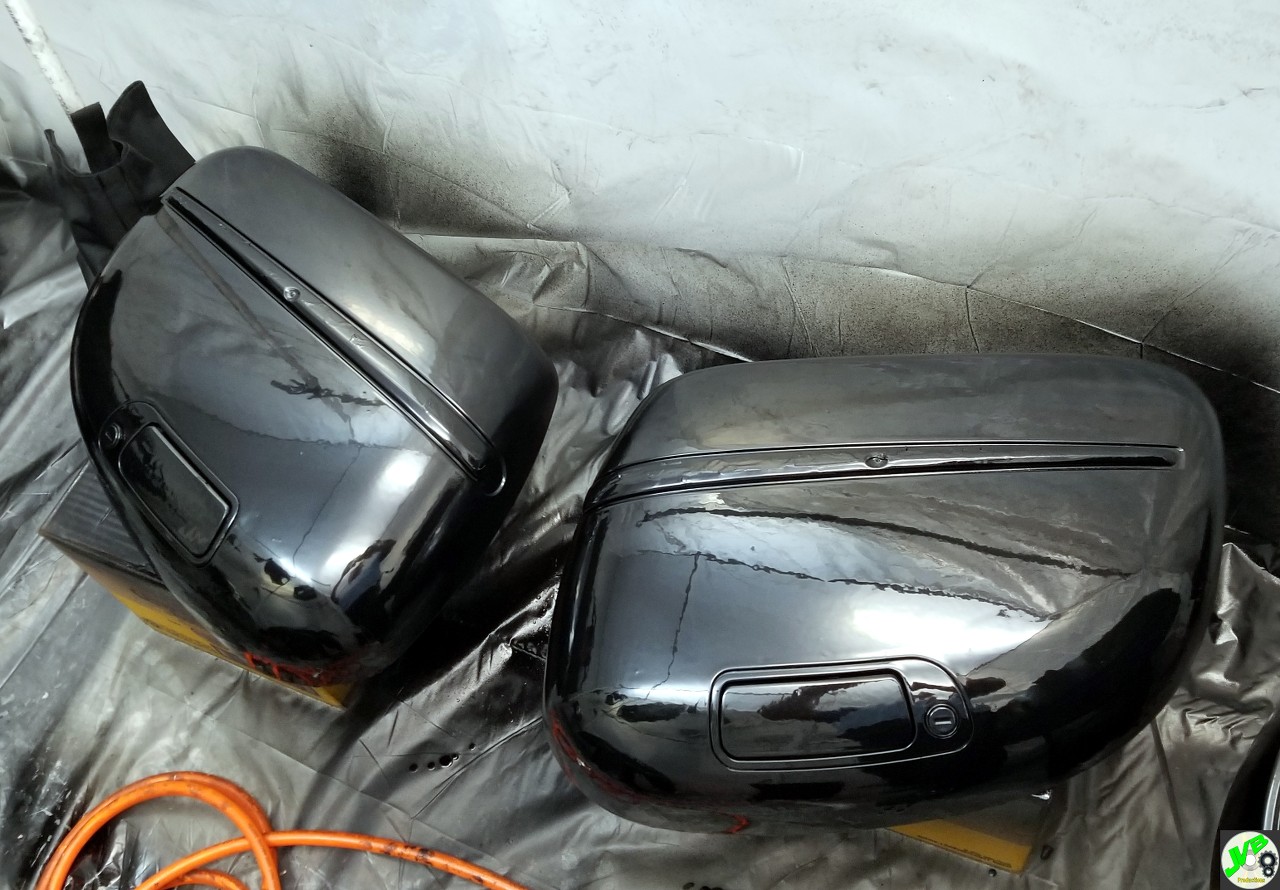
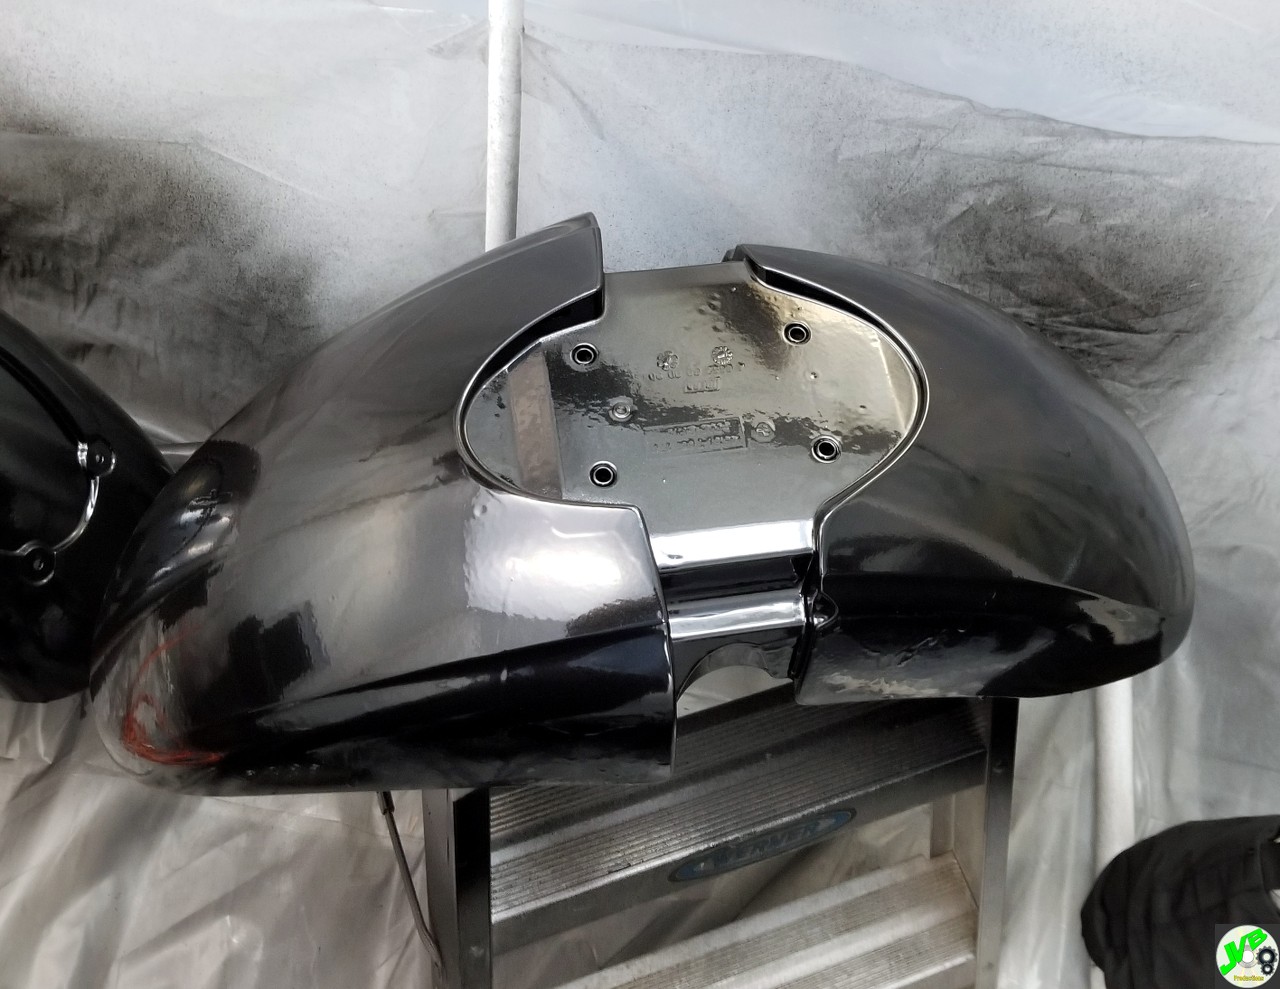
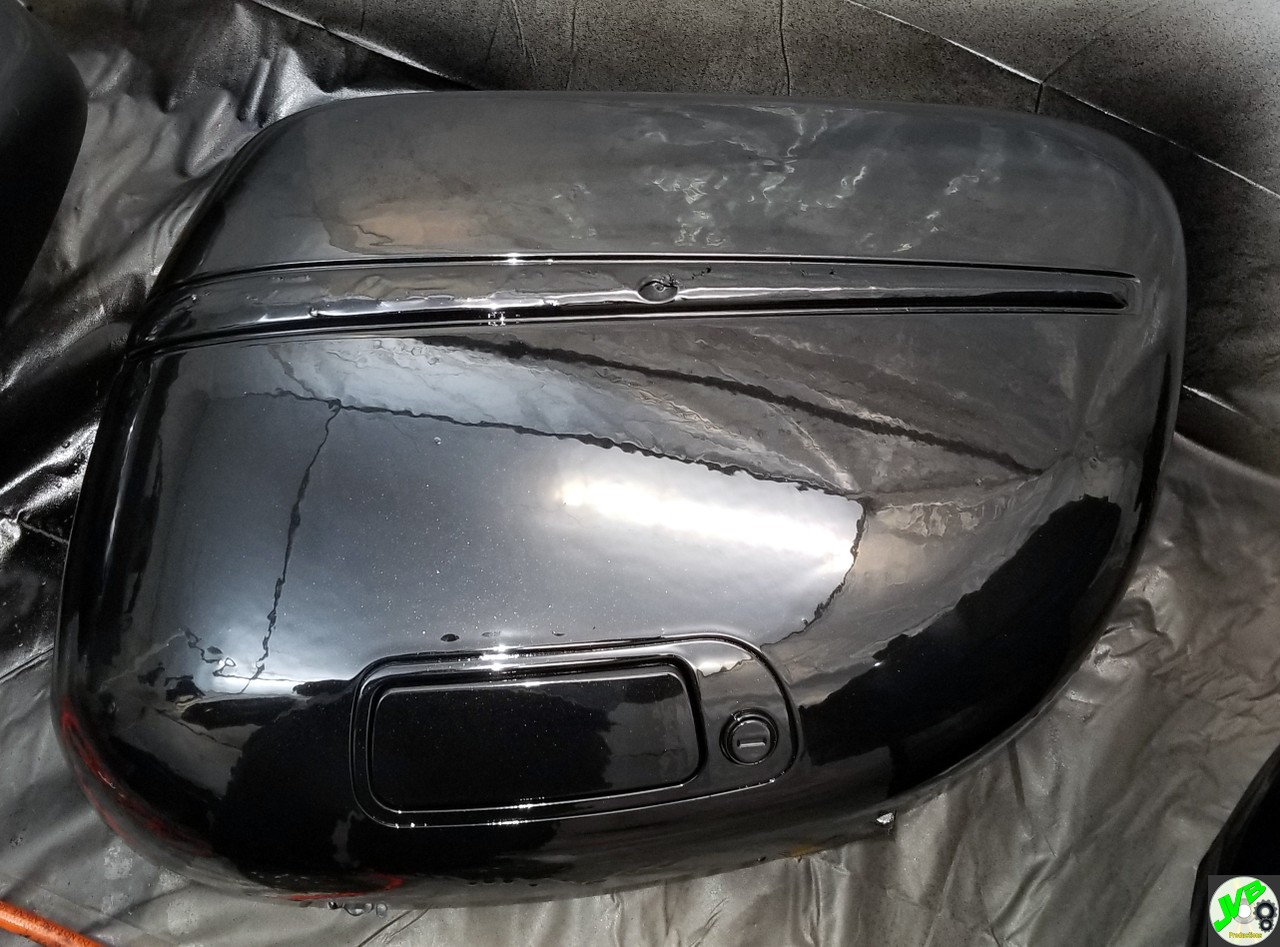
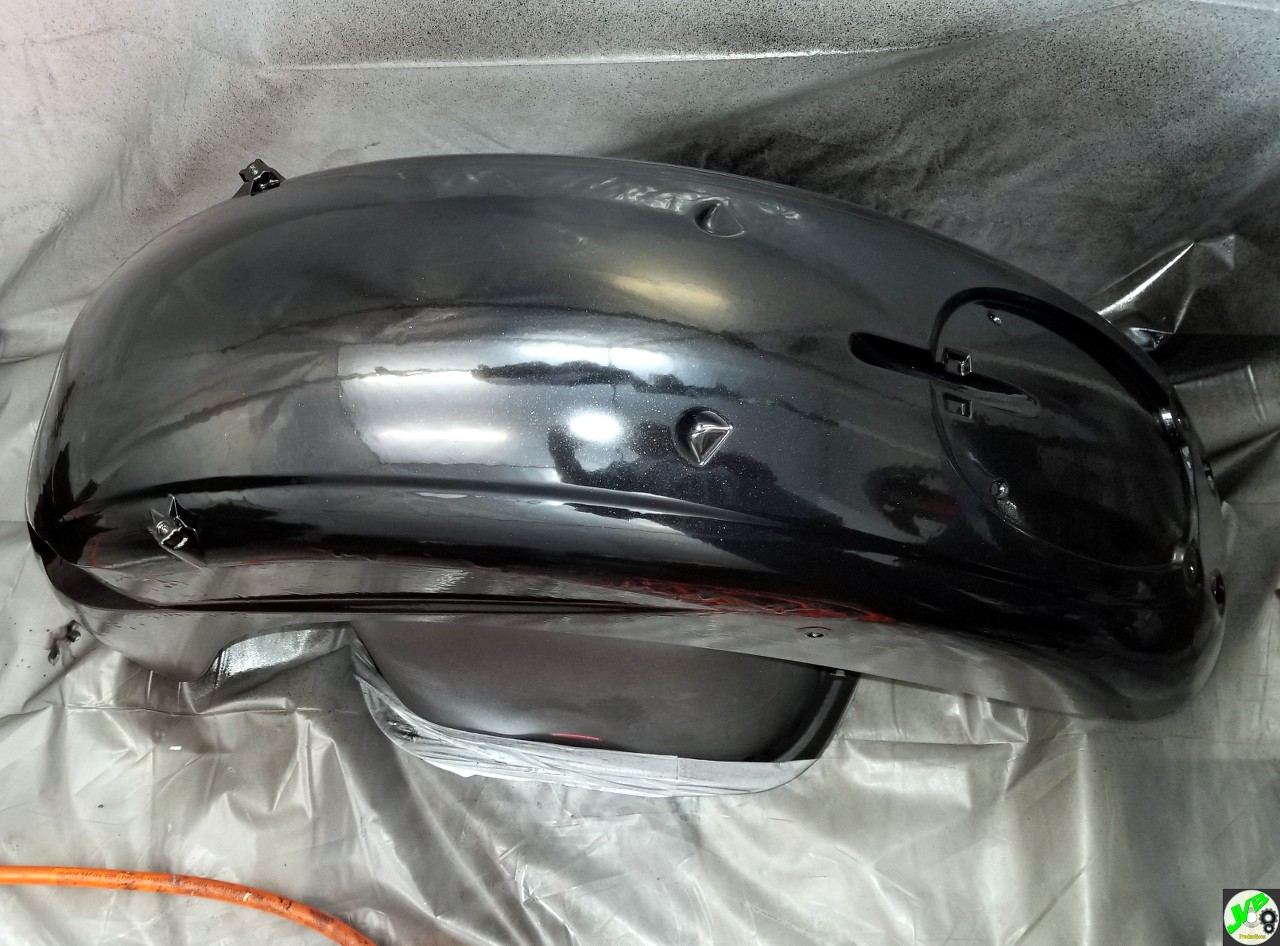
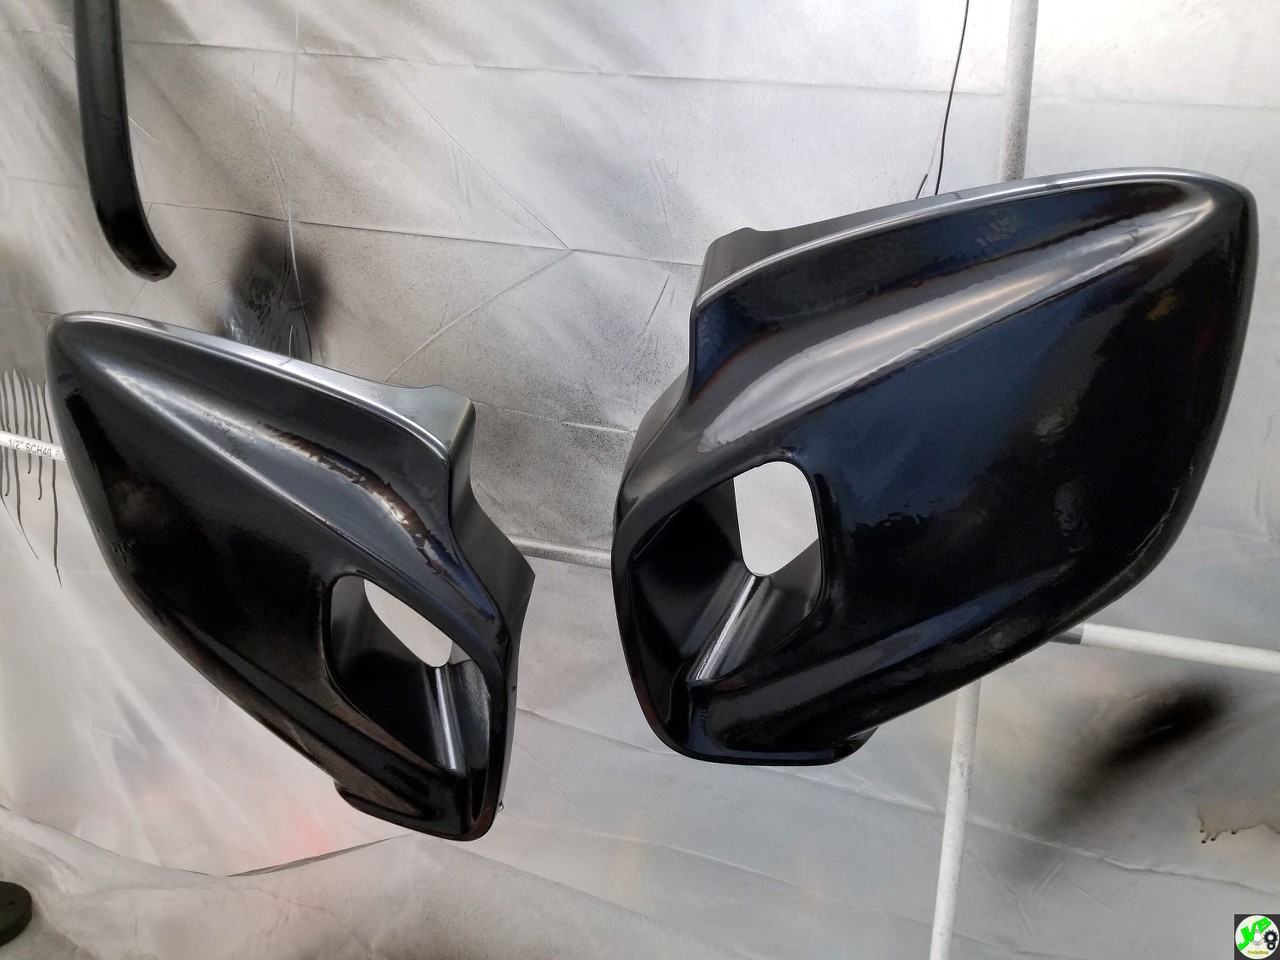
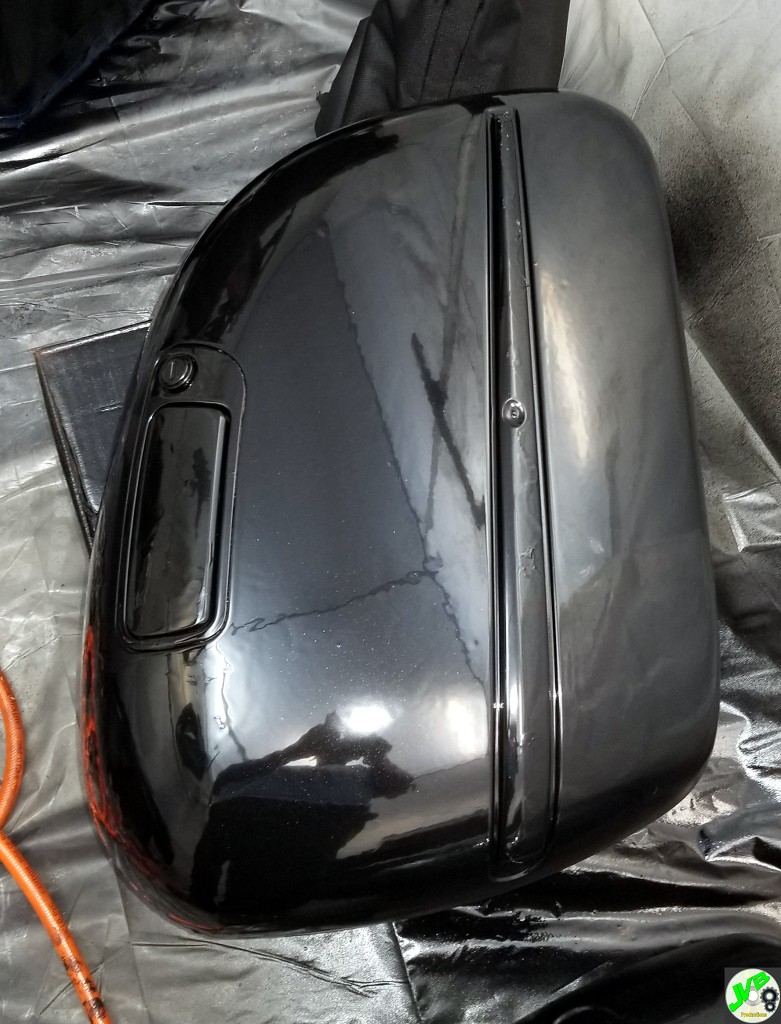
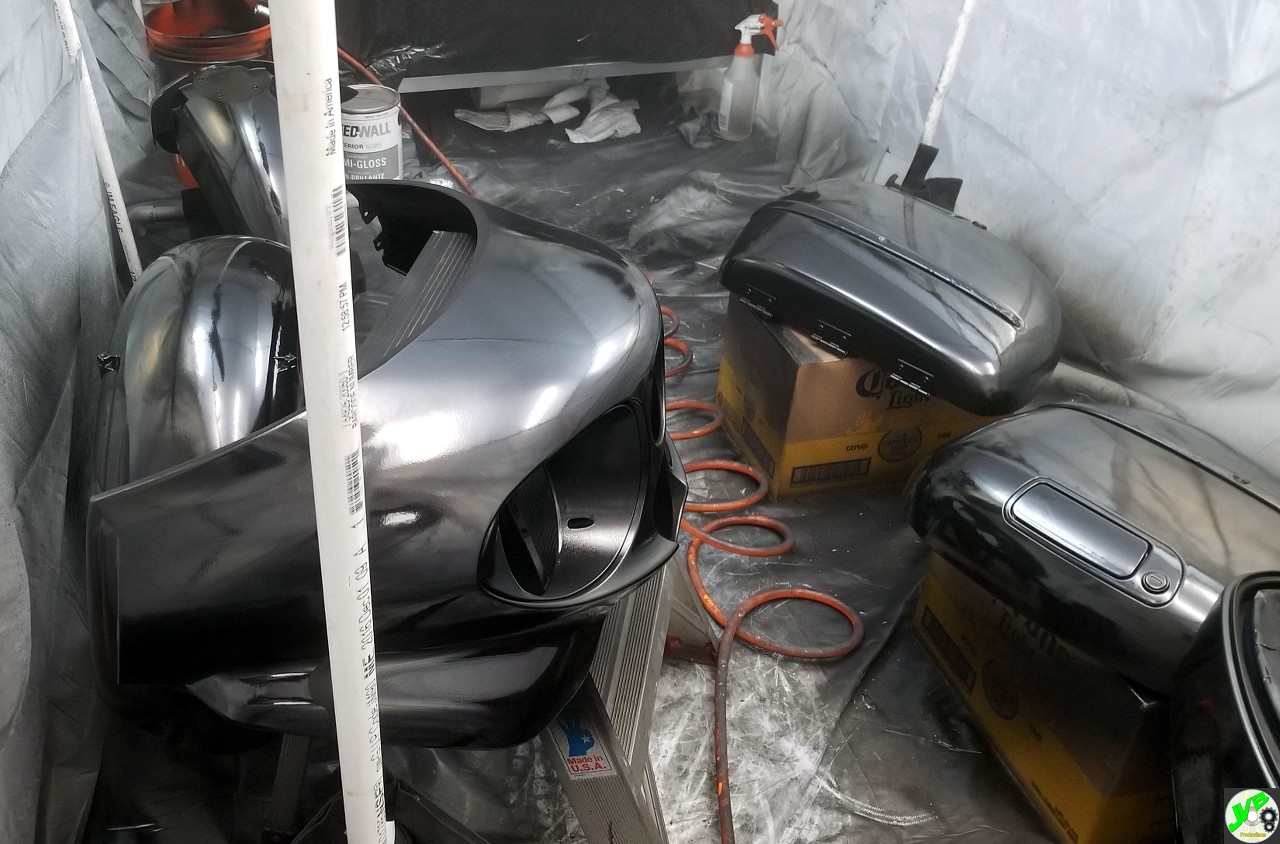
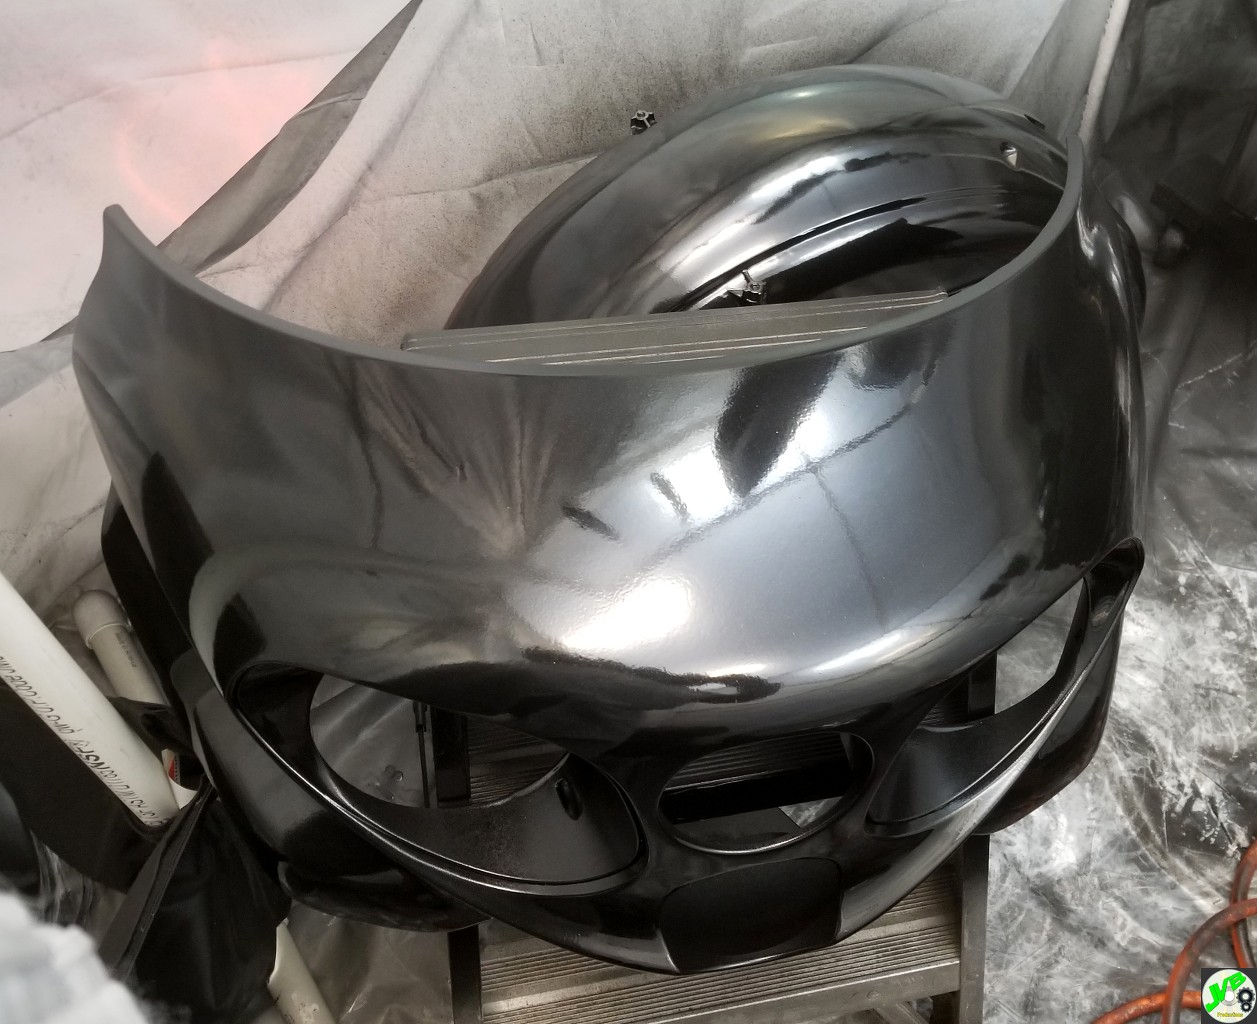
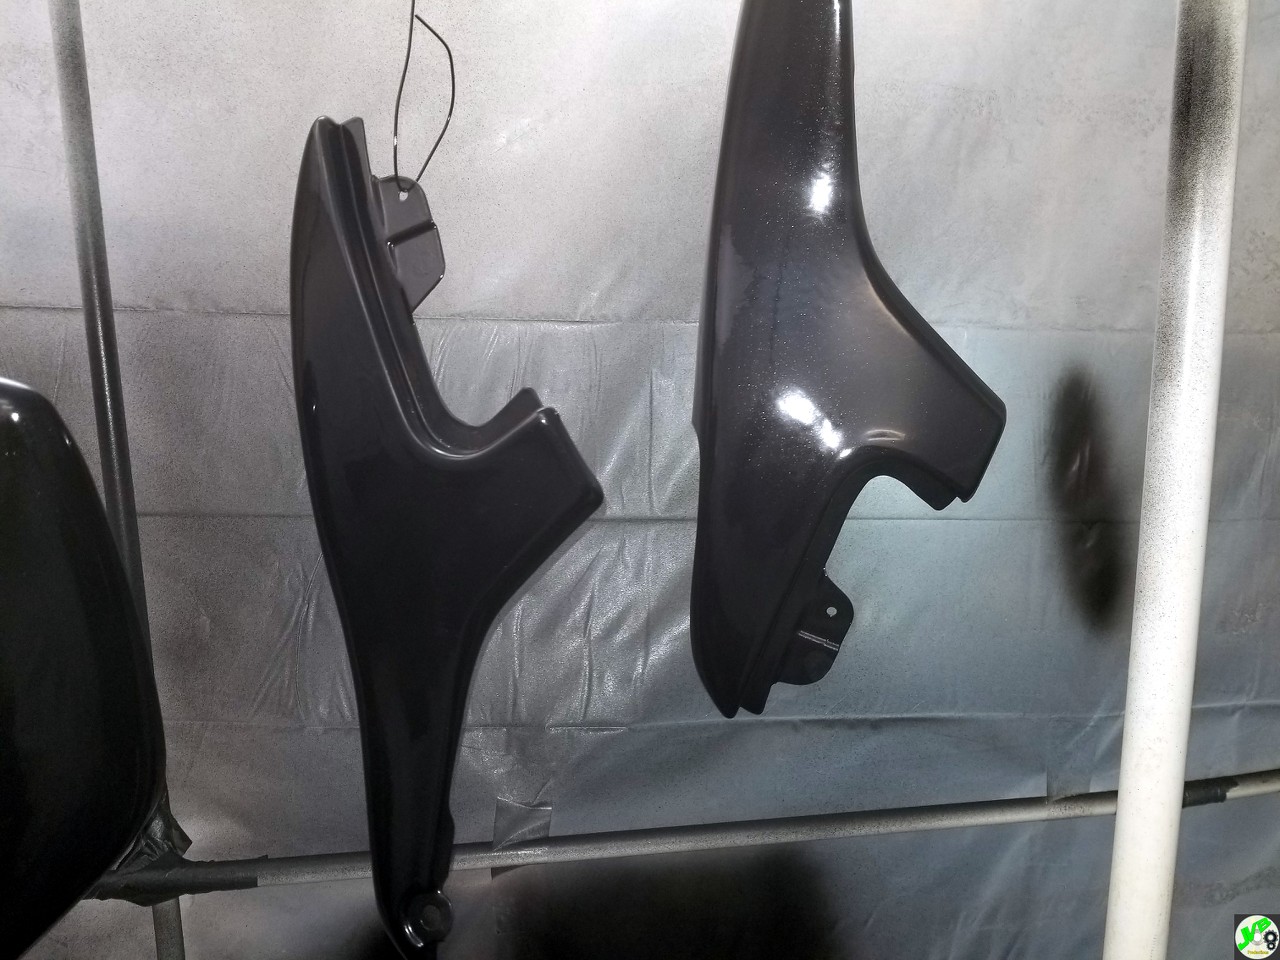
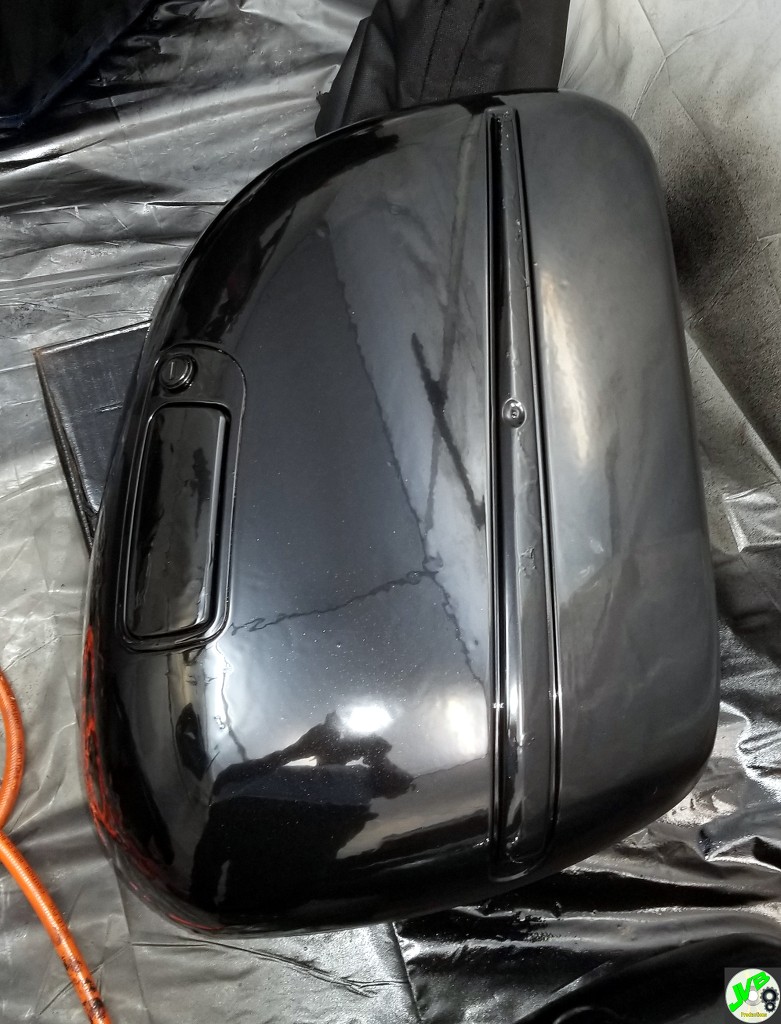
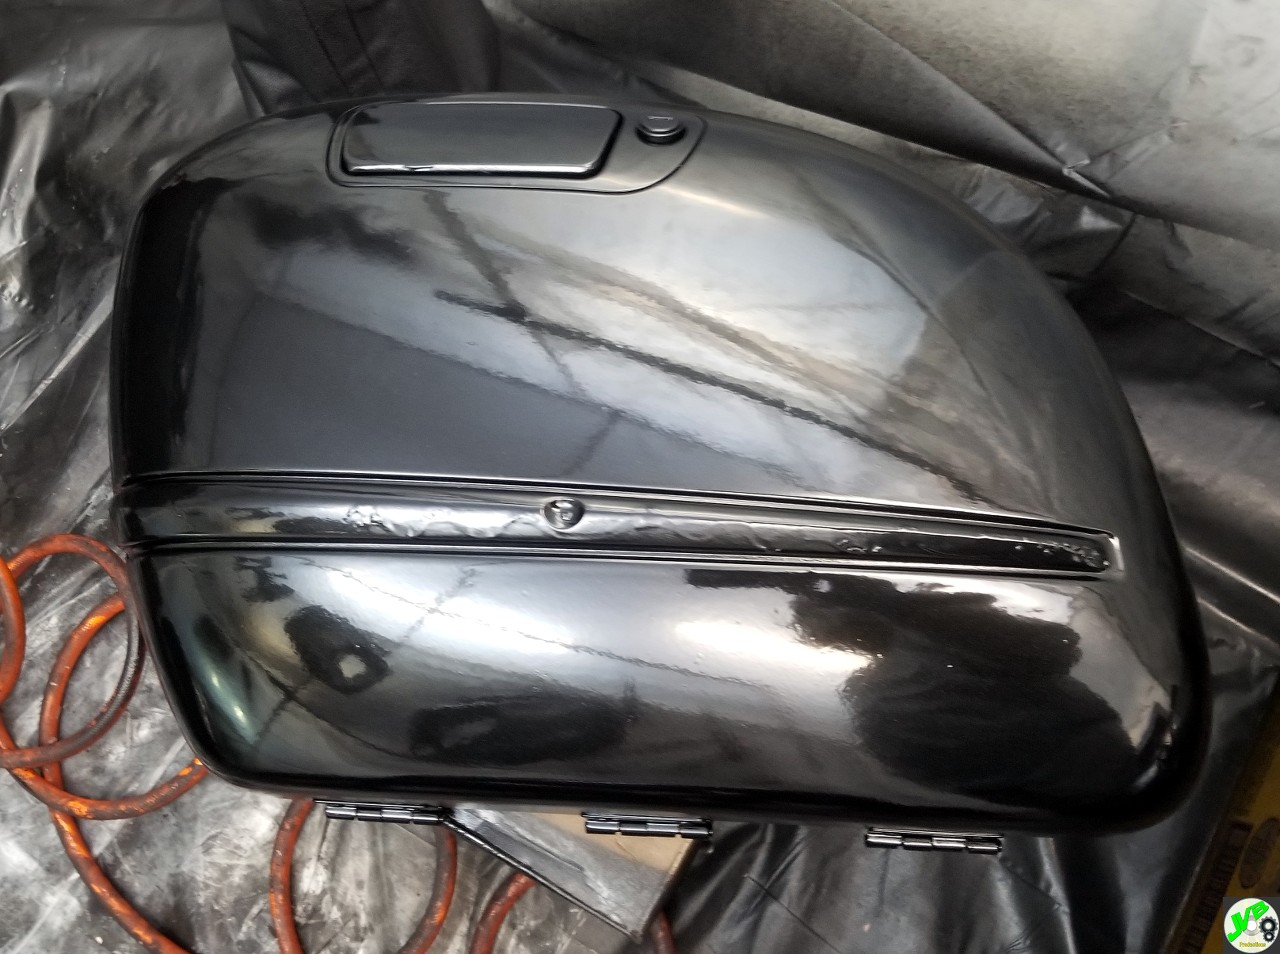
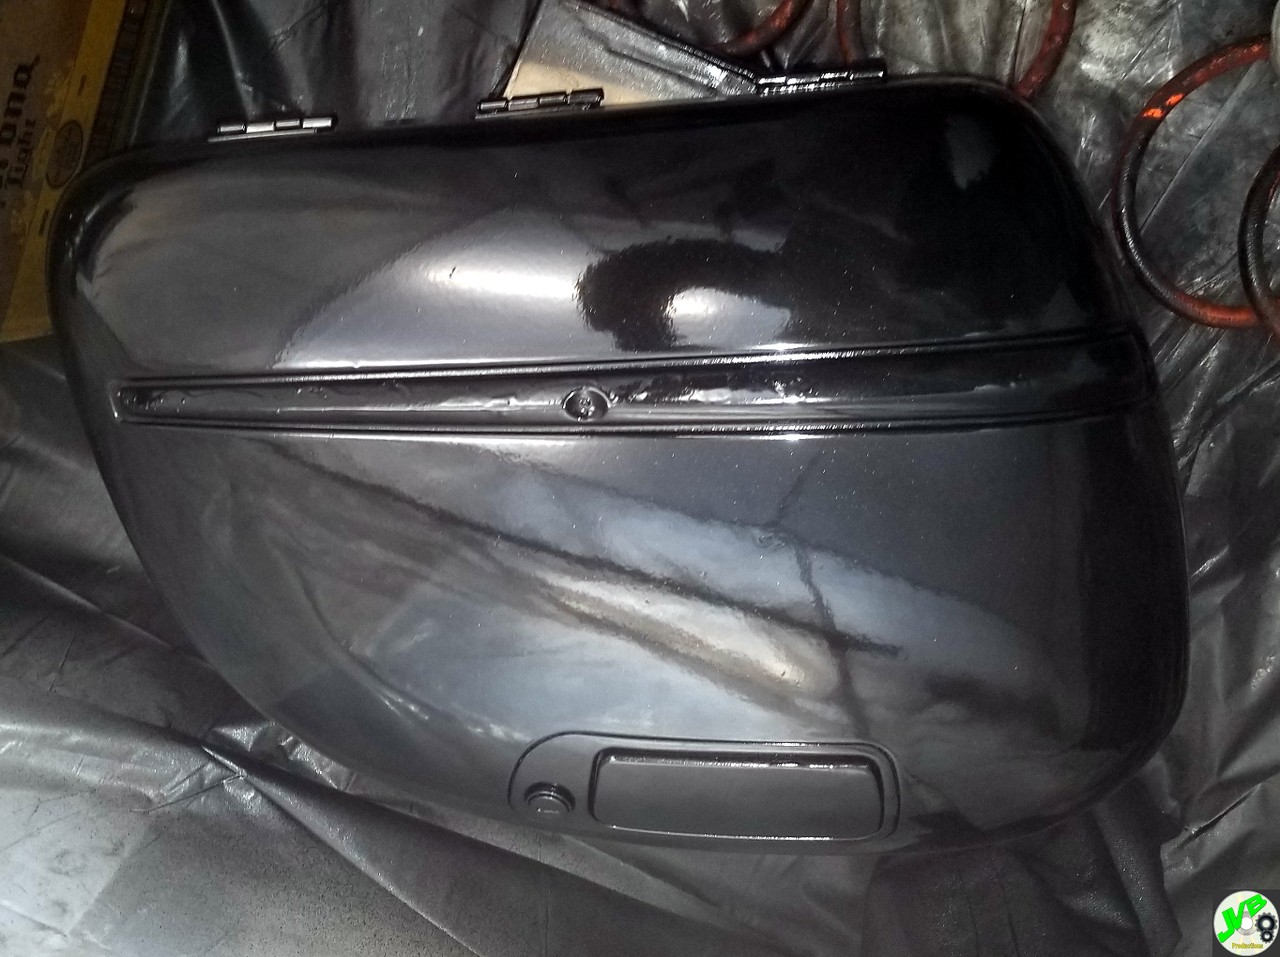
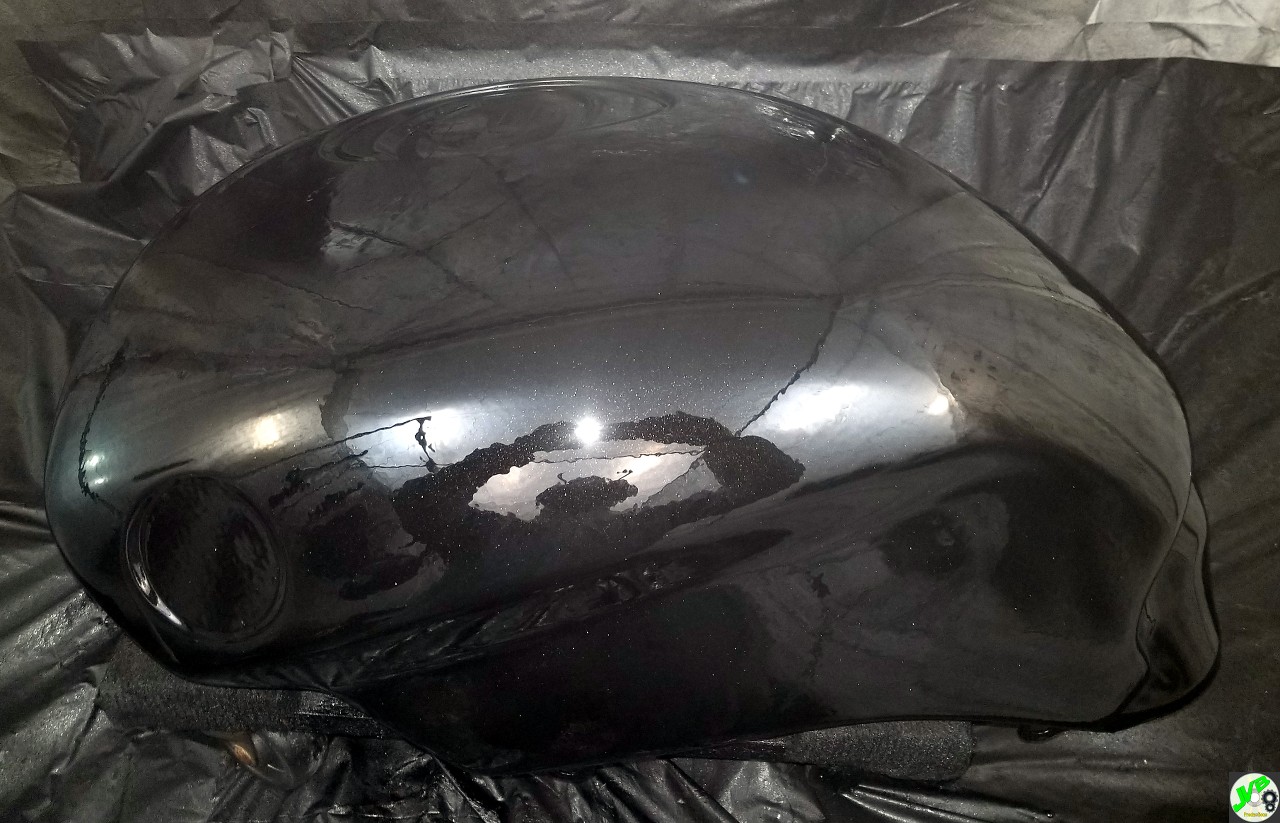
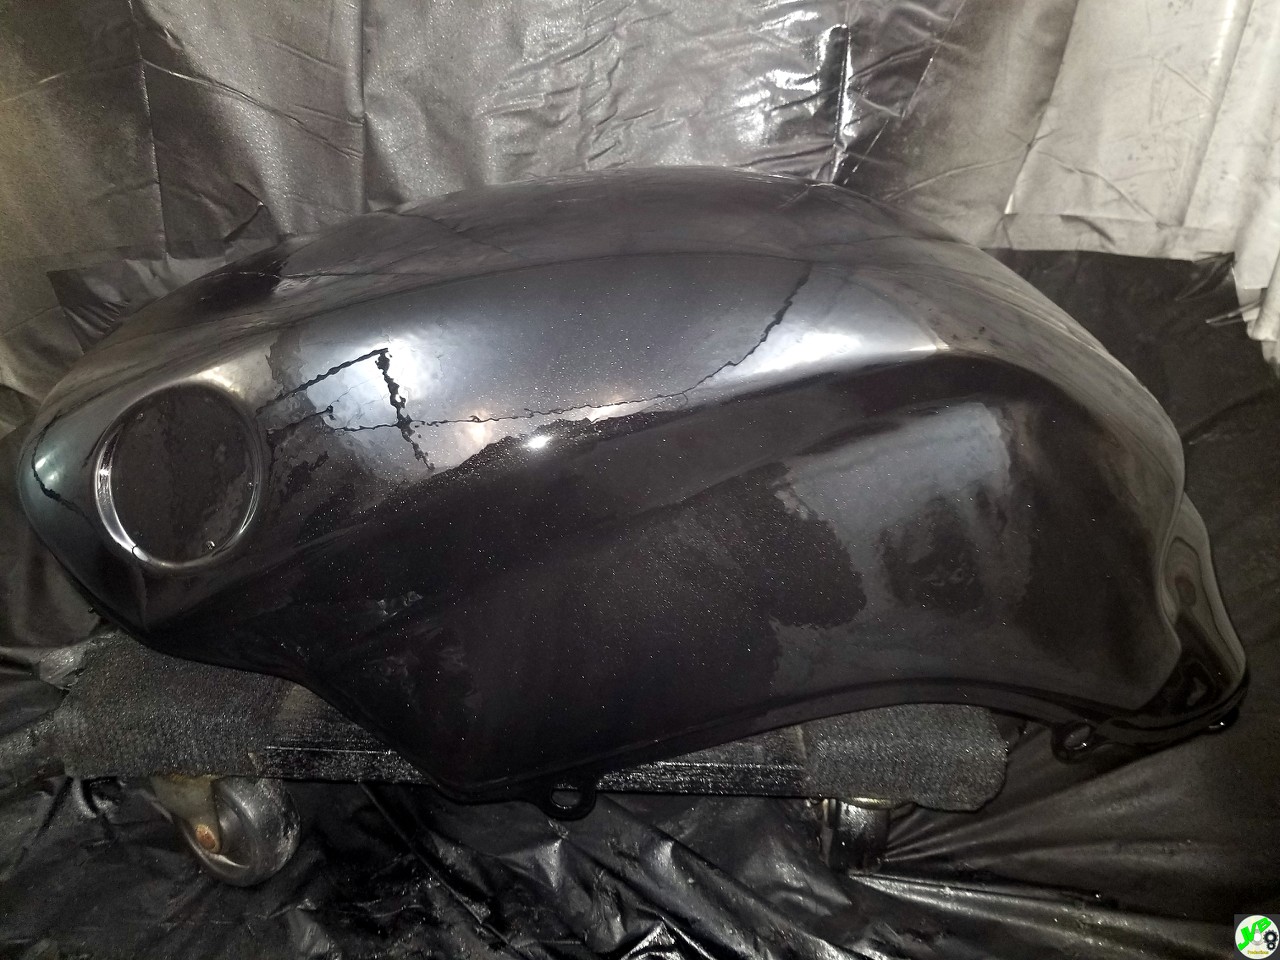
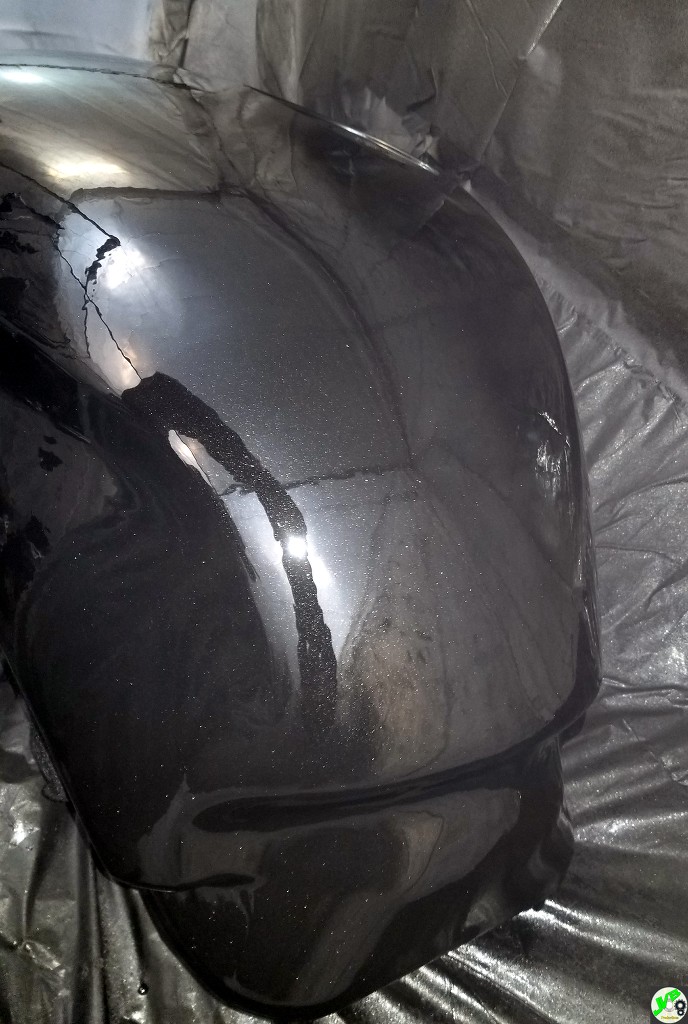
Some of the parts are done, but not as good as I wanted. I should have practiced on a junk part first, but I didn't. I expect a lot of post paint correction once the paint cures. I still need to finish and paint the tank, and touch up the panniers.

Overall I am OK with the work. The paint has a bit too much orange peal, and a bad first mix means a couple runs. The shine is decent though.


On the subject of the paint booth. It worked pretty well. I should have painted fewer parts at a time as the booth is a little tight. But overall it worked great!
 

Outlawmws

Well-known member
Joined
Aug 9, 2011
Messages
39,340
Location
The Badlands
Over the past couple of evenings, rebuilt the fuel connection head on a 6 gallon OMC outboard fuel tank. Its going to become a quick disconnect reserve fuel tank on the DD rig for long trips. I'll plum on a hose and E pump on board to dump it into the tank and wil be able to do that while still driving.

Tonight I got out stuff to go rabbit hunting in the AM. Been years since I did any rabbit hunting...
 

rburke65

Well-known member
Joined
Nov 10, 2007
Messages
12,349
Location
Canfield, Ohio
Recently bought a used Kubota tractor and did a great job on it today. It also came ith a snow blower and I discovered the base of the snow chute was heavily bent. I ended up cutting ofthe base and a friend is going to see if he can "make it better".
 

PhantomEB

Well-known member
Joined
Feb 6, 2006
Messages
6,846
Location
Medicine Hat, AB, Canuckistan
Pulled out all the fuel lines I have from previous race cars and trying to figure out where I can place the fuel pumps etc under the off-road truck.

Came to terms finish the fuel tank first as well read the instructions for the EFI throttle body going into this truck. Everything getting a lot more tighter under there!

Gotta pack up the car tomorrow for the early departure for work. Want the garage swept out as I letting the GF park in there while it’s cold.
 

chrislehr

Well-known member
Joined
Apr 10, 2009
Messages
1,704
Location
Portland, OR
dbd37522939da7dfb159409861fec830.jpg


Got a more correct cord protector on my jointer vfd box

dc74585fbaa4a95e46567673c250169d.jpg


Glued up some plywood scraps to goof around on the lathe with

3f8c35c6566a51ab70851b3168cf3a96.jpg


Rough turned this maple stock to inlay miliputt on

dfe347e073b92b1270ed06e9d6990afc.jpg


Started sanding down a pot of epoxy i had left unused.
 

Joshua_Russo

Well-known member
Joined
May 14, 2015
Messages
104
Location
Huntsville, Alabama, USA
These tires touched the earth for the first time in a solid six months.

I'm bolting pieces on, connecting harnesses, hoping to fire her up soon, maybe even today, and see if my diy transmission rebuild was successful.

Pretty nervous about it, if I'm honest.
35fe9bca0ef5601f3634f330a974ecca.jpg


Sent from my VS988 using Tapatalk
 
To avoid these ads, REGISTER NOW!

C_F

ALLIANCE MEMBER
Joined
Jan 21, 2005
Messages
9,675
Location
Utah...SNOW BLOWS!
She's lucky. It looks great and I've been here long enough to know you likely took very good care of it.
Thanks, man. :) Yep, I did take good care of it. A few months ago I buttoned a short list of things that needed attention, and it's now a happy little SUV. I hope it treats her well for a long time.

Pretty nervous about it, if I'm honest.

I usually am too, so you aren't alone there. :)
 

JimVonBaden

Well-known member
Joined
Dec 2, 2011
Messages
15,716
Location
Northern Virginia
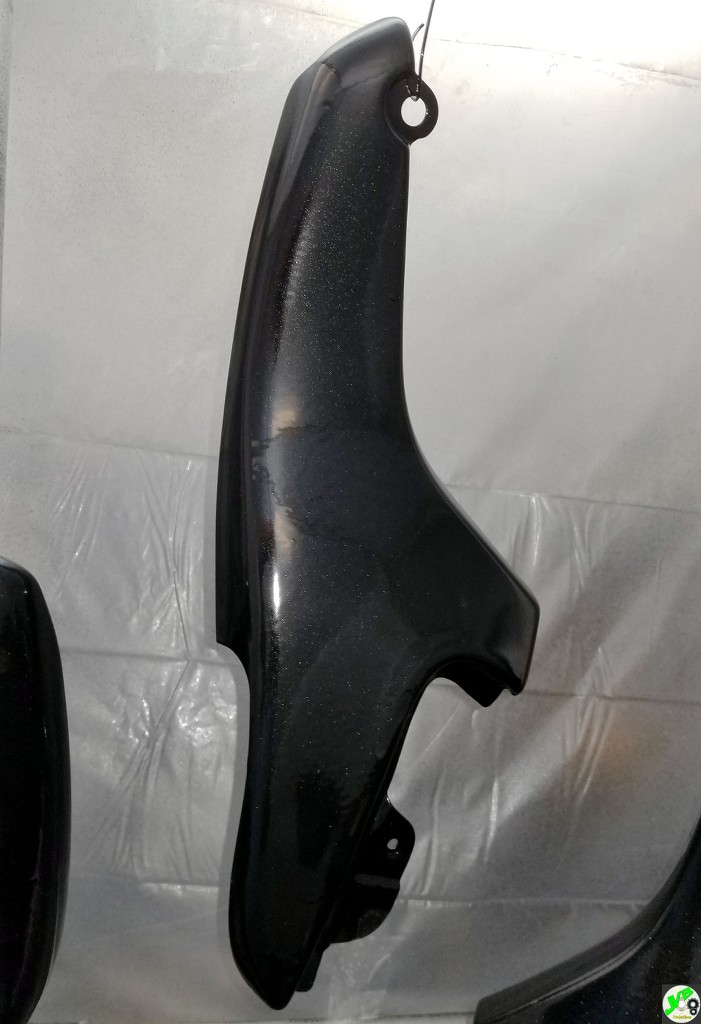
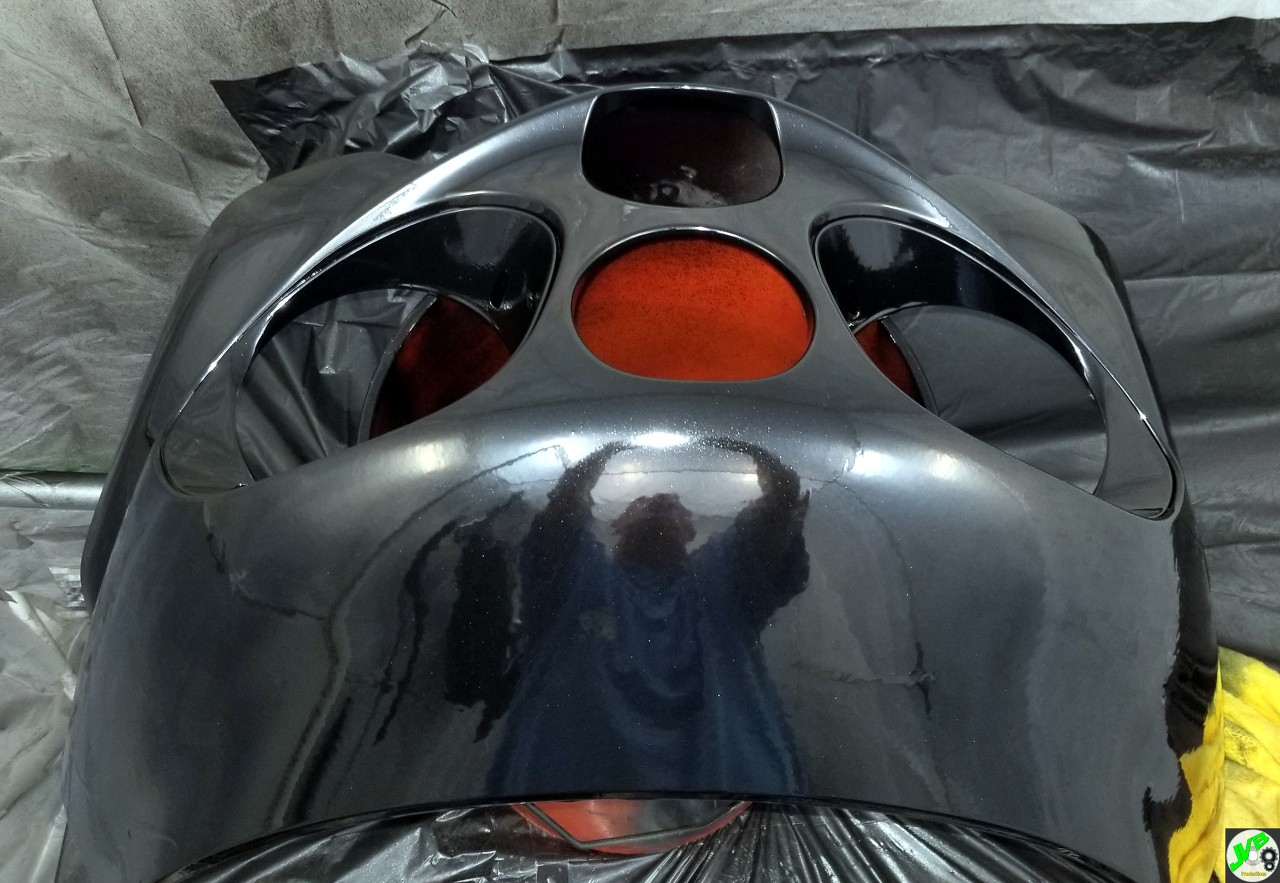
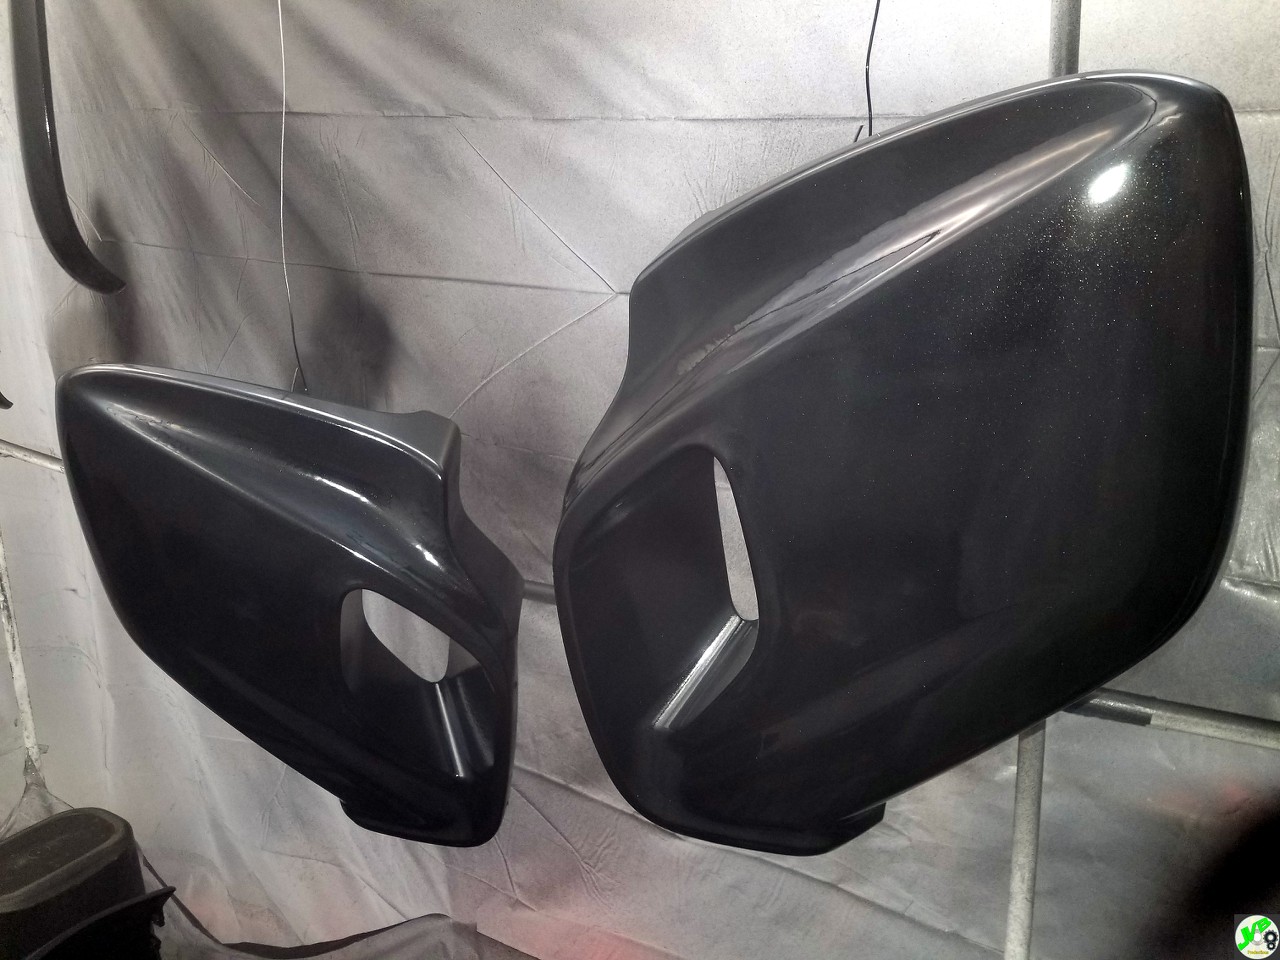
So, today I took a couple of pieces outside to see how they looked in natural light. In a word, terrible. Huge orange peal that would make an orange proud, runs I couldn't see yesterday, and thin spots in the paint on several pieces.

I decided to start over. I sanded all of them down to smooth, which took 5 hours. Then adjusted the paint mix to 8/2/1.

Immediately I could see a dramatic improvement. 3 coats later and they look very good. Far less orange peal, no real runs, a couple small sags, and a great shine.


Now, should I paint my GS side panels? The paint is a very close match to the bike paint color, metal flake and all.
 

oldmxracer

Well-known member
Joined
Jan 29, 2006
Messages
1,204
Location
Ohio
These tires touched the earth for the first time in a solid six months.

I'm bolting pieces on, connecting harnesses, hoping to fire her up soon, maybe even today, and see if my diy transmission rebuild was successful.

Pretty nervous about it, if I'm honest.
35fe9bca0ef5601f3634f330a974ecca.jpg


Sent from my VS988 using Tapatalk

Good luck, hope all goes well !
 

johnyg

Well-known member
Joined
Nov 11, 2015
Messages
319
Location
boca raton fl
Joshua.....any time you put alot of your money ,time and energy into something that could turn to **** in a heartbeat you gotta be nervous. if it works...nothing better.....if it doesnt......think of how fu** nervous the the guys at nasa must be and everybody is watching!!! you seem to be a pretty thorough guy....you will be fine.
 

Joshua_Russo

Well-known member
Joined
May 14, 2015
Messages
104
Location
Huntsville, Alabama, USA
Thanks for the kind words, fellas.

She cranked for a while then fired!

That means my "as long as it's on the bench" full starter rebuild (brushes, rubber bits, and bearings in addition to contacts and plunger) was successful AND I didn't screw up the neutral safety switch/connection in the transmission.

Still need to finish adding the rest of the transmission fluid and see if she moves, but this is a major hurdle. Too dang cold to keep working tonight.

Thanks again!


Sent from my VS988 using Tapatalk
 

Bempa

Well-known member
Joined
Jul 26, 2012
Messages
79
Location
Avesta, Dalarna, Sweden
So, today I took a couple of pieces outside to see how they looked in natural light. In a word, terrible. Huge orange peal that would make an orange proud, runs I couldn't see yesterday, and thin spots in the paint on several pieces.

I decided to start over. I sanded all of them down to smooth, which took 5 hours. Then adjusted the paint mix to 8/2/1.

Immediately I could see a dramatic improvement. 3 coats later and they look very good. Far less orange peal, no real runs, a couple small sags, and a great shine.


Now, should I paint my GS side panels? The paint is a very close match to the bike paint color, metal flake and all.

Painting is so much fun, but alot of elbow grease goes inte to it if you want that professional finish. It´s looking good, :thumbup:
 

JimVonBaden

Well-known member
Joined
Dec 2, 2011
Messages
15,716
Location
Northern Virginia
Painting is so much fun, but alot of elbow grease goes inte to it if you want that professional finish. It´s looking good, :thumbup:

Thanks! It is a lot of work. I put more prep time into this bike than the last car I prepped for paint. Total, with prep and paint is about 80 hours so far.
 

npp

Well-known member
Joined
Dec 6, 2012
Messages
296
Finally hung my Wurth calendar,should be warmer in the garage now.
 

Attachments

  • 20180101_103121.jpg
    20180101_103121.jpg
    136.3 KB · Views: 150

Mtlwright

Well-known member
Joined
Sep 27, 2017
Messages
58
Location
Arnprior, Ontario
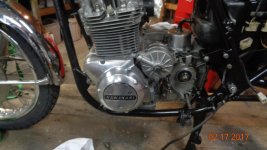
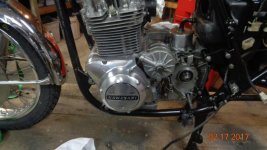
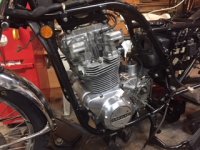
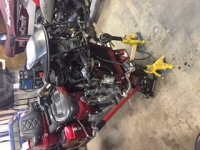
Spent yesterday putting the cases on the KZ750.

DSC00856.jpg


DSC00857.jpg

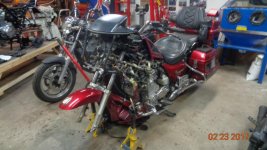
It's coming along nicely but decided to put it aside for a bit to work on my Voyageur as I want it ready to go as soon as the snow melts. And I need to replace the fork seals (one is leaking) and tend to a few other maintenance items. I knew the forks would be a PITA as the fairing needs to be disassembled. Took about 3 hours of slow and methodical work, stopping often for photos, to get it stripped far enough:

DSC00885.jpg

Also discovered that either the PO or some butcher at a dealer had stripped out the head of every screw and some were missing (where they couldn't be seen), including two of the collars for holding the windscreen on. I think I'll go with SS allen head bolts and I'll make some replacement collars. Back at it this afternoon I hope. Come on spring.

Cheers,

Bill
 

lucky3

Well-known member
Joined
Feb 1, 2007
Messages
288
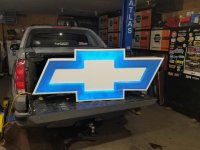
Worked on getting my new sign working.
 

Attachments

  • 20180113_180708.jpg
    20180113_180708.jpg
    135.1 KB · Views: 85
  • 20180113_180135.jpg
    20180113_180135.jpg
    120 KB · Views: 67

Mtlwright

Well-known member
Joined
Sep 27, 2017
Messages
58
Location
Arnprior, Ontario
Spent yesterday putting the cases on the KZ750.

DSC00856.jpg


DSC00857.jpg

It's coming along nicely but decided to put it aside for a bit to work on my Voyageur as I want it ready to go as soon as the snow melts. And I need to replace the fork seals (one is leaking) and tend to a few other maintenance items. I knew the forks would be a PITA as the fairing needs to be disassembled. Took about 3 hours of slow and methodical work, stopping often for photos, to get it stripped far enough:

DSC00885.jpg

Also discovered that either the PO or some butcher at a dealer had stripped out the head of every screw and some were missing (where they couldn't be seen), including two of the collars for holding the windscreen on. I think I'll go with SS allen head bolts and I'll make some replacement collars. Back at it this afternoon I hope. Come on spring.

Cheers,

Bill

My photos didn't seem to work so I thought I'd try again. Not sure why, they seemed to preview ok.

IMG_1219.JPG

IMG_1220.JPG

IMG_1218.JPG


Bill
 
To avoid these ads, REGISTER NOW!
Top Bottom