fowldarr
Well-known member
That's a great story, and I'm glad it got back to where it belonged.


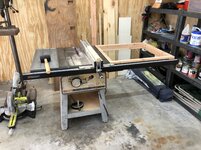


I like the idea of using the extension wing for the miter saw...stealing that idea...


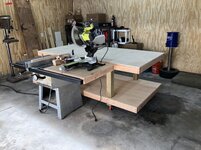


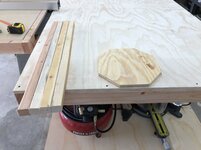


Just read the last page of your thread to catch up. There is more than one idea to steal I think. Have you thought about adding an electric outlet box with an entension cord so you can power the tools stored underneath?
Are you going to add any finish to the stool?
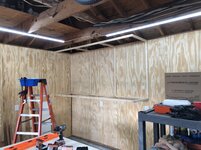
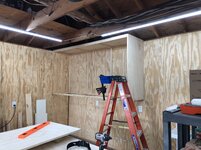
Garage is coming along very nicely. Keep up the good work!
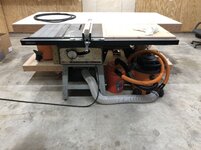
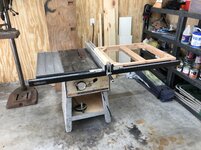
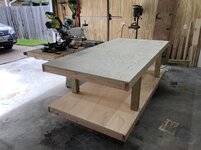
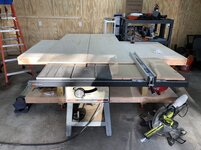
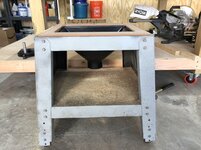
Nice outfeed table.
Bret


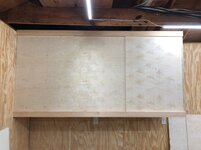
Good progress with the cabinets! It really helps to have proper storage solutions for your tools and supplies.
I love how that corner with the shelf turned out. Looks great.
Bret
Yeah I agree that corner looks great, those cabinets really add a lot. Your garage is coming along nicely.
Got the door track, doors, and trim put on.


Thanks. I could see the door frame but wasn’t sure.
It’s gotta be a battle of the dreaded FSD ( flat surface disease) to keep from accumulating stuff on of the new worktable underneath the cabinets I’m sure.
Where did you source your sliding tracks? Garage us looking good


 20181025_070927 by bjohnson388, on Flickr
 Picture 249 by bjohnson388, on Flickr
 Picture 247 by bjohnson388, on Flickr
 Picture 246 by bjohnson388, on Flickr
 Picture 011 by bjohnson388, on Flickr
 Picture 010 by bjohnson388, on Flickr