Gman007
Here are some details about the technique I used to free up that seized 9400 I’ve been working on.
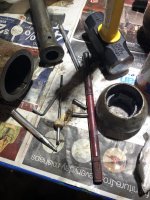
I was able to get the cap and the tailpiece casting off without too much difficulty.
I drove out those 2 little pins and removed the big long nut that is unique to the Wilton bullets.
Regular applications of Kroil and tapping didn’t free it up so I cobbled up a puller.
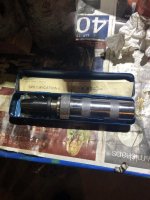
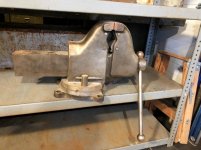
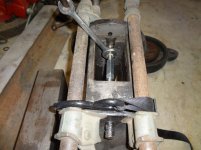
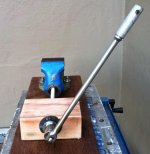
I bolted the main casting down to a length of 2x12 and then screwed a scrap of 4x6 to the other end. I bought a 2 foot length of 3/4 inch all thread and a few nuts and washers.
I screwed the 2x12 down to my old Work Mate and had somebody else leaning on it for stability.
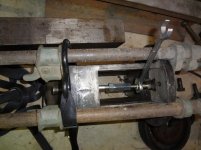
I filed down a stack of washers until they fit inside the bore of the casting and bore onto the end of the slide.
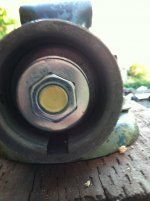
I put a cast iron ductile washer and a nut on the allthread where it ran through the 4x6 block.
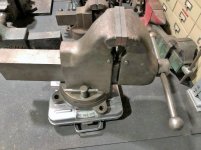
So as I tightened the nut next to the wooden block, the set up applied linear force against the back of the slide which ultimately lead to the jaws spreading apart.
No, I didnt measure the foot pounds but I can say that I was applying all of my weight on the end of that 24 inch long breaker bar. I guess that is 350 foot pounds. (BTW, that’s a Snappy)
More Kroil, a few “taps” with a hammer and it gradually came apart.


 )
)