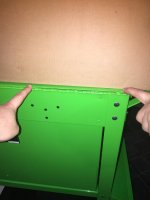
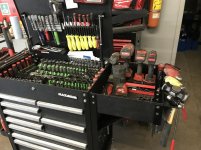
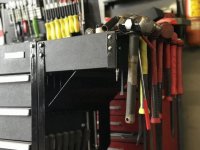
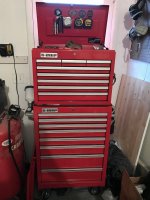
Got a green 5 drawer cart the other day. I was running out of space in my Hovak box anyways. In typical ME fashion, I got excited to put this together, didn't really look at the instructions. Was so proud of myself for getting it all together without too much issues. However, after getting the wheels on (bought two HF swivel wheels to replace the fixed ones), I noticed putting the uprights on the bottom tray was difficult (hint).
So, I get done, take my shower, and I'm browsing this very thread. And I notice something looks different about everyone else's cart than mine, but can't quite put my finger on what.
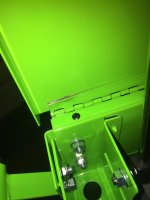
Then it hits me. I installed the bottom of the uprights INSIDE the bottom tray instead of outside. C-R-A-P!! How the hell did I even begin to think that was right? At first I imagined having to un-assemble the whole darned thing to fix this little Oopsy. Ended up being a 10 minute fix after I turned the entire unit on its head and just unbolted the bottom tray and installed it correctly... Proves you can have all the tools in the world, but there's no tool that will give you more common sense.
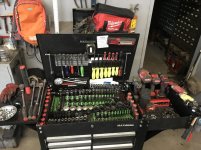
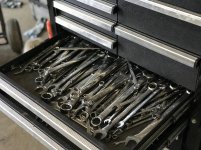
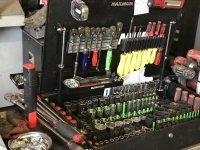
Glad I noticed that before I moved in to my new cart, or I would have been up a creek. Anyway, planning a few modifications, but nothing that hasn't already been done. Planning on locking myself in the garage tonight, turning on the AC and some music, cracking a cold one or three, and moving in to my new cart...


")