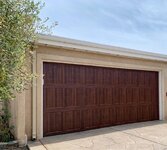
After many years of "this is more important than fixing the garage", the time has come. The garage is 20'x20' with a 13'x2.5' inset for washer/dryer, sink, and water heater. Overall, it's about 430sqft.
Plans(in no particular order):
1. Garage door and opener upgrade
2. Flooring
3. Overhead storage
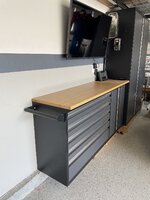
4. Cabinets
5. Additional outlets(including 240V for EV charging)
6. Lighting
Requirement: Must fit 2 cars inside
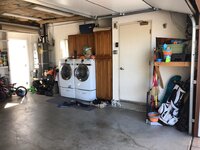
This is how it looked when we got the keys in 2011.

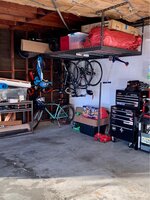
We got by with just a little extra shelving and my Craftsman toolbox, but 9yrs later turned into this:


Plans(in no particular order):
1. Garage door and opener upgrade
2. Flooring
3. Overhead storage
4. Cabinets
5. Additional outlets(including 240V for EV charging)
6. Lighting
Requirement: Must fit 2 cars inside
This is how it looked when we got the keys in 2011.
We got by with just a little extra shelving and my Craftsman toolbox, but 9yrs later turned into this:
Attachments


Last edited: