To avoid these ads, REGISTER NOW!

Blackhawk S4 Floor Jack - a few questions

TheBadDog

Well-known member
Joined
Dec 9, 2012
Messages
112
Location
Phoenix
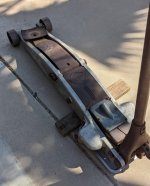
I bought an S4 to go with my big Weaver. But unlike the Weaver, it didn't come to me in operable condition. At the moment it's leaking clear fluid vigorously. I'm assuming (hoping) overfilled from an effort to get it working from the guy who inherited it from his father in hopes of selling functional. It's leaking far to freely, clean, and at a high enough volume that it's not possible it's just leaking without recent fill, it would long ago have been dry.

1) I've found some low-res parts images/lists on the board, but they are largely illegible for me. I've still got to keep digging, and they may be out there, but thought I would ask if someone has something handy.

2) I don't have the key, and I think the knob is locked in the release position, assuming that's possible. It feels more like it's going lock to lock with less than 1/4 turn, which would be why it does nothing at all. However, how to unlock without a key?
2.a) Does anyone have a picture of the key? I don't imagine it's a high security item, so maybe easy to replicate if I knew what it looked like. If nothing else, it will let me know the tumbler count and arrangement to try to pick.
2.b) Can the knob be removed when in locked position? I haven't looked close yet, I'll start hands on work when I get home tonight/tomorrow. If so, it will at least let me test for functional level.
2.c) Backup will be drilling out the cylinder, but really don't want to do that.

3) It's missing the trigger on the right handle. At this point, I don't know if that's the position lock for load wheel jockey, or for the "quick-up". I've never used one, and again will likely figure that out when I get it home. But the real question is, does anyone have a good pic of it removed? I think it's just the trigger that's missing, which I should be able to remake (I have machine tools). Again, mostly interested in what it's supposed to look like as opposed to trying to reverse engineer.

4) It has the light, but it's just the casting. I can probably make a lens, but again, if anyone has a pic of it disassembled, that would be great. I'll likely rejigger that to use an LED, but I have to see what I'm dealing with, which may eliminate the need for a remade lens.

Once progress is made on #2, and I know how much love it needs, I'll decide on whether to do a rebuild with cleanup/paint (it looks rough). If it works without disassembly, i prefer to keep things "as found". Most of my old tools wear their battle scars proudly. But if I have to tear apart, that's generally my gate to do a "refurb" (I don't do restorations) on something that looks as sad as this, so I'll likely do a bit of sandblast/paint refurb.

I'll post pics when I get an opportunity to take them. I'll also add them to the antique jack thread.

Thanks for any help you can offer.
 
To avoid these ads, REGISTER NOW!
OP
T

TheBadDog

Well-known member
Joined
Dec 9, 2012
Messages
112
Location
Phoenix
Well, good things for a change. First, it got a chance to get after it far earlier than expected.

In the mean time I found this helpful thread. Not sure why it didn't pop earlier.

From that I learned that there is a spring pin that removes the knob. But the knob wouldn't turn far enough to find it. I also realized that all the movement was in the u-joints, the release valve rod wasn't moving at all. Freed that up, and it now works since I can close the valve and pump it up. That also gave me access to the pin, and I learned (as also stated in thread above) that that the knob freewheels when unlocked, and works in the normal way when locked. Luckily, as it turns out, it's locked. I may or may not deal with the key at a later date.

That also gave me access to the handle position pin, which made it very obvious how the trigger worked. Very primitive, no pivot or anything, just sleeved onto the pin rod with a slotted threaded sleeve on top to adjust. AND, that the pin was rusted into position in the handle base, also providing answers as to what happened with the original trigger. With a bit of work and penetrating oil with a few taps, the pin is now working. And I used a tootsie roll to clean up the 3 holes for easy engagement. It's still a bit sticky, so if it continues to be a problem, I'll remove and polish the pin/bore. I would have already, but the handle clearly intends to stay solidly in the cast base without some additional persuasion, so that's sitting with oil for now.

That's the good news. Bad news is they did attempt to put in fluid, but it's followed the previous fluid right out through the main packing. So, rebuild at least that far is in order, after I make a socket for that packing nut...

I also found pics of the lens in a few pieces. Basically an acrylic(?) hemisphere to provide flood lighting. I'm thinking a cheap Chinese LED flashlight will provide most of the bits I need. Body (18650 battery?) in one handle, wire to emitter with adapter to fit inside the stock housing maybe even using the flashlight lens spaced to provide wide beam. But that's just seat of the pants, not sure how it will go.

There is also no gasket for the top plate, which appears to be how you put in fluid (haven't noticed any other way yet). Someone had used gasket maker (improperly applied), but I'll make a gasket at the appropriate time.

That actually addresses most of my original questions. I thought the S4 had the "fast up", but find nothing that resembles yet. But I've only had about an hour fooling with it so far. Hoping I can avoid buying a ~$100-200 kit for the thing.

Pics to come...
 
OP
T

TheBadDog

Well-known member
Joined
Dec 9, 2012
Messages
112
Location
Phoenix
Thanks for asking.

I got it disassembled, all cleaned, sand blasted, painted, and reassembled; with the exception of the power unit. Doing all that "resto" work is very unlike me as I tend to leave things "as found" in that respect while fixing all the mechanical issues. I like the battle scars of a long hard life. But this one was just too bad to leave that way, and here I am.

All that remains is the caster bearing races and rebuilding/painting the power unit. That's where things hit a snag, and it got mothballed for a while.

As others have posted, the races appear to have become extinct. Looked, called, searched, emailed; nothing produced a race to replace the one badly brinelled and second missing race. So, I set about to make one. Unfortunately, the PH stainless (17-4) that seems ideal for making the races turns out to be the worst work hardening stainless I've ever had the unfortunate luck to come across. In the past I've been able to use HSS tooling to make form tools like that required for a 1/4 ball race, but this one is just too much cutting length combined with a fairly tight tolerance. You absolutely have to be able to plunge (but not too much) and hit size in one shot as the last pass. In one attempt of 3 I got really close, but didn't calculate the X-plunge quite right winding up short. When I tried to get it in tolerance, it hardened and wiped out the bit. Two other attempts trying different approaches didn't even get that close. So I gave up. I'll either have to get a carbide insert tool with the right profile, or mill it on rotary table with 1/4" ball mill tilted off axis (avoid using center of "ball" end).

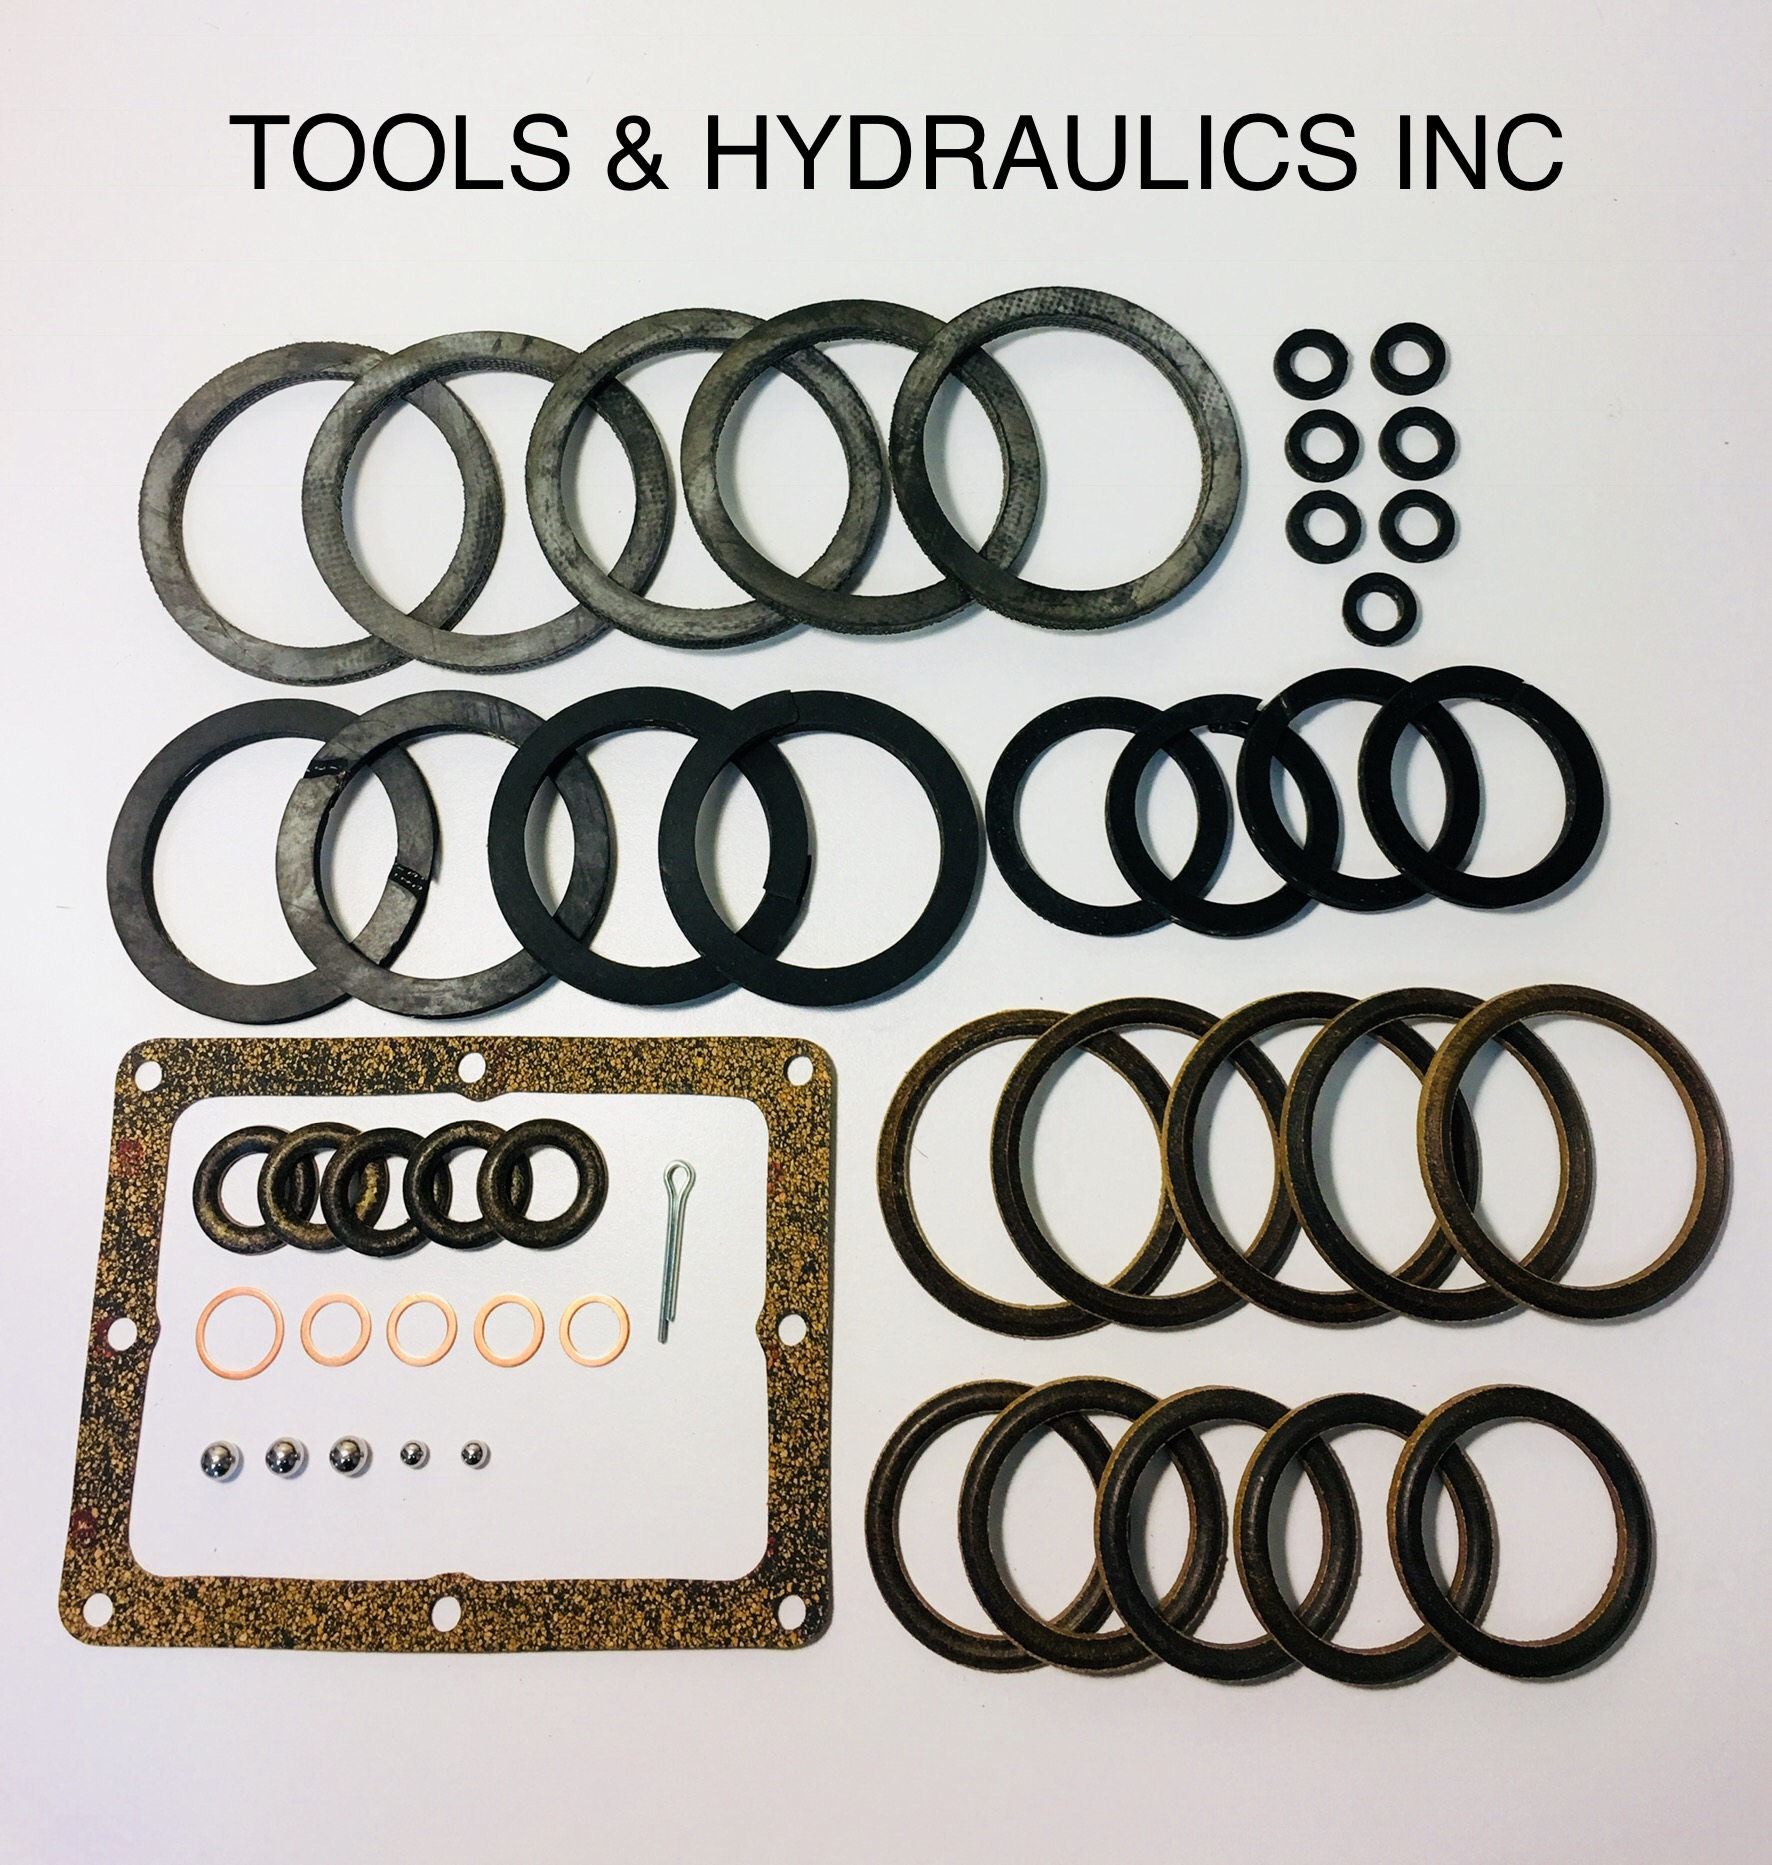
And the power unit is a bit of a headache. One of the other threads details the seals required to rebuild without the kit. But there are a LOT of them, and it quickly became evident that the kits weren't actually priced as unreasonably as it first seemed. In the end I ordered a kit to avoid the hassle and potential back and forth at an inopportune time should I realize that one or more wasn't quite right. As big a hassle as it seems form descriptions on other threads, I didn't want to add the "is this just me failing, or is it actually not the right part?" questions in the middle of it all.

Between those 2 things it got shelved for a while. The real gate is those races. Once those are done, I'll feel the pressure to finish the pump. But with those races and my previous 3 failures to make a single race, I find I'm not too motivated to futz with it more until I either have a reason to fool with the rotab (heavy, fussy setup, etc) or get a carbide tool for the lathe. It's not like I really need it, and I've got my huge (much larger) Weaver for when I actually need a flor jack.
 

TeenagerThatLikesFloorjac

Well-known member
Joined
Dec 30, 2020
Messages
81
Location
QC
From what I gathered, rebuilding an S-4 power unit is a challenging task. Many special tools are needed and all the sealing surfaces need to be polished.

I've only taken apart the valves on mine and removed the plunger ( FYI It is held in by friction) Make sure the main ram and plunger are in good condition before proceeding with a rebuild. Besides that, I can't really offer any other insight, the handle top on my S-4 was rewelded and has a garden hose as a knob ..... I'm in a similar situation with the bearing race, basically, it sits in a corner until I find another one so I can make one good jack out of 2...

Definitely keep us updated, more pictures would be awesome too :)
 
To avoid these ads, REGISTER NOW!

TeenagerThatLikesFloorjac

Well-known member
Joined
Dec 30, 2020
Messages
81
Location
QC
Well, good things for a change. First, it got a chance to get after it far earlier than expected.

In the mean time I found this helpful thread. Not sure why it didn't pop earlier.

From that I learned that there is a spring pin that removes the knob. But the knob wouldn't turn far enough to find it. I also realized that all the movement was in the u-joints, the release valve rod wasn't moving at all. Freed that up, and it now works since I can close the valve and pump it up. That also gave me access to the pin, and I learned (as also stated in thread above) that that the knob freewheels when unlocked, and works in the normal way when locked. Luckily, as it turns out, it's locked. I may or may not deal with the key at a later date.

That also gave me access to the handle position pin, which made it very obvious how the trigger worked. Very primitive, no pivot or anything, just sleeved onto the pin rod with a slotted threaded sleeve on top to adjust. AND, that the pin was rusted into position in the handle base, also providing answers as to what happened with the original trigger. With a bit of work and penetrating oil with a few taps, the pin is now working. And I used a tootsie roll to clean up the 3 holes for easy engagement. It's still a bit sticky, so if it continues to be a problem, I'll remove and polish the pin/bore. I would have already, but the handle clearly intends to stay solidly in the cast base without some additional persuasion, so that's sitting with oil for now.

That's the good news. Bad news is they did attempt to put in fluid, but it's followed the previous fluid right out through the main packing. So, rebuild at least that far is in order, after I make a socket for that packing nut...

I also found pics of the lens in a few pieces. Basically an acrylic(?) hemisphere to provide flood lighting. I'm thinking a cheap Chinese LED flashlight will provide most of the bits I need. Body (18650 battery?) in one handle, wire to emitter with adapter to fit inside the stock housing maybe even using the flashlight lens spaced to provide wide beam. But that's just seat of the pants, not sure how it will go.

There is also no gasket for the top plate, which appears to be how you put in fluid (haven't noticed any other way yet). Someone had used gasket maker (improperly applied), but I'll make a gasket at the appropriate time.

That actually addresses most of my original questions. I thought the S4 had the "fast up", but find nothing that resembles yet. But I've only had about an hour fooling with it so far. Hoping I can avoid buying a ~$100-200 kit for the thing.

Pics to come...
Here are some links for you

If you take a look at the 3rd page in the first link, #16 is what is used for the quick lift, once it reaches a load, it switches over to the smaller #17 plunger. It's quite a neat design, it's a 2 in 1 design. Once you remove #23, it's held in by friction. Mine had too much friction, the seals there need to be changed... it makes a loud squeak whenever I use it, it even skips on the top end.

If yours is in there tighly and you are having difficulties removing it, you can try what I did. I suspended it in between a ladder using a rope tied to #12, elevated the power unit so it's off the ground and lifted it, and let gravity do most of the work for me.
 
OP
T

TheBadDog

Well-known member
Joined
Dec 9, 2012
Messages
112
Location
Phoenix
Thanks for the suggestions.

I found some good manuals some time back, though I don't recall where.

And that's one of the reasons it got put on hold. That power unit is a bit daunting, and I don't want to start it until I can focus on seeing it through to completion. The last thing I need to do is disassemble it and have to set things aside, then forget details or lose parts before getting back to it at a later date.
 

ALTEREGO

Well-known member
Joined
May 15, 2018
Messages
420
Location
@HOME
@TheBadDog where did you buy your seal kit?
i think other member of the forum had a friend made the races for him, maybe he could help? I found that a lot of GJ folks go out of their way to help restore a nice vintage tool… even if is not theirs.
I’ll be interested in how you make the sockets and other tools needed when you get to that point.
Thank you for taking the time to reply, be sure that there are some of us rooting for you to succeed!
 
OP
T

TheBadDog

Well-known member
Joined
Dec 9, 2012
Messages
112
Location
Phoenix
I got my kit here

As for the race, I've accumulated a modest machine shop in order to deal with stuff like this as well as to implement my various ideas and plans for my off-road trucks (etc). So while it would be easier to ask for a connection from the other member who had one made, a big part of my interest in building out my machining capability to to address such challenges myself.

It's definitely within my capability to make these, I just have to expand my skills and/or tooling to deal with that miserable 17-4 work hardening problem. It turns beautifully and easily as long as you aren't trying to get to a close tolerance with a 1/4" round form tool. I know that can be done, but I just don't have the tool grinder tooling to produce an ideal shape consistently, and don't have enough stock ($$$) to practice enough to figure it out with HSS. And my general purpose carbide insert tooling doesn't care one bit about the work hardening. That's why I'm falling back to either a commercial carbide tool for lathe or 1/4" ball end mill and rotab on the mill. I'm leaning toward the former as I think that will produce a much superior finish for a ball race, but adjusting for reality, it probably doesn't matter one whit for a caster ball race, so rotab isn't out of the question. We'll see at whatever point I decide to pick that up again.
 

ALTEREGO

Well-known member
Joined
May 15, 2018
Messages
420
Location
@HOME
I got my kit here

As for the race, I've accumulated a modest machine shop in order to deal with stuff like this as well as to implement my various ideas and plans for my off-road trucks (etc). So while it would be easier to ask for a connection from the other member who had one made, a big part of my interest in building out my machining capability to to address such challenges myself.

It's definitely within my capability to make these, I just have to expand my skills and/or tooling to deal with that miserable 17-4 work hardening problem. It turns beautifully and easily as long as you aren't trying to get to a close tolerance with a 1/4" round form tool. I know that can be done, but I just don't have the tool grinder tooling to produce an ideal shape consistently, and don't have enough stock ($$$) to practice enough to figure it out with HSS. And my general purpose carbide insert tooling doesn't care one bit about the work hardening. That's why I'm falling back to either a commercial carbide tool for lathe or 1/4" ball end mill and rotab on the mill. I'm leaning toward the former as I think that will produce a much superior finish for a ball race, but adjusting for reality, it probably doesn't matter one whit for a caster ball race, so rotab isn't out of the question. We'll see at whatever point I decide to pick that up again.
I know exactly what you mean, 90% of the fun is in the process of restoring/fixing something (dealing with the issues, making new tools and just learning). When I mentioned the other GJ member's friend, I meant maybe he could give you some pointers I'm not really familiar with lathes, milling machines and machinists tools in general but it sounds like you have it figured it out, I'm sure you'll do great.

Please keep us posted, I'll be interested in seeing pictures/posts about how you made (specially failed attempts) the caster race and all other machining required in the process of rebuilding the jack. Thanks again for taking the time to share!
 
To avoid these ads, REGISTER NOW!
Top Bottom