Or just plain scammy.
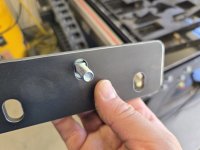
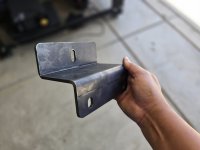
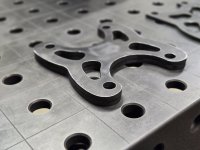
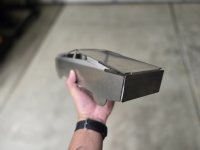
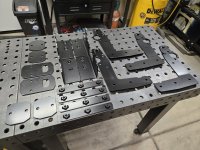
Neighbor came over with a little cross tube clamp. He wanted to know if I could make them. He's a lighting grip.
I said I could. He then said where could he get the material he wanted 20. I asked him were he got the one he showed me. He said another lighting grip makes them. I asked how much does he charge for them. He said $20.
I told him, I would just buy them from that guy. I would have to charge him for Design time, programming, set up, tooling, production and materials. It was going to cost him more than him just buying 20 of them.
The scam was he expected to just pay for materials. I should mention that these guys rent their equipment to the Studio's production teams at a hefty price.
I'm happy to help but I won't be taken advantage of.
That is one equation for sure, and I have sent other people back to their 'source' as it wouldn't make sense for me to make. This is especially true of any signage which is why you'll never see me post such work. In fact, I told a guy in this very thread it wouldn't make sense for me to make something to ship - it was that Welcome sign I posted maybe 2 pages ago.
Anyway I've experienced this firsthand with multiple people and fortunately, one of them circled back to me where I was able to politely say"I told ya so".
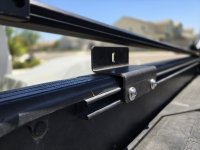
About two years ago on a local truck group on Facebook, I had just posted a bumper I made for someone. I get this message from a guy asking if I could make him a custom bed rack. This is one of those racks that sits on a bed in order to carry a roof top tent.
Well he requested that it be modular, allowing the removal and installation of different panels so he can attach different accessories like a hi-lift jack, a rotopax fuel or water jug, and other various items.
I told him I could, and quoted him about $1,100+. This was around the realm of what other companies were charging, except his would be
customized to fit his needs. It covered design work, material, and welding which it realistically wouldn't have taken me long to do.
His response (this was all in messenger) was "LOL was hoping to be around $400" to which I responded that covers material alone and nothing more. So I told him we're too far off and I can't help assist.
About a year later he posted in the same group (my terrible memory didn't recognize his name) as he asked for advice based on some terrible pictures he took of him welding for the first time. After I replied with some pointers, and some exercises to run, he messaged me only for our old chat to appear. That's when I realized who he was

He said hey, and asked for some pointers as he was building a squat rack or something to which I said it would be easier to get everything cut appropriately with a bandsaw. He said something along the lines of "that costs money", only for me to add a few other tools I suggested. He was running that $150 flux welder from harbor freight, and using an angle grinder to cut down square tube.
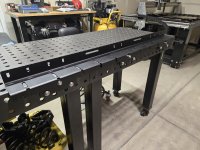
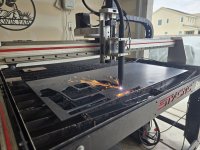
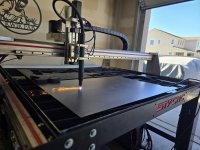
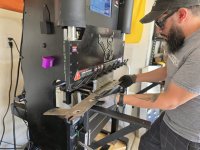
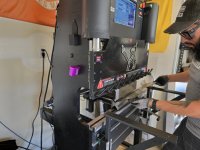
I reminded him of the job he had asked me to do, and told agreed with his statement that tools cost money. I added that experience with using said tools adds even more value, and shared the various tools I've purchased over the years with my own money to learn and use and expedite the work I can offer others. And lastly, why I told him I quoted him what I did because it "includes my CNC table, my press brake, my experience as a fabricator, my experience as a welder, all of that" and he apologized and said he gets it now.
I could only hope that if he ever reaches out to anyone for custom work, that he remembers that conversation. For others though, it isn't worth mentioning as I'll simply decline.
Just because it took me about 1-2 minutes to design something doesn't mean I deserve 1-2 minutes of pay. All that experience is what allowed me to make a 30 minute job as short as 1-2 minutes for me. You're paying me for my experience, and the tools I have at my disposal.
Unfortunately, I'm saying no just as often as I'm saying yes to people.
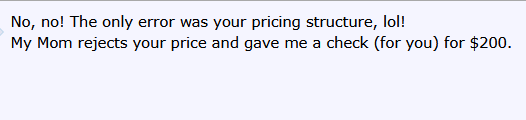
I will say the art piece I posted a page ago, I received another payment some 2 weeks afterward. I reached out to ask if it was an error and if I need to refund it or if he needs to check if there's an issue with his bank to which his reply was -
I'll do jobs both large and small, and charge what I believe to be a very reasonable rate. So it's awesome when some do see that and appreciate what I do.