Denwood
Well-known member
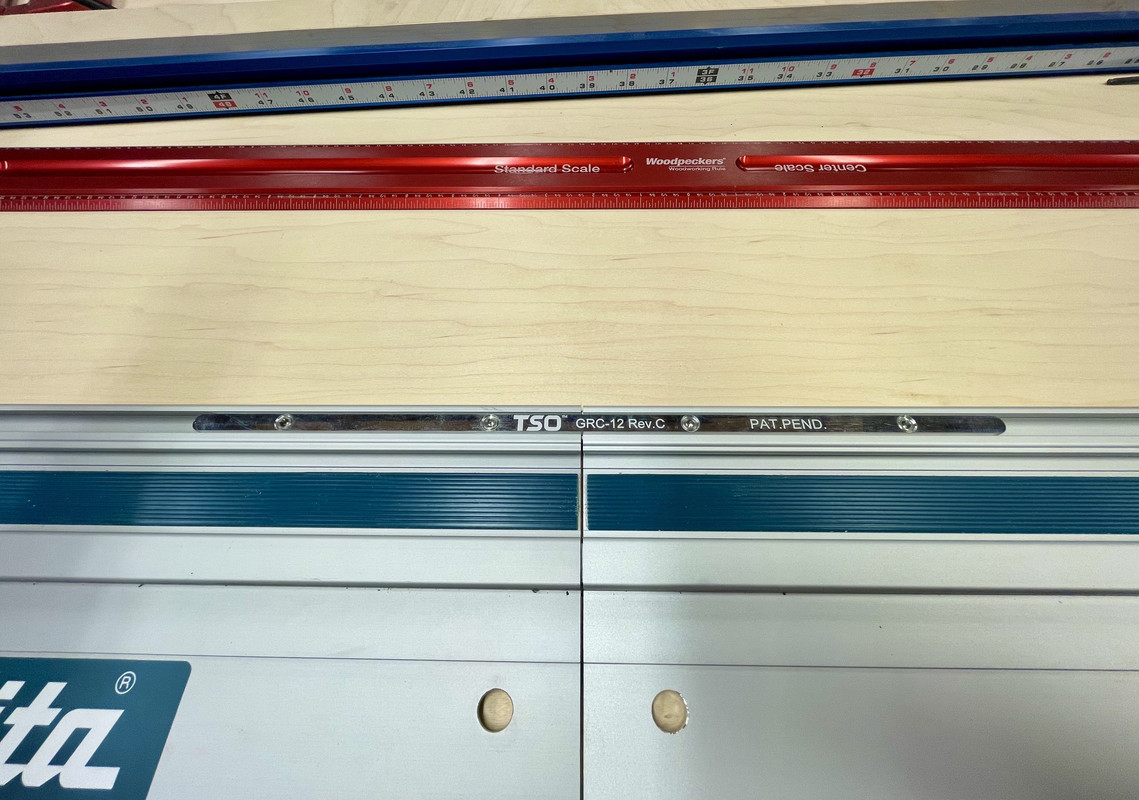
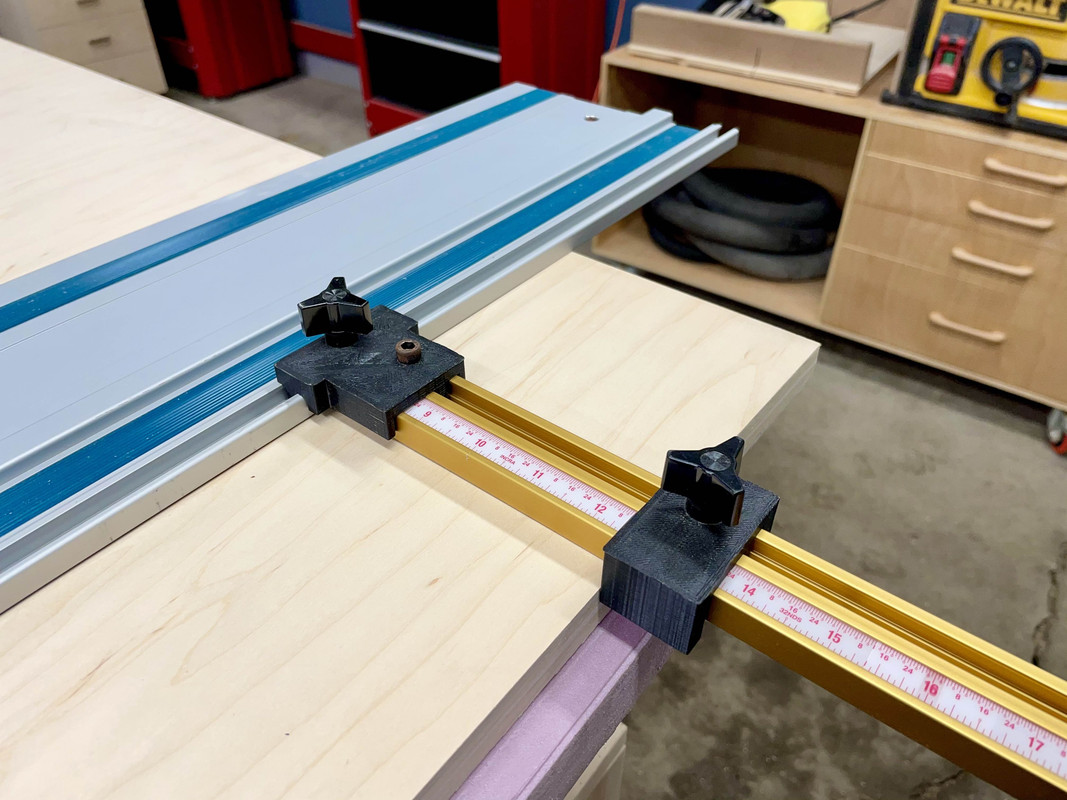
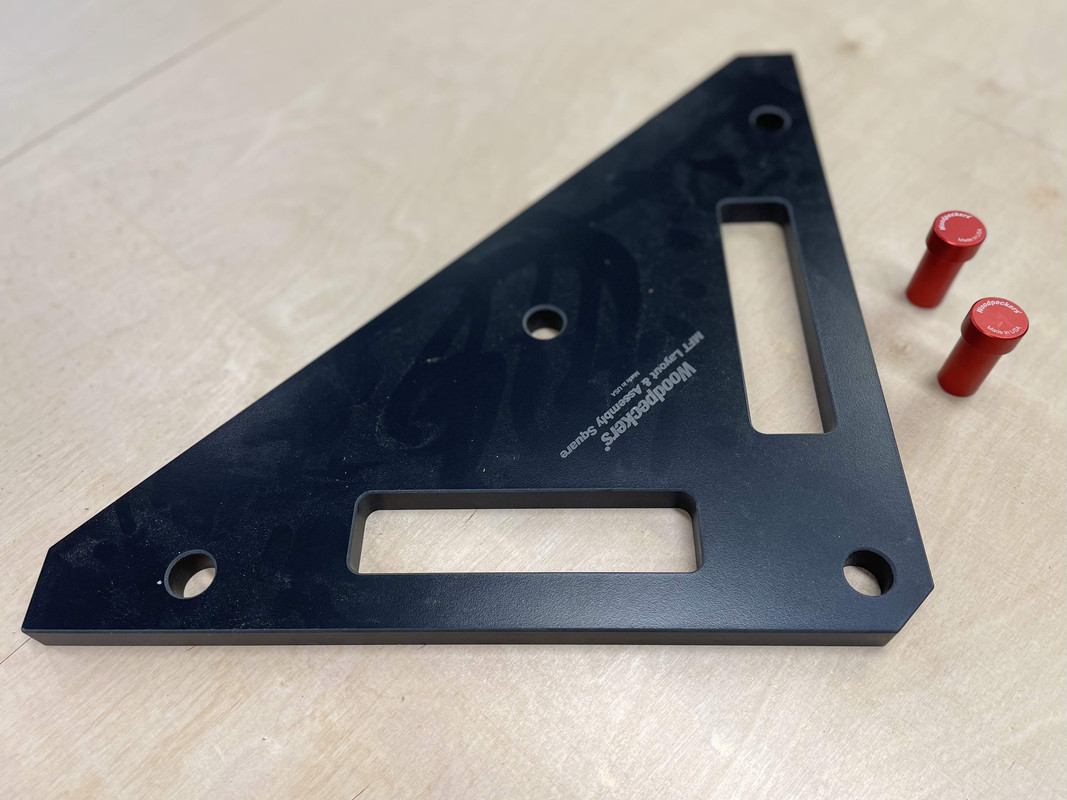
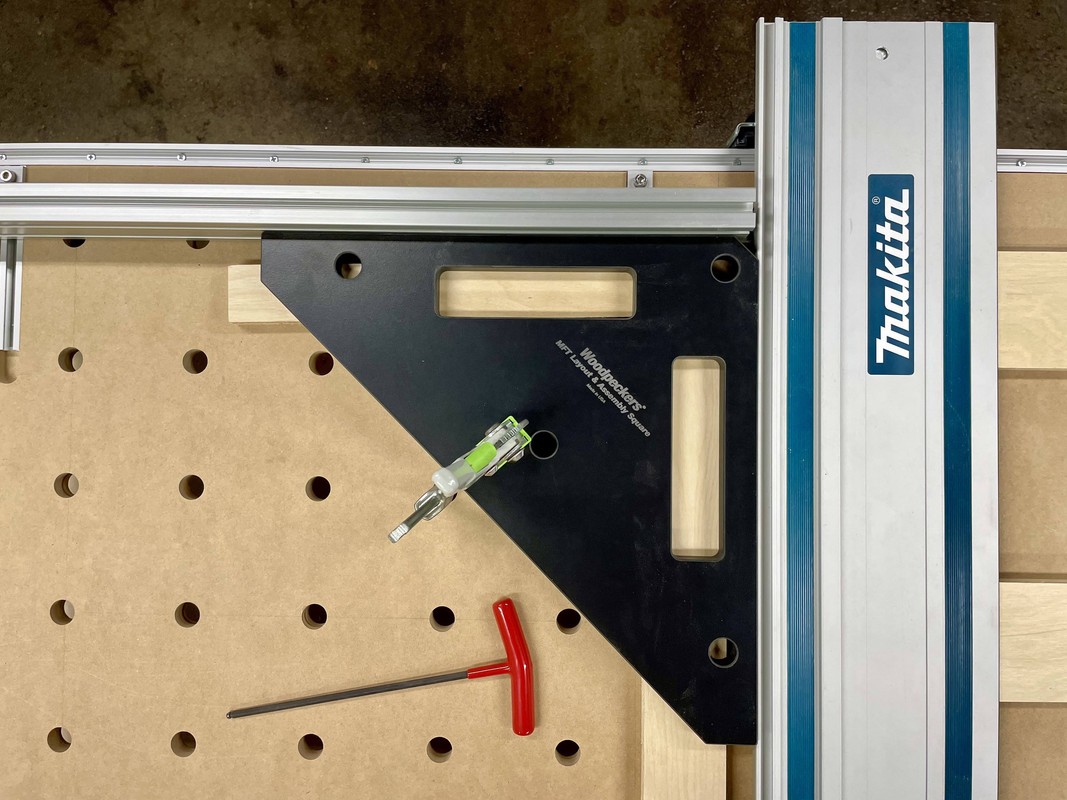
That TS-3 would be my favourite layout tool too...that's a nice piece.
Nick, in my teen years I worked at a local historical site as both a carpenter and cooper. So while interpreting history to visitors, we also practised the historical trades under the guidance of a master, participated in historical dramas, fired off canons etc. It was a great job with 300+ students working there each summer.
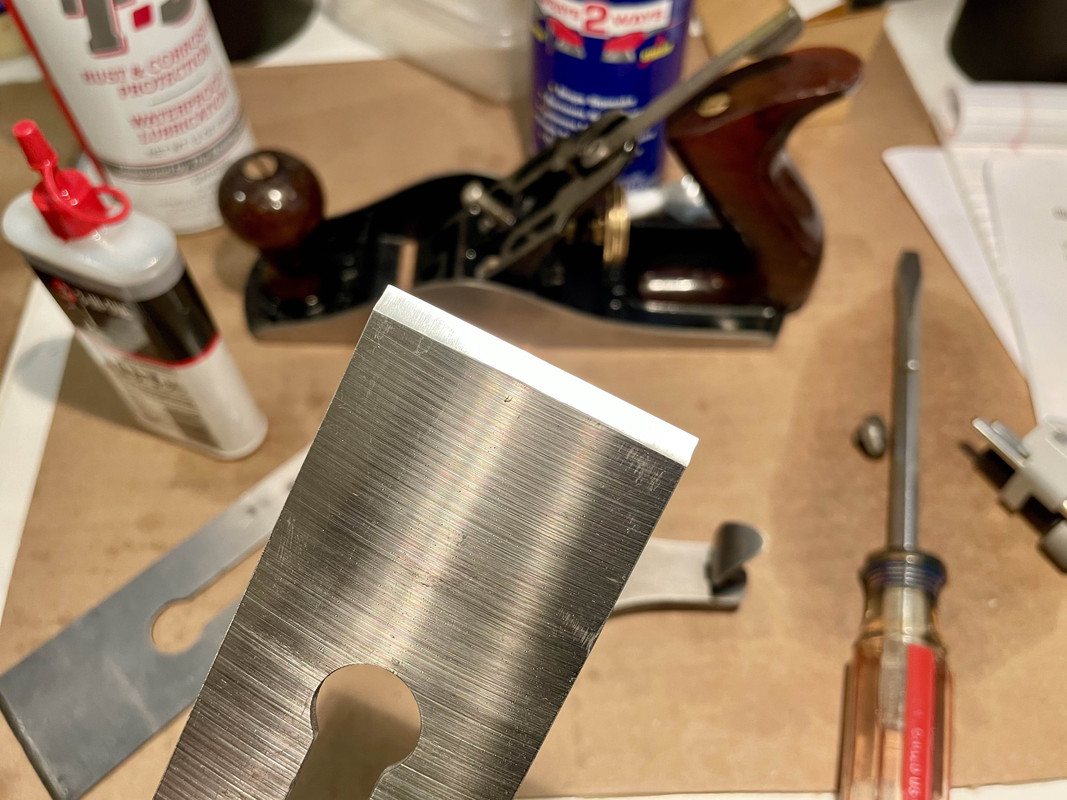
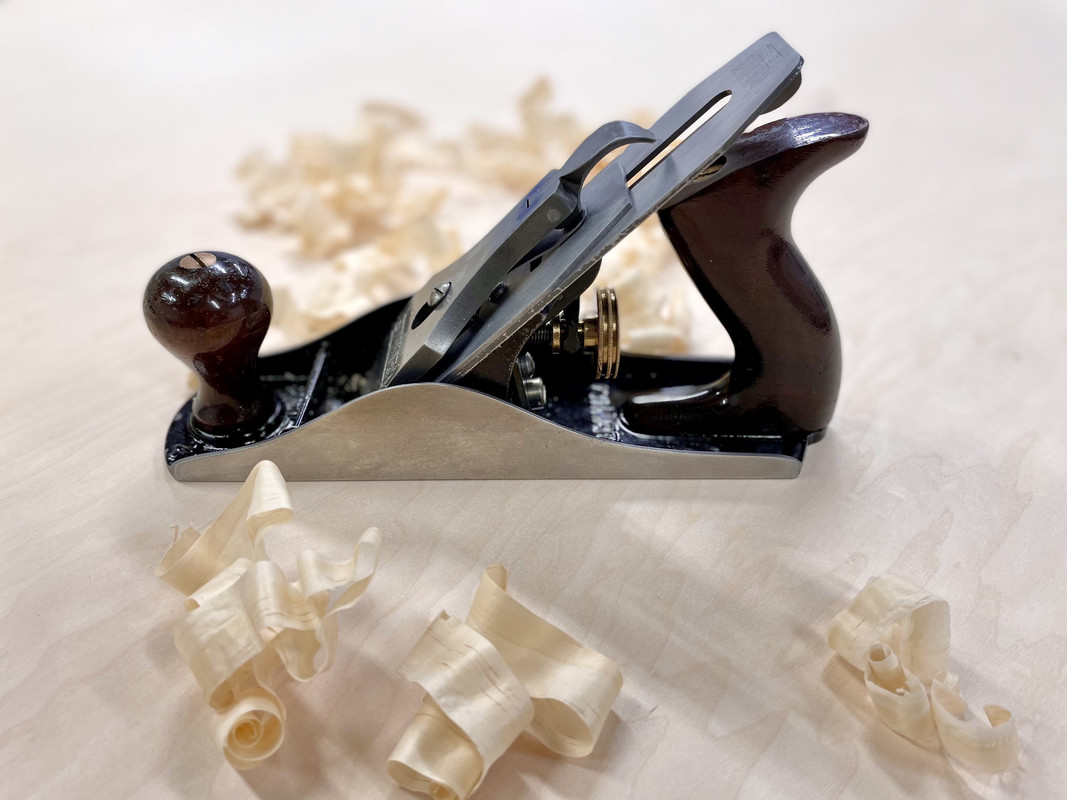
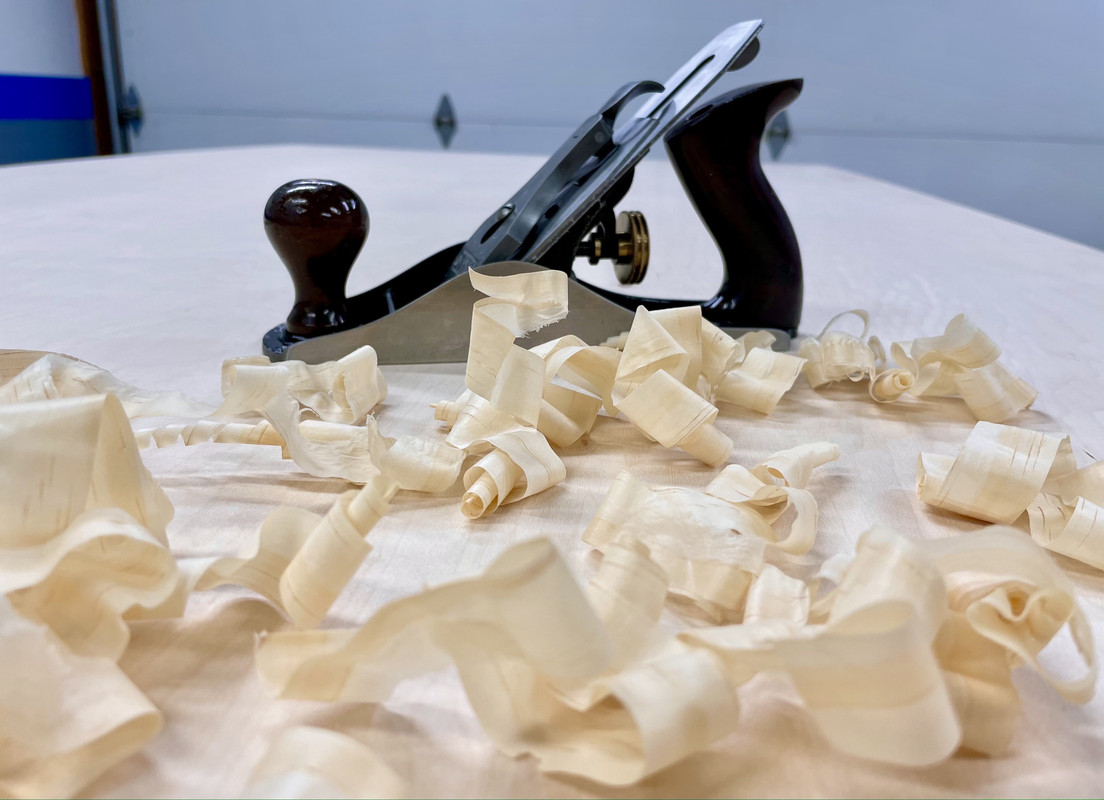
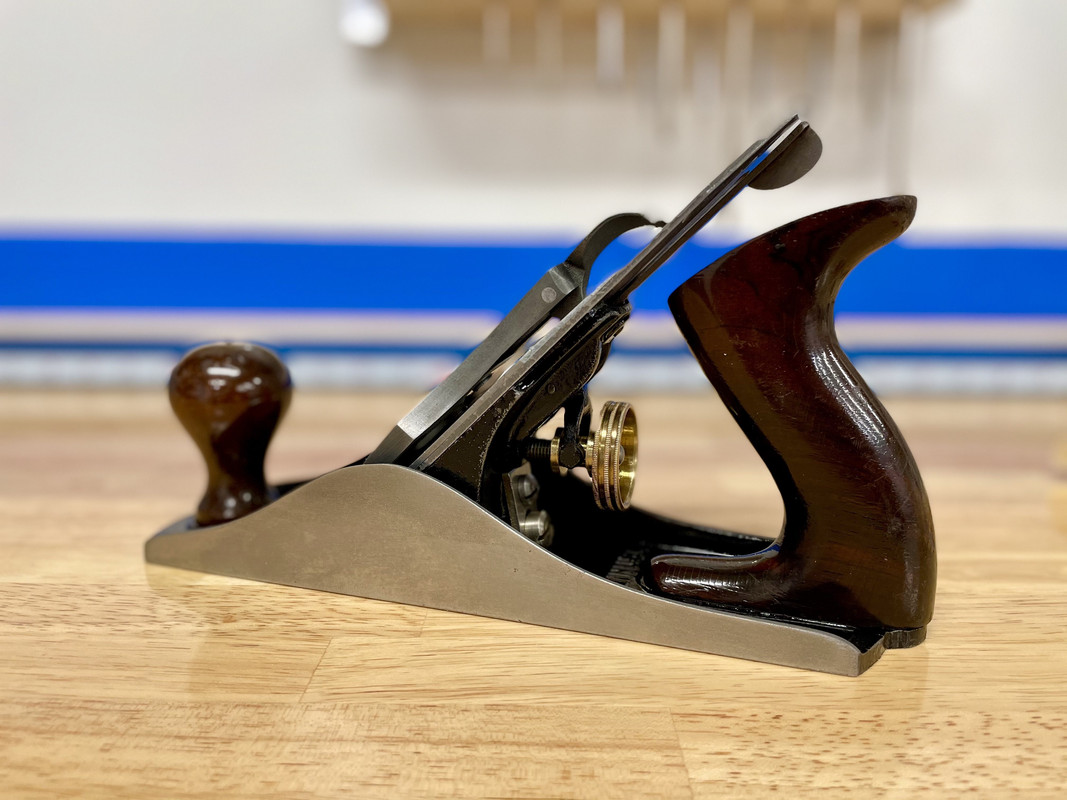
We worked with planes just like yours and learned to sharpen pretty much everything by hand with stones, mineral oil etc. The blade you showed is 100% recoverable and previous posters gave you good advice. One thing I learned during my summers in historical trades was that sharp tools are everything when it comes to working with wood. Your experience in the fine points (pun intended) will absolutely serve you well. The other thing we had the benefit of was very nice hard woods that were seasoned in some cases for years upstairs in the shops. Coopering was different in that we started off by splitting logs down and doing our staves etc. completely by hand. Those summer jobs paid only student wages but are the best work experiences I've had to date.
The treadle lathe in the carpenter shop (we used it primarily to make parts for an on-site naval ship reconstruction) was truly a pleasure to use. It was a bit of a workout, but the rotating mass was so high that it rivalled any powered tool I've used since. This post has quite a few pics of the cooper and carpenter shops: https://www.lumberjocks.com/topics/29151 You would have loved it...
Nick, in my teen years I worked at a local historical site as both a carpenter and cooper. So while interpreting history to visitors, we also practised the historical trades under the guidance of a master, participated in historical dramas, fired off canons etc. It was a great job with 300+ students working there each summer.
We worked with planes just like yours and learned to sharpen pretty much everything by hand with stones, mineral oil etc. The blade you showed is 100% recoverable and previous posters gave you good advice. One thing I learned during my summers in historical trades was that sharp tools are everything when it comes to working with wood. Your experience in the fine points (pun intended) will absolutely serve you well. The other thing we had the benefit of was very nice hard woods that were seasoned in some cases for years upstairs in the shops. Coopering was different in that we started off by splitting logs down and doing our staves etc. completely by hand. Those summer jobs paid only student wages but are the best work experiences I've had to date.
The treadle lathe in the carpenter shop (we used it primarily to make parts for an on-site naval ship reconstruction) was truly a pleasure to use. It was a bit of a workout, but the rotating mass was so high that it rivalled any powered tool I've used since. This post has quite a few pics of the cooper and carpenter shops: https://www.lumberjocks.com/topics/29151 You would have loved it...
Last edited: