ILLuSioNz X
Active member
- Joined
- Jan 1, 2013
- Messages
- 35

It depends on how you do the rough electrical.
1) It's handy to set boxes on the framing and pull the wire through as usual. In that case you'd be doing a decent amount of measuring on the ground.
2) Punch a hole in the sheet metal on the ground, install a grommet in the hole and pull the wire through as you go.
3) Run the wire but don't penetrate the sheet locations until you're done with all the sheets. You can use a step drill to get the locations as you want. You still need to protect the wire from rubbing/touching the sheet metal.
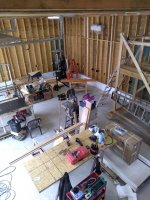
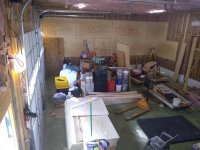
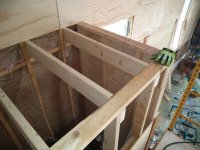
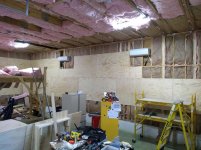
I have been building a list of things to complete, but have not had the chance to write it down. So here it is, in no particular order, this is the Punch List:
2. Electrical (including 'chair-rail')
3. HVAC
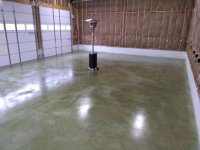
4. Downstairs Flooring (Polyurea)
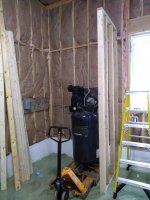
5. Compressor Room
6. Ceiling Metal
7. Lights (Upstairs and Downstairs)
8. Wainscoting
9. Plywood Wall Coverings
10. Curtain Divider
11. Ceiling Fans
12. 2nd Floor Flooring
13. 2nd floor storage room door
14. 2nd floor ceiling
15. Shutters
16. Lift Installation
17. New Driveway
18. Parking Pad beside shop
19. ?????
That probably isn't everything (pretty sure it isn't), but it is a good list to start.
DONE:
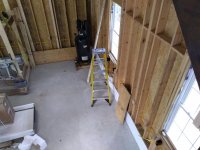
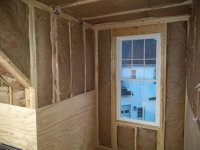
1. Insulation
...
")
and when you are finished ... come build me one too!
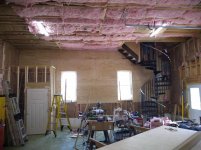
Oops!! just went back and saw that you passed final inspection! congratulations! and more pictures would be good


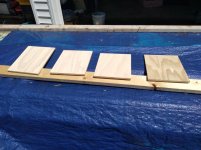
......My question to the masses is this:
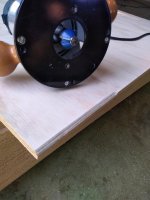
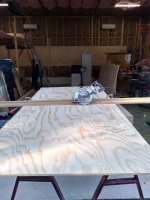
<b>Should I:A. white wash the plywoodB. Lightly stain the plywoodC. Just clear coat the plywood</b>
...
Thanks!Just caught up with your thread Mayor, really fun read with you GC'ing.
As for your poll, I vote A.
It really depends on the look you're going after. If it were me, white paint. I painted mine white to reflect the light........
) to cover the walls. Plus some other materials for the ceiling and the compressor room. )I haven't really decided yet. Probably just a return vent with a small filter or 2. Or I thought of building a sort of sounds baffle inside behind the vent.looking good! a double layer of 5/8" ( fireguard ) drywall will do double duty in your compressor room, it provides sound deadening mass to the walls and provide a fire resistant surface. What are you doing for ventilation/makeup air?
The spiral staircase is cool!
Looks great!
Sheets of plywood, no go......ask me how I know.