Bob Heine
ALLIANCE MEMBER
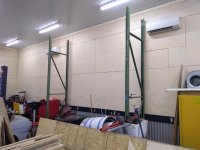
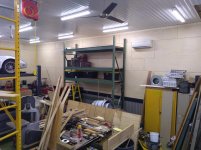
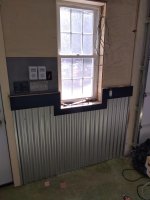
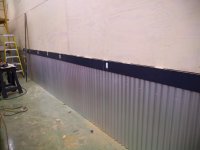
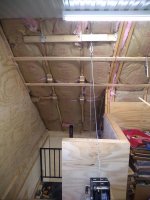
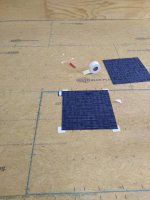
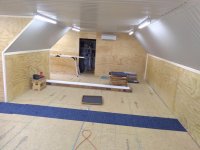
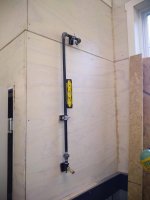
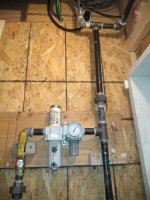
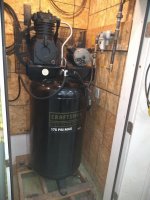
I like the chase for the electrical and I'm now going to do that in my little shed.We were going to paint everything outside, but then we both came to our senses and decided to use the nice big conditioned space upstairs.....duh!
...
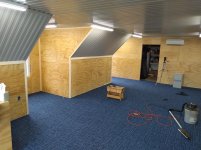
Great decision to use the conditioned space (and SWMBO). Because you consider that space a mess I won't post any pictures of my REAL MESS(ES). My own SWMBO has added my office to the list yesterday.


")