PrairieBoy556
Member
Great info here

That would do it! I don't have a freezer, but perhaps a neighbor does.Have you got a freezer big enough to fit the steel beams in? And leave the masonite in the sun before bringing them together? Maximum tension!

Thanks for stopping in. Use as much or as little of it as you please.Great info here

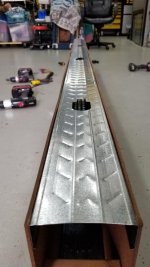
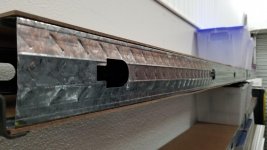
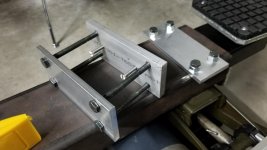
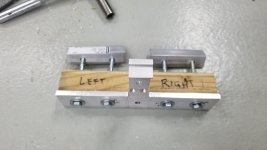
Time to learn how to lay Carbon Fiber.
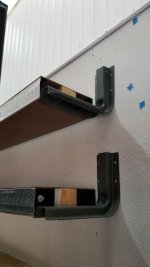
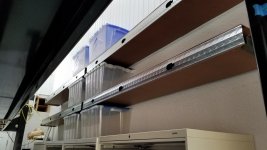
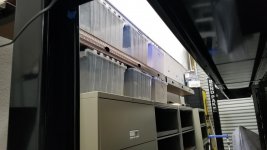
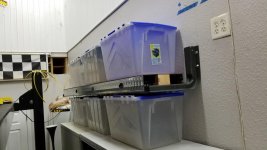
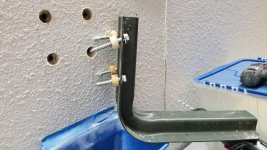
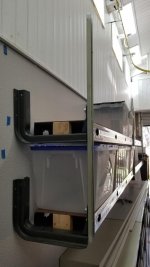
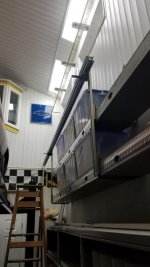
Shelves look fantastic from here.
Sent from my iPhone using Garage Journal


Thanks for letting me know. I don't understand it, but I re-inserted them and hopefully you can see them now. It always looks fine on my end so I never know if they are missing or not. Weird. At least it is easy to redo it.Pics MIA.


Big grin here.
Nice job
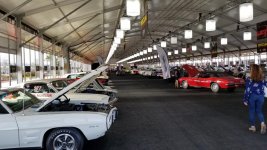

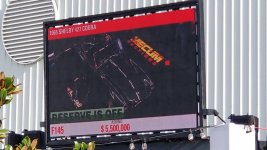
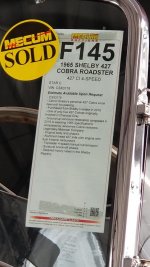

Yeah, I would like to see that auction too. Sad that guy is breaking up his collection though.You’ll have to ride down to Punta Gorda for the muscle car auction this weekend.
On the Shelby, hard to believe they did a post death restoration and still got that kind of money. It’s no longer original. Oh well slightly out of my price range.
Sent from my iPhone using Garage Journal
And you won't be scared to drive yours either!Either would have been fun to have in my garage, but the Cobra will now be one of them. I'll settle for my replica and enjoy the time I have with it and save the other $5.47M.
JB
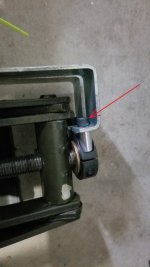
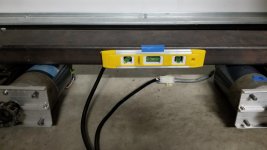
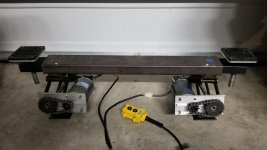
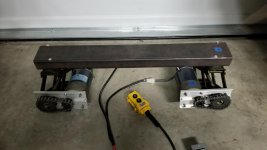
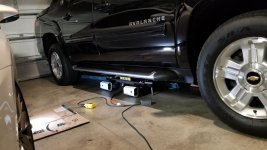
Like these?!?Glad the test went off without damage.
I will say I’m disappointed. Your demo videos always have killer sound tracks.
Sent from my iPhone using Garage Journal


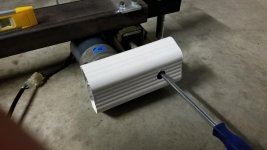
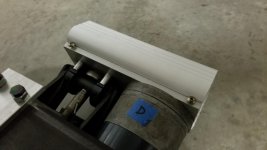
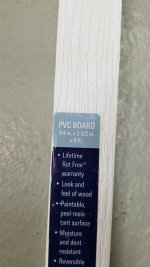
I assume in Orlando you can find everything. Where did you get the 1x2 PVC?
Sent from my iPhone using Garage Journal


Another interesting project! Nicely done, Sir!
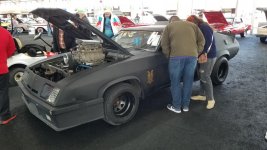
Thank you for posting the pics from Mecum! The Mad Max car is in my top 5 of all time favorite cars.
My pleasure. Yep, I'm already starting to build the doors and a report is coming soon.Thanks for tip on PVC.
So doors will be next? Nice.
Don’t forget my place is your next project. Lol.
Sent from my iPhone using Garage Journal