Dolfan
Well-known member
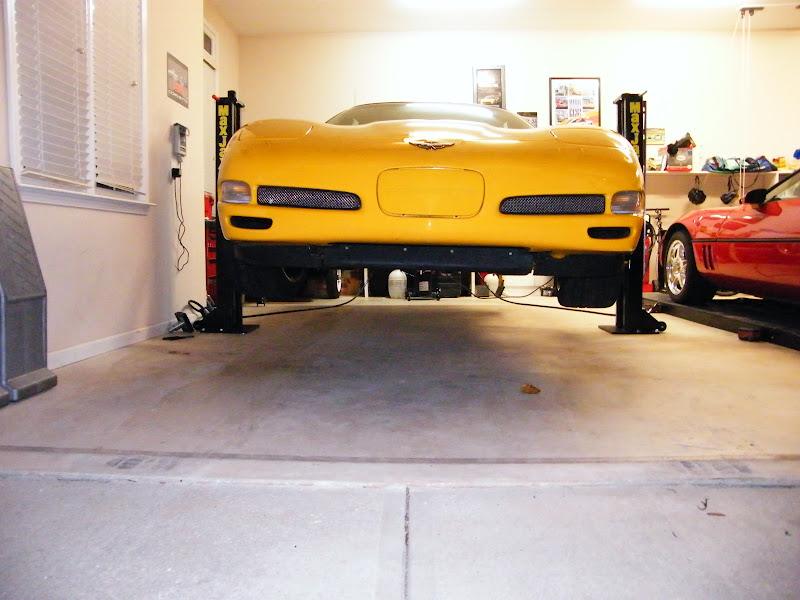
Earlier this year I finally decided to bite the bullet and get serious about a lift for my garage. I asked many questions here and in other forums to learn from folks. I even went as far as building a ranking of the 4 lift types I was considering, 4 post, 2 post, mid-rise, and MaxJax. I settled on the mid-rise and you can read those related threads here.
http://www.garagejournal.com/forum/showthread.php?t=67229
The MaxJax was a very interesting tool but as I had never seen one and didn't know anyone with one I didn't go that route. But recently I have been given the opportunity to do a head-to-head comparison of the MaxJax to the mid-rise lift. So I jumped in, as I wanted to know for myself and I've done the same type write up on my experience with the MaxJax.
Transportation
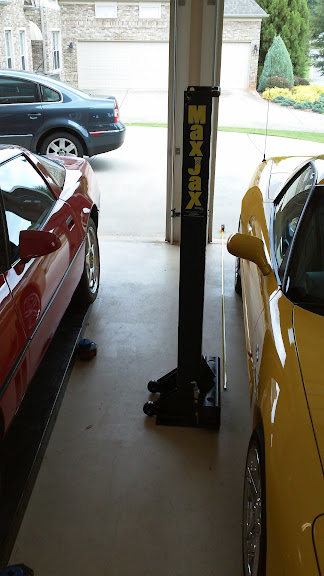
The entire MaxJax setup comes neatly packed into one package about 6' long and 24" wide. It fit easily into my short bed pickup. Unless you'll be able to have the freight truck right near your garage, I think picking up the MaxJax at the depot is a better call. They will drop it in your truck or onto a trailer and then once at you site you can take the time to unload it in pieces and not need any special equipment.
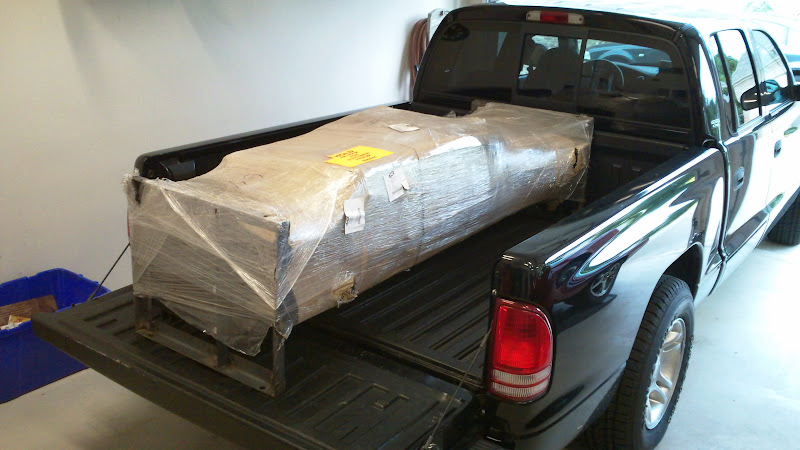
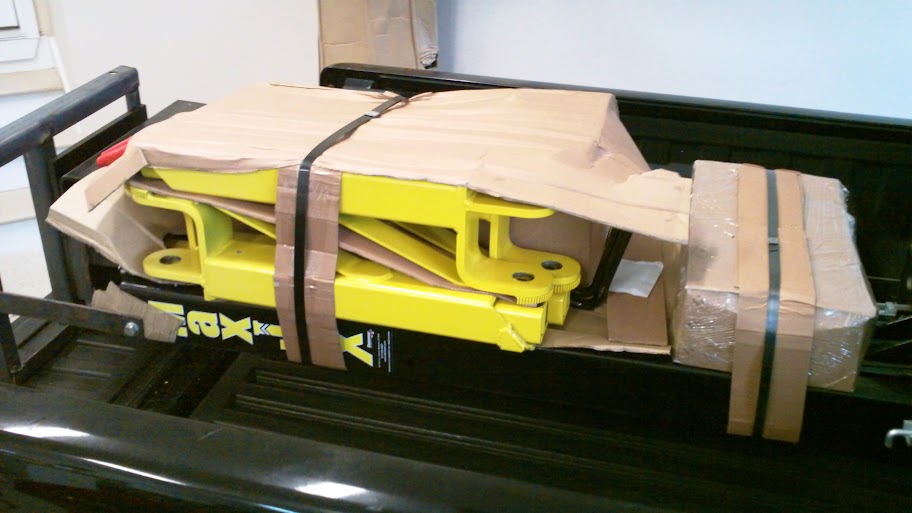
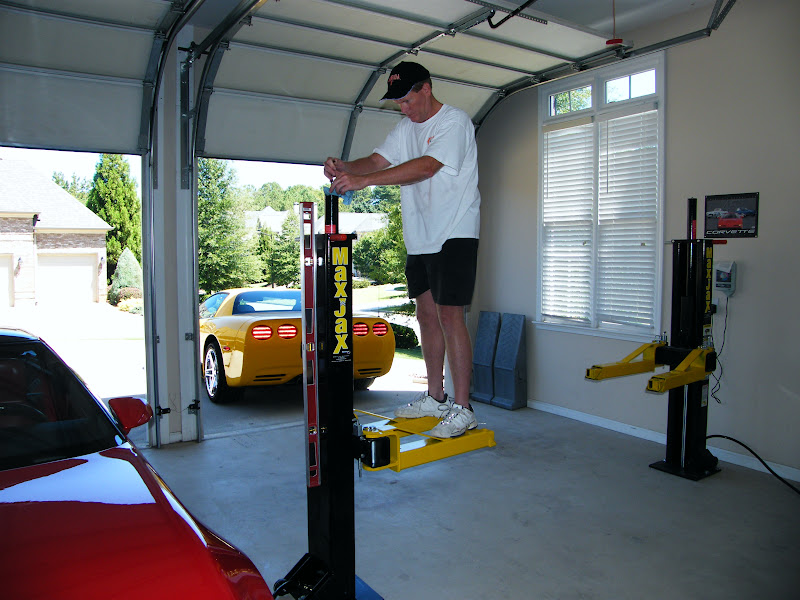
I broke down the shipment removing piece at a time until I got down to just the posts.
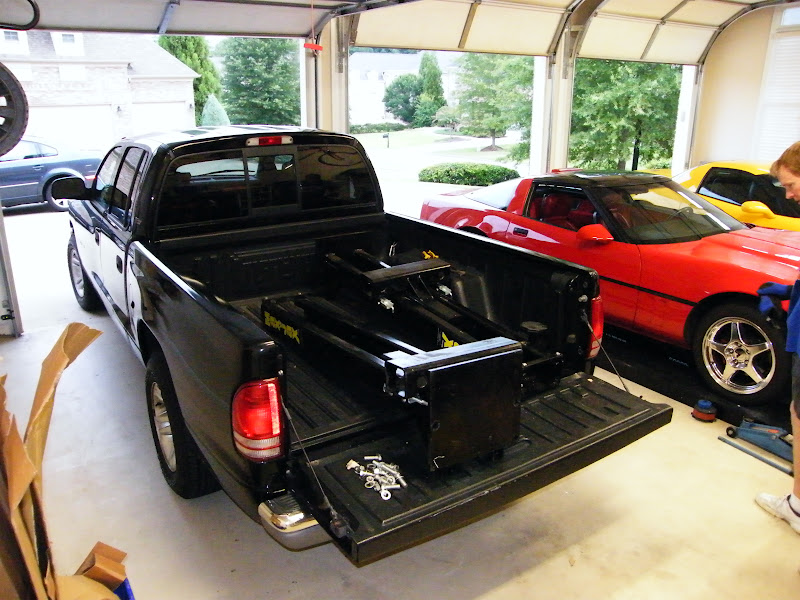
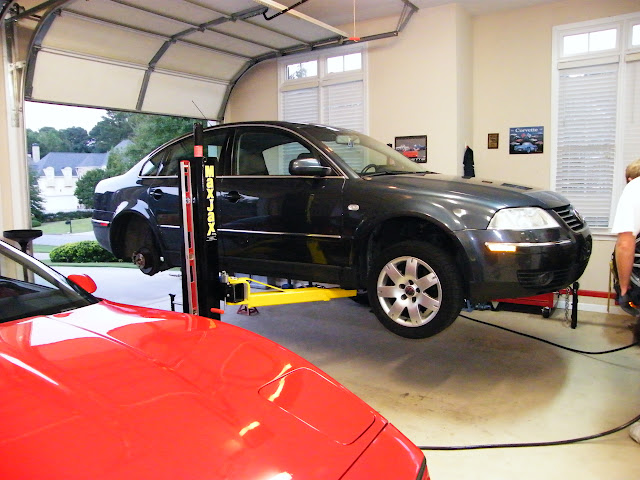
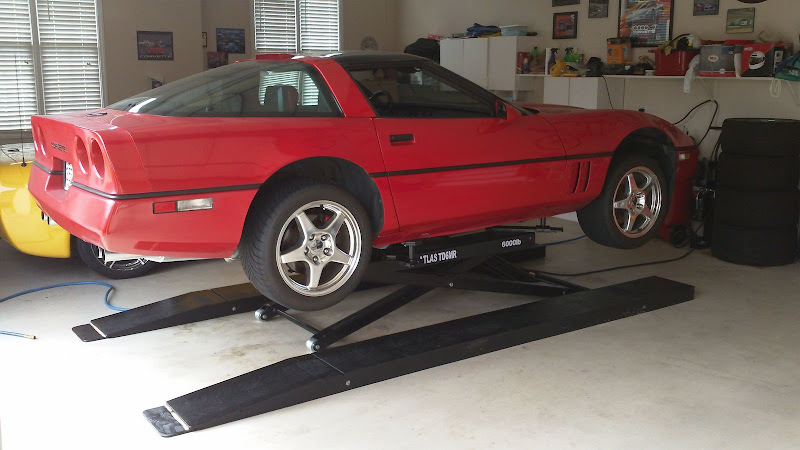
Now this is where I cheated a bit, I figured why lift anything when I can use my other lift to make life easy.
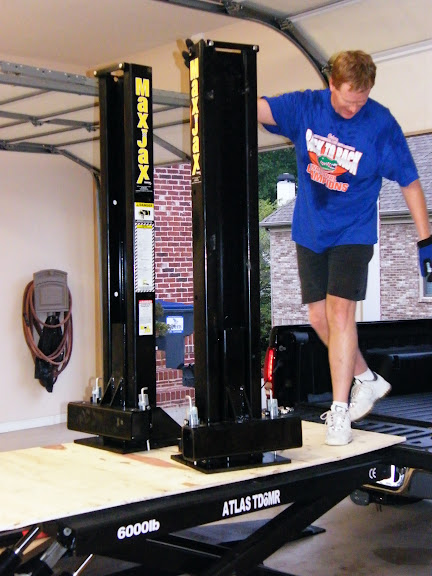
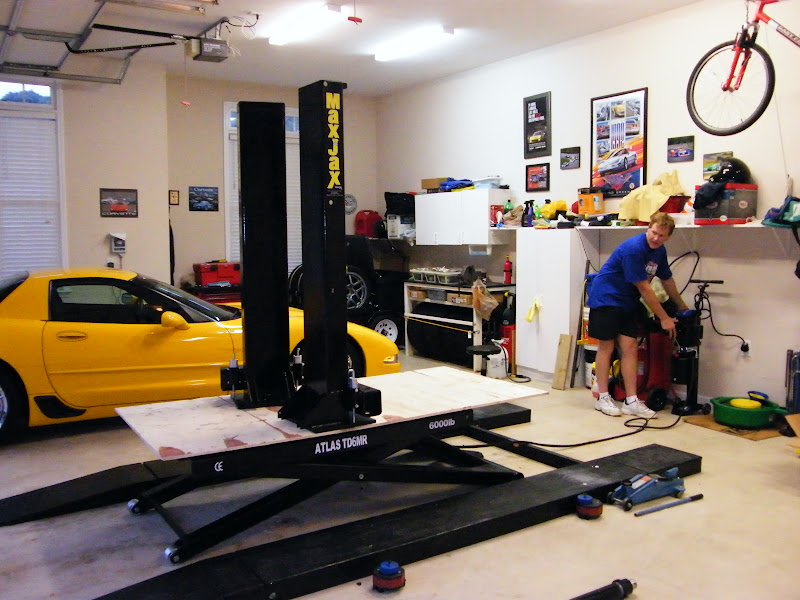
But even without the lift two men can lift one end to the ground without too much problem.
Installation
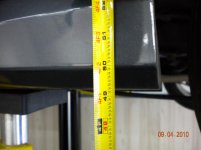
After doing this install I would recommend to anyone that is installing this lift to sit down with pencil, paper, and a set of measurements and do some good planning. I'm using this lift for 4 cars, a Z06, a C4 Corvette, and Dakota pickup, and a VW Passat. The lifting positions, lift point widths, and lift point lengths for all these are different. I recommend that you lay out on paper your vehicles and determine the best width to space the MaxJax posts. It is important to consider the lifting arm swing radius into this plan so that once the posts are positioned that the arms will swing through the areas you need. I positioned my posts at 124" which within range of the specs, but now I wish I would have gone to 126", this is due to the location of the jack points on the Z06 and the swing and length of the arms.
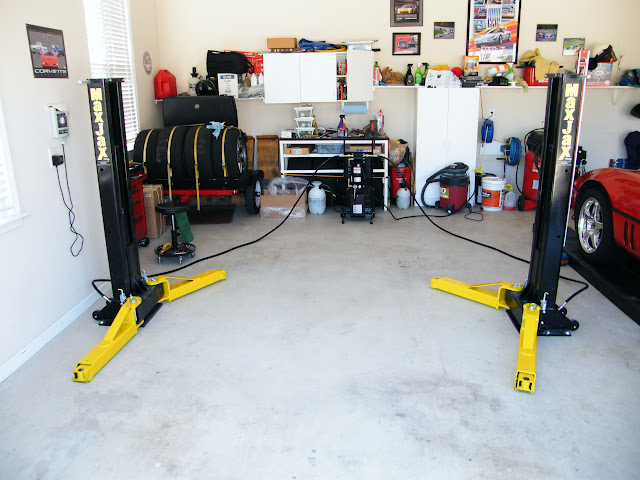
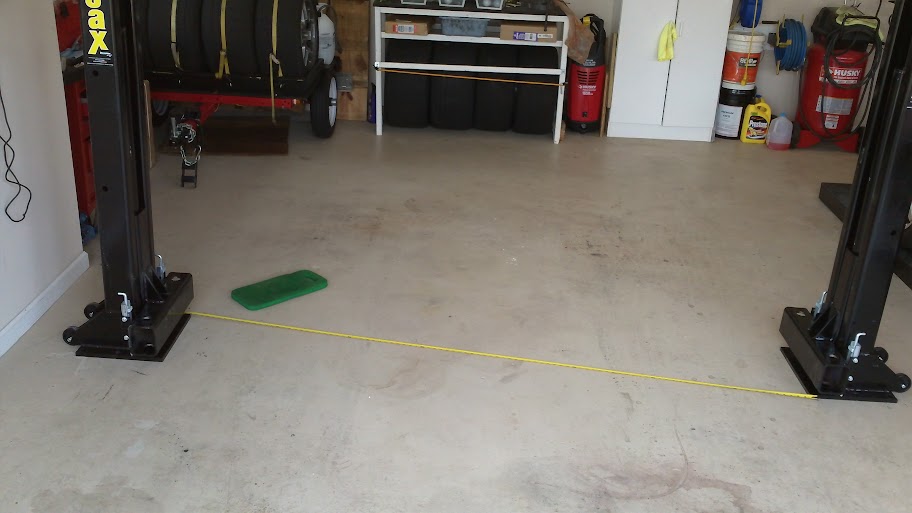
Test positioning the posts, and measuring to make square to one another.
I will give high marks to the instruction manual for the MaxJax compared to other equipment manuals I've seen, and for the most part if you follow the steps through the installation you should be fine. Once you have the posts positioned I would out line the post base on the floor for reference, and now comes the most important step in my opinion of this install, drilling the anchor holes.
Since the anchors are the key to a proper safe install the drilling step need to be done properly. After my experience I would strongly urge anyone to invest in the rental of a rotary hammer, or a substantial hammer drill to drill the 10 holes for the install. Most rental shops have these for about $30-$40 a day, and I wish I had rented one. I used a mid-level quality hammer drill that I had from my basement finish work with a standard 1/2" chuck and average power.
Drill bits are very important, the anchor hole size is 7/8", I can tell you I went to 4 hardware/homecenters and finding a 7/8" bit is tough, most places go from 3/4" to 1". Now here comes my first mistake! I found a Bosch 7/8" SPS+ masonry bit, about $36, I looked at the shaft and saw the extra notches and figured that's what the SPS+ was but figured I'd have no issues with it in a normal chuck, WRONG. Make sure you have the proper bit for the proper type drill. Using the SPS bit in a standard chuck induced a wobble and therefore my anchor holes were oversized, more on this later.
I suggest it might be easier once you order the lift to just order a bit from Amazon or another online vendor and have it on it's way so you are prepared. I found a 7/8" Bosch Blue Graphite masonry bit for about $18 online and so I order that once I had finished the first post.
While the direction are drilling are OK, I prefer drilling with more bits of increasing diameter. Instead of starting with 5/8" and then finishing with 7/8", I did the following:
Started drilling with a small 5/32" bit for about 2" to get things dead center in the hole area.
Then 1/4" down to about 4" or through the slab about 4 3/4" for me.
Then 1/2" through the slab.
Then 5/8' through the slab.
Finally finishing with 7/8"
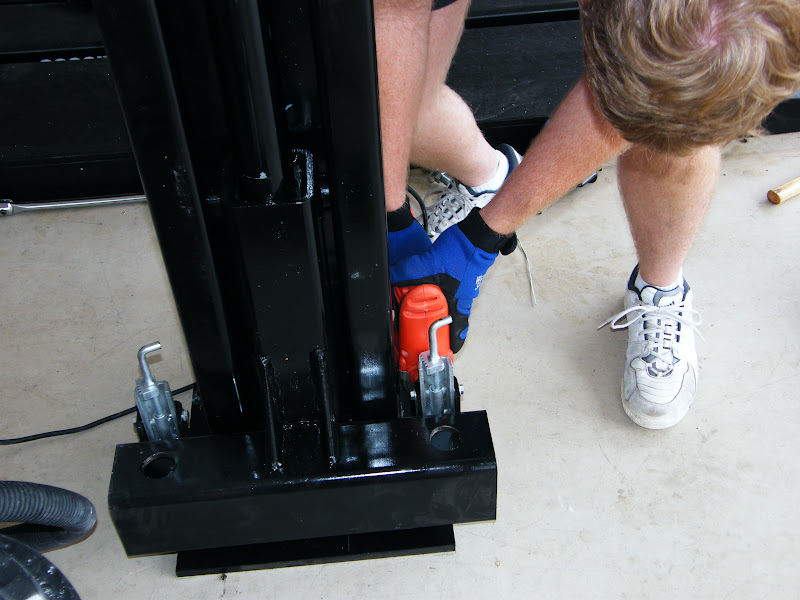
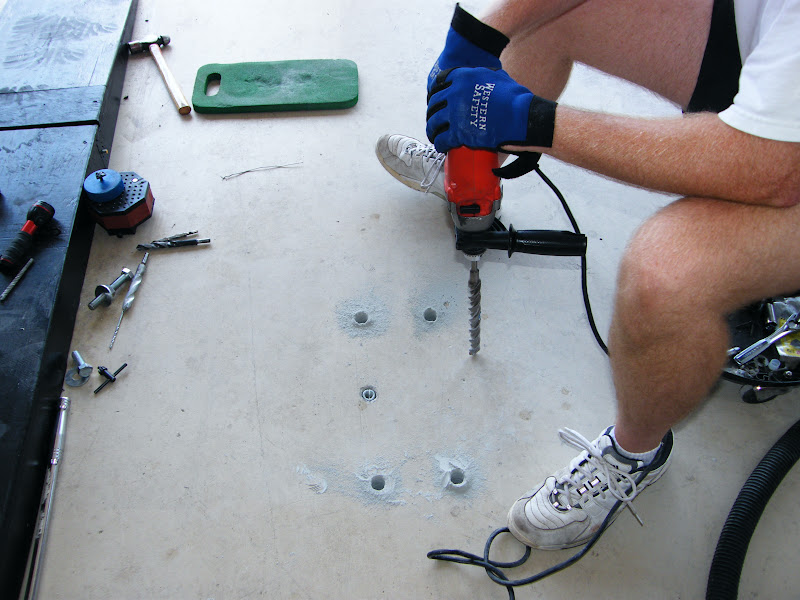
As the manual states do just the one center hole first completely and set that anchor so you can put the post in place and then start you pilot holes dead center in the mounting holes, then remove the post and bring them up to size. Keep a shop vac handy and something to dig out the concrete dust to make drilling go better. Also an air hose works great to blast out the dust.
Drilling with post in position
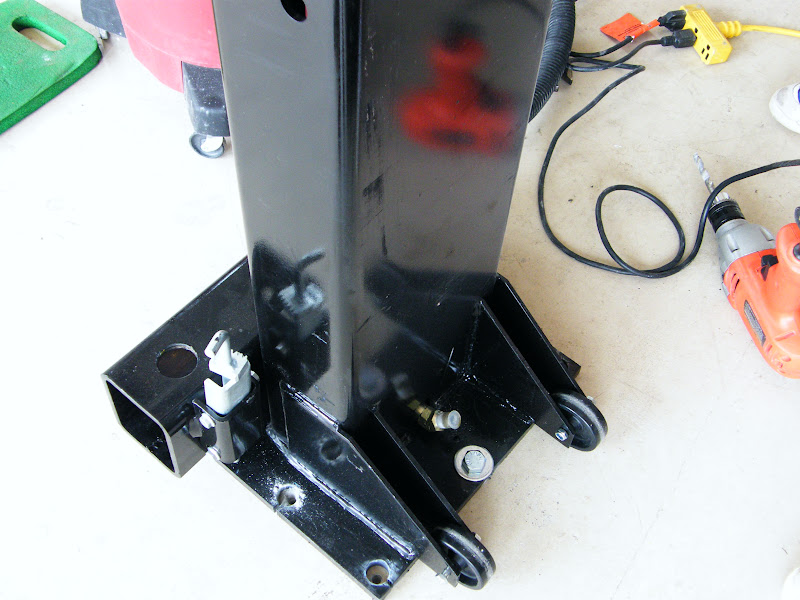
Post #1 drilled, you can see the first anchor in place and 4 other holes, also you can see the SPS bit in my standard hammer drill!
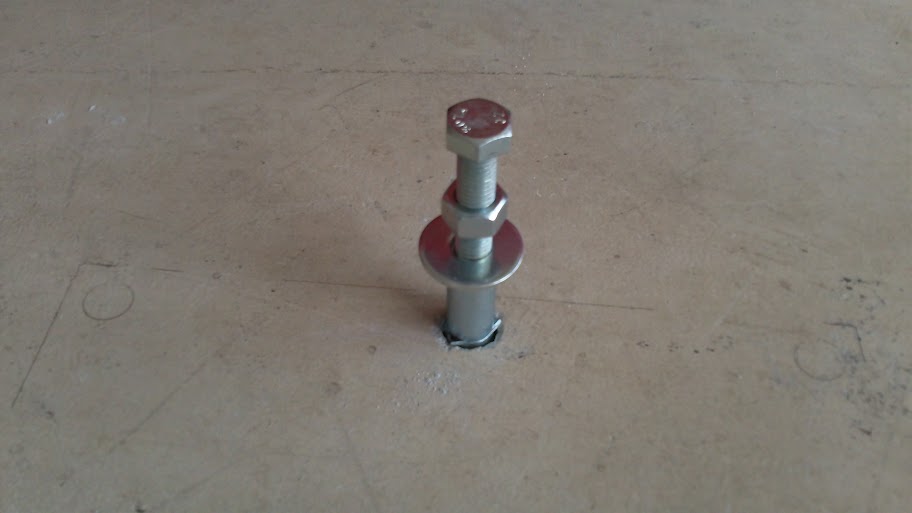
The anchor setting seems to work fine, if you've drilled holes properly. The holes I drilled with the proper drill bit tightened up with no problems and I left the anchors about 1/8" below the surface. I just followed the direction, using the washer and hex nut with the one sacrificial bolt, and in the proper holes, 3-4 rotations and they were tight.
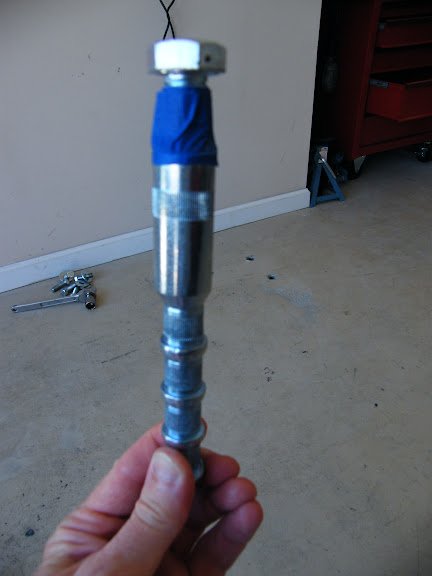
Anchor to be driven in place.
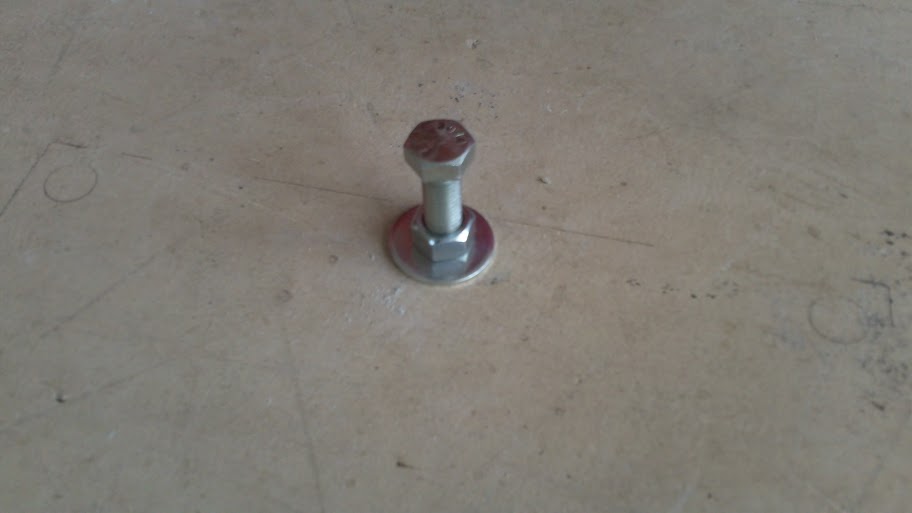
Installed to depth to begin tightening
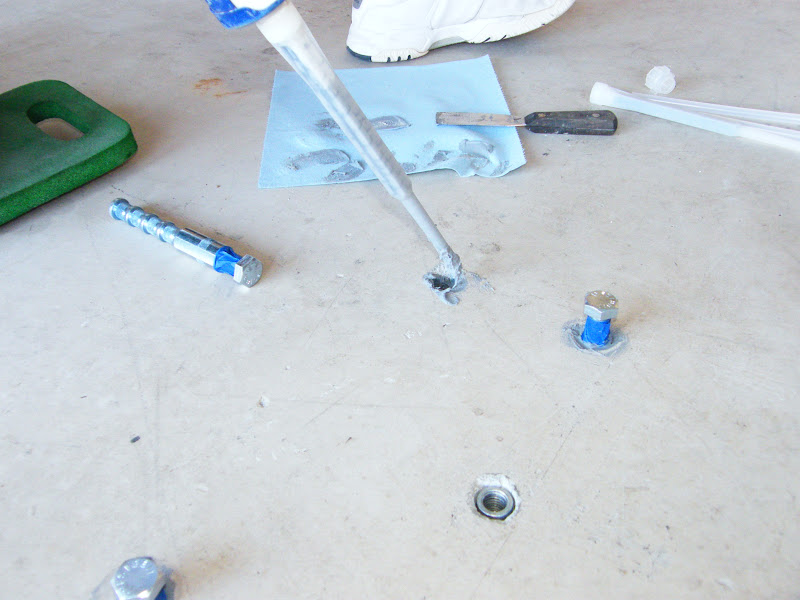
Now for the holes drilled incorrectly!! I tried with one anchor to set it in these holes that I wasn't sure if they were OK, they weren't, the anchor couldn't bite in the enlarged hole. This is where drilling through the slab helps so I could punch the anchor through into the ground below. I then moved to the Wej-It Power-Sert anchors, these are an epoxy based installation anchor and I will use these in the 4 holes that were drilled oversized.
New anchors and epoxy with threads taped off
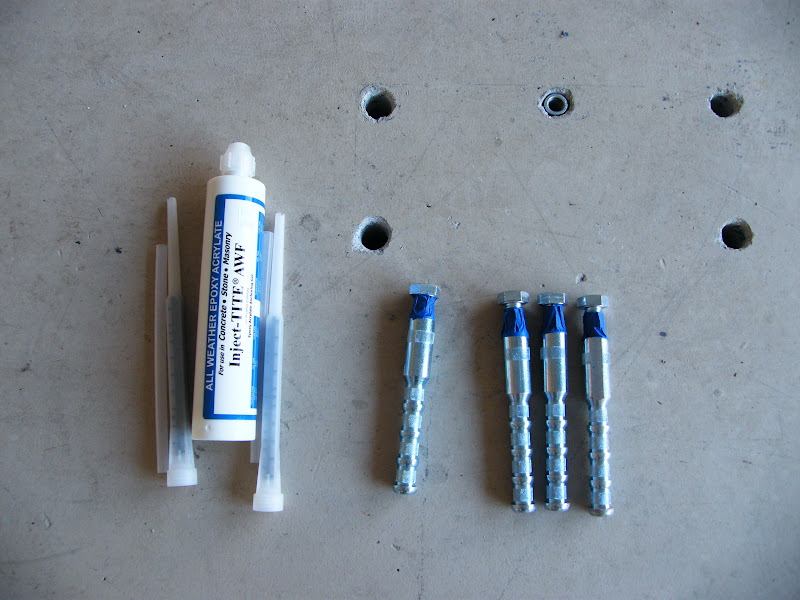
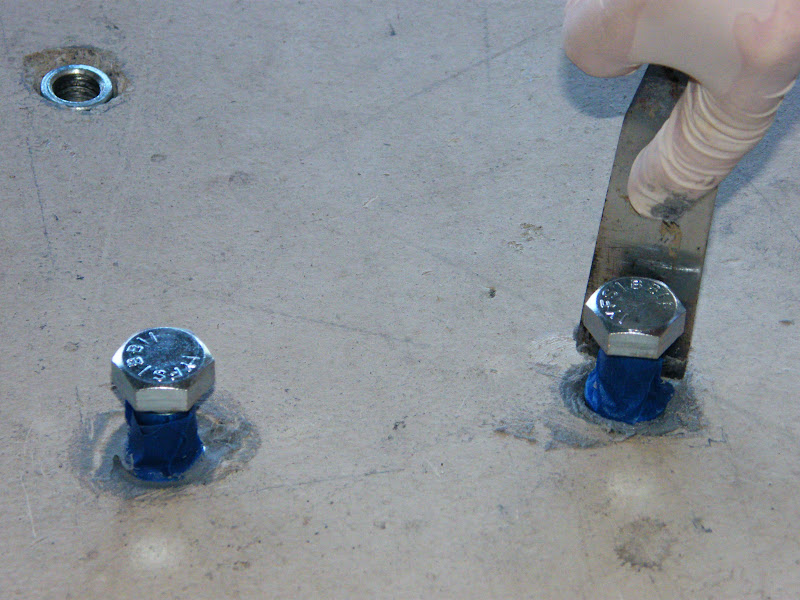
This process went really well, I cleaned the holes, taped up the threads to make sure I didn't get epoxy on areas it wasn't needed. Injected the epoxy, and set the anchors in, I cleaned the top level of excess but in 85 degree weather the epoxy sets very quickly and really generates some heat from the chemical reaction.
I used a little of the epoxy as a "filler" one the other holes just as I had it and thought it might secure the other anchors a bit as well, couldn't hurt!
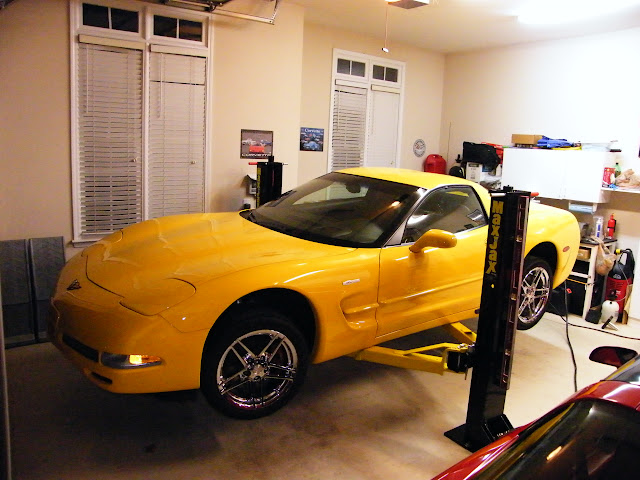
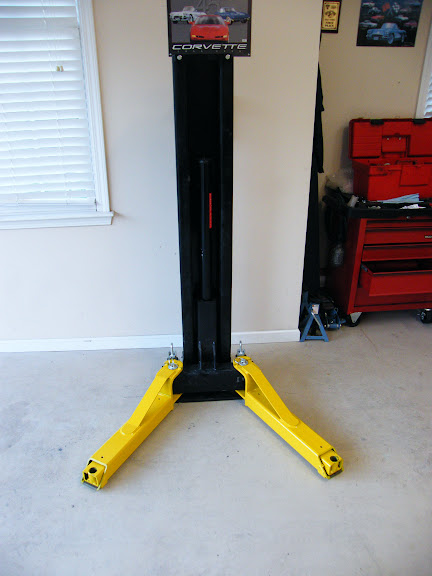
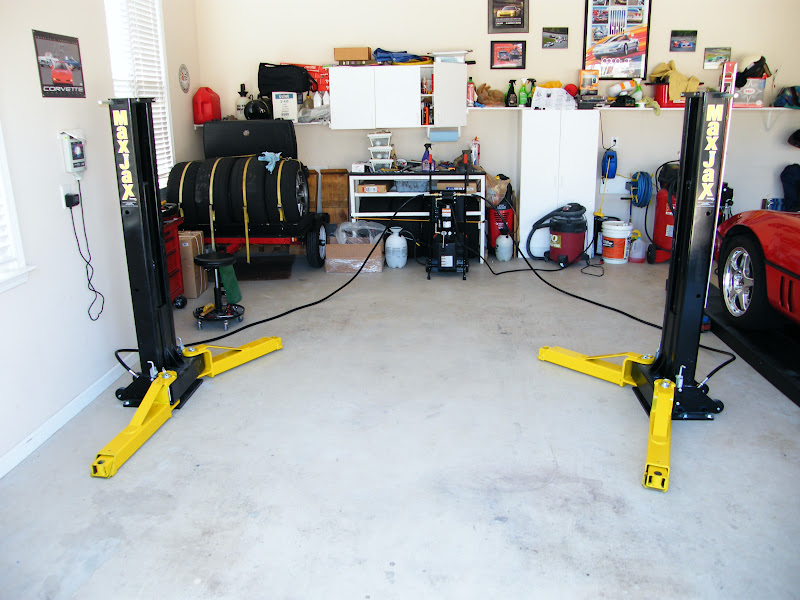
After curing overnight I placed the posts with shims and tightened all the bolts on both posts, everything tightened up as expected. Then I hooked up all the lines with the quick connect fittings and teflon tape on threads as needed. Added the lift arms and plugged in the power unit and the install is done!
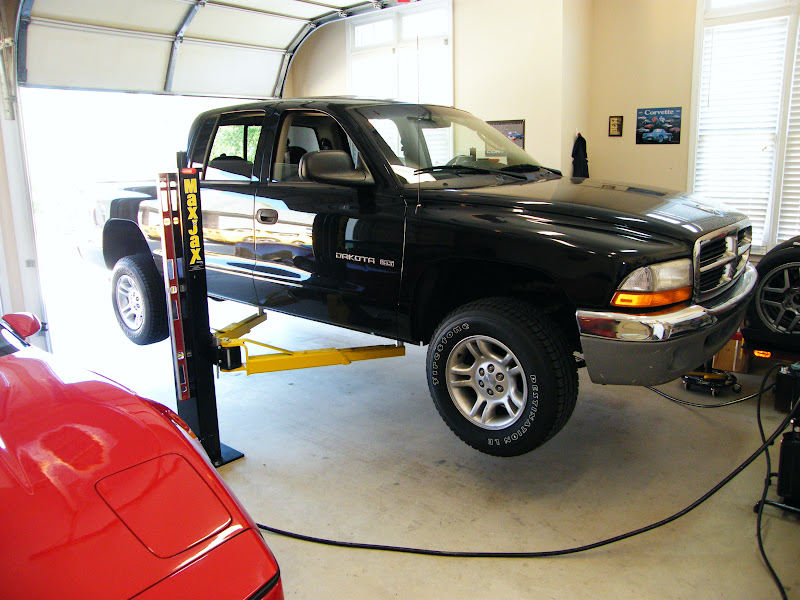
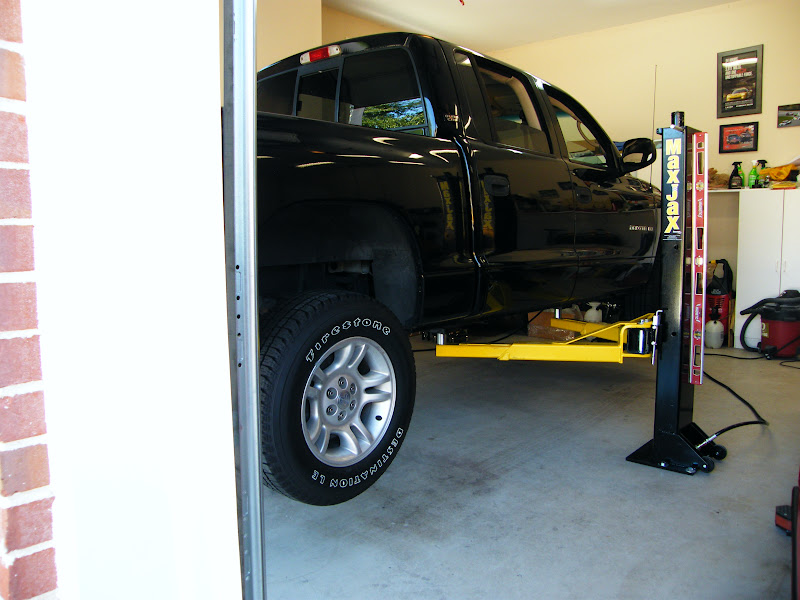
OK, well install complete so now on to testing.
http://www.garagejournal.com/forum/showthread.php?t=67229
The MaxJax was a very interesting tool but as I had never seen one and didn't know anyone with one I didn't go that route. But recently I have been given the opportunity to do a head-to-head comparison of the MaxJax to the mid-rise lift. So I jumped in, as I wanted to know for myself and I've done the same type write up on my experience with the MaxJax.
Transportation
The entire MaxJax setup comes neatly packed into one package about 6' long and 24" wide. It fit easily into my short bed pickup. Unless you'll be able to have the freight truck right near your garage, I think picking up the MaxJax at the depot is a better call. They will drop it in your truck or onto a trailer and then once at you site you can take the time to unload it in pieces and not need any special equipment.
I broke down the shipment removing piece at a time until I got down to just the posts.
Now this is where I cheated a bit,
I figured why lift anything when I can use my other lift to make life easy.
But even without the lift two men can lift one end to the ground without too much problem.
Installation
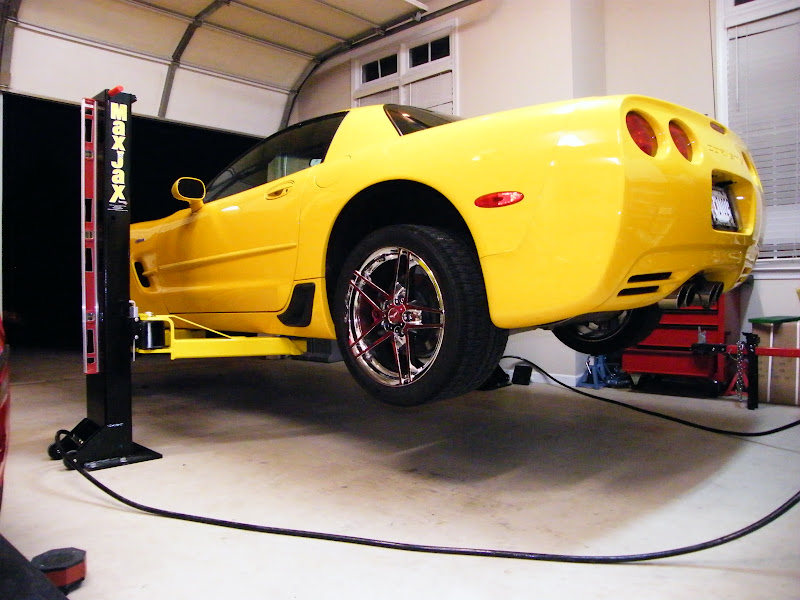
After doing this install I would recommend to anyone that is installing this lift to sit down with pencil, paper, and a set of measurements and do some good planning. I'm using this lift for 4 cars, a Z06, a C4 Corvette, and Dakota pickup, and a VW Passat. The lifting positions, lift point widths, and lift point lengths for all these are different. I recommend that you lay out on paper your vehicles and determine the best width to space the MaxJax posts. It is important to consider the lifting arm swing radius into this plan so that once the posts are positioned that the arms will swing through the areas you need. I positioned my posts at 124" which within range of the specs, but now I wish I would have gone to 126", this is due to the location of the jack points on the Z06 and the swing and length of the arms.
Test positioning the posts, and measuring to make square to one another.
I will give high marks to the instruction manual for the MaxJax compared to other equipment manuals I've seen, and for the most part if you follow the steps through the installation you should be fine. Once you have the posts positioned I would out line the post base on the floor for reference, and now comes the most important step in my opinion of this install, drilling the anchor holes.
Since the anchors are the key to a proper safe install the drilling step need to be done properly. After my experience I would strongly urge anyone to invest in the rental of a rotary hammer, or a substantial hammer drill to drill the 10 holes for the install. Most rental shops have these for about $30-$40 a day, and I wish I had rented one. I used a mid-level quality hammer drill that I had from my basement finish work with a standard 1/2" chuck and average power.
Drill bits are very important, the anchor hole size is 7/8", I can tell you I went to 4 hardware/homecenters and finding a 7/8" bit is tough, most places go from 3/4" to 1". Now here comes my first mistake! I found a Bosch 7/8" SPS+ masonry bit, about $36, I looked at the shaft and saw the extra notches and figured that's what the SPS+ was but figured I'd have no issues with it in a normal chuck, WRONG. Make sure you have the proper bit for the proper type drill. Using the SPS bit in a standard chuck induced a wobble and therefore my anchor holes were oversized, more on this later.
I suggest it might be easier once you order the lift to just order a bit from Amazon or another online vendor and have it on it's way so you are prepared. I found a 7/8" Bosch Blue Graphite masonry bit for about $18 online and so I order that once I had finished the first post.
While the direction are drilling are OK, I prefer drilling with more bits of increasing diameter. Instead of starting with 5/8" and then finishing with 7/8", I did the following:
Started drilling with a small 5/32" bit for about 2" to get things dead center in the hole area.
Then 1/4" down to about 4" or through the slab about 4 3/4" for me.
Then 1/2" through the slab.
Then 5/8' through the slab.
Finally finishing with 7/8"
As the manual states do just the one center hole first completely and set that anchor so you can put the post in place and then start you pilot holes dead center in the mounting holes, then remove the post and bring them up to size. Keep a shop vac handy and something to dig out the concrete dust to make drilling go better. Also an air hose works great to blast out the dust.
Drilling with post in position
Post #1 drilled, you can see the first anchor in place and 4 other holes, also you can see the SPS bit in my standard hammer drill!
The anchor setting seems to work fine, if you've drilled holes properly. The holes I drilled with the proper drill bit tightened up with no problems and I left the anchors about 1/8" below the surface. I just followed the direction, using the washer and hex nut with the one sacrificial bolt, and in the proper holes, 3-4 rotations and they were tight.
Anchor to be driven in place.
Installed to depth to begin tightening
Now for the holes drilled incorrectly!!
I tried with one anchor to set it in these holes that I wasn't sure if they were OK, they weren't, the anchor couldn't bite in the enlarged hole. This is where drilling through the slab helps so I could punch the anchor through into the ground below. I then moved to the Wej-It Power-Sert anchors, these are an epoxy based installation anchor and I will use these in the 4 holes that were drilled oversized. New anchors and epoxy with threads taped off
This process went really well, I cleaned the holes, taped up the threads to make sure I didn't get epoxy on areas it wasn't needed. Injected the epoxy, and set the anchors in, I cleaned the top level of excess but in 85 degree weather the epoxy sets very quickly and really generates some heat from the chemical reaction.
I used a little of the epoxy as a "filler" one the other holes just as I had it and thought it might secure the other anchors a bit as well, couldn't hurt!
After curing overnight I placed the posts with shims and tightened all the bolts on both posts, everything tightened up as expected. Then I hooked up all the lines with the quick connect fittings and teflon tape on threads as needed. Added the lift arms and plugged in the power unit and the install is done!
OK, well install complete so now on to testing.
Last edited: