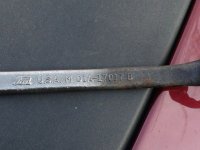
The big issue I have when you get a new wire wheel is breakage of the bristles and the finish is all marred with brush lines, it looks like ****.
I am using an 8" grinder that would run, I am guessing at 1440 rpm.
With a good 8 inch size wheel I suspect the surface speed is still up there pretty good.
I do have another unit that I built 30 years ago that is mainly used for polishing but I can still fit a wire wheel to it.
It has a 1/3 hp 2 speed washing machine motor 1440/2880 rpm which I can also change the pulleys and belt on to rev it up so to speak.
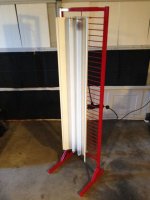
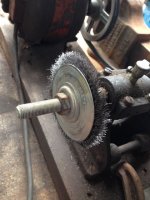
Wow! A double wide wheel. You definitely want your protection on with all those bristles spinning in front of you.
The trouble with using wire wheels at those speeds is that you need to be real careful and use full PPE as the bristles break and you tend to get showered so its not used a lot for that application.
I definitely wear a full face shield and glasses when using this wheel. You can feel the bristles occasionally flying out and I generally also have an extra coat on as well. But eye protection is the first concern for sure.
I am interested to see how your new wheel goes.

Apologies for hijacking your thread.


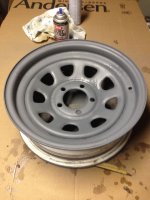

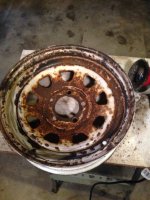
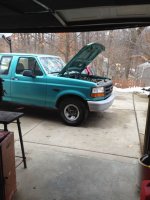
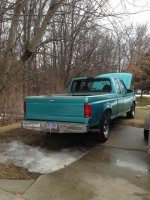
 I still have one more to do myself for the trailer and then there are 5 more wheels for the next project in line after this one. 1940's vintage Ford steel wheels destined for my hot rod project.