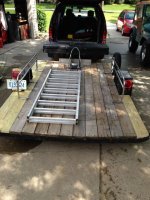
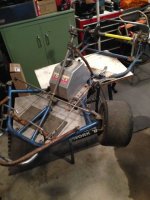
As I've been off work this past week I was able to get a few more tasks done around the house. One of which was finishing the build of my small flat bed trailer. It was about 80% done and I have been using it but, it needed the final floor boards added, some permanent wiring completed, side rails and other misc.
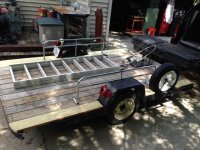
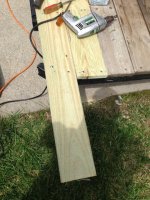
The first order of business was to purchase and install the last 3 of the deck boards. A quick trip to Homer's Depot for 3 more 5/4 pressure treated boards, some cutting and fitting and, then some bolts to the frame.
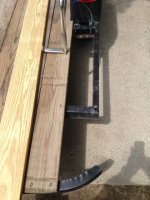
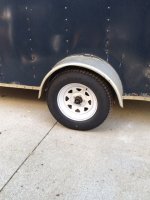
I decided the place to mount the spare tire was along one side near the front. This frame came from an old pop up trailer so there was a nice pocket in the frame rail right where the old step up used to be.
I cut some remaining pieces of decking to fit in front and back of that space to finish it off. For now the tire is held in place by bungee cords but the final touch will be to weld on an actual tire mount bracket someday when I can get the trailer into my garage and near to the welder. For now, this is totally serviceable.
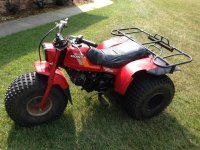
I also bolted some chrome side rails I had collected from a past auction. In time we shall see if these prove useful or not. And I now also have a nice sturdy folding aluminum ramp purchased just last week at auction for less than half the cost of a new one. It already got tested this weekend loading and unloading my ATV and works great.
At this point I may play around with adding tie down points here and there but other than welding on a permanent spare tire bracket someday it's finally done and ready to be used for motorcycle, ATV, lawn tractor or just general hauling. This was a good trailer build project and it will prove very useful. It's very light weight when empty and very easy to pull when loaded and, carries a good amount of load.

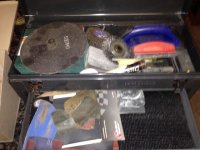
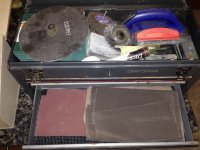
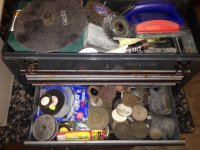
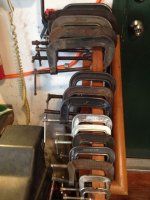
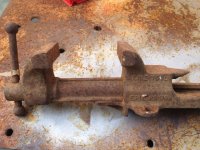
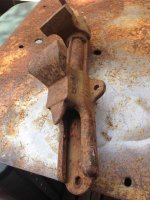
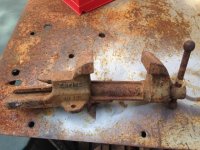
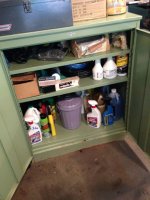
 Its probably one of the most time consuming yet rewarding jobs I have done, sorting 40 years of accumulated bits and pieces.


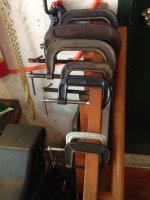
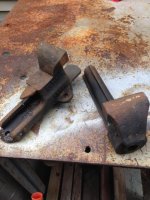
 Maybe that's why the put wheels on them.
 Problem of loose C-Clamps laying around is solved.