New Welding Cart
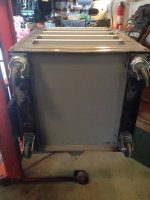
I managed to pick up a pretty nice AV cart at a local tool auction this week and at first I was just going to use it for some extra storage but realized it can have better purposes in garage life. With a integral power strip and long extension cord it could be a good portable work station.


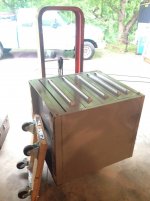
My current welding cart has its good and bad points as originally a small rolling tool box bottom. It has good storage for clamps and welding supplies but very little space on top for two small welders and is pretty top heavy tipsy.

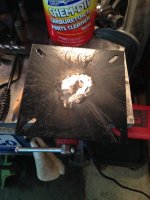
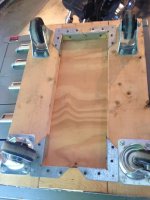
I started transferring welders and some supplies over and see the need to add more features for storage. Maybe I will add a drawer or just some extra side support braces that can also act as places to hold clamps and angle grinders. With some continuous improvement it should prove to be a much better mobile work station.

I managed to pick up a pretty nice AV cart at a local tool auction this week and at first I was just going to use it for some extra storage but realized it can have better purposes in garage life. With a integral power strip and long extension cord it could be a good portable work station.
My current welding cart has its good and bad points as originally a small rolling tool box bottom. It has good storage for clamps and welding supplies but very little space on top for two small welders and is pretty top heavy tipsy.
I started transferring welders and some supplies over and see the need to add more features for storage. Maybe I will add a drawer or just some extra side support braces that can also act as places to hold clamps and angle grinders. With some continuous improvement it should prove to be a much better mobile work station.