To avoid these ads, REGISTER NOW!

20X20 The Slow Build!

47ford - 1.5ton

Well-known member
Joined
Oct 13, 2010
Messages
60
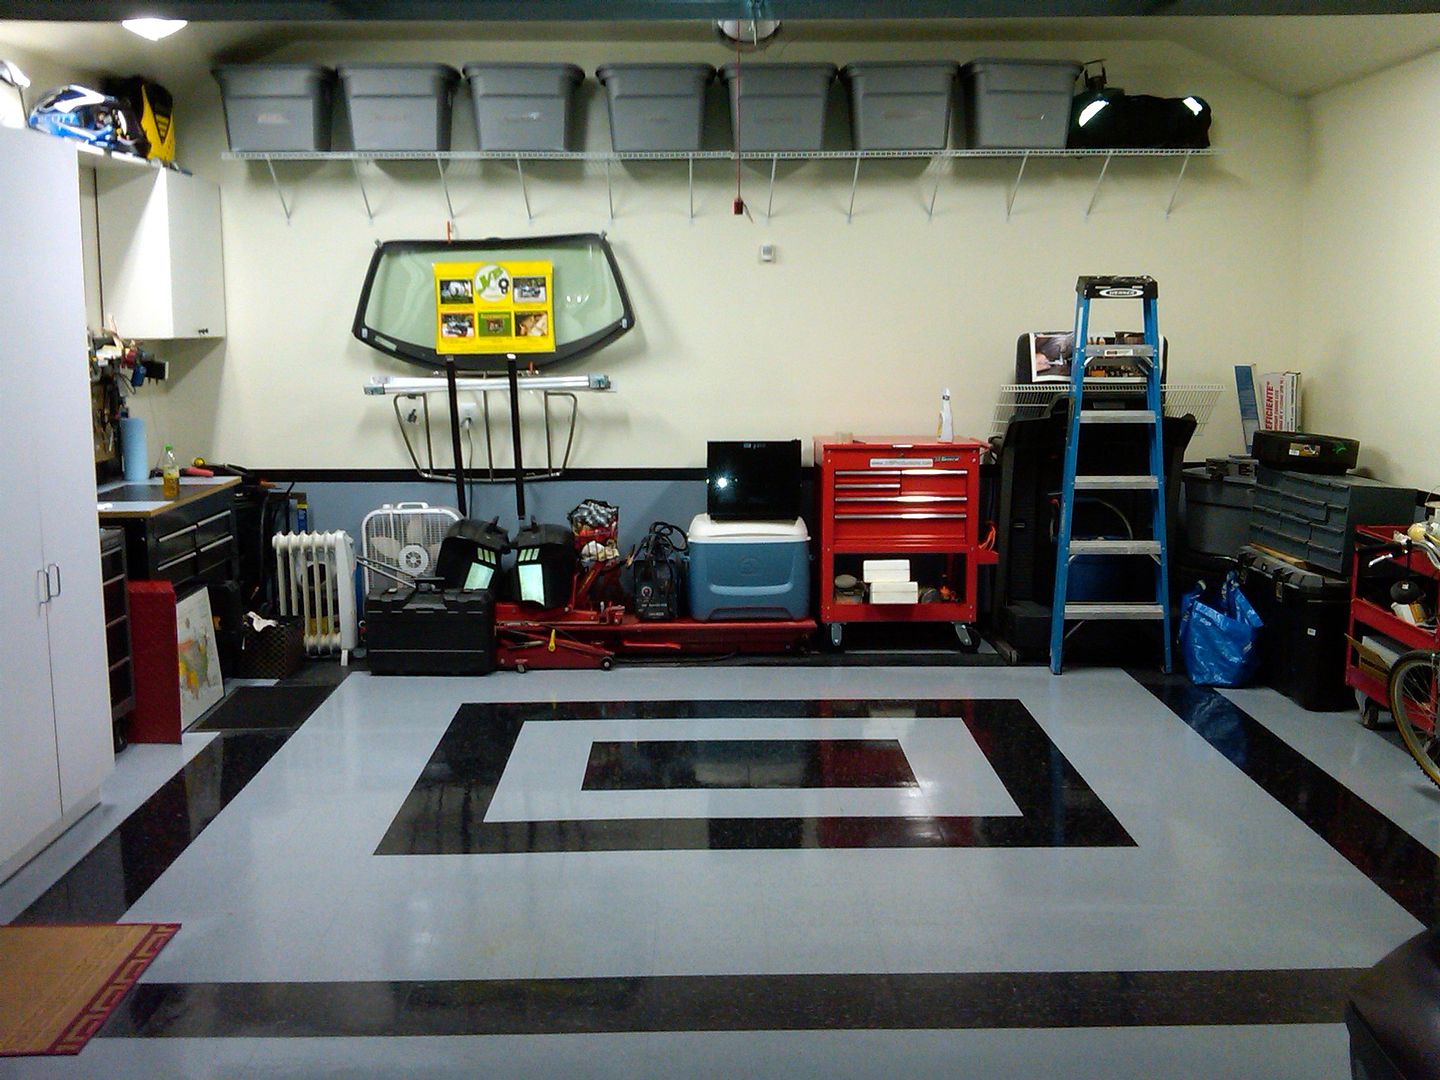
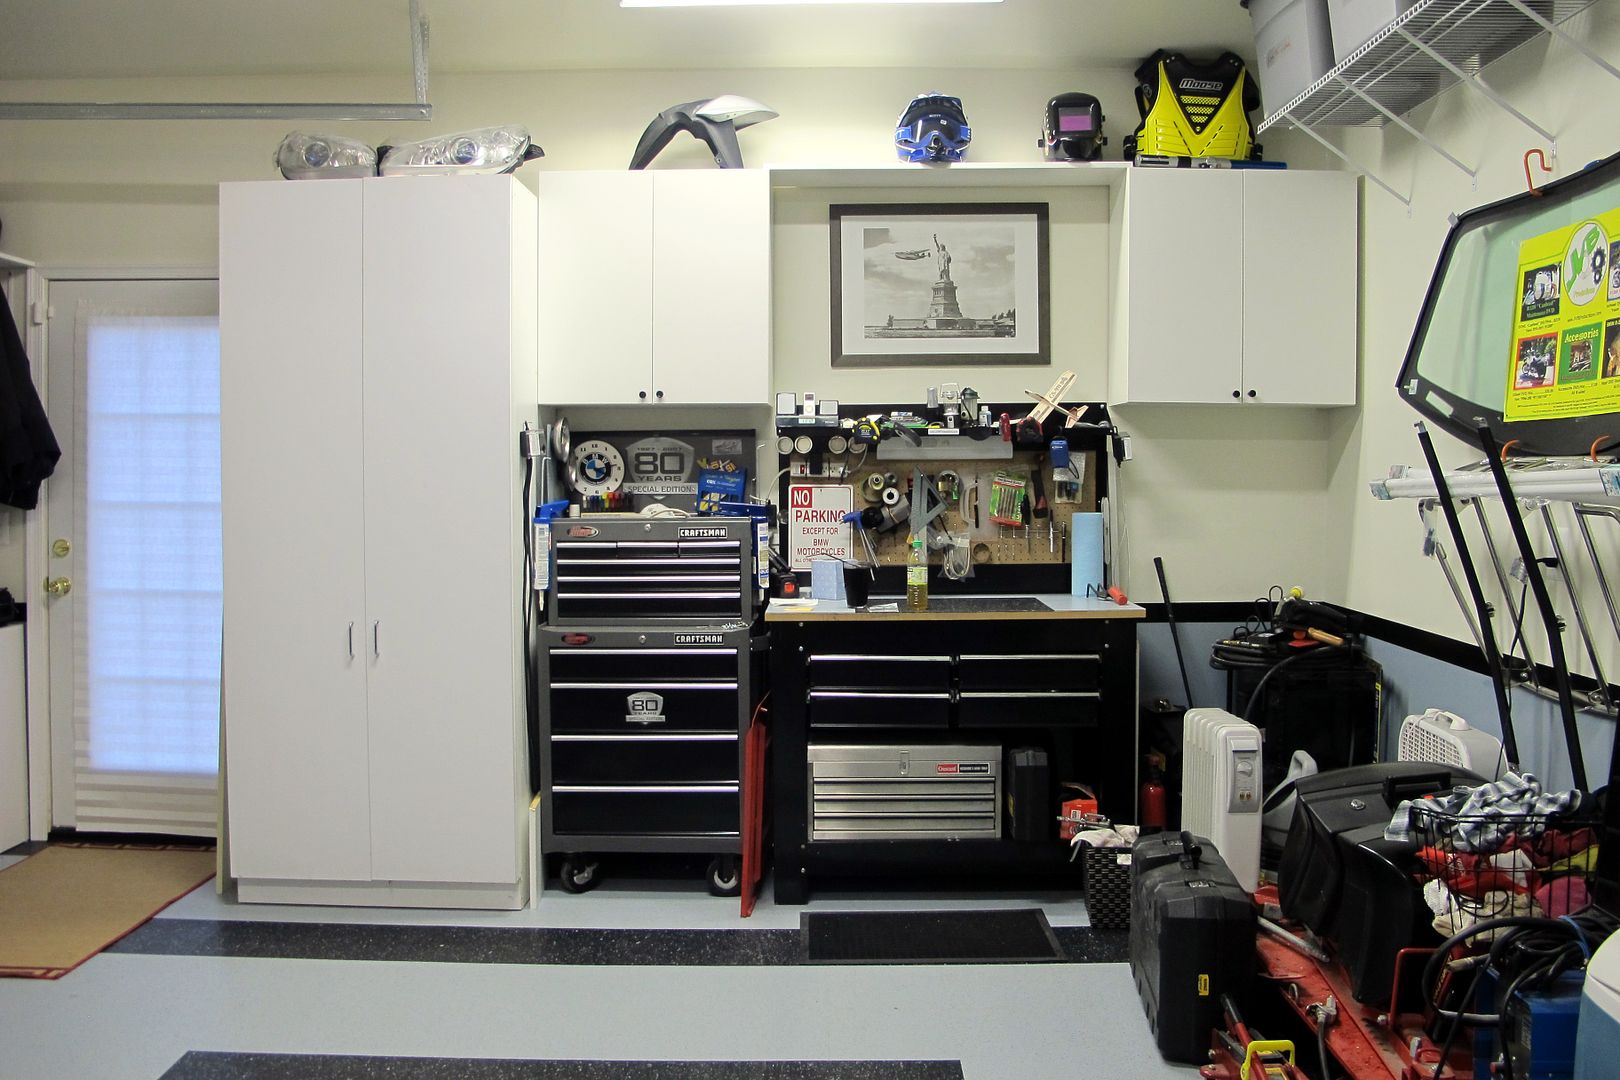
Thanks guys! I think they did a pretty good job on the house, and the exterior of the garage. They let the quality slide on the sheet rock, but not bad.

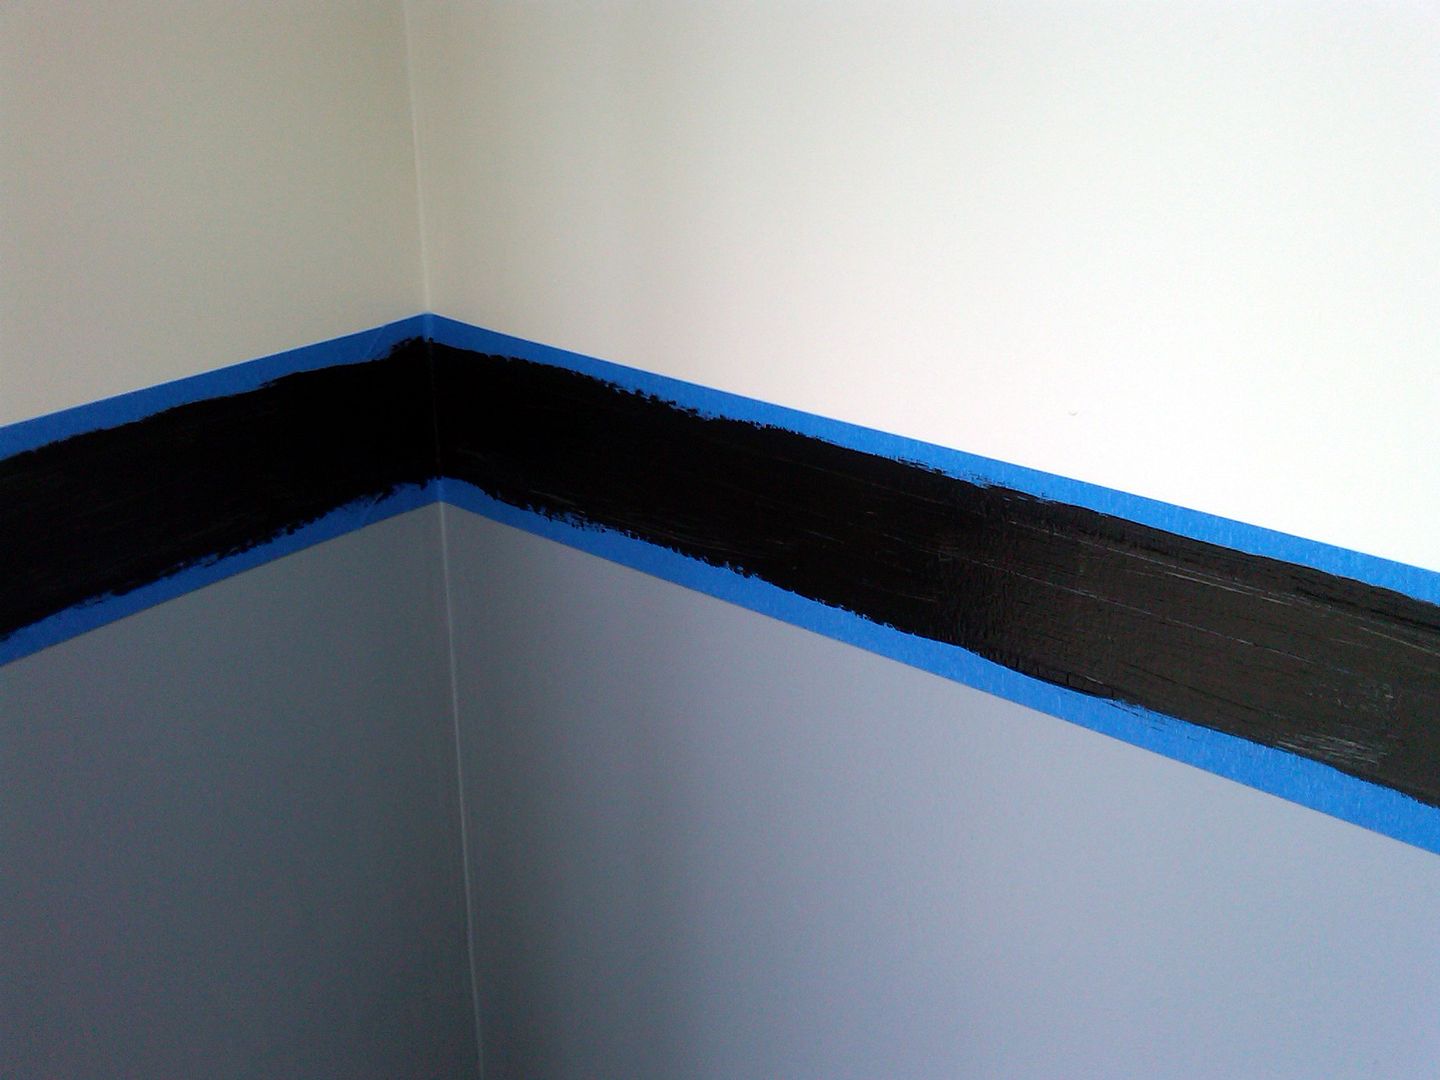
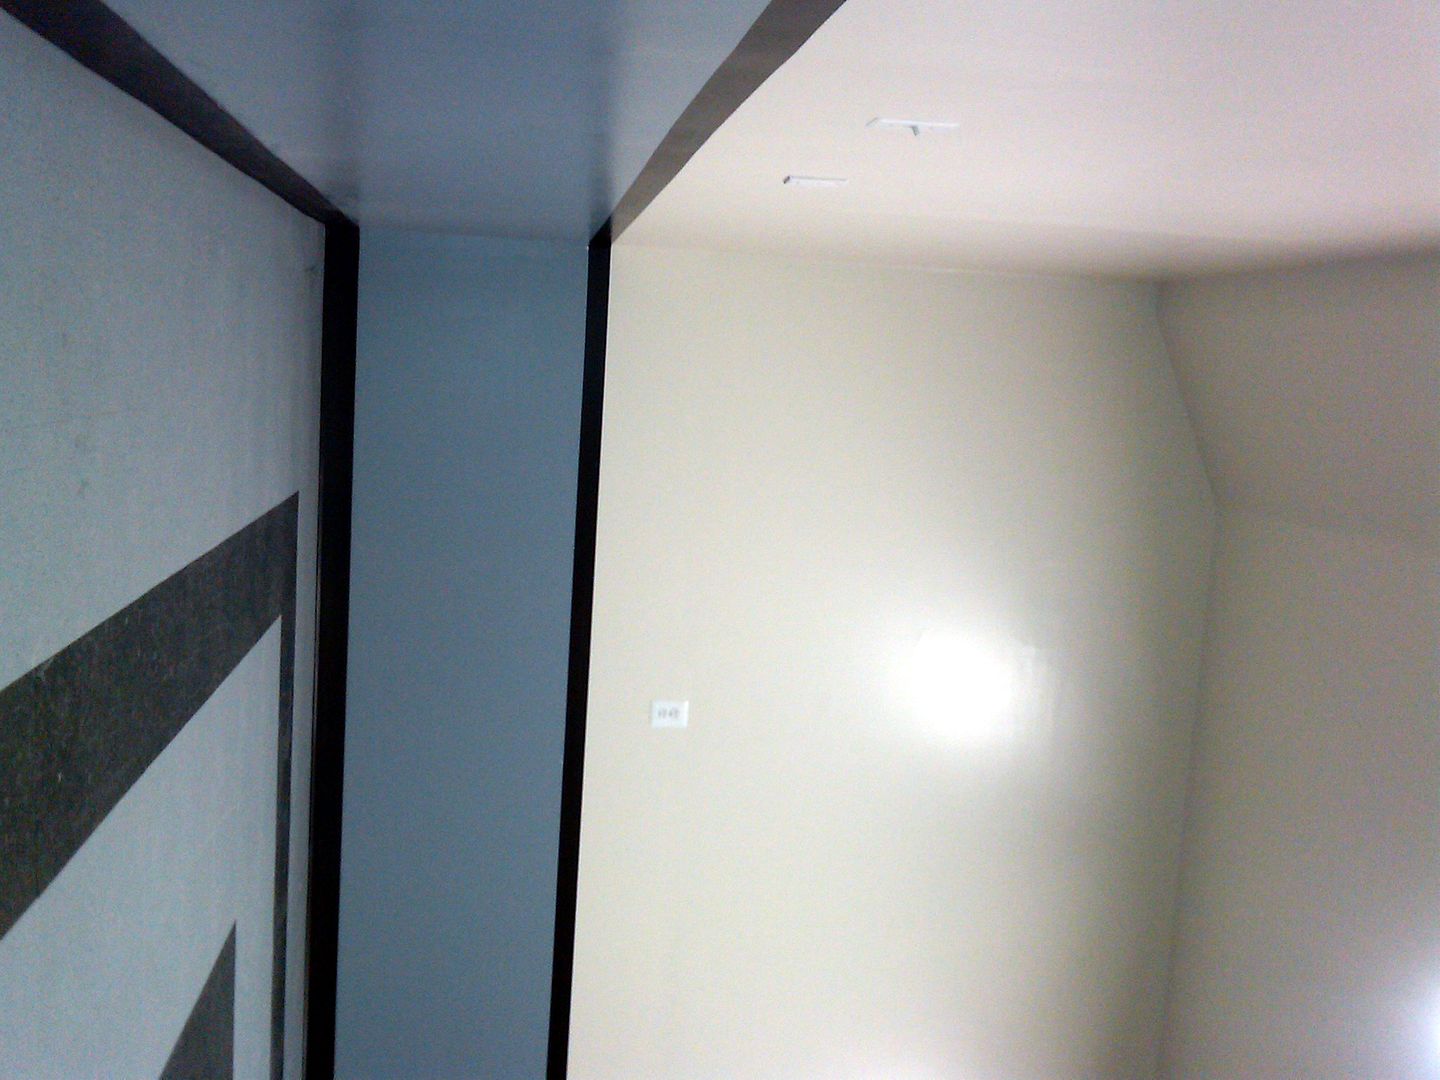
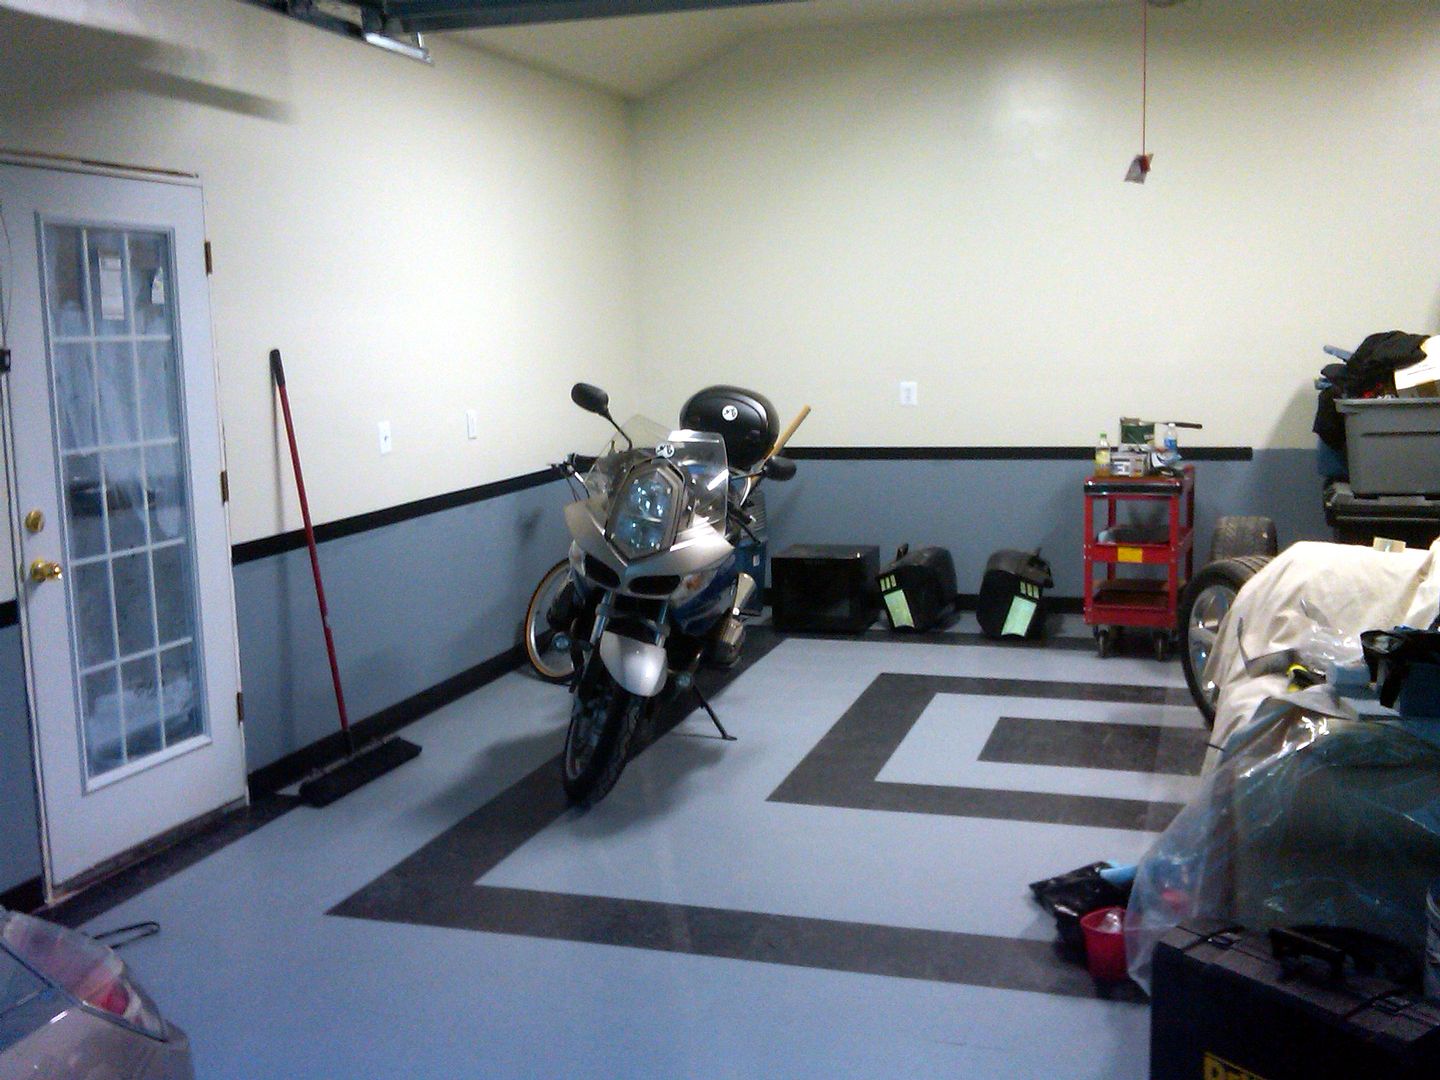
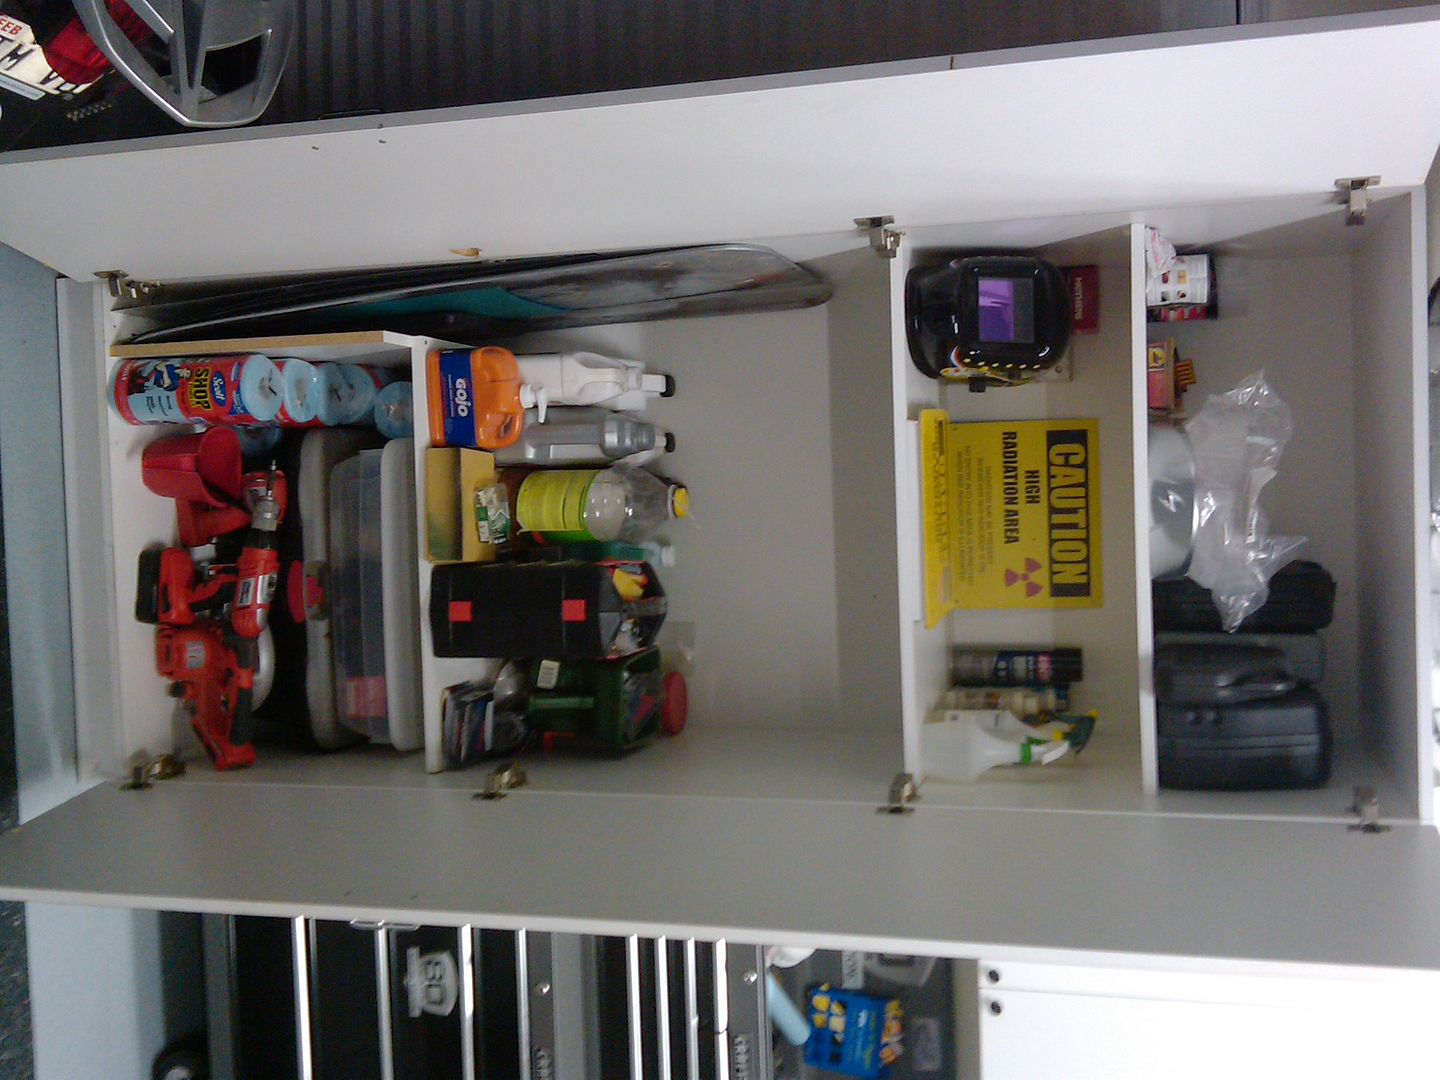
Dawg, the garage work I have done so far includes drywall mud, primer, rollers, paint, VCT (400 sq ft), mastic and a few basic tools, plus two lights from wallmart. Total right now is just under $400. It will go up another $500 or so for a few cabinets and shelves.

Not bad if you do it yourself.

Thanks,

Jim :cool:

I'm going to have $400 just stuck in VCT (450 sq ft)

Where did you steal your VCT from if I may ask (big box?)
 
To avoid these ads, REGISTER NOW!
OP
J

JimVonBaden

Well-known member
Joined
Dec 2, 2011
Messages
15,716
Location
Northern Virginia
Started on the opposite side tonight after moving the rest of the stuff over to the finished side.

Garage-Paint-New-Web-16-1.jpg


Garage-Paint-New-Web-17-1.jpg

Looks good from a distance.

Garage-Paint-New-Web-15-1.jpg

But lots of gaps close up.

GaragePaintnew11.jpg

GaragePaintnew13.jpg

GaragePaintnew12.jpg


All the gaps are now filled, and more mud applied. I sanded some and sponged other parts. I'll take photos of the finish sand tomorrow. I was too tired to run up for the camera.

Tomorrow I finish sand and start the primer paint.

Jim :cool:
 
OP
J

JimVonBaden

Well-known member
Joined
Dec 2, 2011
Messages
15,716
Location
Northern Virginia
Got the drywall mud done, and the cutting in for the primer. Dusty dirty work, but it is looking pretty good already.

Garage-Paint-New-Web-19.jpg

Garage-Paint-New-Web-20.jpg


Tomorrow I finish the primer, Saturday the paint, and Sunday the other half of the tile, and the black stripe and floor trim.

Jim :cool:
 

Jkaz

Well-known member
Joined
Aug 11, 2011
Messages
53
Location
Minneapolis, MN
Looks great Jim, I have to say your walls look way better than mine, I didn't feather out enough on some of the joints and they "sink" in. Will be re-mudding. Thanks for the painting tips!
 

GirlnAgarage

Well-known member
Joined
Jan 21, 2011
Messages
4,668
Location
Texas
Jim, your pics make my back, shoulder and neck hurt. Tiring and dusty work for sure. But doing a good job will pay off in the end. Nice work :)
 
OP
J

JimVonBaden

Well-known member
Joined
Dec 2, 2011
Messages
15,716
Location
Northern Virginia
Yeah, my muscles are getting sore! I have strong legs, but the arms of a 10 year old.:sad:

Anyhow, took a long ride on the bike today, but when I got back home I was back at it.

Most of the paint, other than the stripe, is done now, and looks pretty good!

Garage-Paint-New-Web-21.jpg


Garage-Paint-New-Web-22.jpg


Nothing like semi-gloss to show aff the flaws in the prep work. I did a lot, but it still isn't home quality, and I am OK with that!

Thanks for the encouragement. It was this forum that gave me the push I needed to really try to do it as right as I can.

Jim :cool:
 
OP
J

JimVonBaden

Well-known member
Joined
Dec 2, 2011
Messages
15,716
Location
Northern Virginia
Another long, but productive day!

Started with this, after cleaning the floors of dripped paint and mud dust.:
Garage-Paint-New-Web-41.jpg


Then added the stripes while I waited for the floor to dry.
Garage-Paint-New-Web-40.jpg

Garage-Paint-New-Web-39.jpg

Garage-Paint-New-Web-38.jpg

Garage-Paint-New-Web-37.jpg


Then added the tile:

Garage-Paint-New-Web-35.jpg

Garage-Paint-New-Web-34.jpg


Then added the floor moulding (rubber):

Garage-Paint-New-Web-33.jpg

Garage-Paint-New-Web-32.jpg

Garage-Paint-New-Web-29.jpg

Garage-Paint-New-Web-26.jpg


Then loaded some stuff back in anticipating snow tonight.
Garage-Paint-New-Web-24.jpg


I think it looks pretty good.

Left is adding the door moulding, a sill plate under the door, a metal lip around the front of the garage door entrance, finishing the stripe on the other side, and adding the floor moulding, them arranging the **** artfully!:bounce:

Jim :cool:
 

Kevin54

MEMBER EMERITUS
Joined
Jan 12, 2005
Messages
29,341
Location
Urbana, Ohio
Garage-Paint-New-Web-40.jpg


Garage-Paint-New-Web-33.jpg


Jim...how do you like that little oil filled heater? We have a couple of them. My wife has two out in her 20x20 building, set on medium, and it keeps it around 70 degrees in there.

As far as the paint, stripes, and floor.....very nice. Everything goes together great. Great job indeed. :bowdown:
 

bhclark

Well-known member
Joined
Aug 20, 2011
Messages
418
Location
OHIO
You going to wax that floor? The black tiles will really pop with a few coats of wax and a good buffing.
 
OP
J

JimVonBaden

Well-known member
Joined
Dec 2, 2011
Messages
15,716
Location
Northern Virginia
Jim...how do you like that little oil filled heater? We have a couple of them. My wife has two out in her 20x20 building, set on medium, and it keeps it around 70 degrees in there.

As far as the paint, stripes, and floor.....very nice. Everything goes together great. Great job indeed. :bowdown:

It is an amazing little 1500 watt heater. It keeps my uninsulated grage above 55° when it is 20° outside, so long as I don't open the door. Yesterday it was 55° and I had to turn it off. I guess that even though I lack insulation, the sealed sheetrock helps a lot.

Thanks, it is looking better. Now to add the cabinets. I am thinking I will use the same ones I put in our laundry room. They were only $58 each, so 3-4 of them would be perfect. Then I can really start putting things away.

LaundryCabinets2.jpg

Like these.

Moved stuff around a bit.

Garage-Paint-New-Web-43.jpg


I'm not at all crazy about the shelves. I am thinking about replacing them with a wardrobe for my motorcycle gear, and a couple cabinets for the shop supplies, of which I have way too much.

Jim :cool:
 
OP
J

JimVonBaden

Well-known member
Joined
Dec 2, 2011
Messages
15,716
Location
Northern Virginia
A little more work done tonight.

I finished the stripe on the other side, and added the baseboard:

Garage-Paint-New-Web-48.jpg


Then added a shelf and rod for hanging my MC gear and my helmets on top. (I need hangers to actually hang them up.):

Garage-Paint-New-Web-47.jpg

Garage-Paint-New-Web-46.jpg

Garage-Paint-New-Web-44.jpg


Getting there "slow"ly!

Jim :cool:
 
OP
J

JimVonBaden

Well-known member
Joined
Dec 2, 2011
Messages
15,716
Location
Northern Virginia
Next installment:

I decided to go with the same cabinets we used in our laundry room. They are cleanable, strong, and inexpensive. I did get the 30" wide set, and at $65 each, were a great deal.

I started with this:

GaragePaintNew23-1.jpg


Measured, measured again, and cut the rails. Then measured, found the studs and screwed it on.

GaragePaintNew28.jpg

These are all that hold the cabinet, but they hold them well!

GaragePaintNew29-1.jpg


Hung it and bolted it to the rail.

GaragePaintNew210.jpg


Then the other.

At this point I realized that Ikea goofed the hinges and I would have to wait a few days to get the right ones. (Anniversary)

So I added a few things around the garage.

GaragePaintNew216.jpg


Fast forward a couple days and I have the correct hinges, so I added them and the doors, along with the black knobs.

Garage-Paint-New-Web-49.jpg


Looks good, and holds a LOT!

Note I am playing with the idea of using some of my excess VCT for my work bench. They are not stuck on yet.


I also, not garage related, enclosed the cable wires coming into the house. There was no seal around the hole, and the cables completely exposed and unsightly. Additionally there was no ground on the cable junction.

Cable-wires.jpg


Garage-Paint-New-Web-52.jpg

Newly sealed with a seal around the wires to the siding, and a waterproof box to contain the excess cables.

Done for now, but more to come!

Jim :cool:
 
To avoid these ads, REGISTER NOW!

Scuba Steve33

Well-known member
Joined
Jan 10, 2012
Messages
535
Location
Bay Area, CA
Looking fantastic, Jim! What made you do the garage and shop separate? Funds? Also, that backyard looks prime for some backyard football and BBQ. Lucky man, enjoy it.
 
OP
J

JimVonBaden

Well-known member
Joined
Dec 2, 2011
Messages
15,716
Location
Northern Virginia
I picked up a nice "little" Craig's List find today for $40.

01Cabinetsbig6.jpg

It is on a 4X6 trailer, and took two of us struggling hard to get it there. It is 7'4" tall, 40" wide, 27" deep and I am estimating it weighs 200#!

Note the shelving unit behind the photo above that this is replacing.

01Cabinetsbig5.jpg

At some point it was modified in the past, and I thought I would have to UNmodify it. The open side was too narrow for much, and the shelf not at an ideal height.

01Cabinetsbig4.jpg

But, when I started loading it with the stuff off the shelf, I realized it was actually perfect for storing my extra sheet metal and plastics.

I have a lot more to load, and I will add another shelf after the second one, but I think I am going to like it!


01Cabinetsbig.jpg

Overall it fits nicely with the IKEA cabinets, though it is 8" deaper, it looks good and fits the space well.

Jim :cool:
 
OP
J

JimVonBaden

Well-known member
Joined
Dec 2, 2011
Messages
15,716
Location
Northern Virginia
Looking fantastic, Jim! What made you do the garage and shop separate? Funds? Also, that backyard looks prime for some backyard football and BBQ. Lucky man, enjoy it.

Thanks Steve.

The backyard is 50'X140'. The whole lot is 50'X230'. Very nice sized. The plan is to build a stone patio with a built in grill and accent planters.

Jim :cool:
 
Last edited:
OP
J

JimVonBaden

Well-known member
Joined
Dec 2, 2011
Messages
15,716
Location
Northern Virginia
A little more progress today. I added the leftover floor moulding to the missing area under the man door.

Garage-Paint-New-Web-55.jpg


Thanks for the great idea, it looks better in person.

I also cleaned my workbench and organized it a bit. Then used some extra tile for the top of it to cover the well worn and stained wood surface.

01Cabinets2.jpg

01Cabinets1.jpg


I know it isn't a typical work surface, but it is stain resistant and tough enough for basic work. Any hard hammering will be done on an alternate work area, or I will lay a pice of steel over the surface.

Jim :cool:
 

e-tek

Well-known member
Joined
Dec 19, 2007
Messages
10,690
Location
Saskatoon, SK
Jim, finally got a chance to see the near-finished product and it looks FANTASTIC!! Did you ever enclose the upper shelves? I love the floor. Done any projects in it lately?
 
OP
J

JimVonBaden

Well-known member
Joined
Dec 2, 2011
Messages
15,716
Location
Northern Virginia
Actually, the shelves were on my last house, and never enclosed. That shop had a LOT of work done in it.

This one, with the VCT floors, has not yet been initiated, but the time will come soon!

Thanks,

Jim :cool:
 
OP
J

JimVonBaden

Well-known member
Joined
Dec 2, 2011
Messages
15,716
Location
Northern Virginia
Just a bit more.

Othere than the shelves, it doesn't appear that I have done anything, but I have done a lot.

Wireshelves03.jpg


Wireshaelves01.jpg


I emptied 8 bins of stuff into my cabinets, and reorganized 5 more. Plus I added the wire shelves. I like them because they look clean and unobtrusive. I used fasteners every 16" on the studes, so they are well fastened. That and I am only putting fairly light stuff in the bins. I am quite confident they will hold up very well.

I had to move my windshield storage down 6" to clear.

In the next few days I expect to have the basic storage solution completed.

Jim :cool:
 
OP
J

JimVonBaden

Well-known member
Joined
Dec 2, 2011
Messages
15,716
Location
Northern Virginia
I cleaned up and organized a bit more today. For the first time I could see most of the floor, and I think it looks pretty good!

02Organization09.jpg

02Organization07.jpg

02Organization01.jpg


Now for the fine tuning. This is likely where the build really slows down!:lol:

Jim :cool:
 

Scuba Steve33

Well-known member
Joined
Jan 10, 2012
Messages
535
Location
Bay Area, CA
I like the storage rack for the plastic totes. Definitely a simple way to get them out of the way and I'll have to steal that one day. Those plastic totes are great.
 

n2ocamaro

Well-known member
Joined
Aug 3, 2011
Messages
183
Location
Clarksville, IN
Thanks for posting this pic. I was wondering if this design would work and was getting ready to ask about it on this site. I want to do this with my cross beams since my ceiling height is only 8.5 feet. My garage was built in the 60's and is very similar to yours in the design of the roof except they put the cross beans on top of the walls (hence the lower ceiling height) and they are 2x6's. I want to raise the cross beams up 12" and reattach to the roof studs like yours is and even planned on using the same metal ties to reinforce the connection of the roof studs to the wall.

Your garage is looking good. I really like that floor. I was thinking of using VCT myself.
 
OP
J

JimVonBaden

Well-known member
Joined
Dec 2, 2011
Messages
15,716
Location
Northern Virginia
Not much on the building itself today, but some work towards more organization.

I picked this up for $20 before I even moved to my new house.

03Organization5.jpg


It was a bit beat, but overall solid.

03Organization6.jpg


So I straightened all the handles and drawers, sanded it, and put on the first coat of Rustoleum Safety Red (matches the HF color).

03Organization7.jpg

Organizerpaint.jpg


It was attached, and will be again.

Then I installed the last of my wire shelving.

Organizershelf.jpg


It is 4" deeper, and 6" longer than the sorage bin, so it gives me room to set things while I am sorting bolts.

It will go nicely on that side, and give me another shelf on top of it in otherwise unused space.

03Organization4.jpg


Starting to look clean. Tomorrow I will finish painting it and mount it on the shelf.

Jim :cool:
 
Last edited:

CHILACO

Member
Joined
Oct 7, 2005
Messages
16
Location
MI
Nice work Jim! Looks very nice, it seems you are already running out of space. Do you have the extension concept? I am looking at a house with a 20x20 and would also like to expand it as muc as the lot and bodes allow.
Great job again, and thanks for sharing!
 
OP
J

JimVonBaden

Well-known member
Joined
Dec 2, 2011
Messages
15,716
Location
Northern Virginia
Nice work Jim! Looks very nice, it seems you are already running out of space. Do you have the extension concept? I am looking at a house with a 20x20 and would also like to expand it as muc as the lot and bodes allow.
Great job again, and thanks for sharing!

Part of the issue is that I need to keep the right side clear for filming, so everything has to go to the left. I'm not quite done organizing yet, so it will get better.

That said, I have plans for then 18X15 extension as a shop to the back of the garage.

Jim :cool:
 
To avoid these ads, REGISTER NOW!
Top Bottom