To avoid these ads, REGISTER NOW!

30'x40'x13.5' Garage Build

DemonFD

New member
Joined
Mar 21, 2012
Messages
4
Location
Indianapolis, IN
So the GF and I have always wanted to build a place for us to work on our toy cars and other projects. She has a drag honda EG hatch and soon a S2K that'll be getting a LSx swap, I have the FD and a MR2 Turbo. So we don't have much room in just the 2 car standard garage. We bought our current house with the back yard in mind just for a pole barn to be built.

The barn will include the following:

30x40' Floor space
14' Tall ceilings
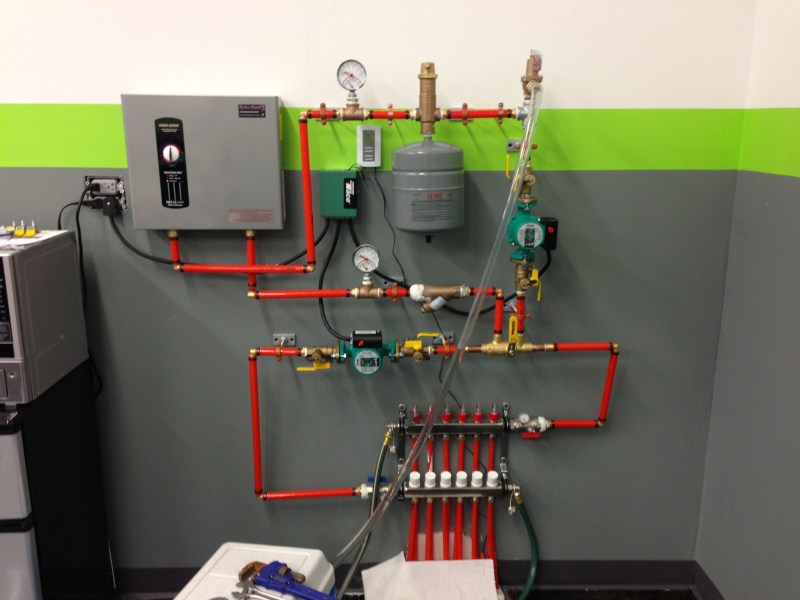
Radiant heated floor
2 Post car lift with overhead connection
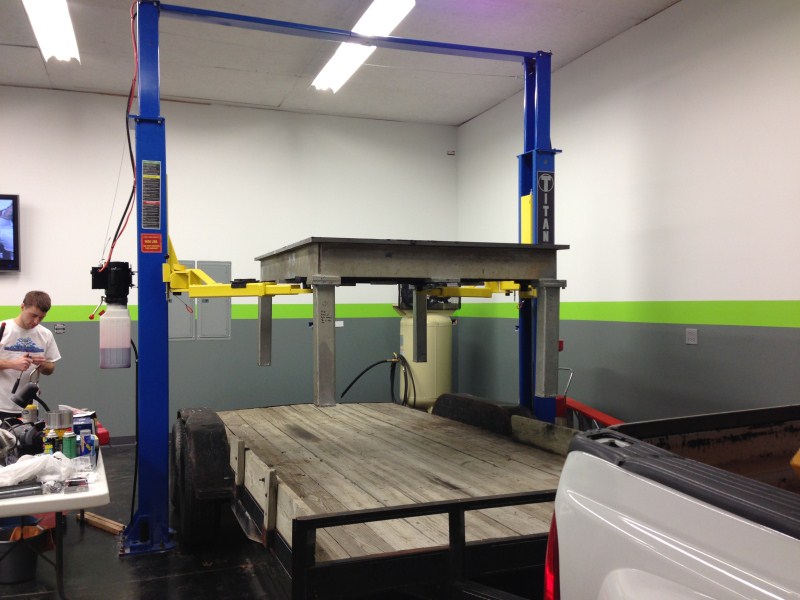
Tons of workbench space, including a 4'x8' Steel flat top table for welding
Insulated with A/C
Full entertainment system with a bitchin stereo and nicer speakers than most home theatres
Full Security system with control over the cameras and garage door through my iPhone (having a trailer stolen has made me paranoid over theft)
Network for internet
Satellite TV
400 Amp electrical service for future CNC equipment in a few years.

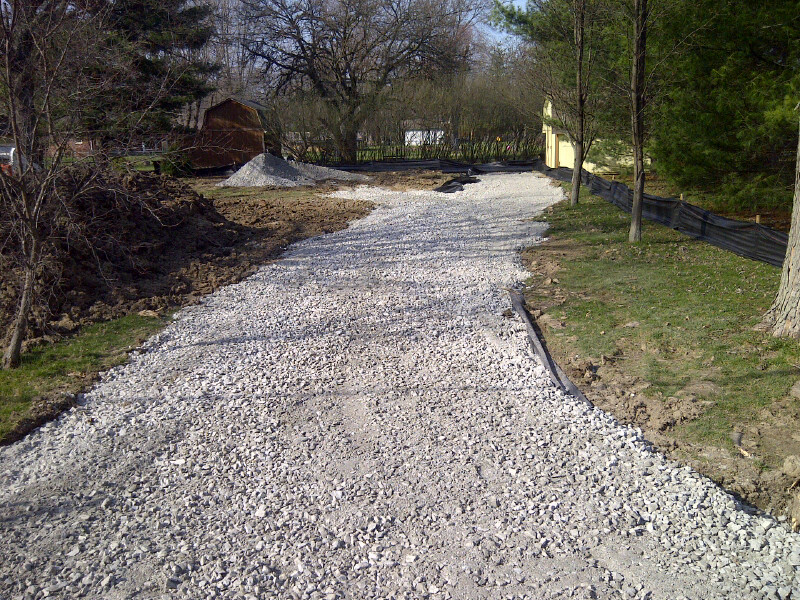
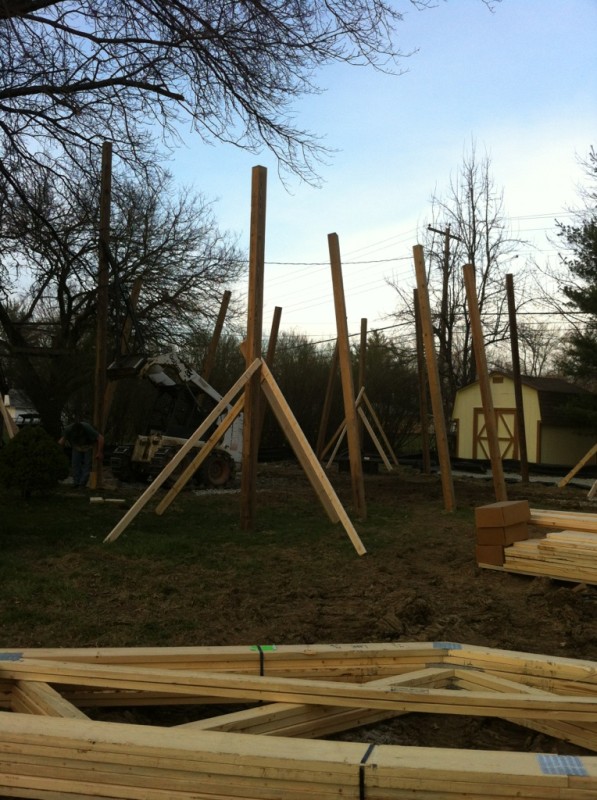
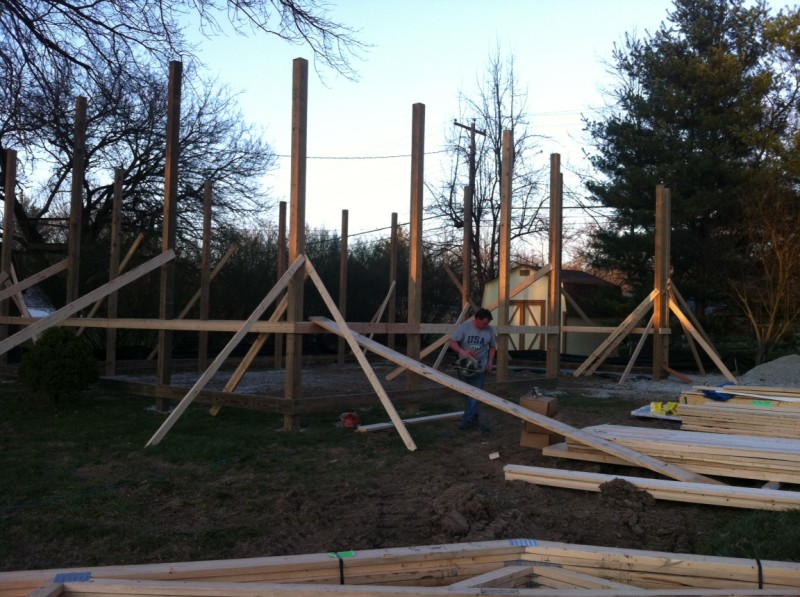
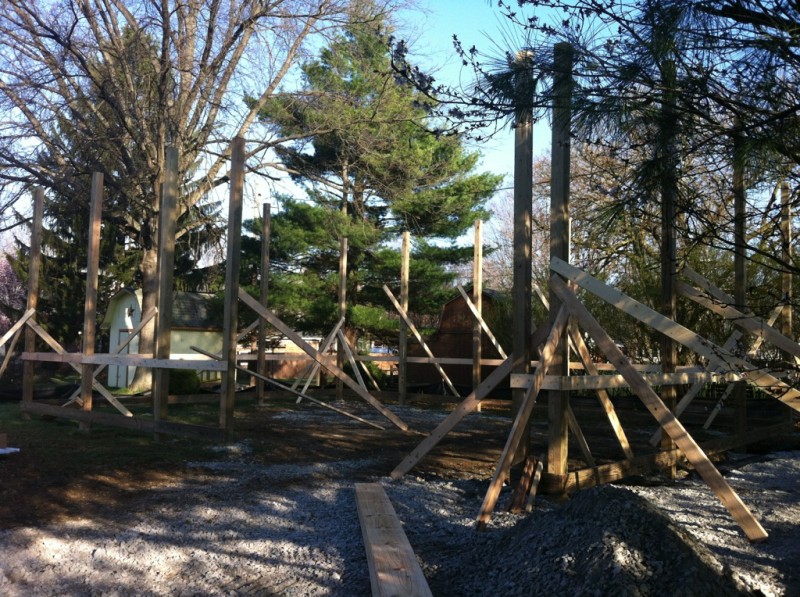
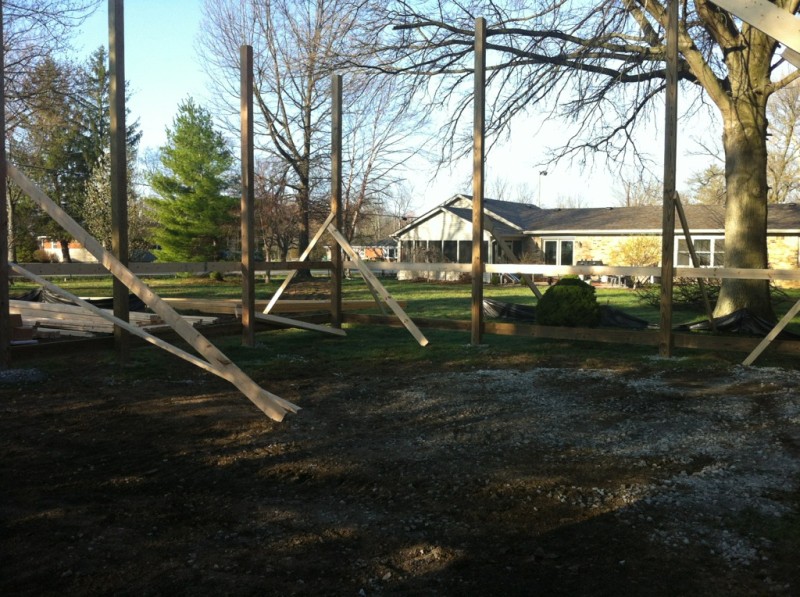
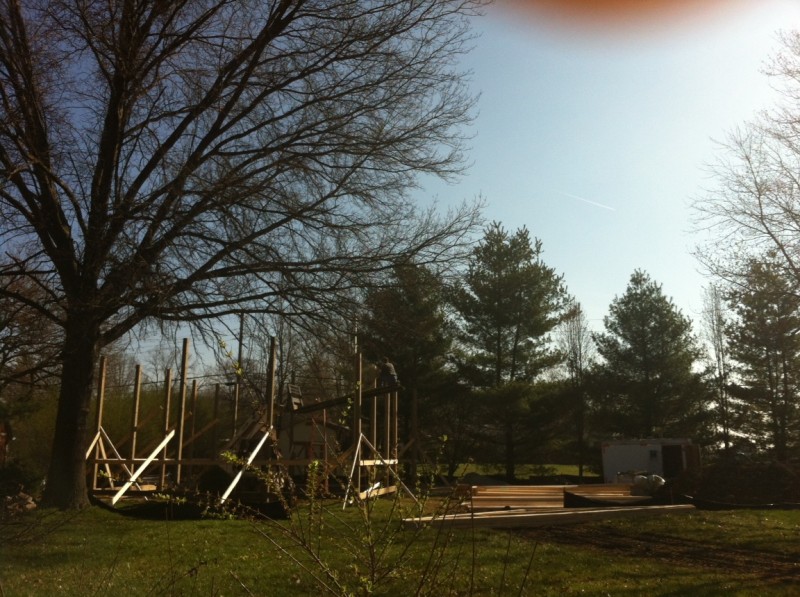
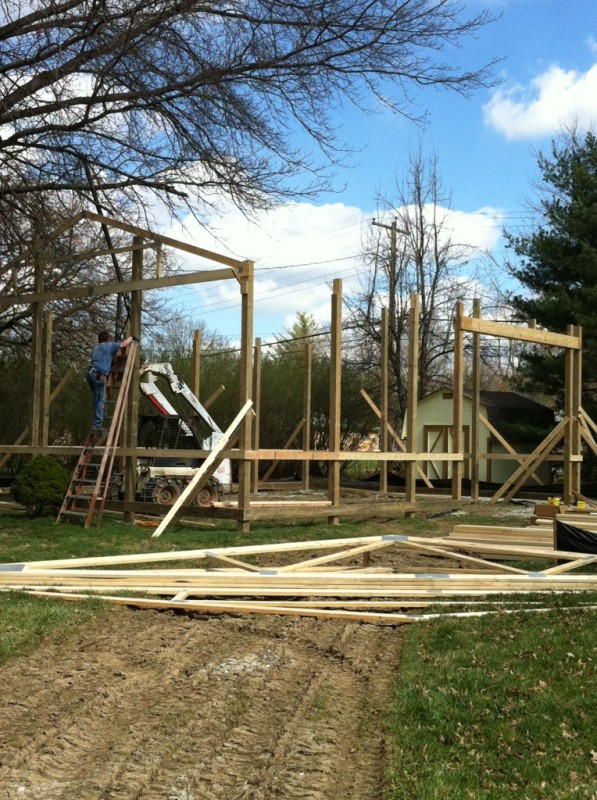
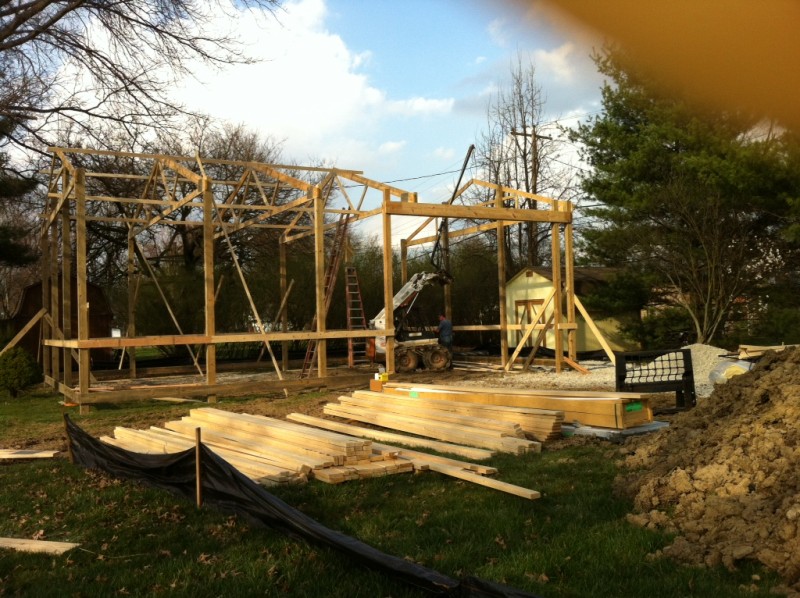
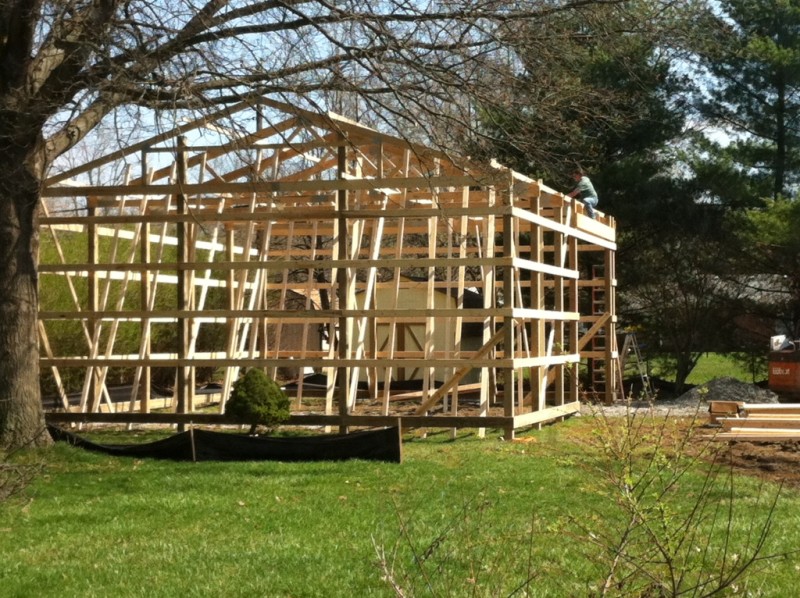
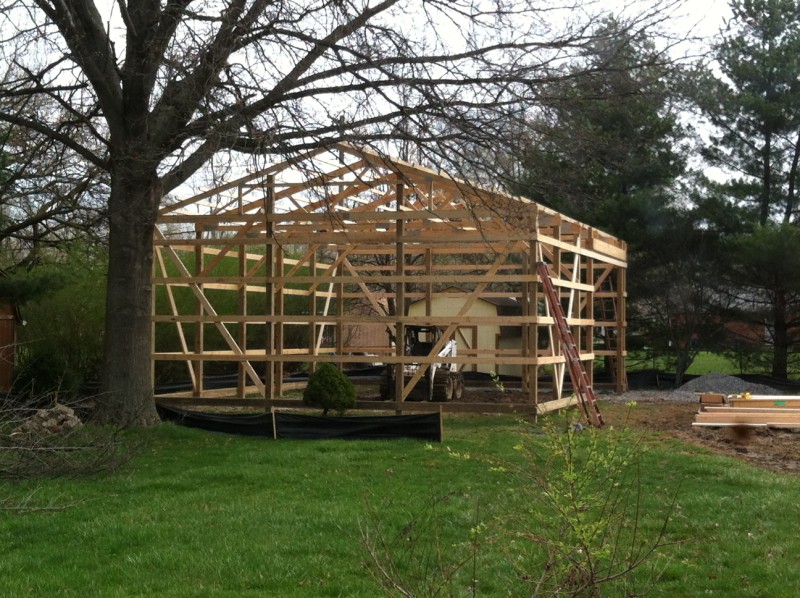
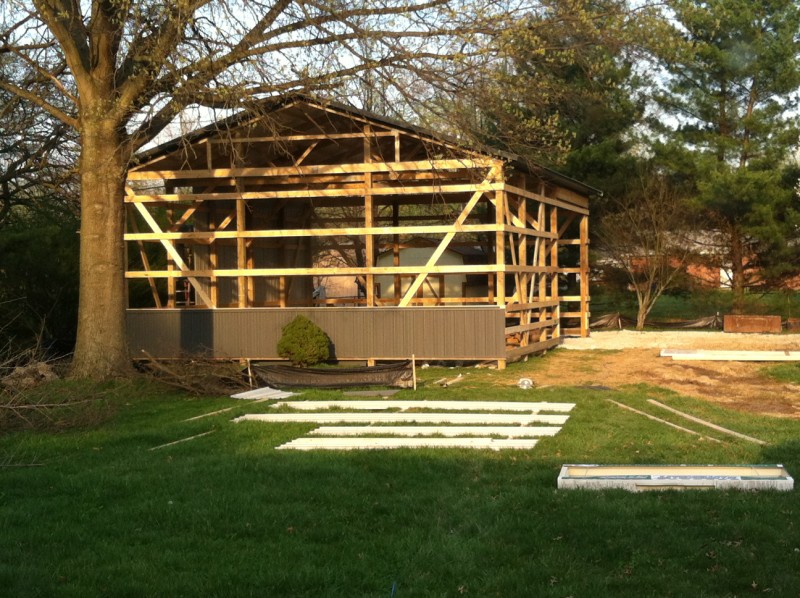
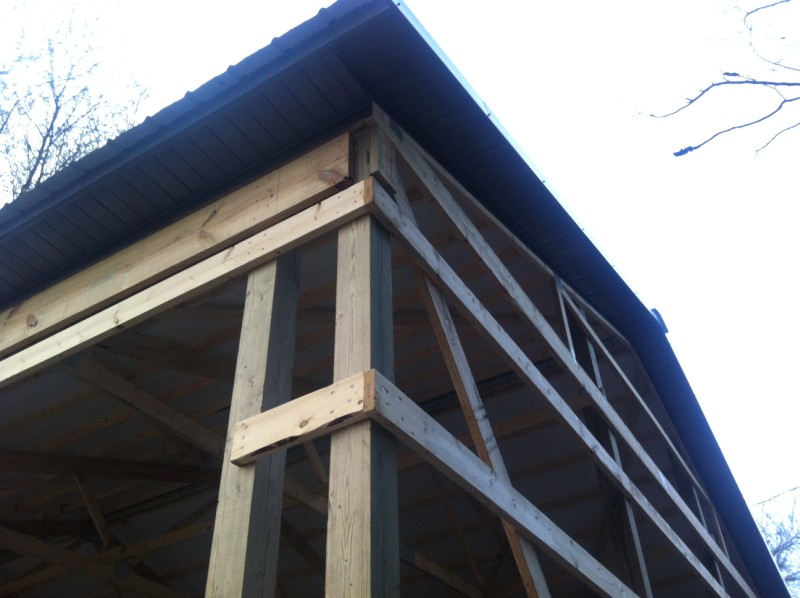
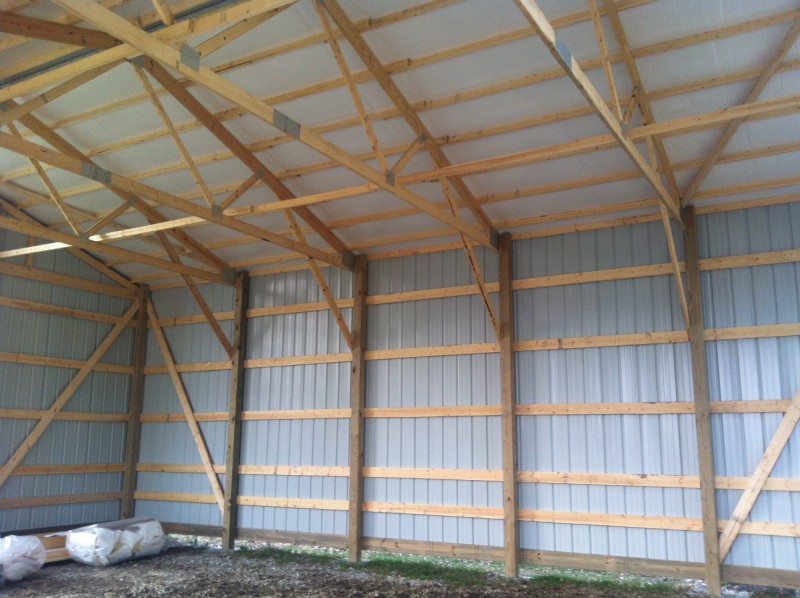
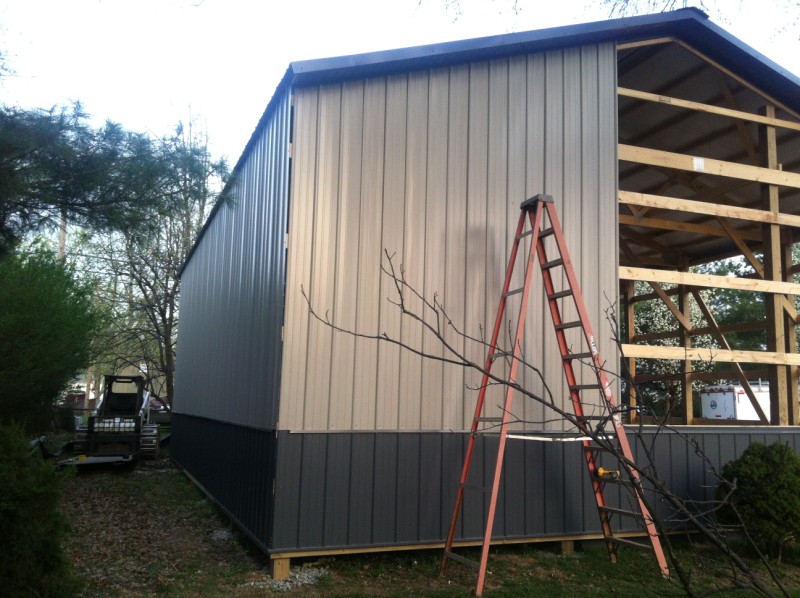
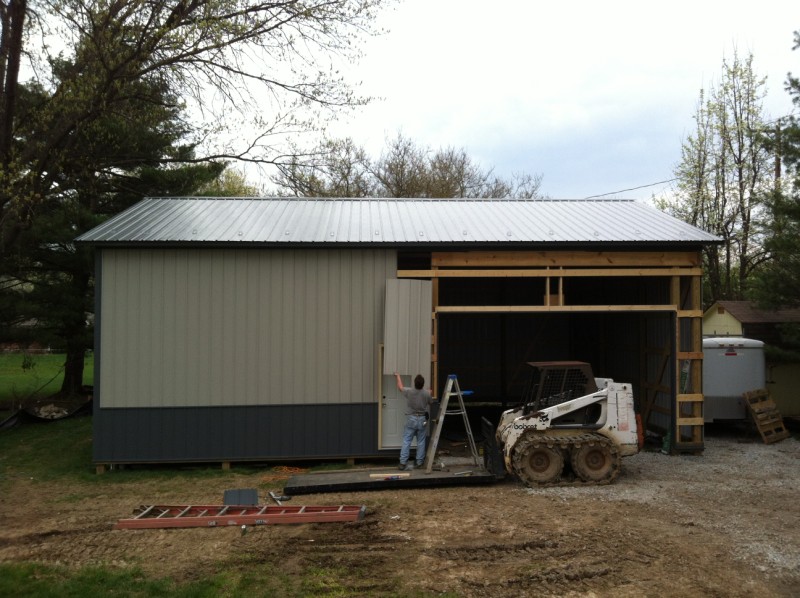
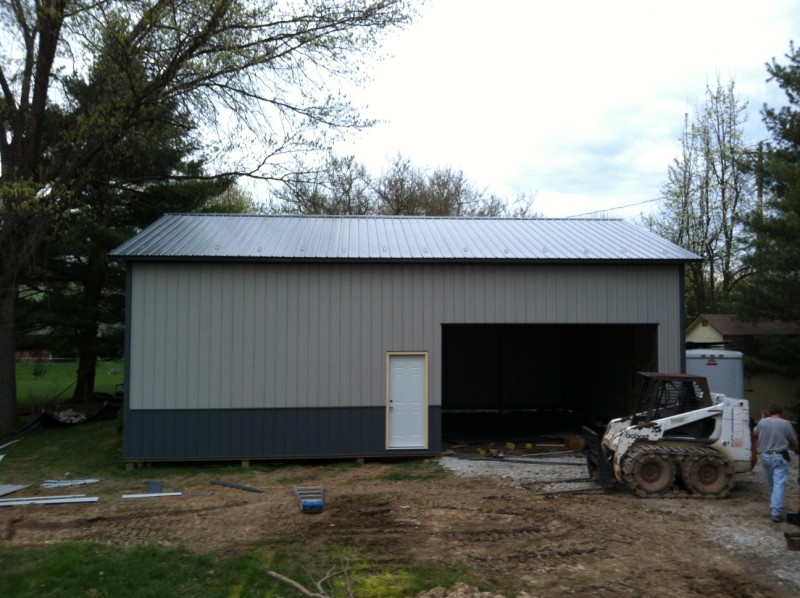
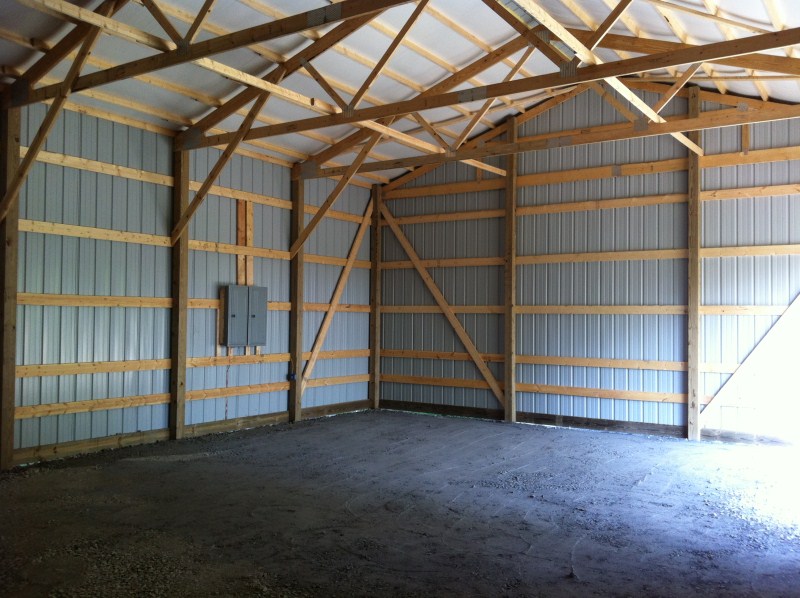
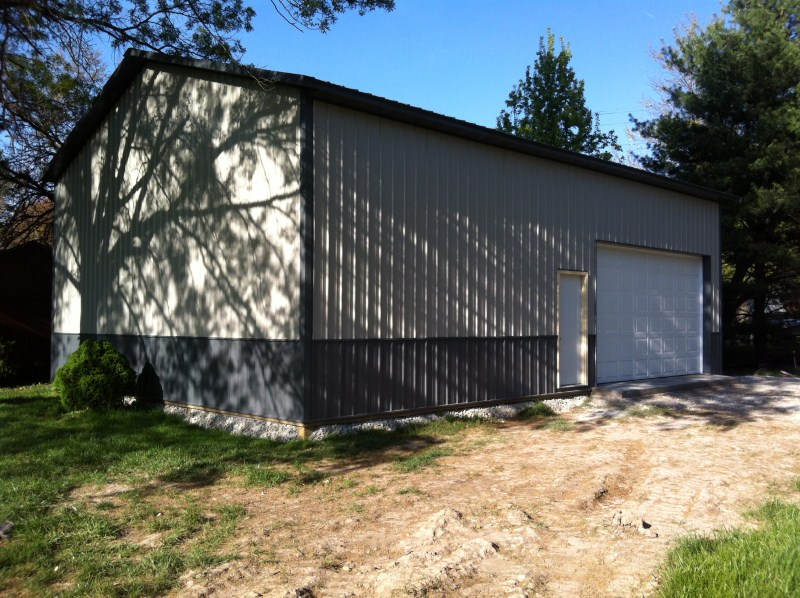
So here is the pictures of the start of the driveway and the building of the barn up to today (getting ready for steel).
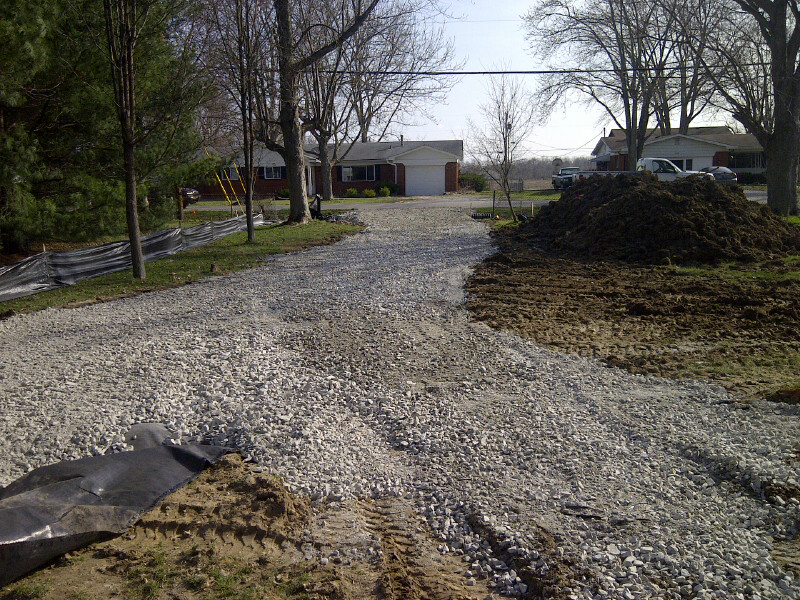
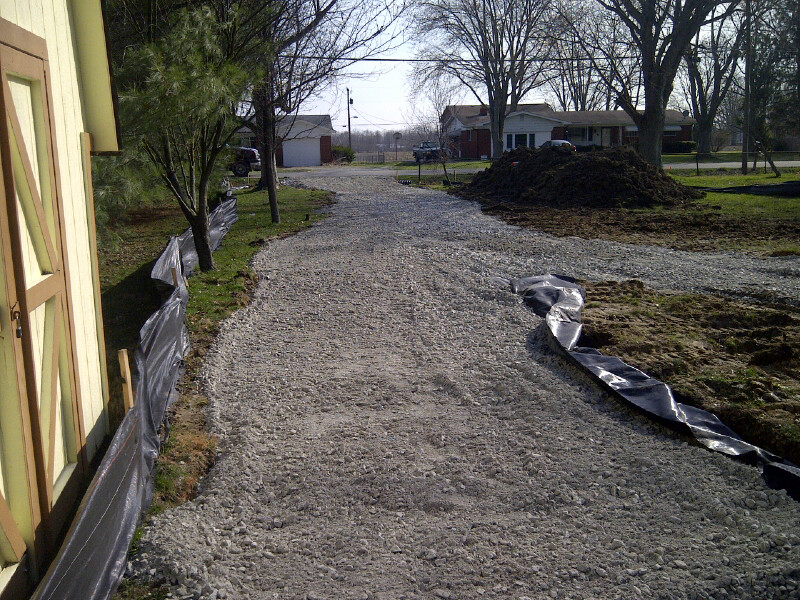
1.JPG

2.JPG

3.JPG

4.JPG

5.JPG

6.JPG

7.JPG

8.JPG

9.JPG

10.JPG

11.JPG

12.JPG


.........

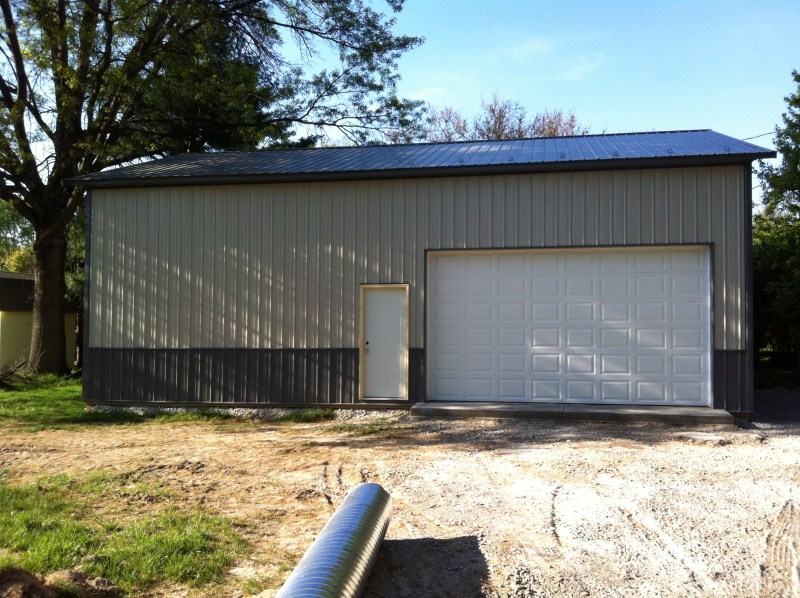
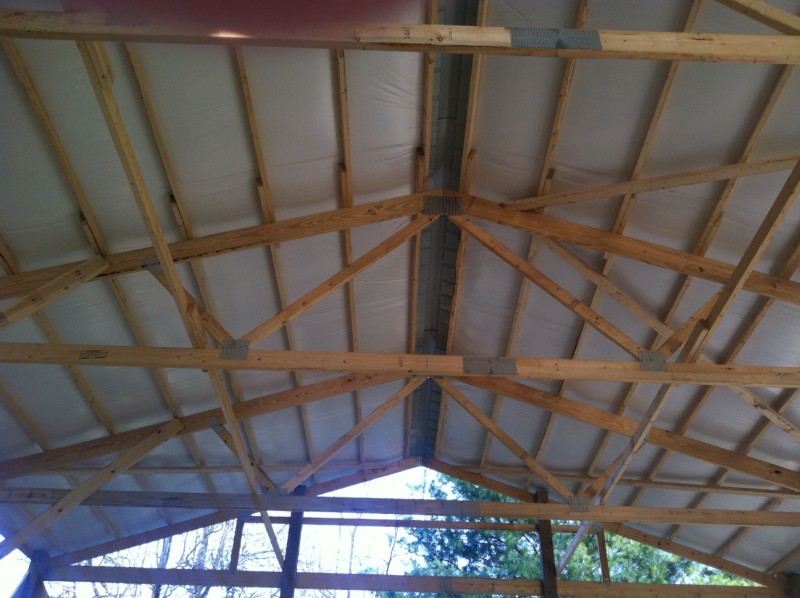
Barn assembly is DONE. Took the guy 1 week and 6 hrs by himself, and dealing with mud from rain.

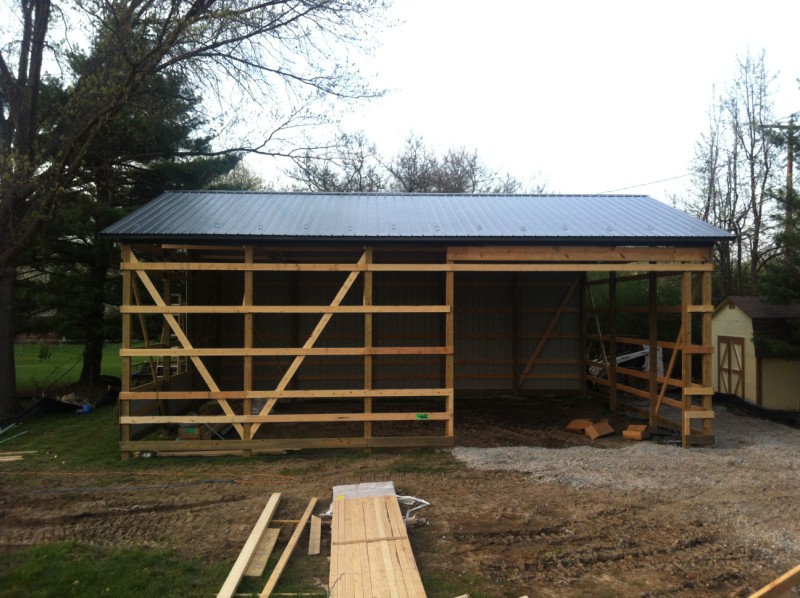
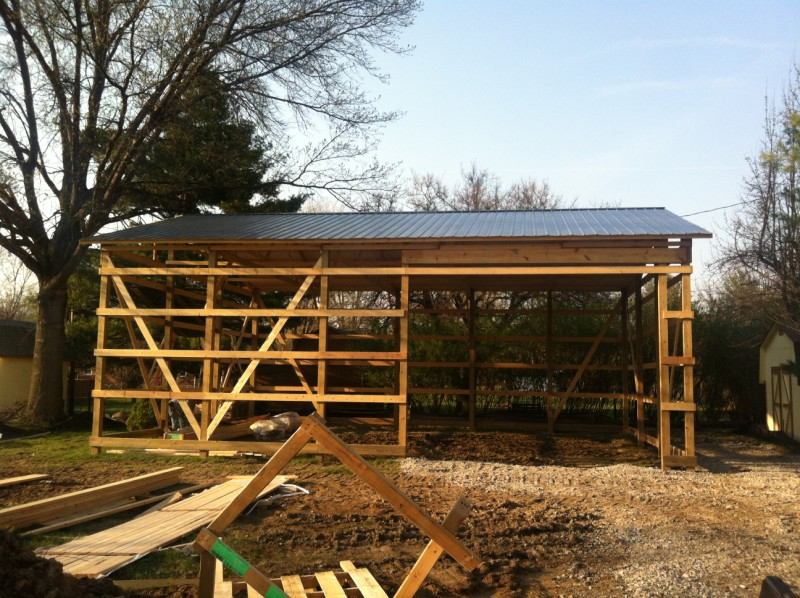
Here are the up to date pics showing the roof going on with the condensation blanket under it and the soffit overhangs. The next step is grading the floor for the radiant insulation and tubing to go down, then pour the concrete on top of it. I'll be doing the electrical while waiting on the concrete.
13.JPG

14.JPG

15.JPG

16.JPG

17.JPG

18.JPG

19.JPG

20.JPG

21.JPG

22.JPG


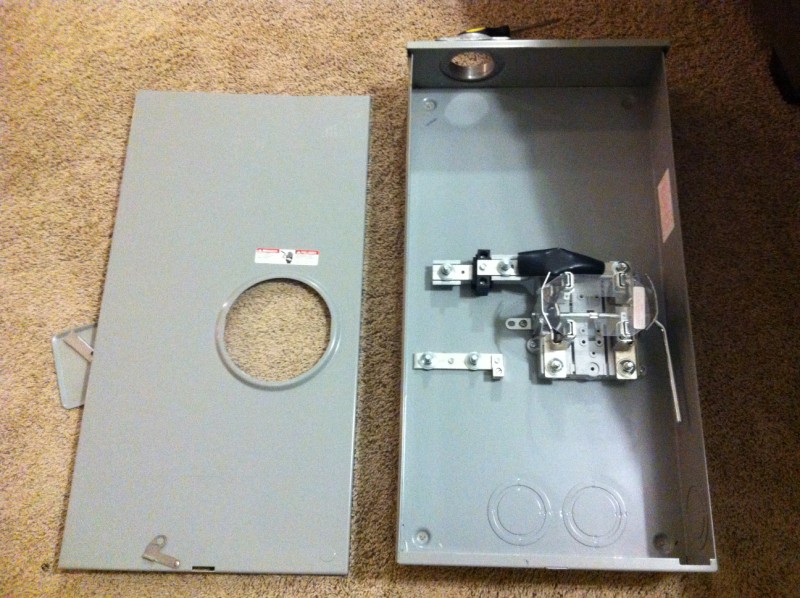
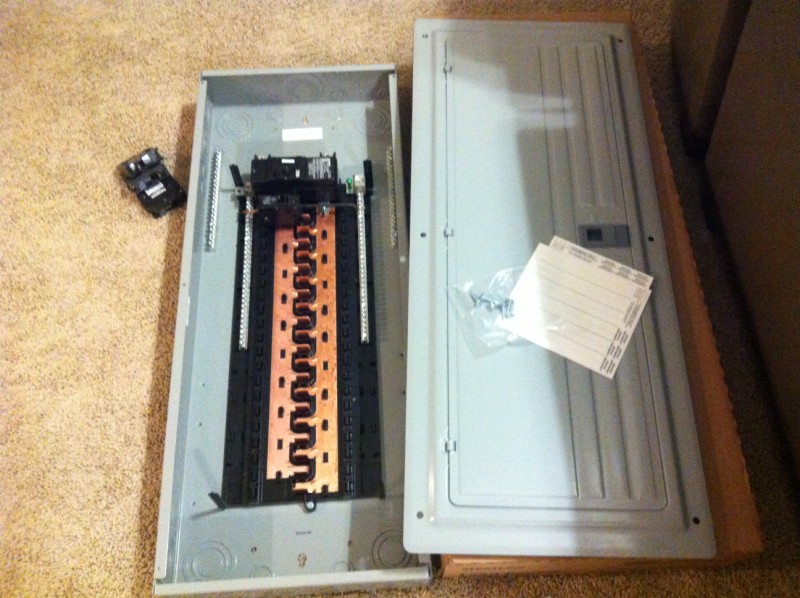
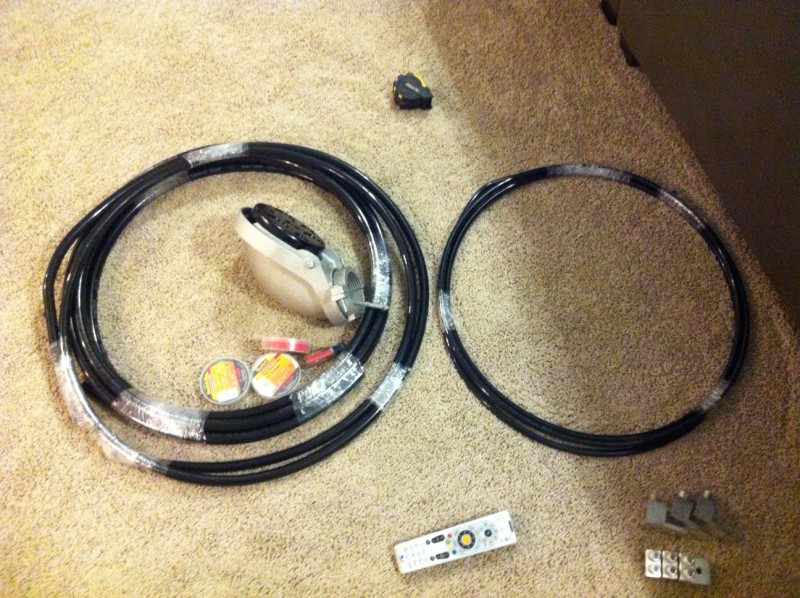
And here is what I picked up from Kirby Risk Electrical Supply to get the barn ready for the service hookup:

(2) 200A Siemens PL Load centers
400A Meter Base
20ft 400MCM gauge copper wire
10ft 350MCM gauge copper wire
18ft 2/0 copper wire
10' 3" steel conduit
23.JPG

24.JPG

25.JPG


........

Didn't get a chance to get much done on it this weekend, I had to run to cincinatti on saturday and the IndyCar race was on today so that absorbed a few hours.

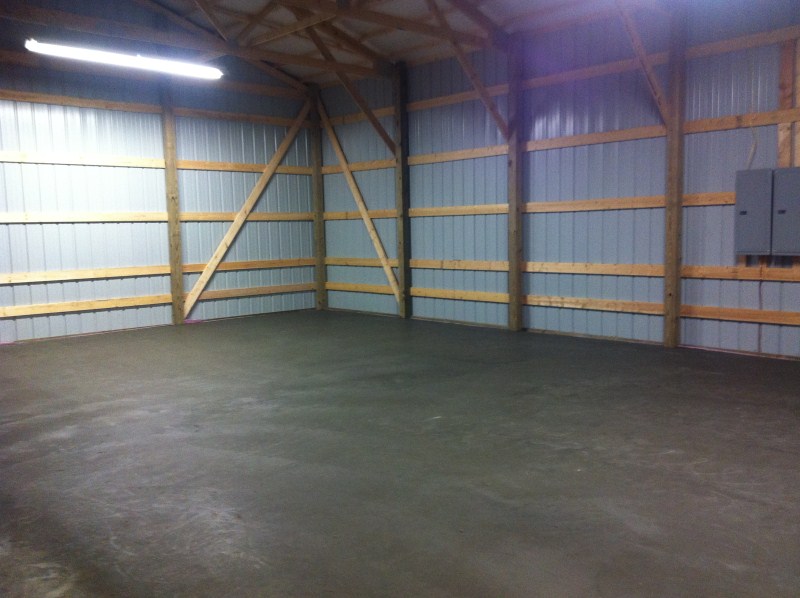
Got about 99% of the wiring needed for the inspection and getting the place cleaned out and ready for the concrete guys to come in and grade the inside so I can start laying down the radiant floor.

Onto the pics of the electrical ****:

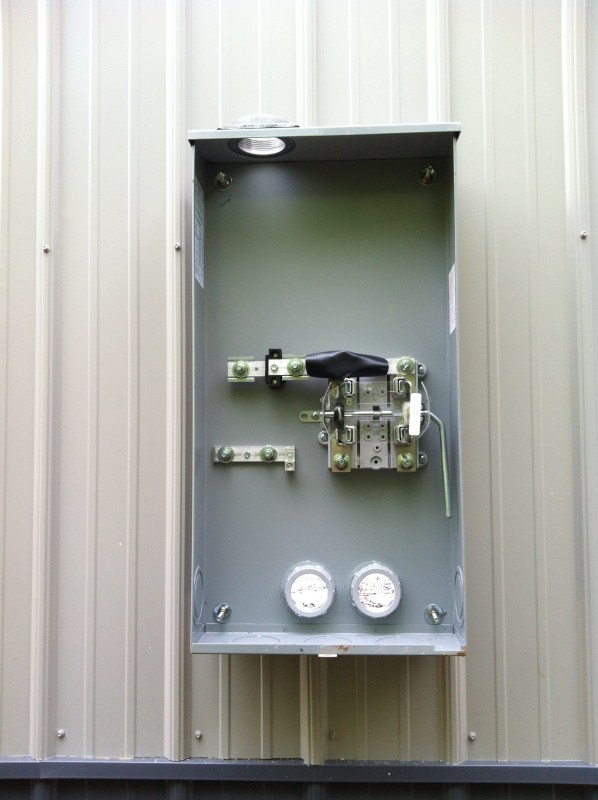
400A Meter base with 2 holes for twin load centers
26.JPG


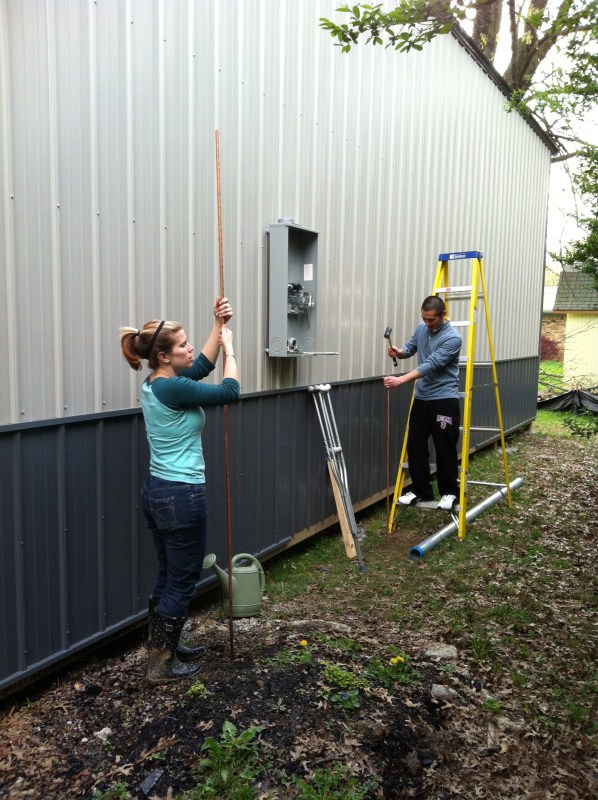
Made the woman and her friend with a broken ankle shove my rods into the ground :D :
27.JPG


Got late and I needed a head lamp, but I wasn't going to the store, so I shoved my flashlight under my hat lol

28.JPG


Meter base bottom half wired up, only thing left is the top half and the 10' mast with the main power wires
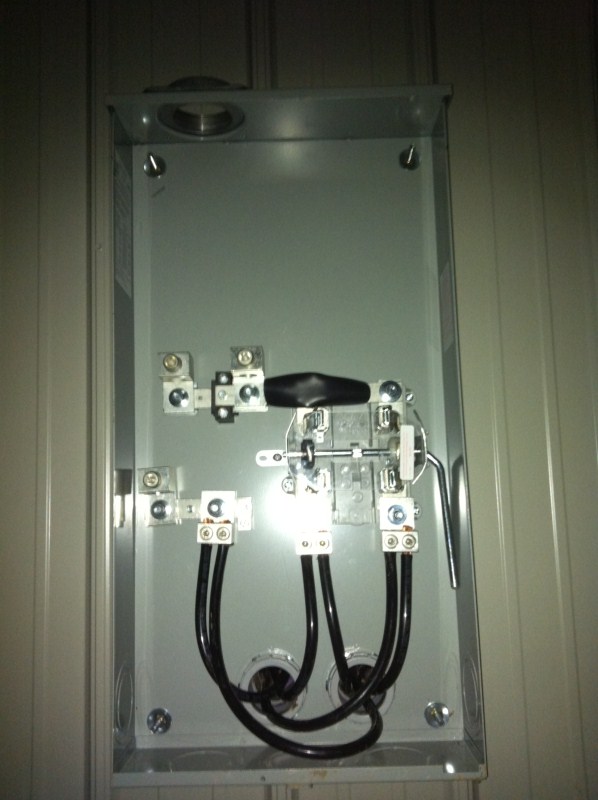
29.JPG


Twin 200A load centers wired up and ready for service:
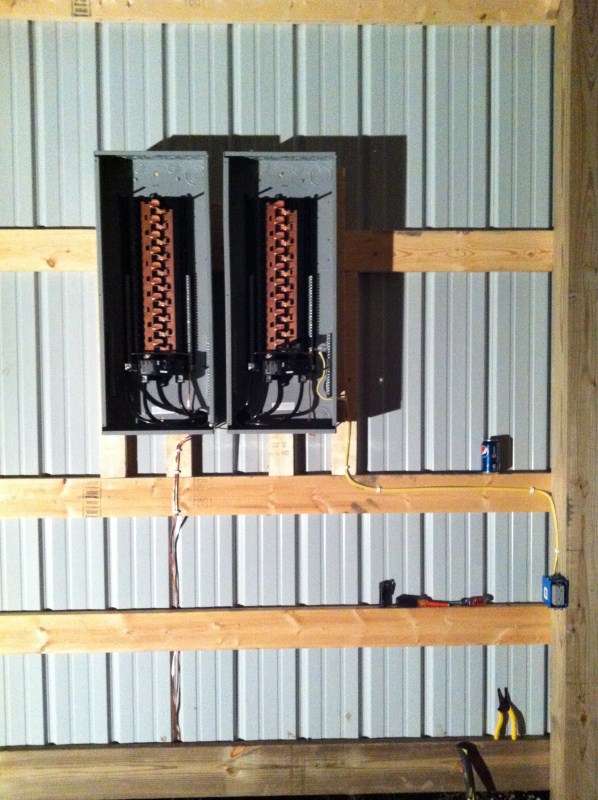
30.JPG


Trying to get the electricity setup and the concrete guys started cause sadly I'll be gone racing this week starting tues-sunday.

........

Soooo, been kinda busy with work. So last week I got back to the barn after work hours during the week:

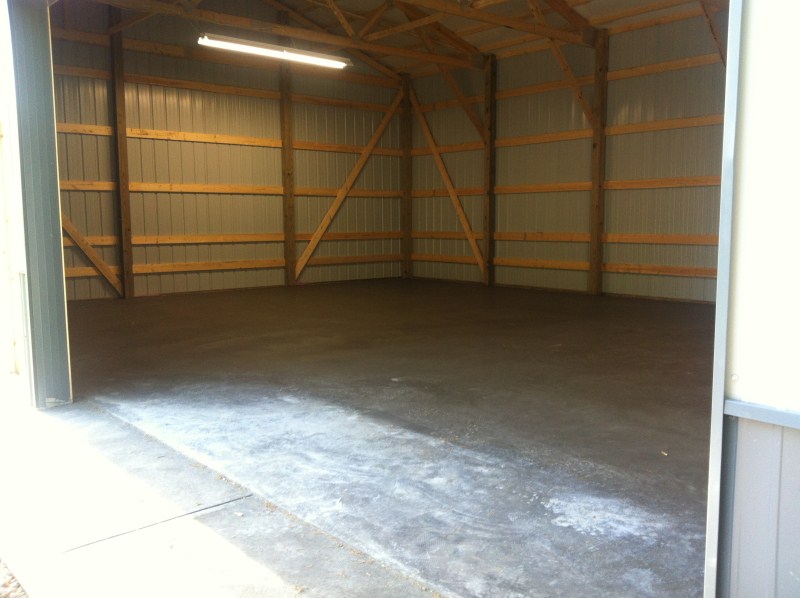
Had the ground graded and prepped for the concrete pad:
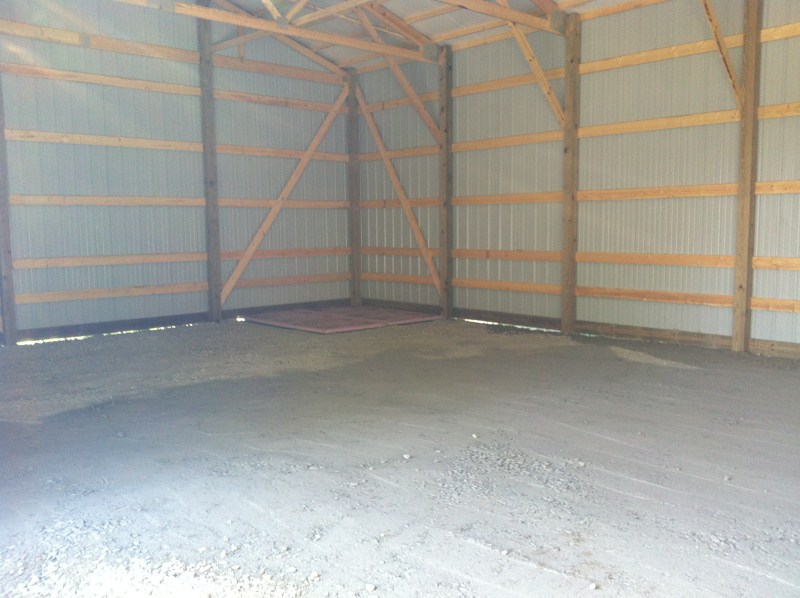
31.jpg

32.jpg


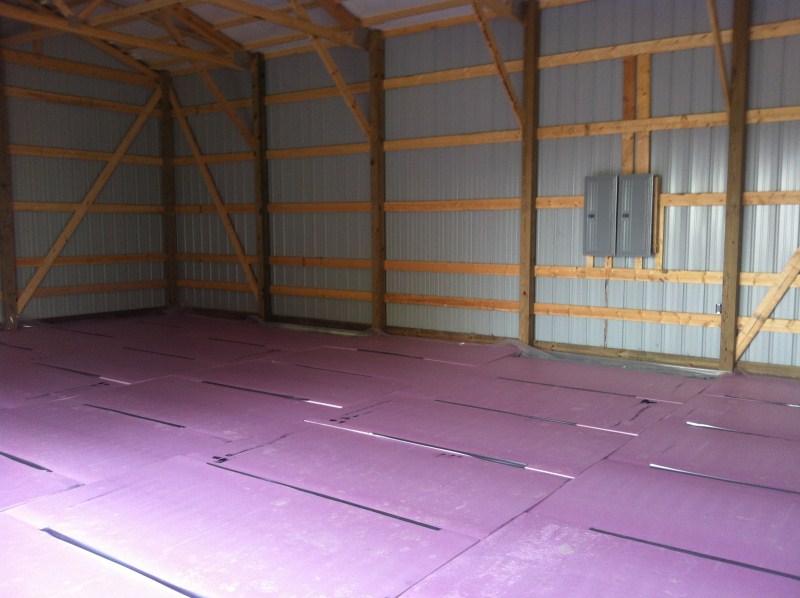
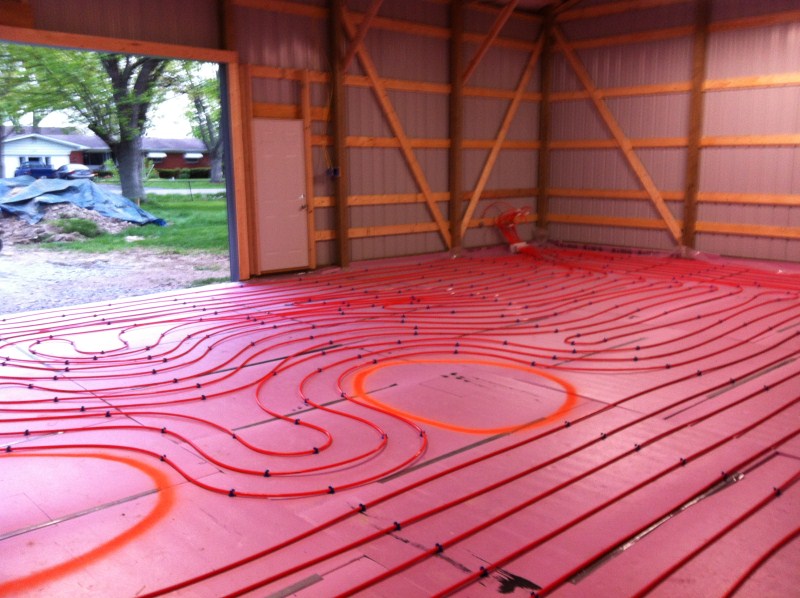
Then started the preparations for the radiant floor system with a vapor barrier underneath 2" of XPS foam insulation:
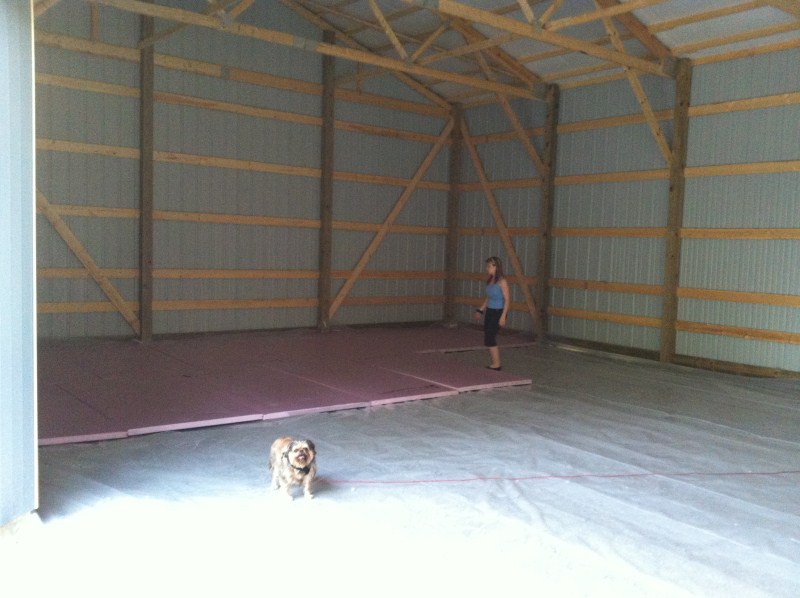
33.jpg

34.jpg


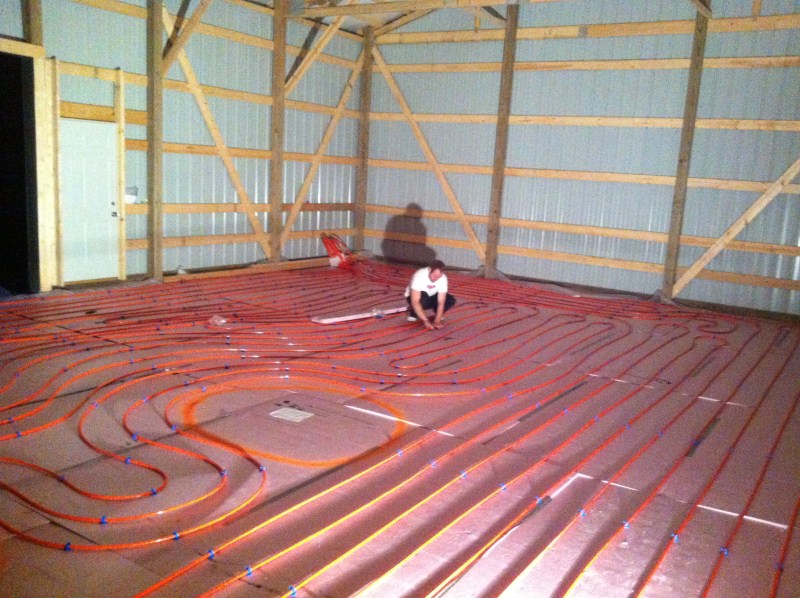
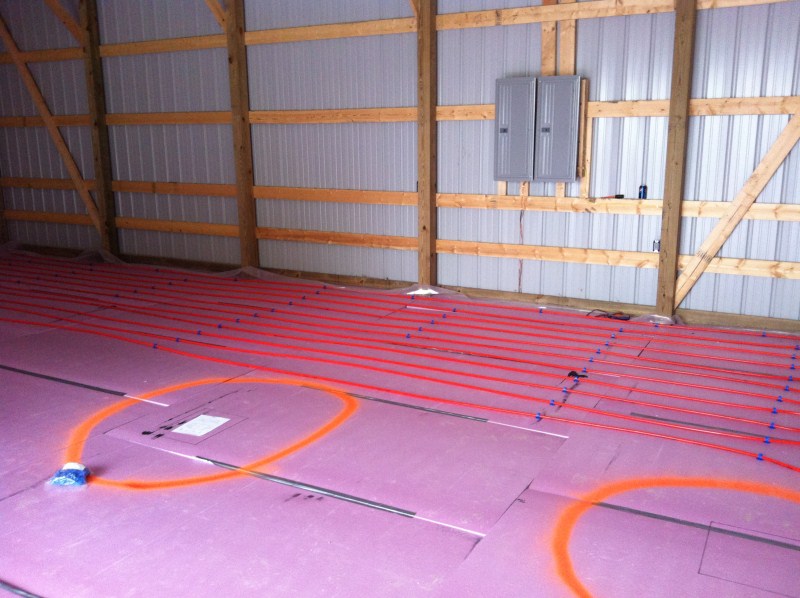
Laid out the first few rows of the radiant tubing and painted on the ground the no go zone for the tubing as that's where the lift will be located, and I don't want to drill through the tubes after the concrete is down, and had some help:
35.jpg

36.jpg


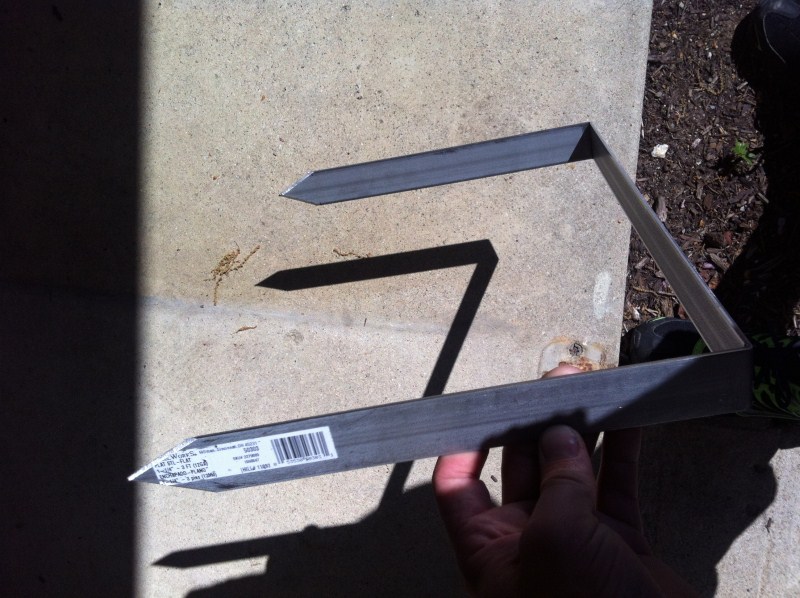
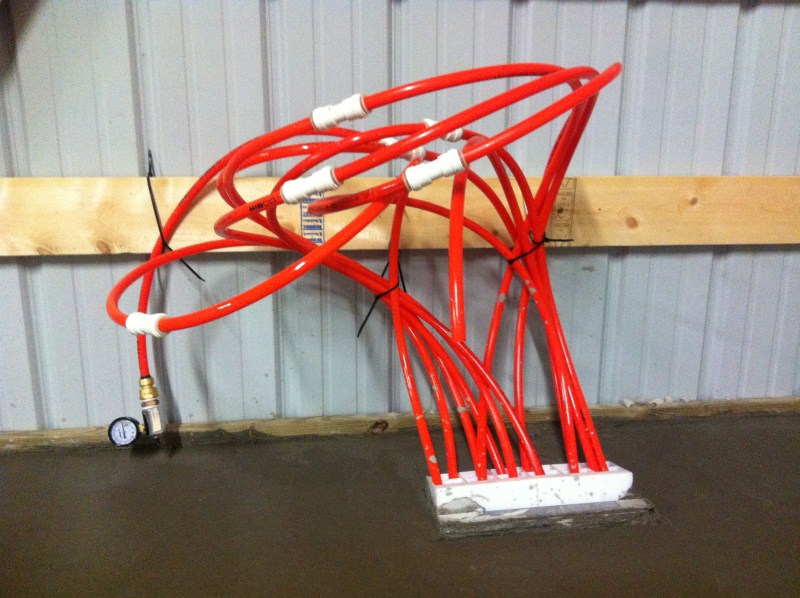
My staple of death to hold down the concrete form for the tubing to come up out of the concrete :D :
37.jpg


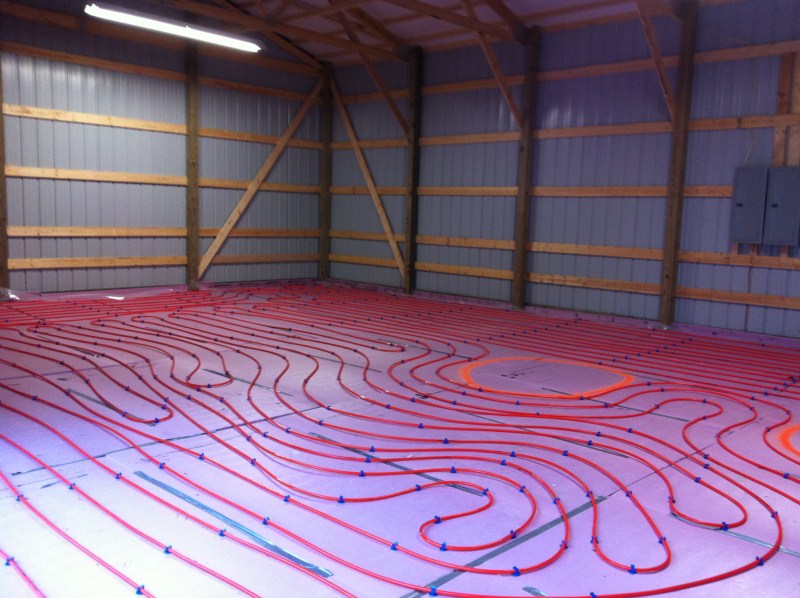
And how it looks today after I hung up a few temporary lights, concrete gets poured in monday, then the rest will fly together:
38.jpg

39.jpg


Getting there for sure, its been a fun project so far.
 
Last edited:
To avoid these ads, REGISTER NOW!

BigBoyinMS

Active member
Joined
Apr 21, 2010
Messages
37
Location
Brandon,MS
Now this is a serious first post!
One question... lifts require a minimum slab thickness and concrete psi where it will sit. Are you pouring the entire slab to the minimum specs for the lift you are installing?
 
OP
D

DemonFD

New member
Joined
Mar 21, 2012
Messages
4
Location
Indianapolis, IN
Yes, it was 4" 4000psi over the whole pour.

I was just waiting for my account to be ok'd to post some more, and that first post was over the 10000 character limit.

here is the rest of the build:
.......

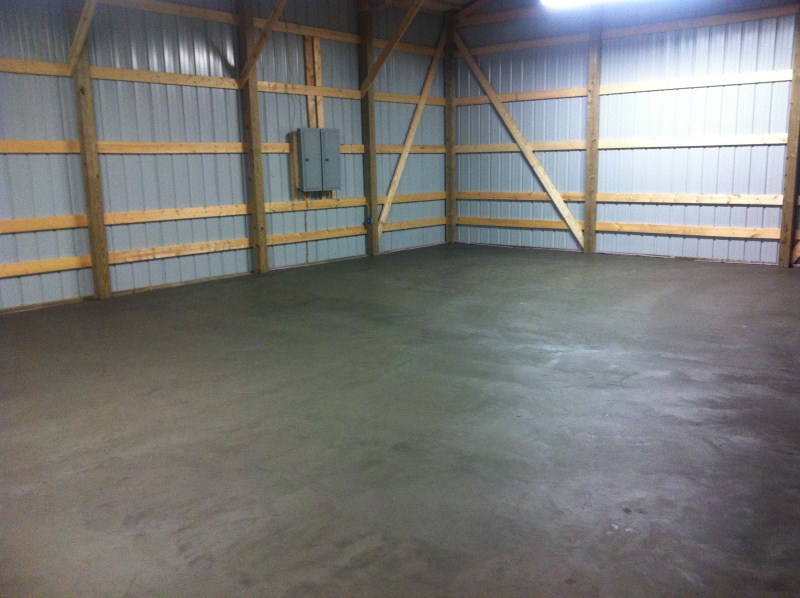
Monday morning the concrete guys showed up and poured over the insulation and radiant lines, even left me a 2' sloped approach to the garage level:
40.JPG

41.JPG


The radiant tubing survived and is still holding pressure in the lines after 4 days:
42.JPG


After a day its still curing, so I can only walk on it and can't put a car on it yet :(
43.JPG

44.JPG


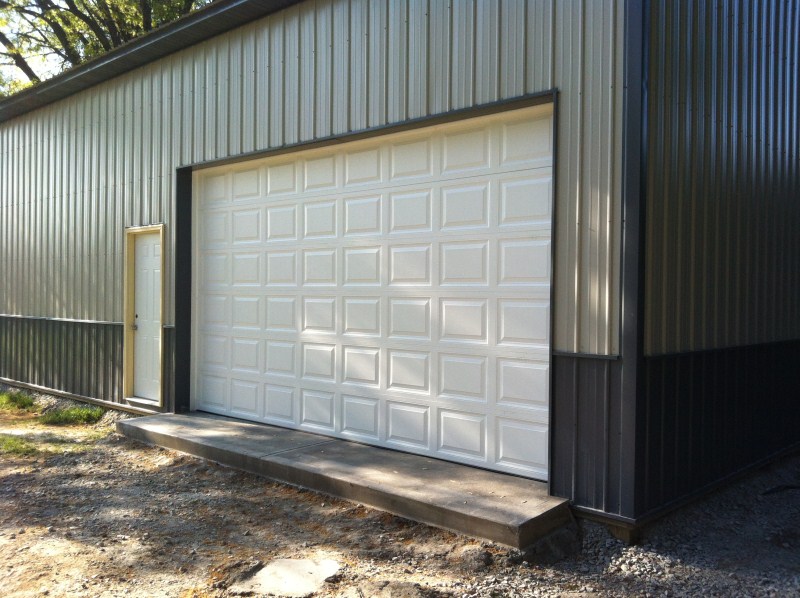
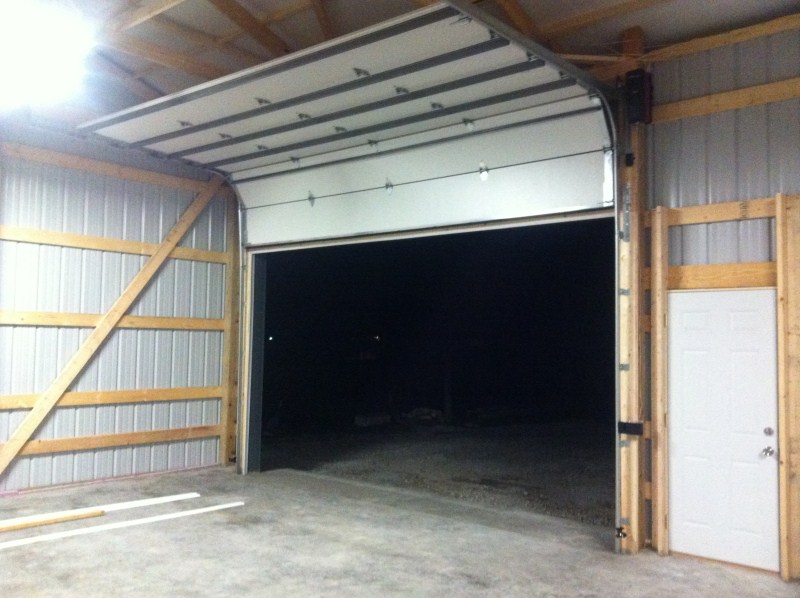
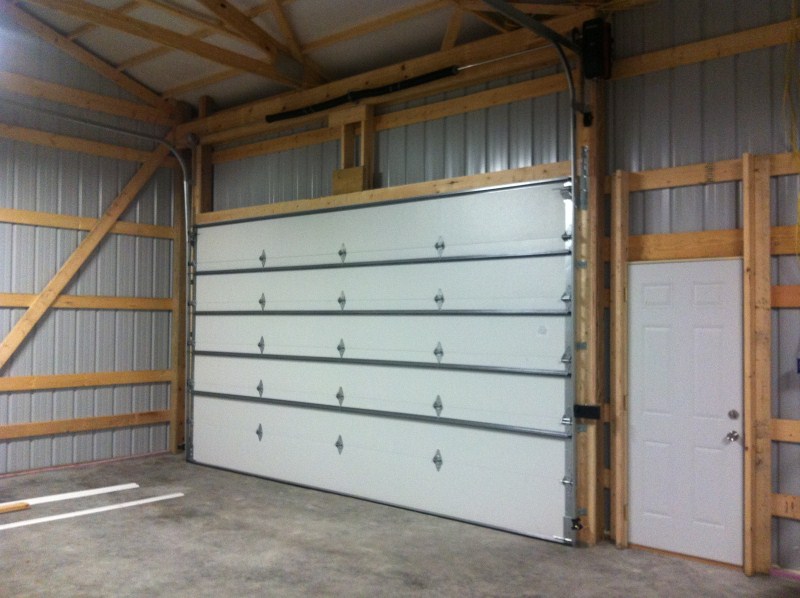
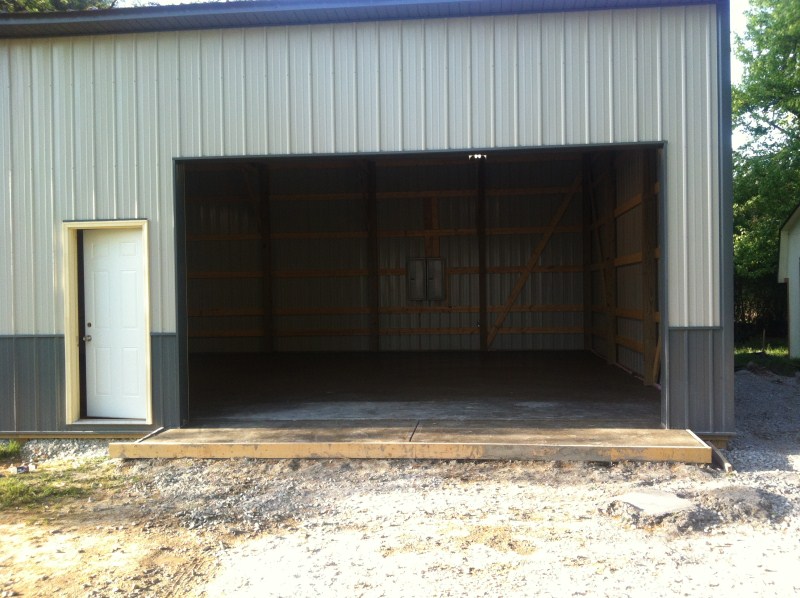
Today I had a friend install the 16x9' garage door and the opener:
45.JPG

46.JPG

47.JPG

50.JPG

51.JPG


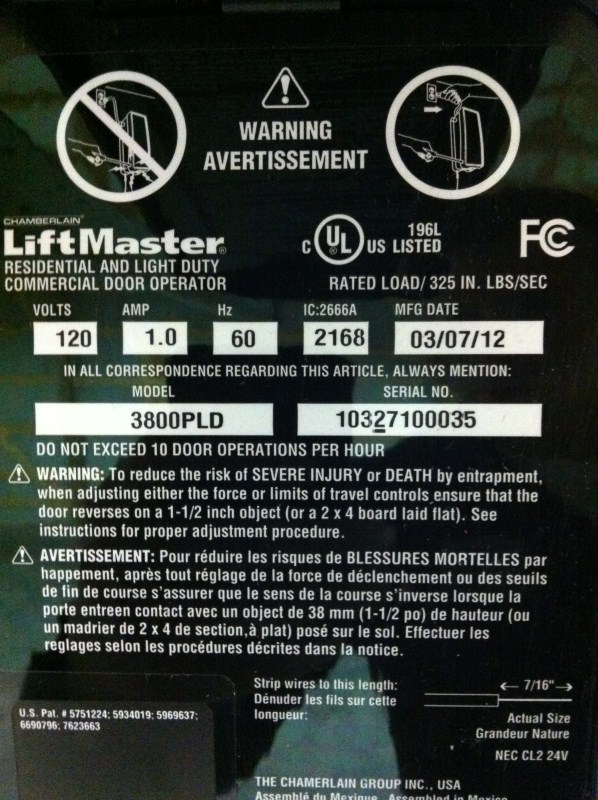
This model opener was used so we could make the door go all the way up to the ceiling to not be in the way of the car on the lift:
48.JPG


It is insanely quiet and has some cool features like it slows down just before it hits the ground to make a soft landing with the door, and an electric lock for added security.

If anyone needs a garage door and/or opener fixed/installed, this is the guy to call for sure:
49.JPG


This weekend is grading the outside and fixing the dirt highway in my yard. Also another shipment of gravel to finish the grading of the drive to slope up to the garage. Might even start on planning out outlets and boarding up the inside to prep for drywall!

.......

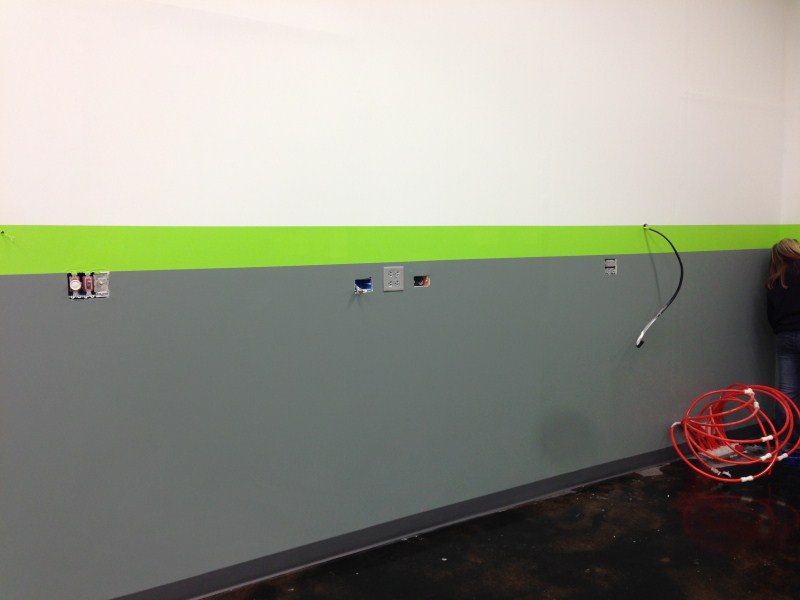
Finally got some time away from a crazy few weeks at work and had a chance to finish the planning and layout the electrical plans. I've only shocked myself once so far :yay:. I've been fighting with my concrete guy as he's trying to rip me off by charging almost double what the estimate was, so that has pulled me away from working on it as much as I'd like to.

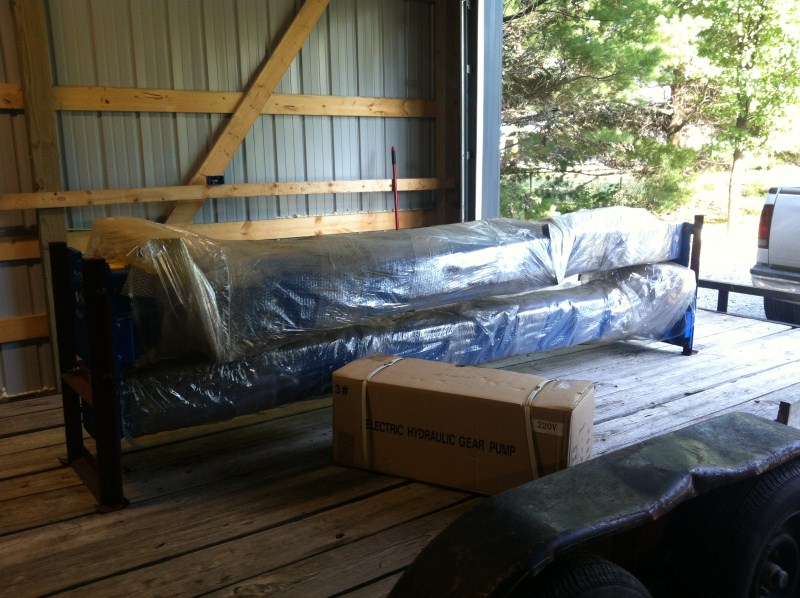
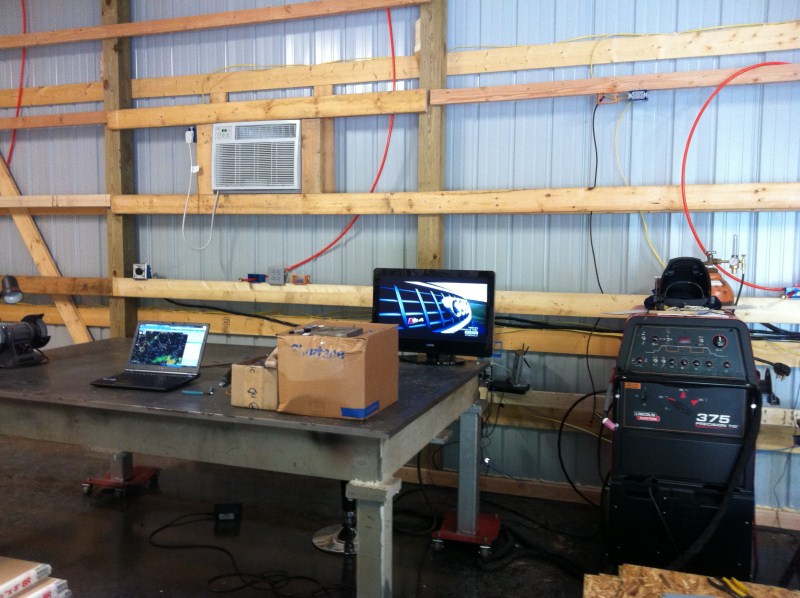
Not a whole lot to see in the pictures, just some wire being put into place and some outlets going in. The concrete stain and sealer should be here next week and I'm going to try to get that down next Saturday as the Monday after memorial day I'll start rolling in some equipment, aka lift, 8'x5'x1" thick steel table, big *** welder, and maybe a mill/lathe aswell if I can get a local fab shop to part with theirs.

Onto the pointless pics:

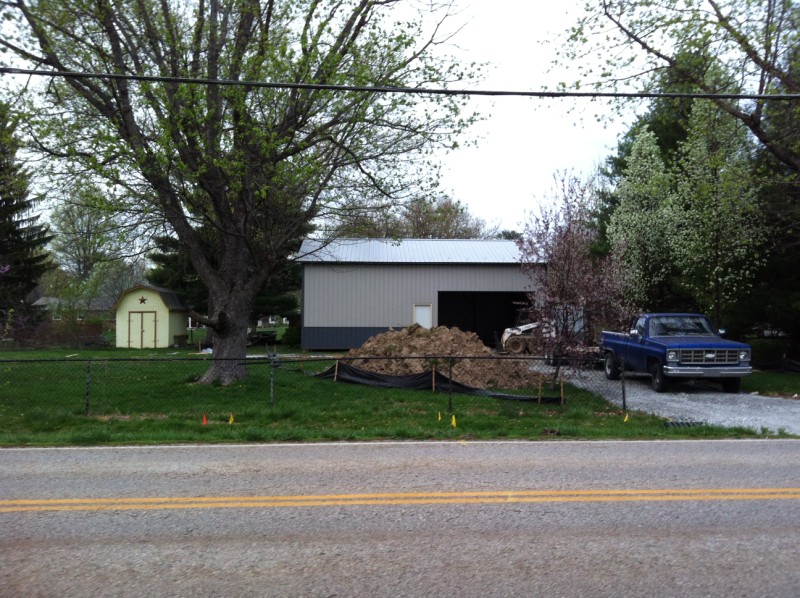
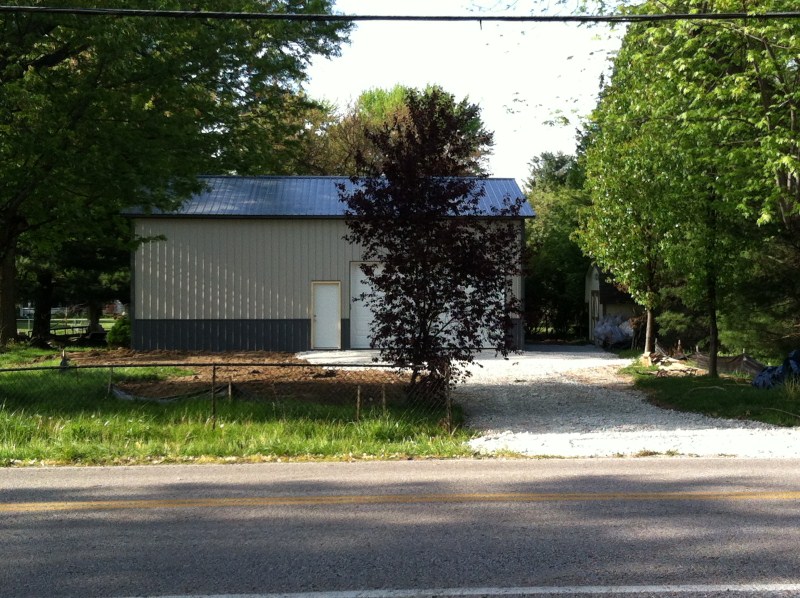
Shot from the side road
52.jpg


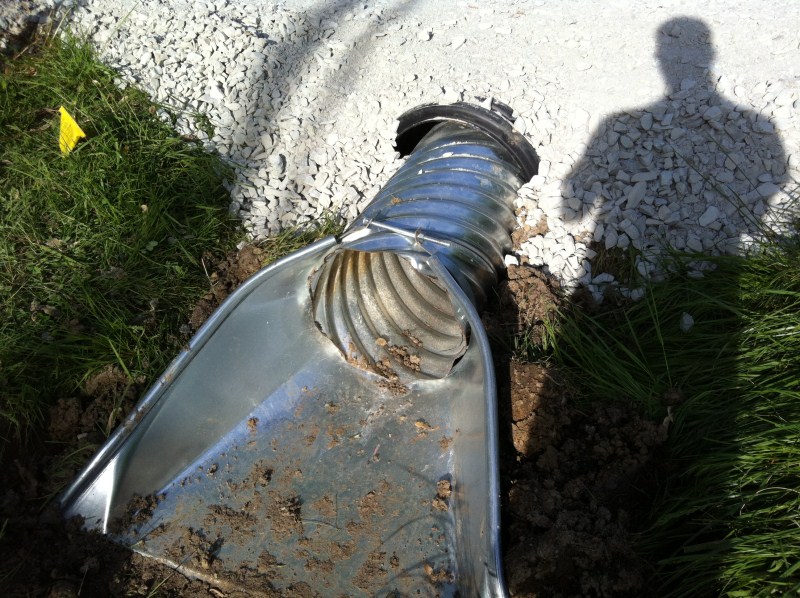
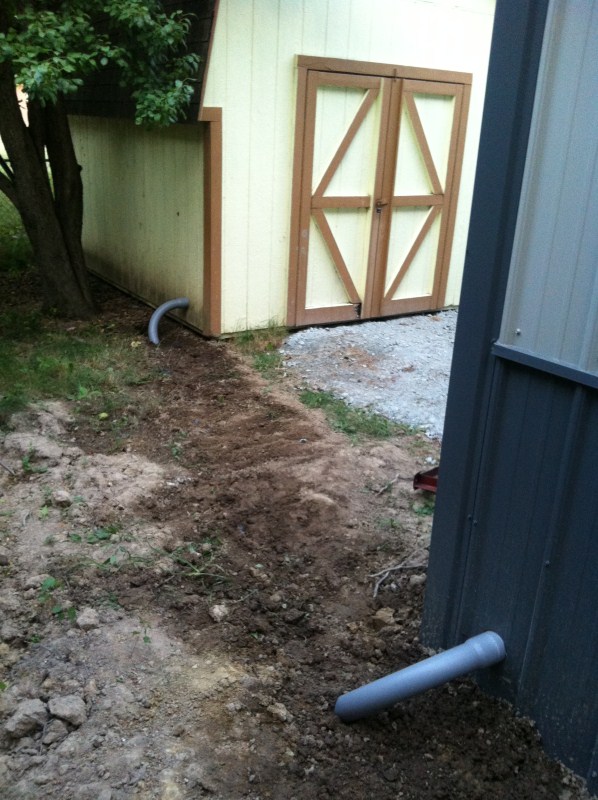
Long story short, only thing that failed inspection was having a plastic culvert instead of a metal, so I shoved the metal one inside and covered up the plastic one :D
53.jpg


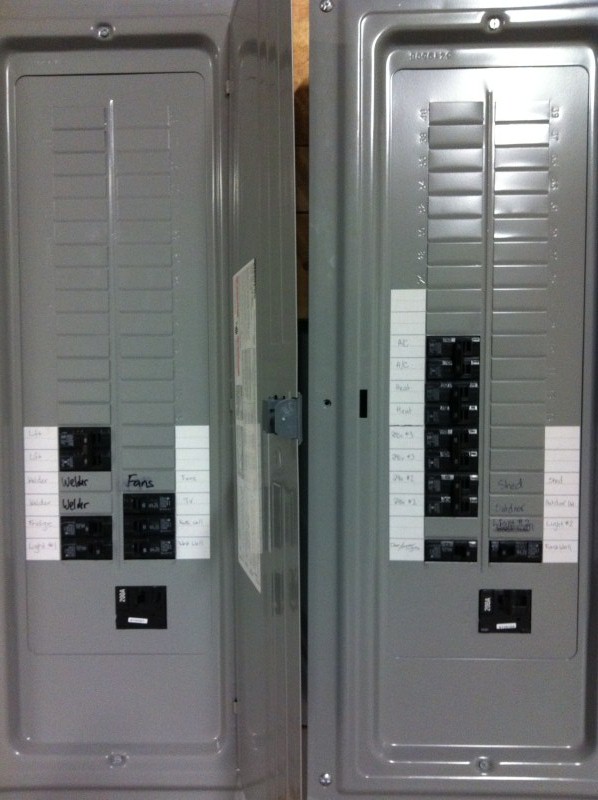
Balancing out the loads on the breaker boxes, I think I'll have some headroom
54.jpg


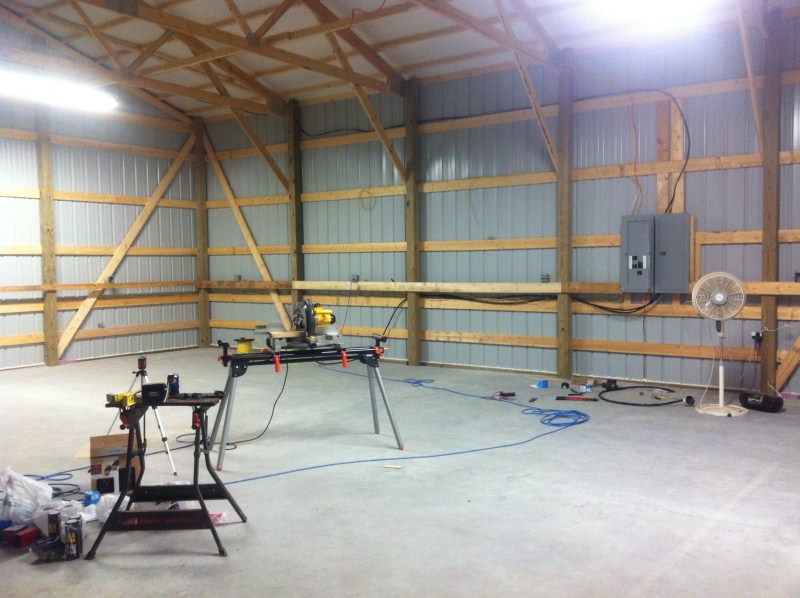
As of tonight
55.jpg


........

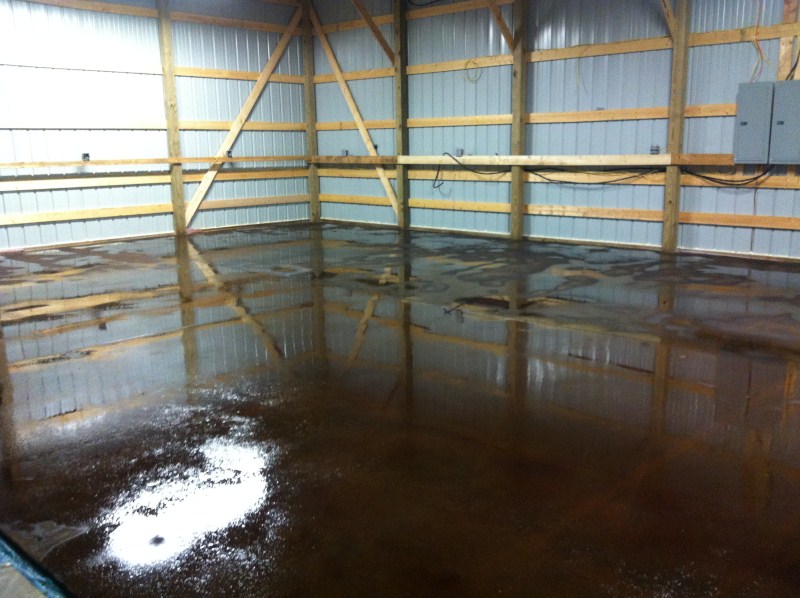
Spent the day today prepping and laying down the stain, its a black stain that goes down yellow, then quickly changes to light brown, then dark brown, then finally black after it gets neutralized.

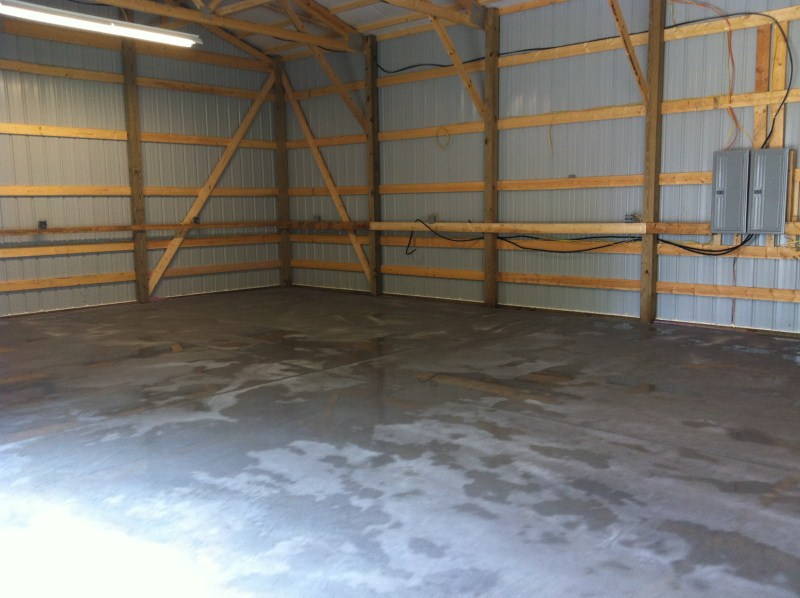
Here's a pic of it freshly pressure washed and prepped for acid:
56.jpg


And with the wet acid laid onto it that still looks dark brownish:
57.jpg


........

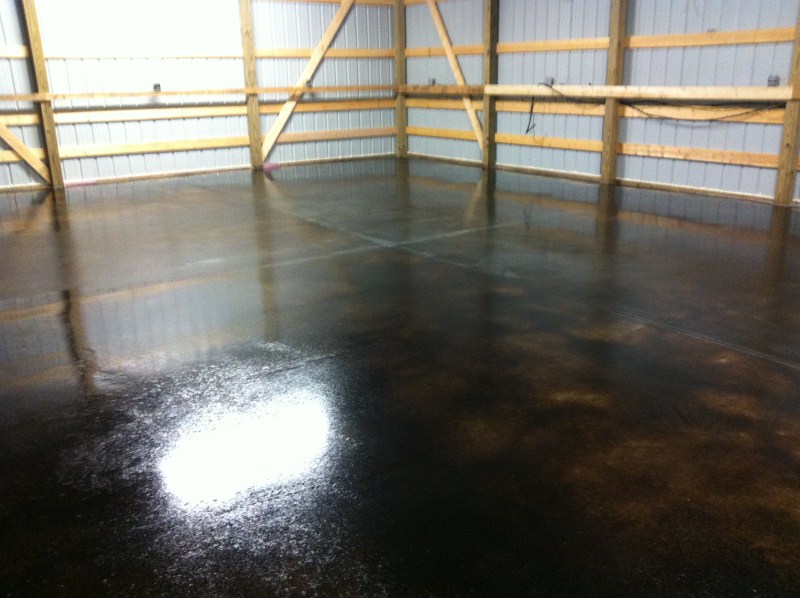
Here is how the floor turned out, I'm very happy with it, and the urethane top coat has held up great to ATF and brake fluid already:

58.jpg


Threw some anti-skid into the top coat to give it some friction:

59.jpg


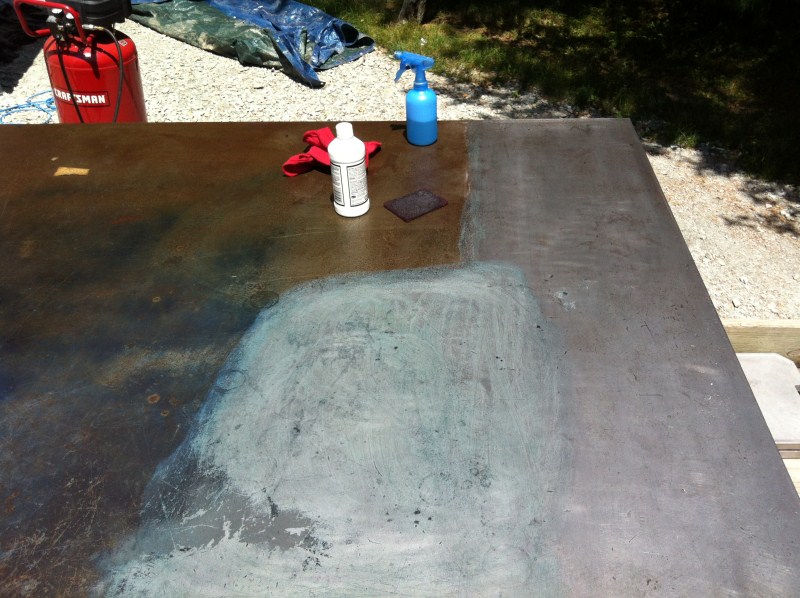
Here is the beginning of the restoring of the 8'x5'x1" flat steel welding table:

60.jpg


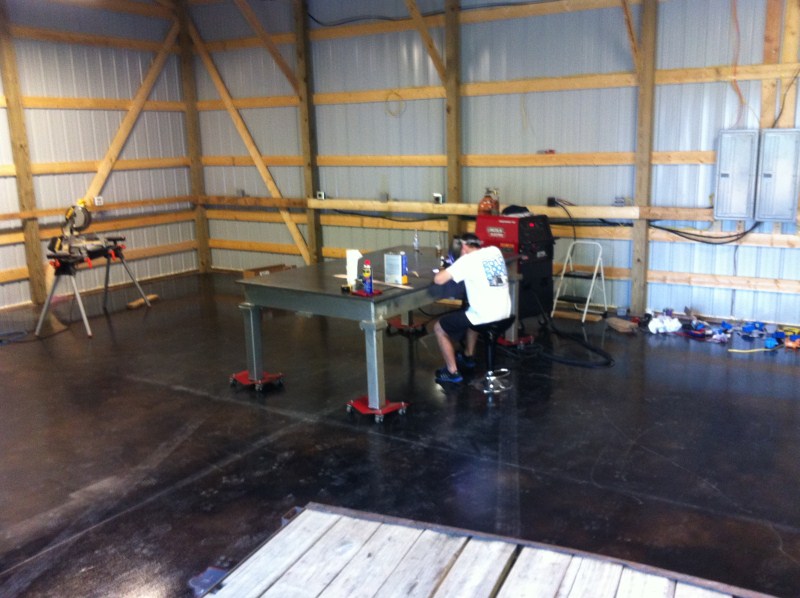
Moved in, sat down on car dolly's (table weighed in at 2900lbs) and played around with the welder:

61.jpg


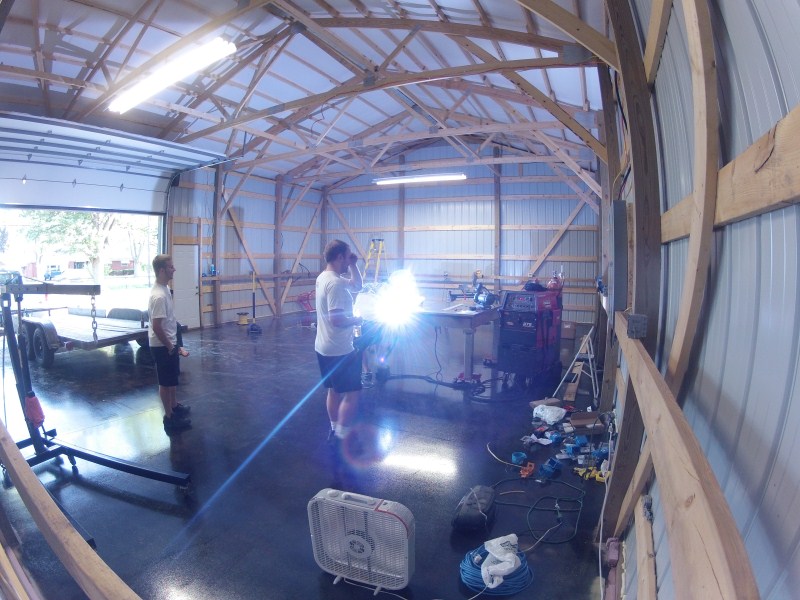
New motivation for the barn progress (brings friends over for help):

62.jpg


They make great material holders for tacking:

63.jpg


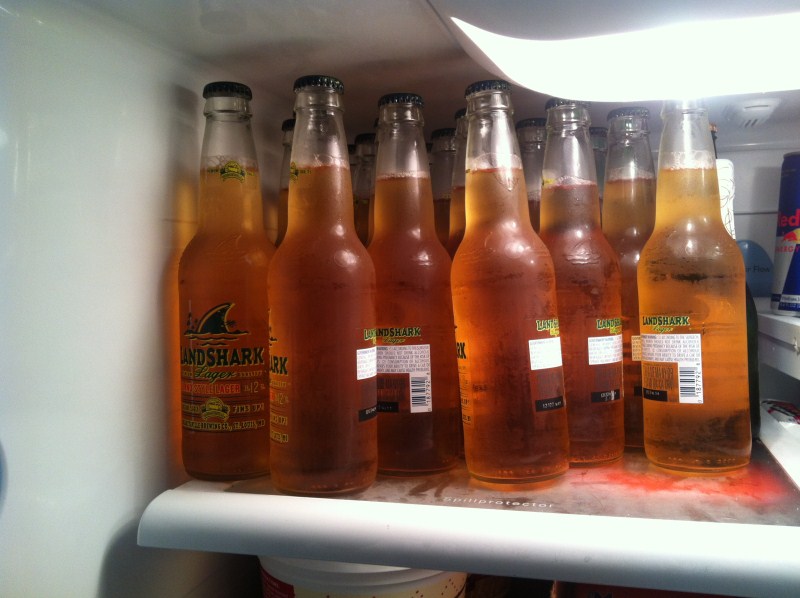
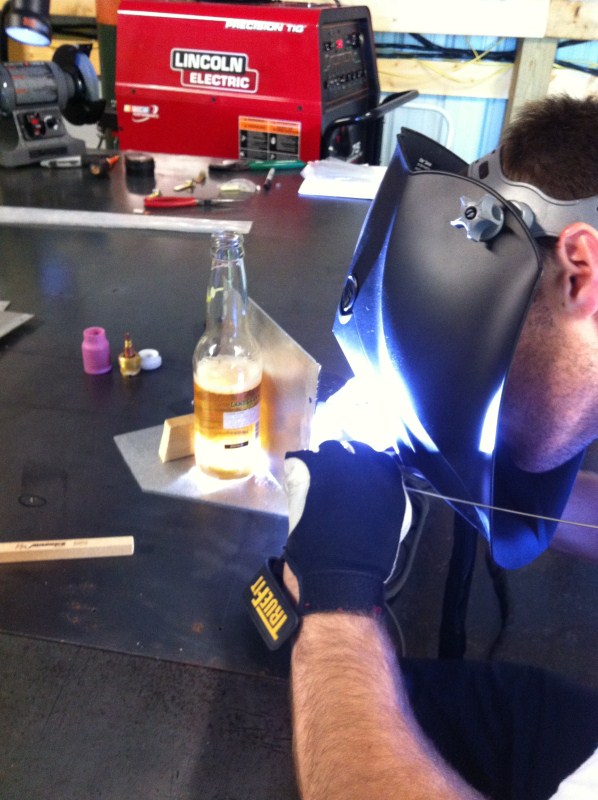
After some liquid inspiration, we cranked the welder all the way up to 415 amps and blew through some aluminum:

64.jpg


WHATS THIS?!?!?!

65.jpg


O HAI

66.jpg


GF helped me with my wood:

67.jpg


As finished for the day:

68.jpg


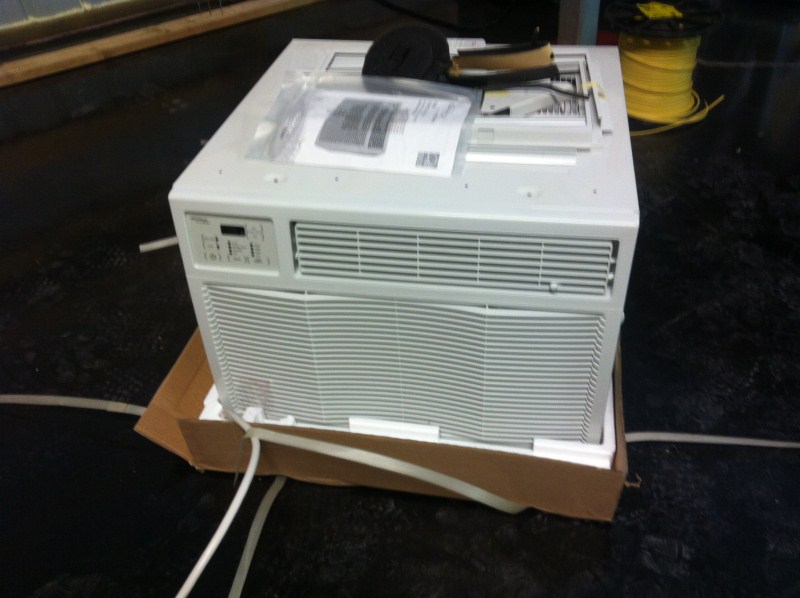
And going in tomorrow... AIR CONDITIONING!!!

69.jpg


........

Another small update... this summer heat is kicking my motivation ***:

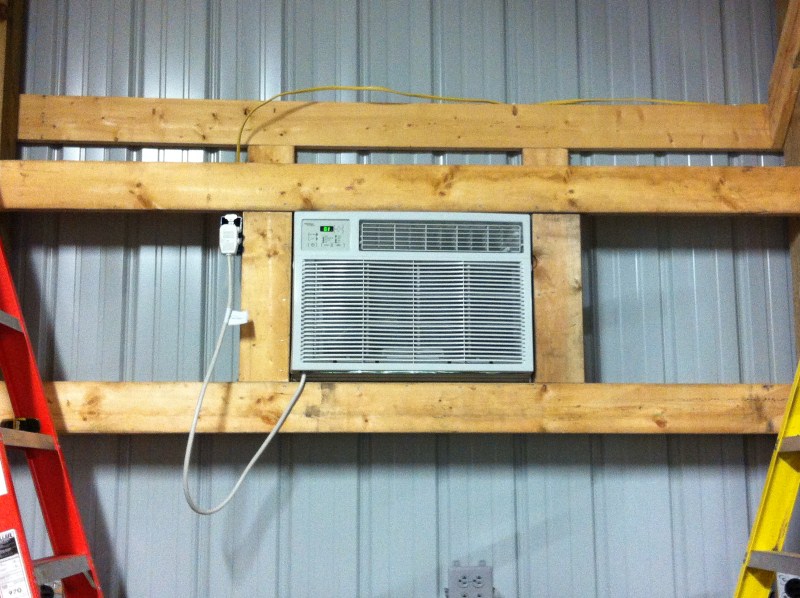
Got the A/C up and working, it definitely works and will be more than enough to cool down the entire barn, just with no insulation up yet, it runs 100% of the time and spins the meter, so it sits idle :D

70.jpg


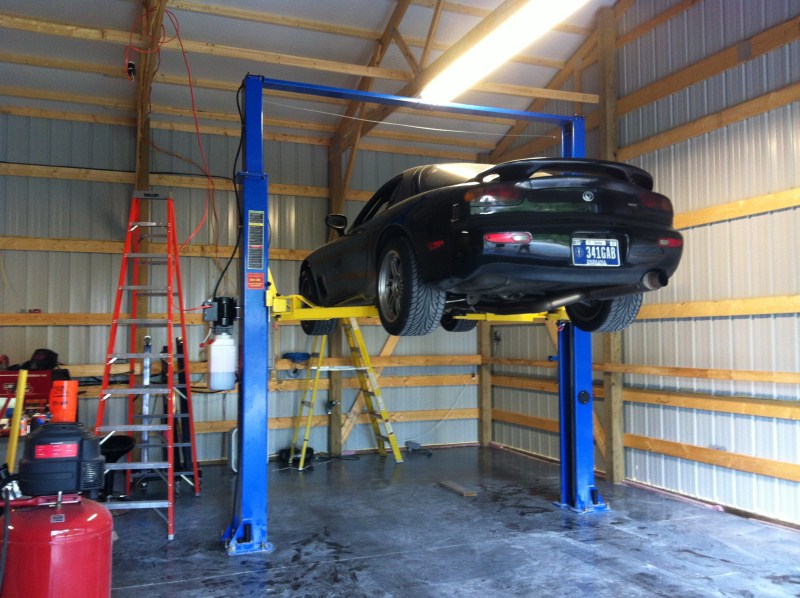
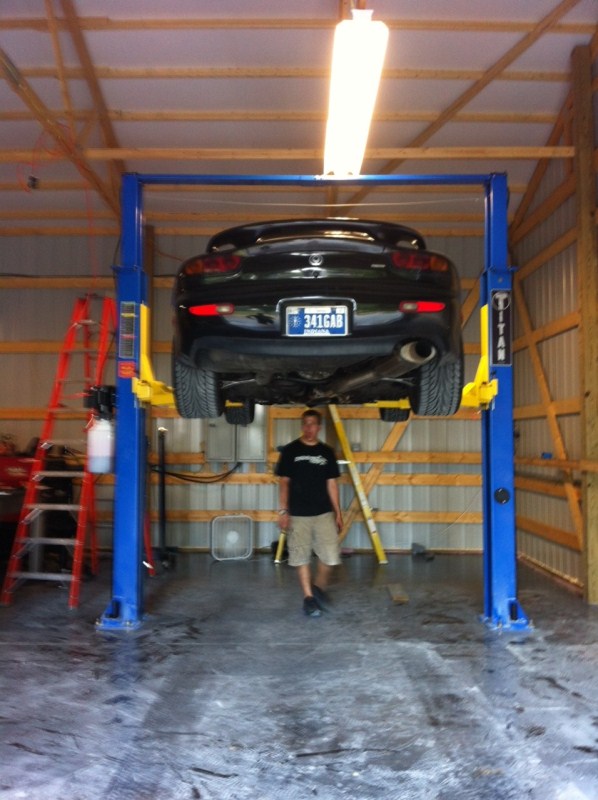
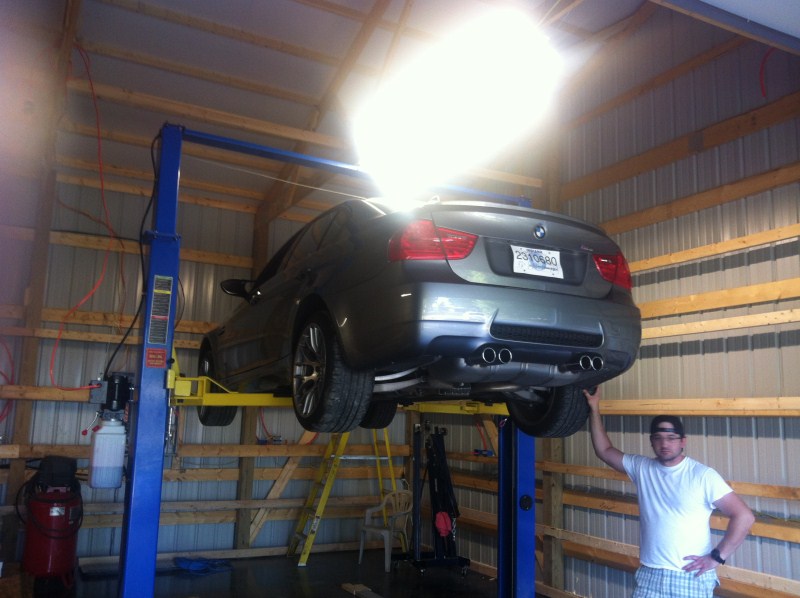
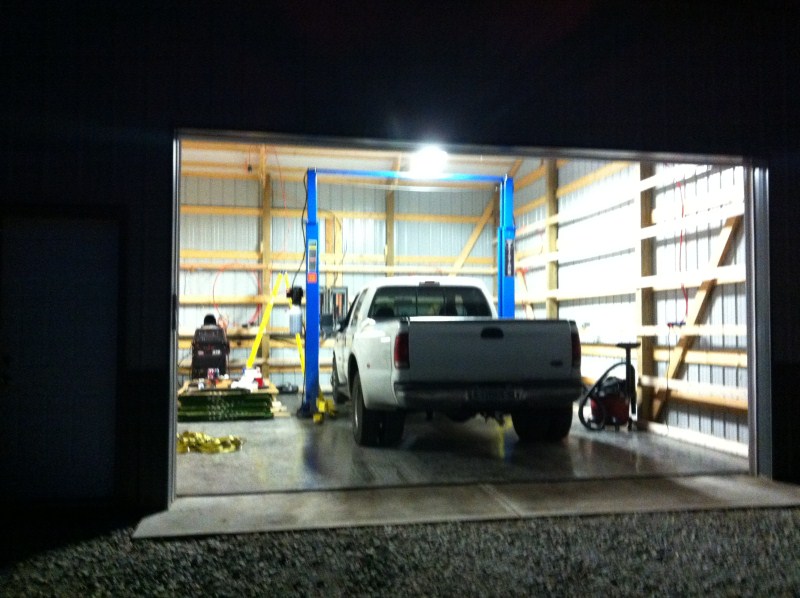
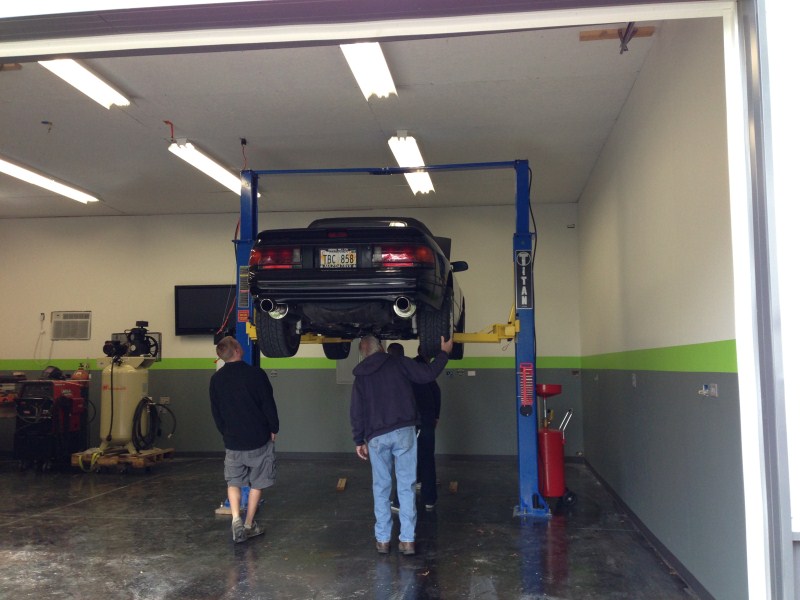
Took a little time to play with the lift, had the FD, the dually, and the bro in laws new M3 that he put on new wheels, pagid brake pads, and exhaust to get it ready for a track even this past weekend:

71.jpg

72.jpg

73.jpg


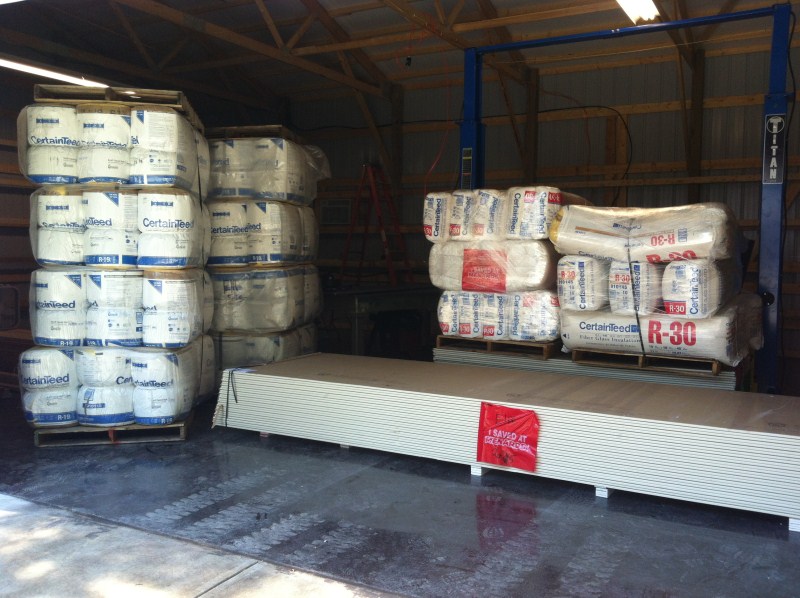
Had a semi show up with all the insulation and drywall, that 4'x14'x5/8 drywall is F'ing HEAVY!

74.jpg


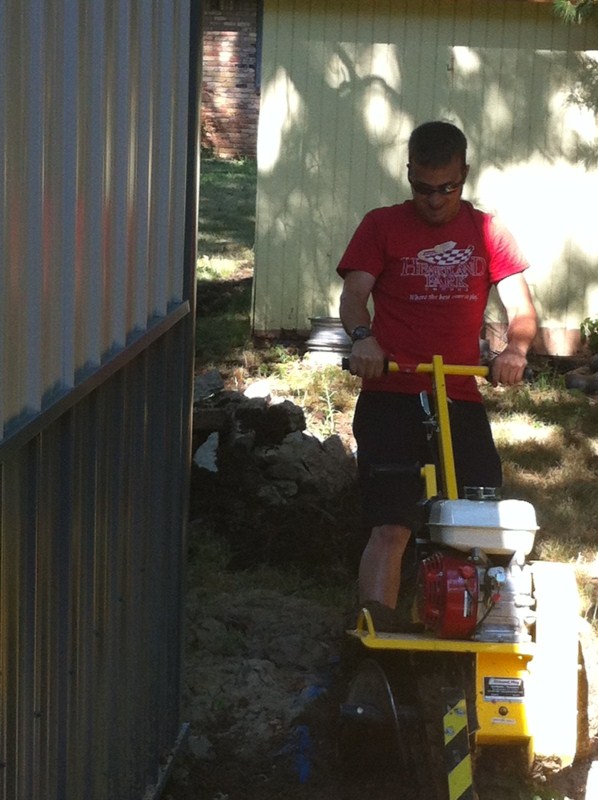
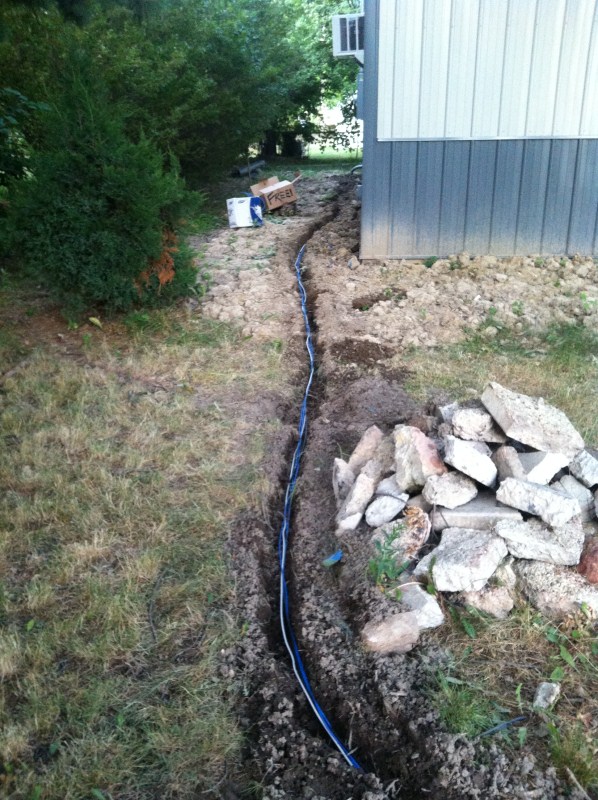
Rented a trencher and put in two trenches... one to the house for internet and satellite TV feed to the barn. Another to a mini shed I have behind the main barn that will hold the huge compressor setup I'm building. That way it doesn't take up floor space in the main barn and you'll never hear it.

75.jpg

76.jpg

77.jpg


Hopefully soon I'll have the air lines ran inside the walls and we can start putting up the insulation and putting up the drywall/ceiling!

......

Finally got a chance to get back into the garage this weekend:

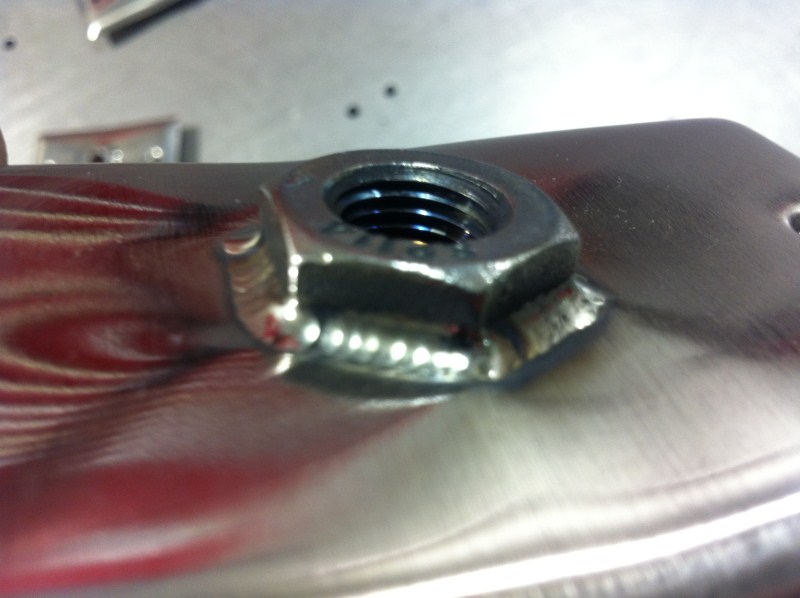
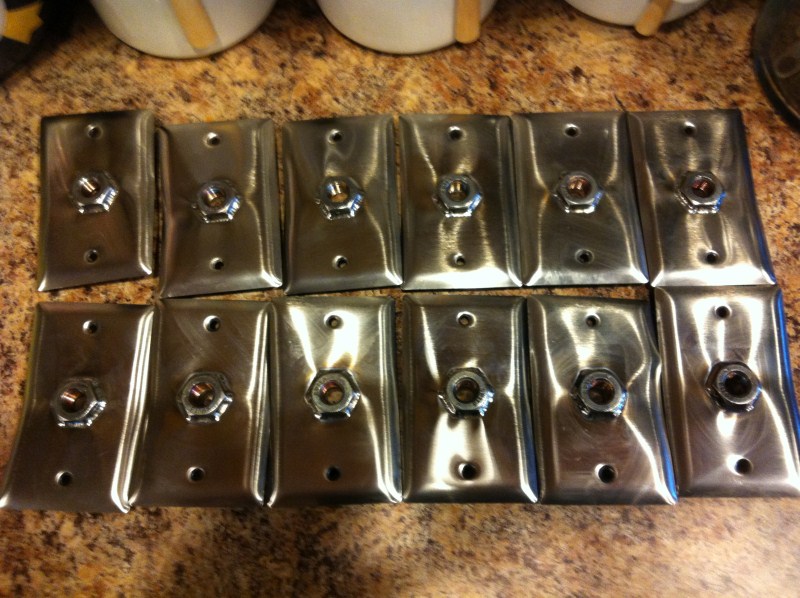
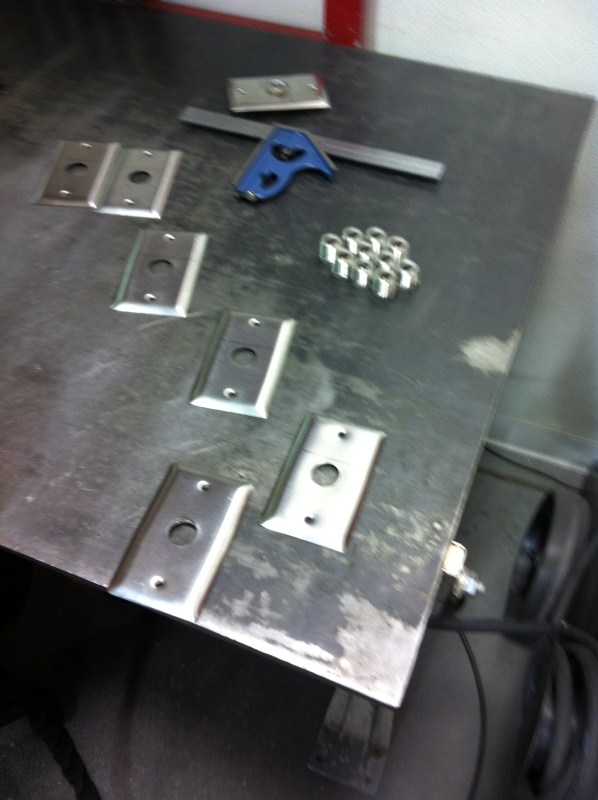
Needed a nice way to bring the air lines from behind the walls through them, so I got some blank SS 304 wall plates and ordered some SS 304 1/2" NPT to 1/4" NPT bushings and had my twin weld them up. Being so thin a few of them warped a bit, if we can't get them to straighten back out, I'm going to have some made in the CNC machine.

78.jpg


79.jpg


80.jpg


Got under the house and wired up the satellite and internet so now I have TV and internet in the barn, wo0t!!

81.jpg


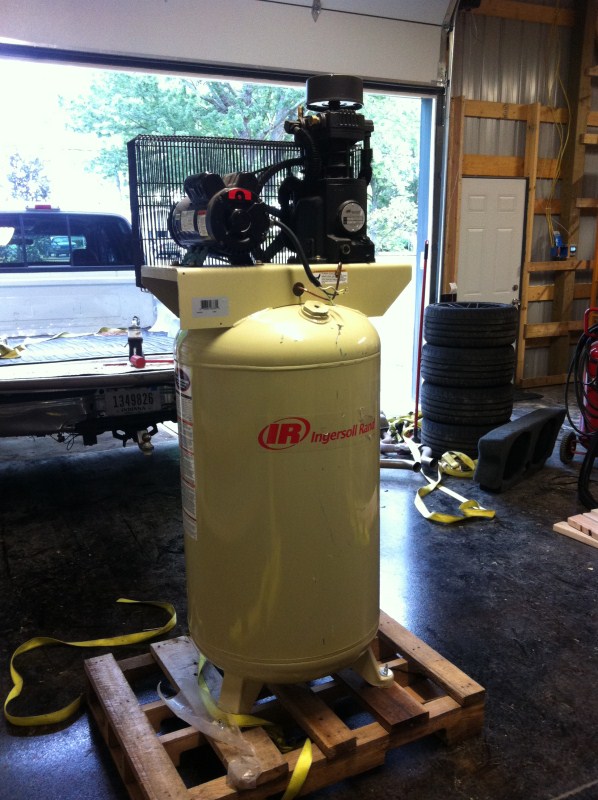
Scored this on craigslist, looks like it was damaged when it was delivered/picked up (knocked off the control pressure switch). Only $35 later and I saved $500 on a badass compressor that will be more than enough for 5 people using the air at the same time.

82.jpg


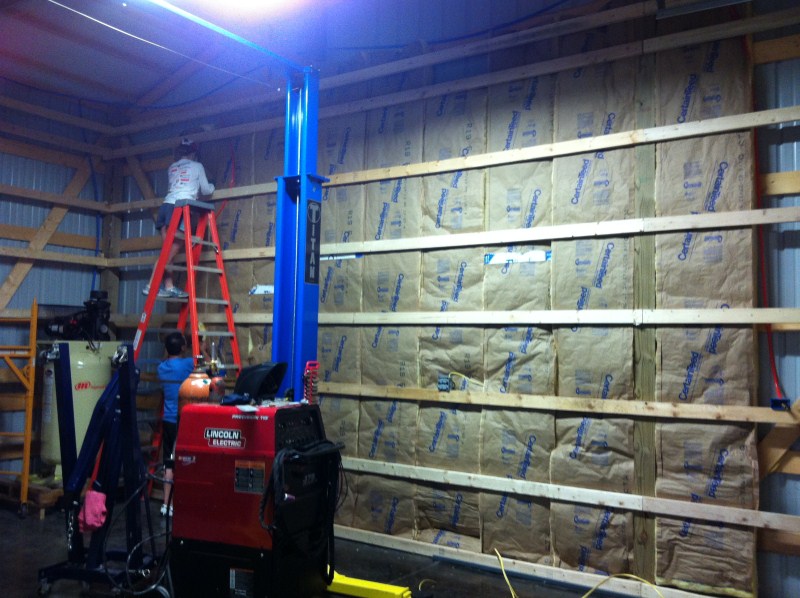
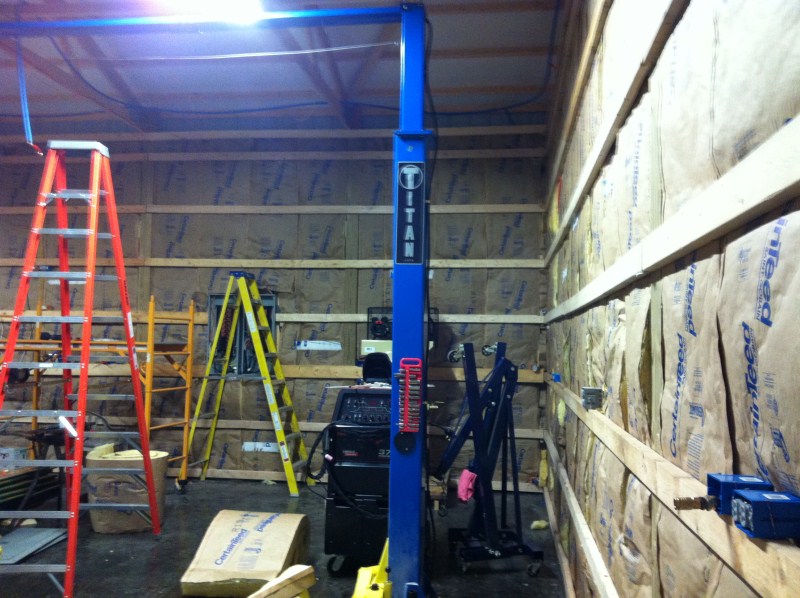
And the gf and her friend helped put up the insulation for the walls... just doing that made it much quieter inside and the air conditioner started to cycle at 70*F inside instead of just going full bore all the time (It was 92*F outside today, and 71* inside)

83.jpg


84.jpg


So next is starting on the ceiling so it can be boarded up, then its time to find me some cheap labor to put up the drywall and finish it!

......

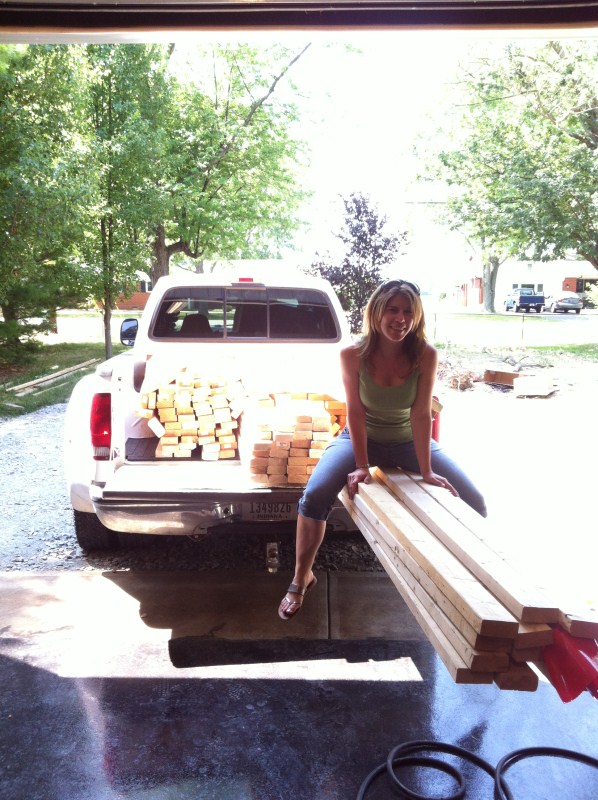
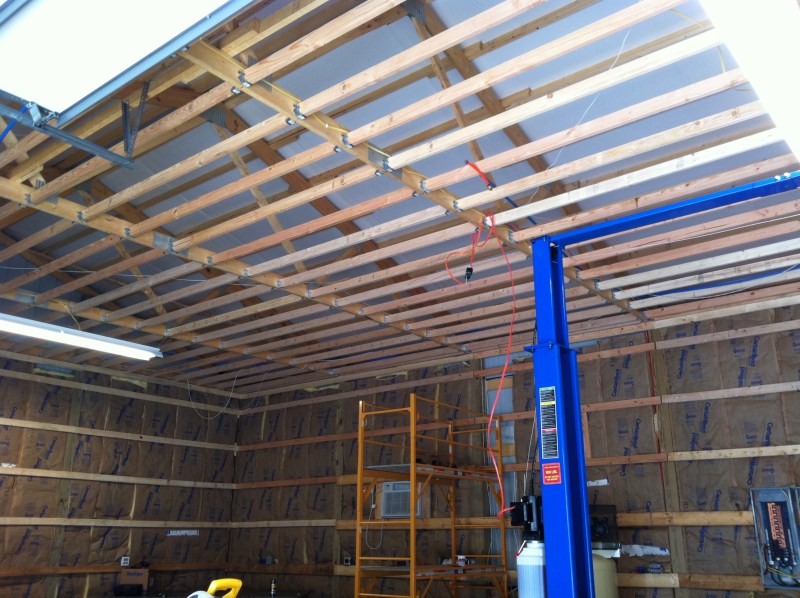
Picked up some more wood to frame in the ceiling:

85.jpg


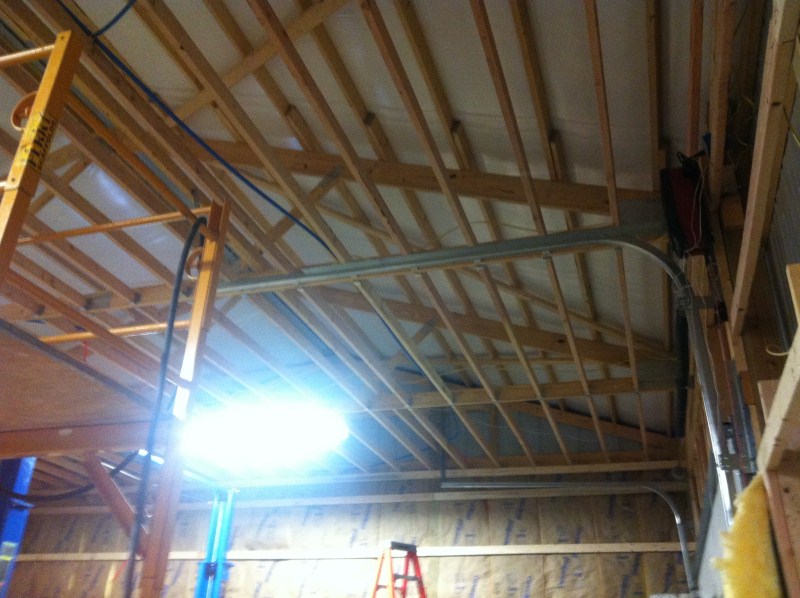
Started throwin some wood up:

86.jpg

87.jpg


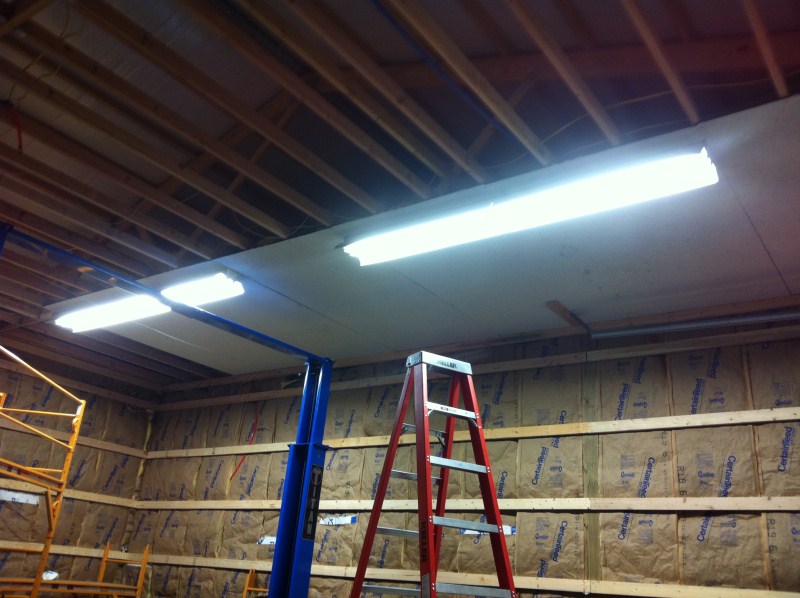
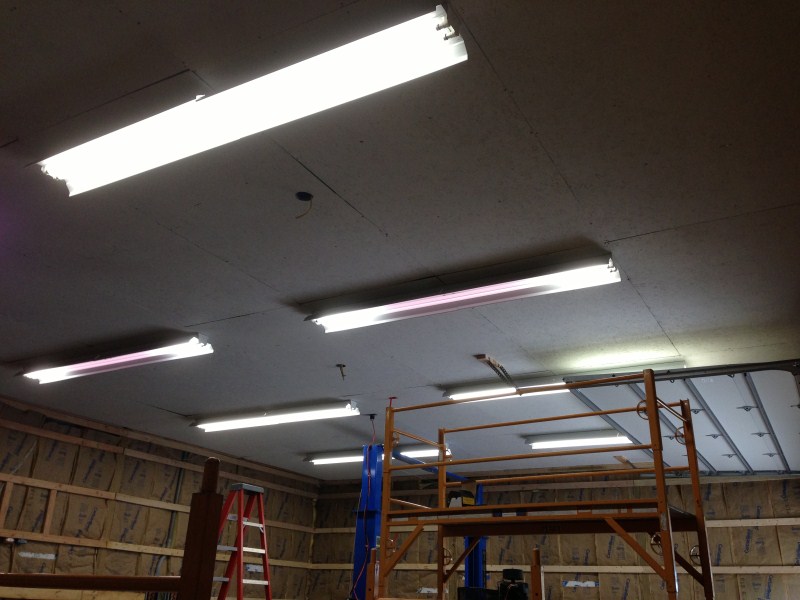
Up goes the 7/16" OSB painted white (probably going to change this to steel, I'm not liking the finished product):

88.jpg

89.jpg


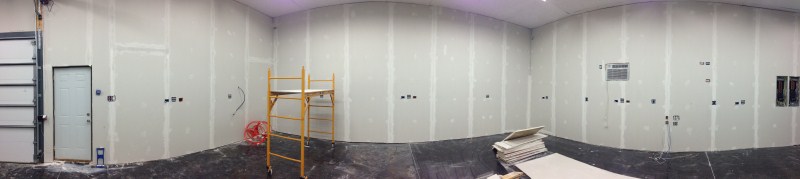
In came the drywallers:

94.jpg


Then paint (the green is a ton brighter in person compared to the pics, it makes a good contrast/pop look)

90.jpg


The lift got used at SNS to work on mech-head's car:

91.jpg


Filling the radiant floor system, which is doing an awesome job heating the place now:

92.jpg


Taking the welding table to a place to get ground flat within 0.015":

93.jpg


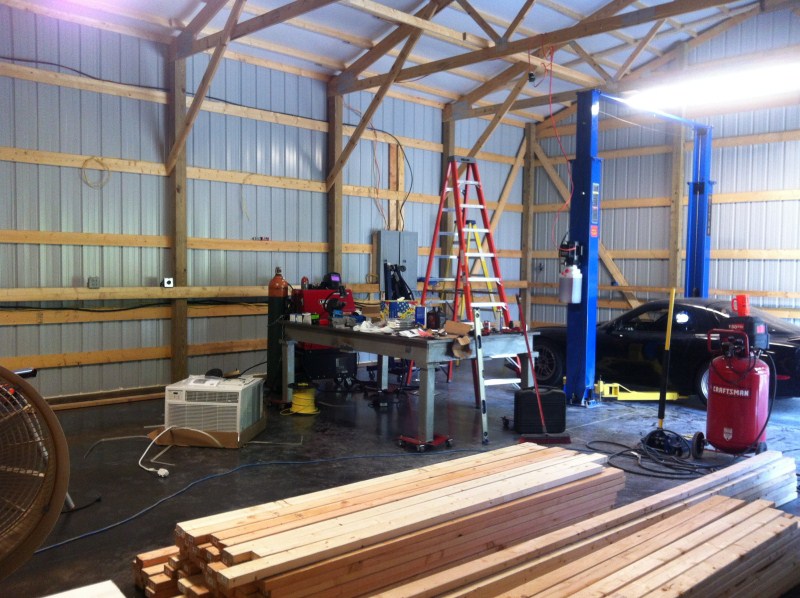
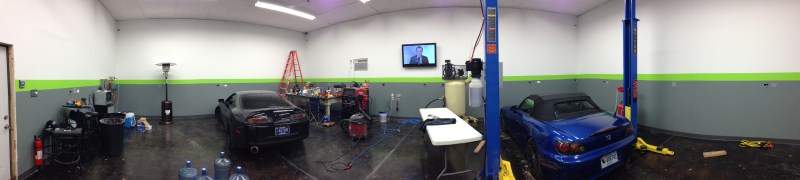
And pretty much where its at now, just need to start cleaning it up and moving in tool boxes and project cars:

95.jpg


Wanted to thank this forum for the help! I lurked on here for the majority of my build, hopefully my pics can help someone out like all of yours helped me!
 

blk00ss

Well-known member
Joined
Dec 22, 2011
Messages
165
Love it. Reminds me a lot of my shop! Where did you get the oil drain?
 

4EyedTurd

Well-known member
Joined
Oct 3, 2009
Messages
595
Location
Texas
I just jerked it to your shop. It's damn nice, and it was a one man show putting it up?
 
To avoid these ads, REGISTER NOW!

FunkyfullWidth

Well-known member
Joined
Oct 3, 2011
Messages
1,238
Location
Three Rivers, ma
How do you like that side mount door opener? What other options did you look at as far as side mounts? I have just about a 13' ceiling with 12 foot doors and i'm not diggin on the center mount opener. When it comes to putting lights up it kind of cramps things...

Shop looks good, lets see some project pics now!
 

bigfredtn

Active member
Joined
Dec 6, 2005
Messages
29
Location
tennessee
Nice looking garage. Couple of questions. Why did you put it so close to the big tree? The cables for your Internet and TV. Did you get the cable that is rated to be buried?
 

Kevin54

MEMBER EMERITUS
Joined
Jan 12, 2005
Messages
29,341
Location
Urbana, Ohio
Wow!!!!! You don't mess around do you? Thats a great looking space for sure. I noticed on the cover plates you made that you said if they didn't straighten out you would CNC them. Do you have your own machine that will be going in the garage, or just run one at work?
 
OP
D

DemonFD

New member
Joined
Mar 21, 2012
Messages
4
Location
Indianapolis, IN
Thanks everyone!

Love it. Reminds me a lot of my shop! Where did you get the oil drain?

I got it from greg smith equipment in Indianapolis, IN.

I just jerked it to your shop. It's damn nice, and it was a one man show putting it up?

One 65 yr old diabetic that worked from 6am-2am every day, taking only a 20min lunch break and a 45min drive to and from home. Guy was nuts.

How do you like that side mount door opener? What other options did you look at as far as side mounts? I have just about a 13' ceiling with 12 foot doors and i'm not diggin on the center mount opener. When it comes to putting lights up it kind of cramps things...

Shop looks good, lets see some project pics now!

The opener is hands down one of the best things in the whole barn. It is a very intelligent opener that is quiet enough that you literally can not hear it if you are talking to someone. It is smart because it slows down right before it hits the ground for a soft landing, and it also has an electric lock that locks the door all by itself.

I have too many projects, Fiance has a 850whp Honda Civic drag car, I have a 520whp road racing LSx V8 swapped RX7, and a 1100hp Toyota Supra turbo. All 3 will be getting love for more power this winter.

Nice looking garage. Couple of questions. Why did you put it so close to the big tree? The cables for your Internet and TV. Did you get the cable that is rated to be buried?

The TV cables are meant to be buried, the network not, but oh well, I had it laying around for free. No issues yet on a 170' run.

Wow!!!!! You don't mess around do you? Thats a great looking space for sure. I noticed on the cover plates you made that you said if they didn't straighten out you would CNC them. Do you have your own machine that will be going in the garage, or just run one at work?

I will be getting a digital readout bridgeport mill and a collet lathe soon, but I'll use the ones at work to make the pieces as I'm not really that happy with how much warping those plates did.

Awesome garage! You look familiar - did you go to Purdue?

I went to Purdue for only a year, dropped out and got into racing full time.
 
To avoid these ads, REGISTER NOW!
Top Bottom