44 Bikes Frame Shop Update 9/19/2011
Short update for everyone. Just a reminder, here's where I started last fall:
 Shop - Front
 by
BLACK CAP Studio, on Flickr
Along with the shop buildout we're also tackling painting/staining/installing windows in our house this past summer. So saturday was paint windows in the house and sunday was devoted to shop time. I spent the better half of the afternoon hanging the carriage doors. I had run some errands on saturday and picked up the insulation for the doors of which I just didn't feel right about putting on top of my car, so I took the measurements along with me and just cut them up in the parking lot. I got some curious looks from customers. Back home I installed the insulation parts, foamed it up and sealed everything up Saturday evening in the dark.
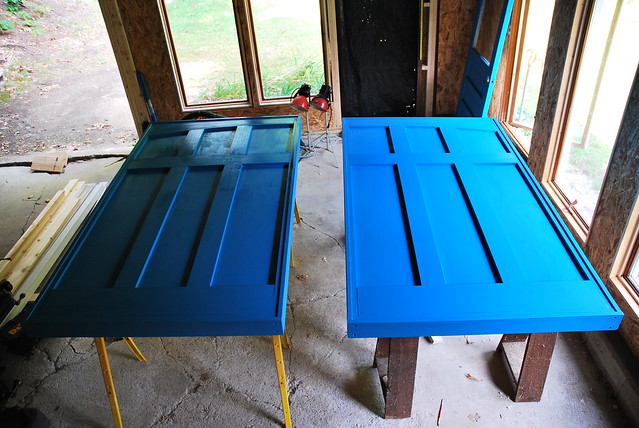
So sunday I started in the afternoon hanging the doors after installing some freshly painted windows back into our house. Kind of a warm up - get the juices flowing and do something right. Later down at the shop, I stood the first one up into position and as soon as I got it in the entry way I knew it along with it's twin were just a hair too wide. Along the way I had reconfigured the entry way and beefed things up a bit by removing some trim and adding a second 1x6 effectively adding about a .25" to both sides of the entry way. I had left myself some wiggle room but I guess just not enough wiggle. A bit disheartening at first. So far this whole project has gone down without a hitch. I figure I've met my self allotted 1 and only "Ahhh Sh!t" quota for this project with this one. So out came the circular saw and I trimmed off about a .50" from one of the doors. First Cut:
 First Trim
 by
BLACK CAP Studio, on Flickr
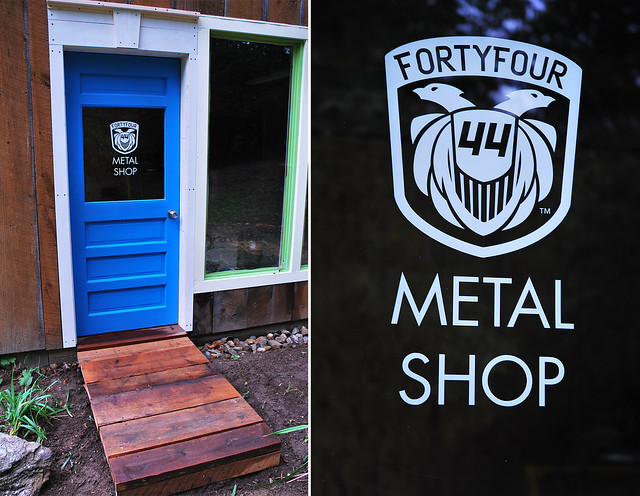
I'll be adding a strip down the edge of this door to create an overlapped edge to seal off any air. I'll plane the edge, sand and repaint. Once that was complete and I was through kicking myself, I hung the second door and got things leveled up. Here's a shot from the outside of the finished doors:
 In-swing Carriage Doors Hung
 by
BLACK CAP Studio, on Flickr
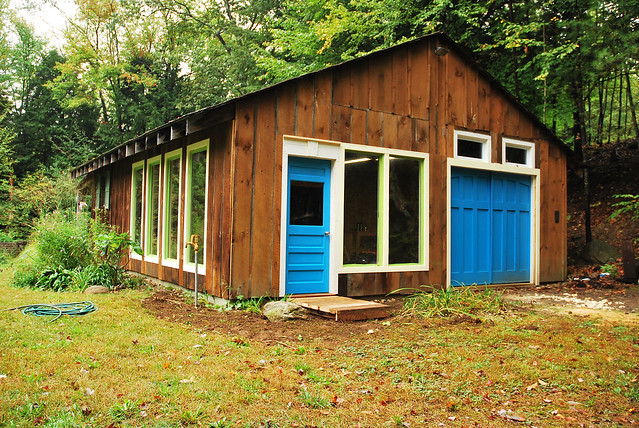
I really like how the subtle keystone over the entry way plays with the arc of the doors. Let's take a giant step back and look at the whole kit coming together:
 Shop Front
 by
BLACK CAP Studio, on Flickr
And one from the inside:
 Shop doors - backside
 by
BLACK CAP Studio, on Flickr
I used strap hinges that are the lift off pintle style. I'm pleased with the way fit/finish of the hinges made by National. Made in the USA too which is a bonus.
Later this week I'll be getting the remaining hardware for the inside of the door. I'll most likely put up all the trim over lunch today/tomorrow for the entry way. Thanks for looking!


")


 How many people can say their garage was attacked by a Moose?