Congratulation on your new purchase. I'm sure that you'll be happy with your new Mohawk, and it'll give you years of service. Then you can pass it onto your children.
Installing a Mohawk System lift is actually very easy. The biggest obstacle would be uprighting the two columns. Though two men can easily accomplish it. I did the install entirely by myself. But remember I have an overhead bridge crane. Which makes lifting a breeze.
First off determine where you're going to place the lift in the garage. The following diagram in the manual will help assist you. Follow the link below for pictures clarifying how I place my Mohawk. Although many may feel that I have may have lots of garage space. I treat space as a premium and don't waste a square foot of it!
http://www.garagejournal.com/forum/showpost.php?p=610640&postcount=11
Overall lift dimensions
Upright the two columns in the approximate positions. Then drive in several of your vehicles to double check their placement. And get the feel for how much room you do have in and around the vehicle. Remember the 120” between the columns is a maximum, you could install them a little closer to conserve on space. Though I place mine at 120”.
Once the location is finalized, install the lag bolts. Drill the holes completely through the floor. Just in case they needed to be removed, you can just pound them the rest of the way through the floor. Install each anchor once the hole is drilled, not tightening the nuts and washers. With all the anchors in place. Place the plastic shims under the columns base plate to make the columns vertical. I use a 48” carpenter's level. Tighten the anchors as per the factory specifications.
Next you can install the lifting arms and locks. Pay close attention to the instructions. Assembly of locks can be a bit tricky. When installed properly, they work slick as a whistle! Once the arms are in place, you can double check that you have the columns perfectly vertical. If the floor is level, the arms will pivot parallel to the floor. And the four arms will be at the same level when extended toward each other.
Install electrical power per instructions and local codes. But you can temporarily run 120 volts to the motor. Even thought it's rated at 240Volts.
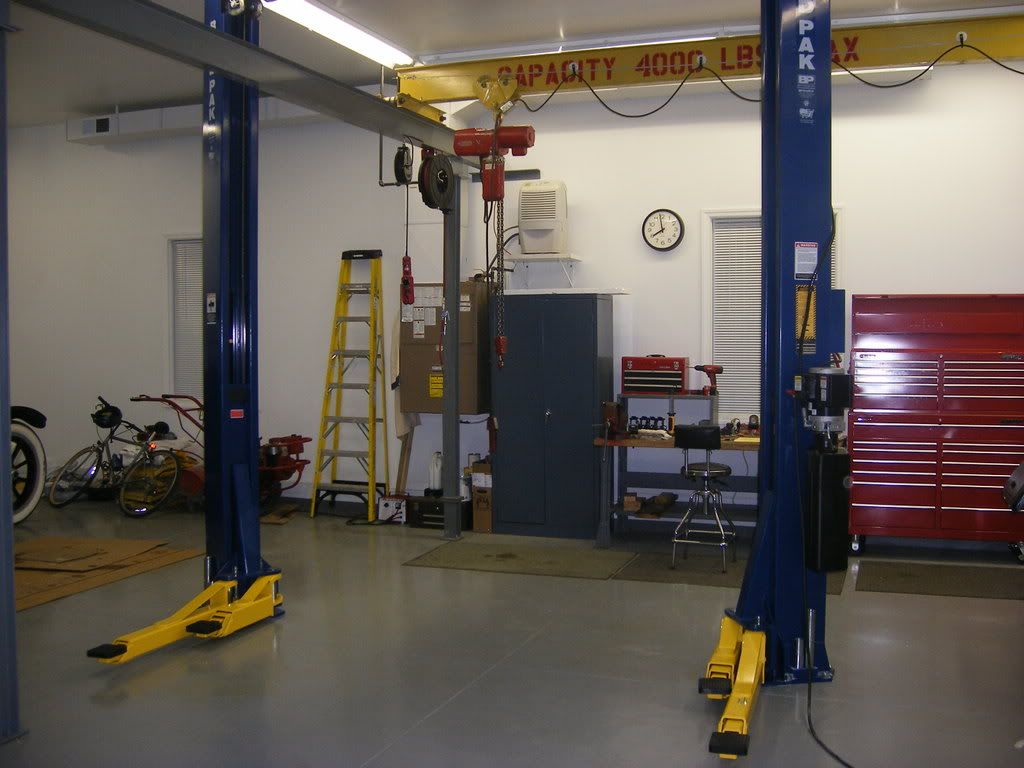
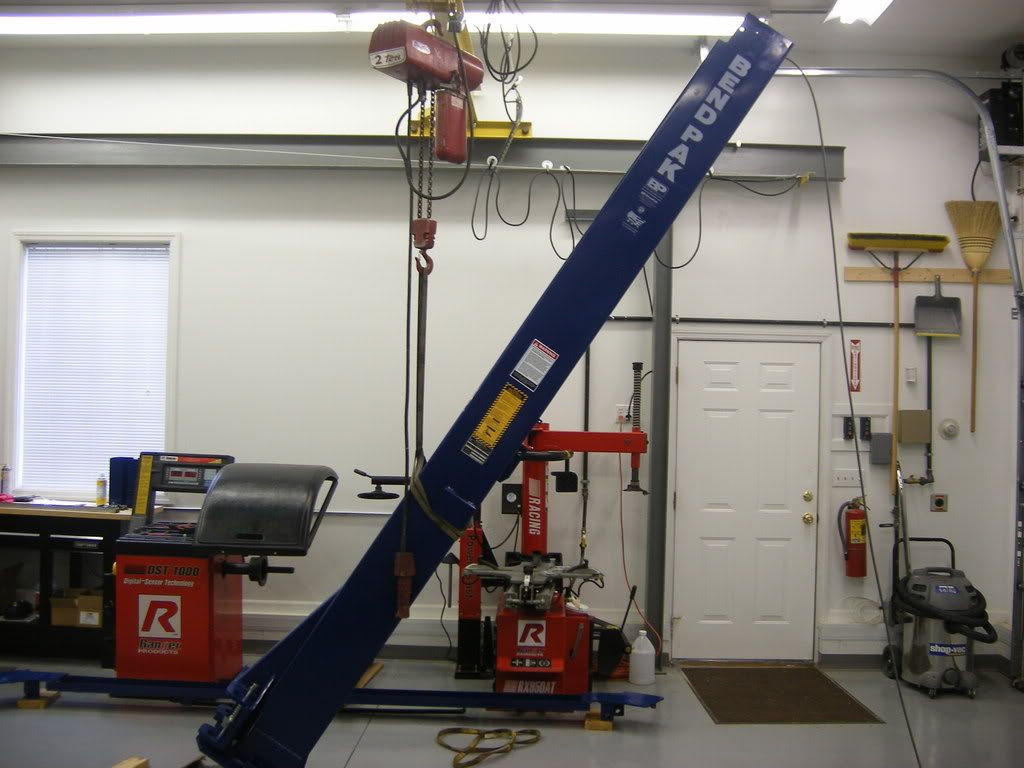
Next install all the hydraulic components per the instructions.. You can Route the two 3/8” stainless steel hydraulic lines between the two columns any why you can physically place them.. Picture below is how I ran the two lines. Up, back, at angle across the ceiling, even through a fluorescent fixture, before running down to the other column. In order to get the most travel out of my bridge crane.
You'll need a good quality bender to get smooth bends without kinking them. I own a hand bender similar to this.
http://www.alloahirecentre.co.uk/uploads/foto/normal/84/Hand Held Pipe Bender.jpg. A high quality flaring tool is needed to flare the ends of the stainless steel line. A cheap Being that stainless is a lot tougher than mild steel lines,, A Harbor Freight one may not do a good job.
You must bleed the lines to purge all the air out of the system. If you don't the carriages will lift erratically. It was my experience that the bleeder valve assembly will not accomplish it! And I bled the system manually. This would be a two person job. But I installed a remote switch and accomplished it by myself. With the lift in the lowered position. Slightly loosen the “in line” hydraulic fitting of the cylinder at the far column. (Column without the pump) Place a rag over the fitting to keep oil from spraying all over the place. Run the pump motor to raise the lift all the way to the top. Tighten the fitting, release the safety stops, and lower the lift. You may have to repeat this process four or five times to get all the air out. Once you have all the air removed from the Hydraulic system. The lift will move smoothly and in unison without any jerking motions.
Read through all the safety instructions and install all the safety tags. And you'll be good to go.


 . It's in my garage right now and I'm preparing to install it. I have an 11 foot ceiling and will need to bend the stainless steel lines for the hydraulics at the ceiling to avoid some fluorescent fixtures. This would be a 45* offset at either side of the lift on the ceiling.


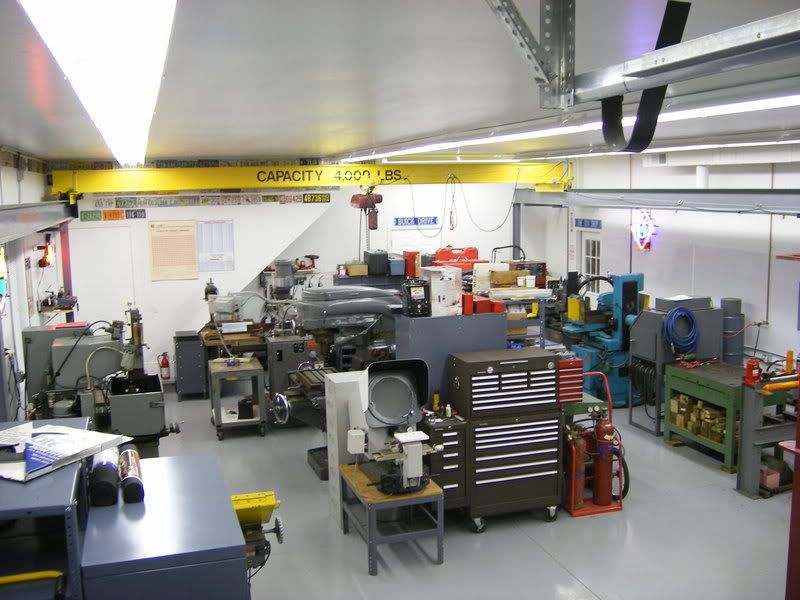

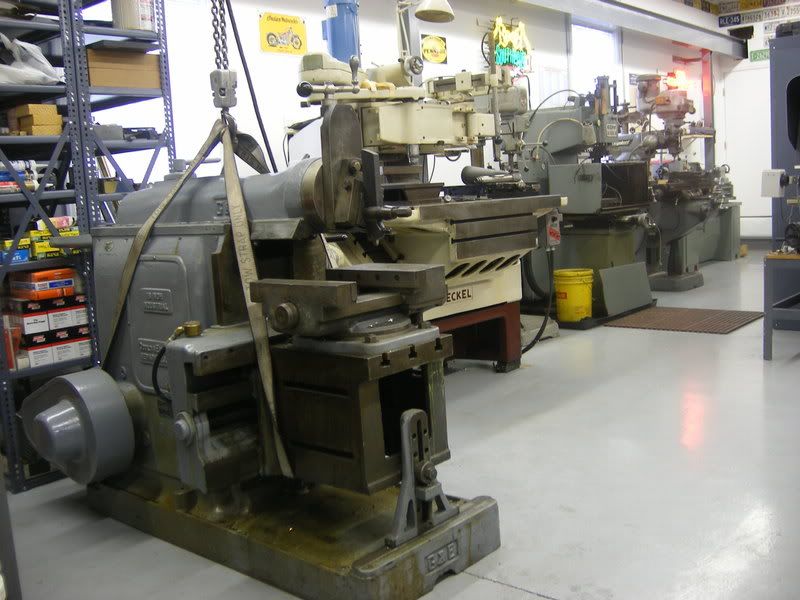


 a bridge crane I installed in another one of my garages. Along with some pictures of it in action...
 I bow before your vast empire of automotive superiority.