Peterjames
New member
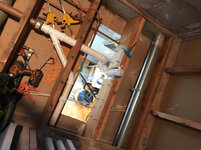
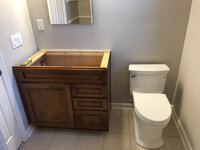
Yeah!!! The bath is mostly original but previous owner replaced the floor.


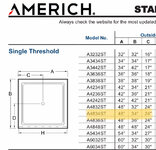

I love how manufacturers do this for many kinds of products. The one most critical piece of information and they print an approximation. Or they assume it is common knowledge among professional tradesmen that it is only a nominal dimension. They may put a clarification somewhere in a footnote or on an entirely different page... or not.


Even if you set the base in some kind of a bedding material slide a strip of Tyvek or roofing felt between the drywall flanges and the studs around the base.It will eliminate any little squeaks from the base rubbing on the studs.


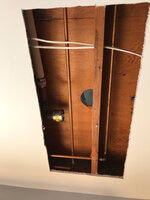
Hey Bill Wright, you said something that made me curious...."If you haven't reset the toilet in a long time start there. ". So does that mean a toilet should be reset periodically?? If so, why, and how often?
.


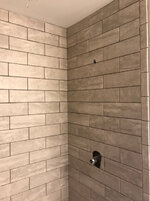
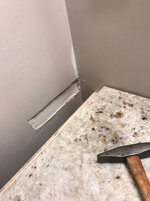
Question...how did you do the corners where the tile meet? Meaning did you hold short on both walls and grout/caulk the corner, or run one wall to the corner and overlap that corner with the other wall?