Oldtuleguy
Well-known member
- Joined
- Nov 4, 2017
- Messages
- 10,461
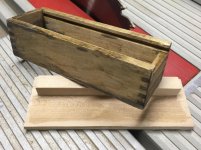
Sweet lid ls! Probably better than the original.

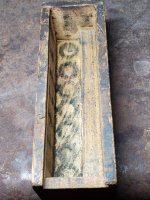
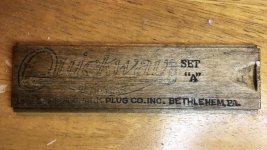
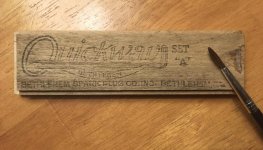
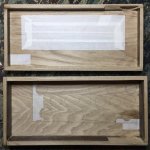
At the risk of overstepping, LS, I'm not sure why you're taking this approach.I’ve been tinkering with a printable mock-up of the wooden box under-lid label.
You answered your own question. The best examples are hard to read in real time. I am making and correcting mistakes of interpretation in the process of compiling the pattern, not on the final wood surface itself, where they could not be corrected if done live with pyrography. (The mistakes of execution will be another matter, but less than if I was attempting to do it simultaneously.) If I had the equipment (to print upon an inflexible, flat surface) - which I don’t - I would print the final version of my pdf onto a metal plate in wax, then etch the plate in acid to produce the stamp/die you describe. I could then make as many lid replicas as I cared to.I'm not sure why you're taking this approach...because nobody has or has seen a perfect factory condition example.
That would work, too. (Either way, I wasn't suggesting you replicate a character you weren't certain of.) Good luck.then etch the plate in acid to produce the stamp/die you describe.
.jpg")
.jpg")


I'm not sure if they're the same species as there.
They’re not. Same genus, though (Castanea). Japanese chestnut (crenata) is the most resistant to the blight fungus, followed by Chinese chestnut (mollissima). Your Spanish/European chestnut (sativa) was hit by the fungus mid-century, but is partially protected by a virus (CHV1) that disrupts the fungus. American chestnut (dentata) was decimated from 1900-1940s, and has not recovered. The virus does not spread naturally in NA. The small trees I have seen are sprouting from surviving roots, but succumb just as they begin to flower and produce nuts. There is a program to produce a blight-resistant hybrid, but since the goal is blight-resistance, some of the unique virtues of the American species might have to be sacrificed.
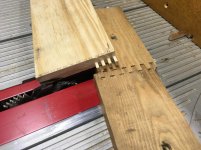
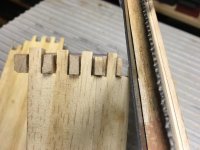
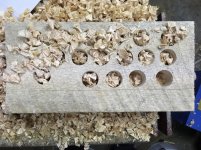
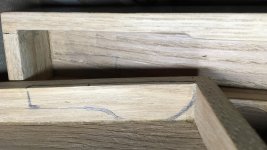
The wood itself was used in furniture, trim and flooring, and is often mistaken for oak. But chestnut is far less dense and lacks prominent medullary rays that characterize oak. Working with it, I have found it very prone to splitting. I don’t know if that is more owing to its grain or age. I had earlier posted that it reacted with a brown toner I was using, turning pink, but thinking more about it, that particular piece had been bleached by my father, so maybe chemical residue from that process was the actual culprit.
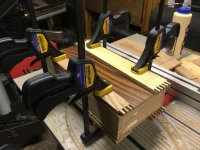
 Experimenting with the idea I could simply glue it under the lid - an honest, telling departure from the originals.


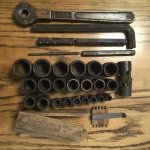
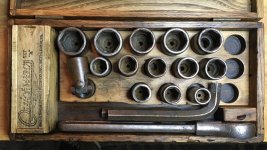
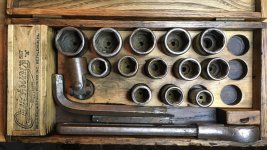
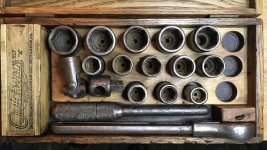
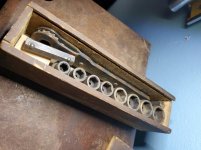
Yeah, and the advertisement image shows the tools bursting out of the box, so I’m not sure anyone can really know for sure.The layout of the wooden box "D" set is completely different than the layout in the metal box "D" set, so I can't offer any comments or advice, LS.
 (So far, I have seen no evidence of the 11/16-inch drive "F" set coming in a wooden box.)