OP
bloomingtonmike
Well-known member
Cyclone Startup test video.

Cyclone Startup test video.
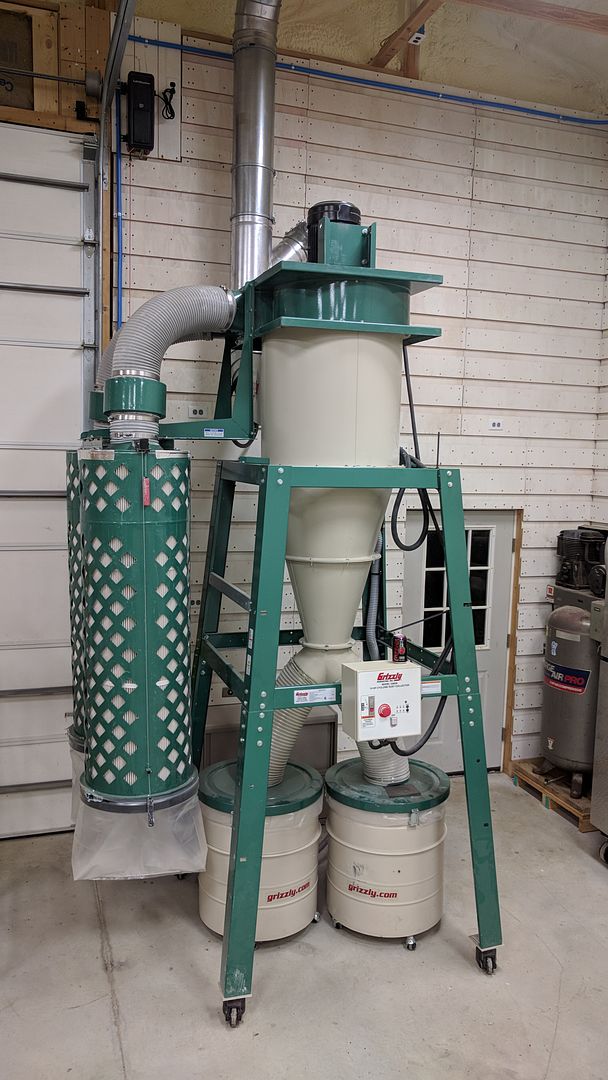
") . When I closed the lines to just one open 8" trunk, the suction force will pull your skin and eyebrows up with the hair lol.
. When I closed the lines to just one open 8" trunk, the suction force will pull your skin and eyebrows up with the hair lol.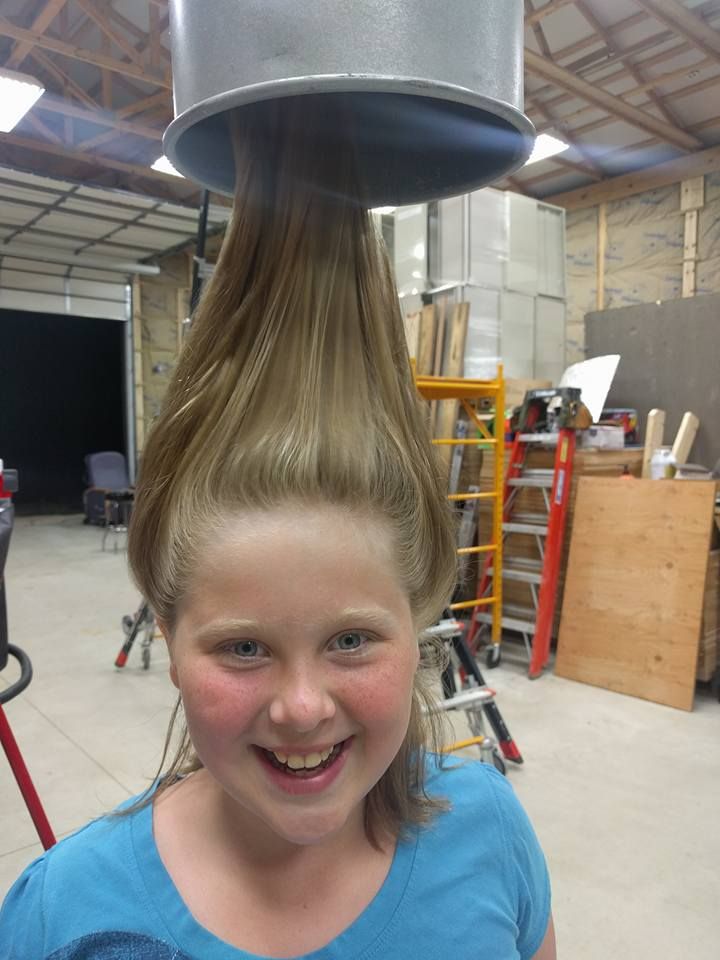


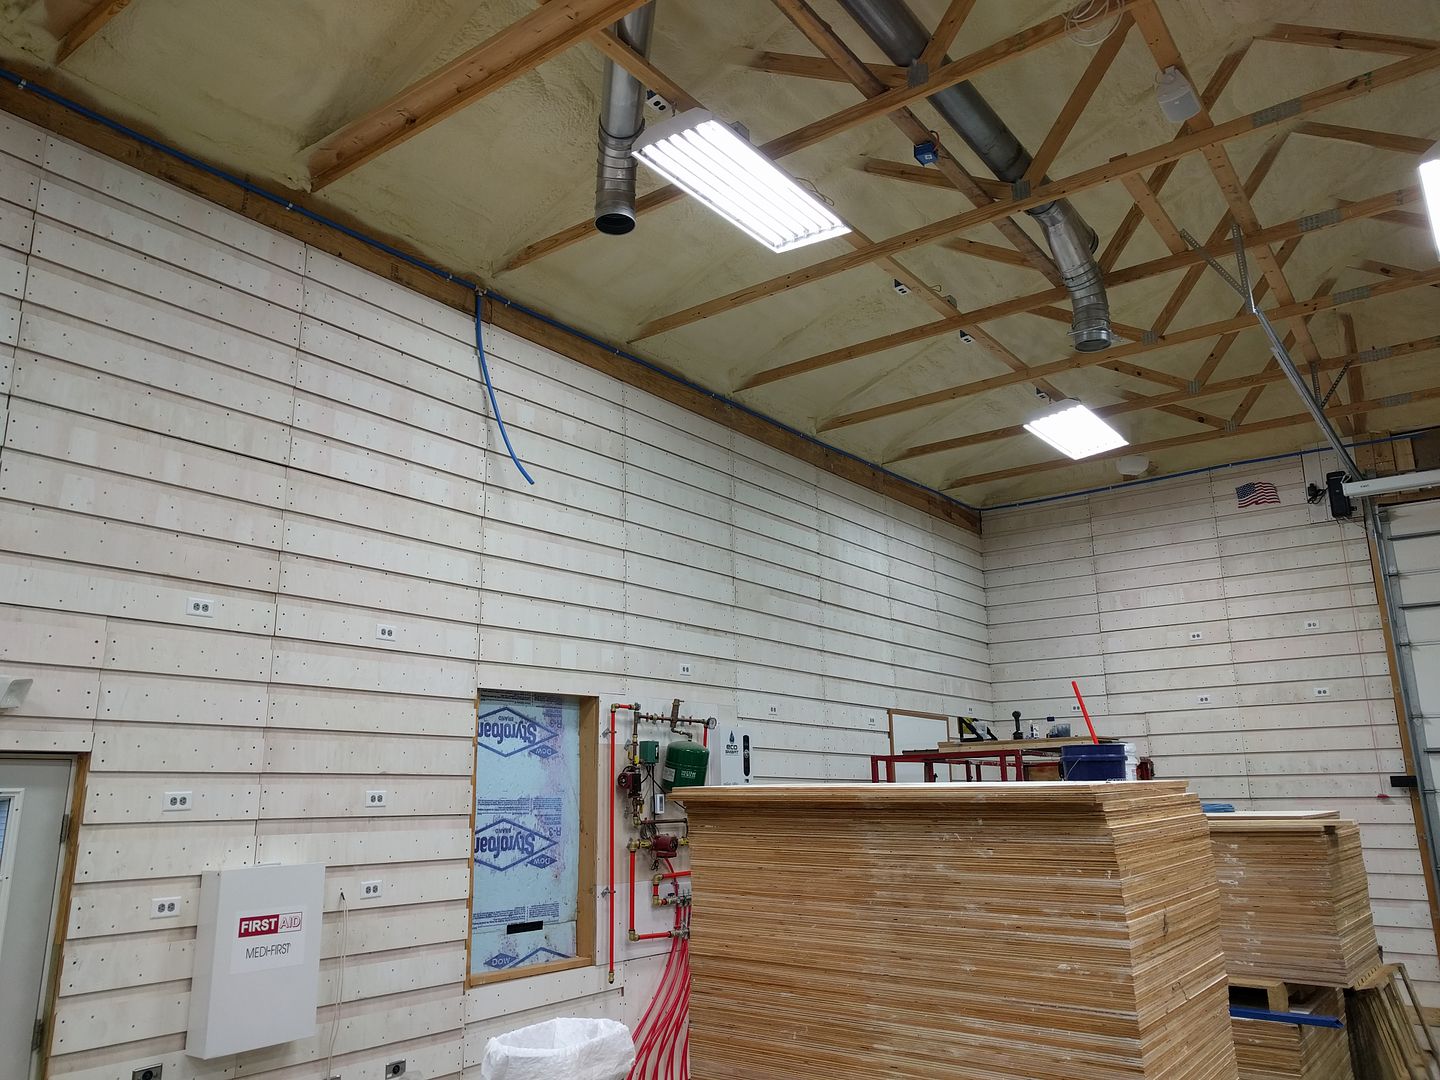
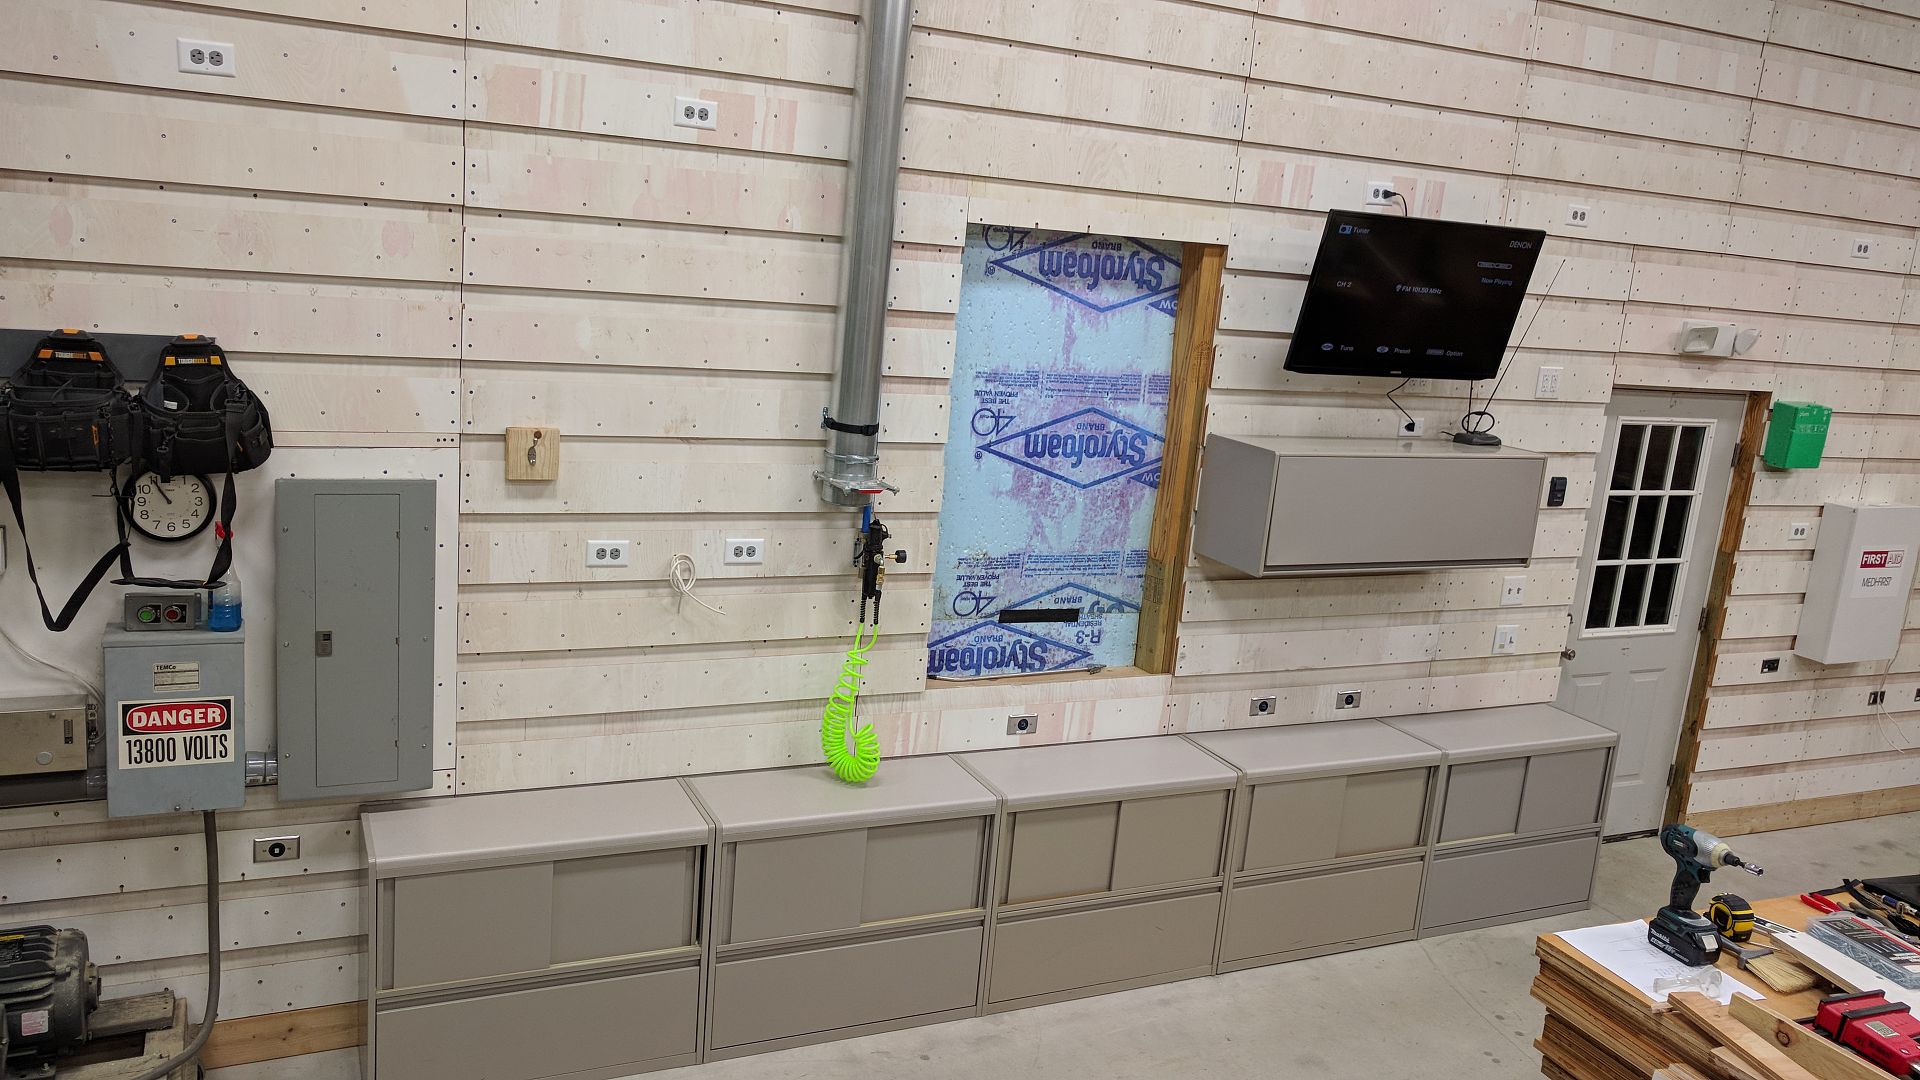
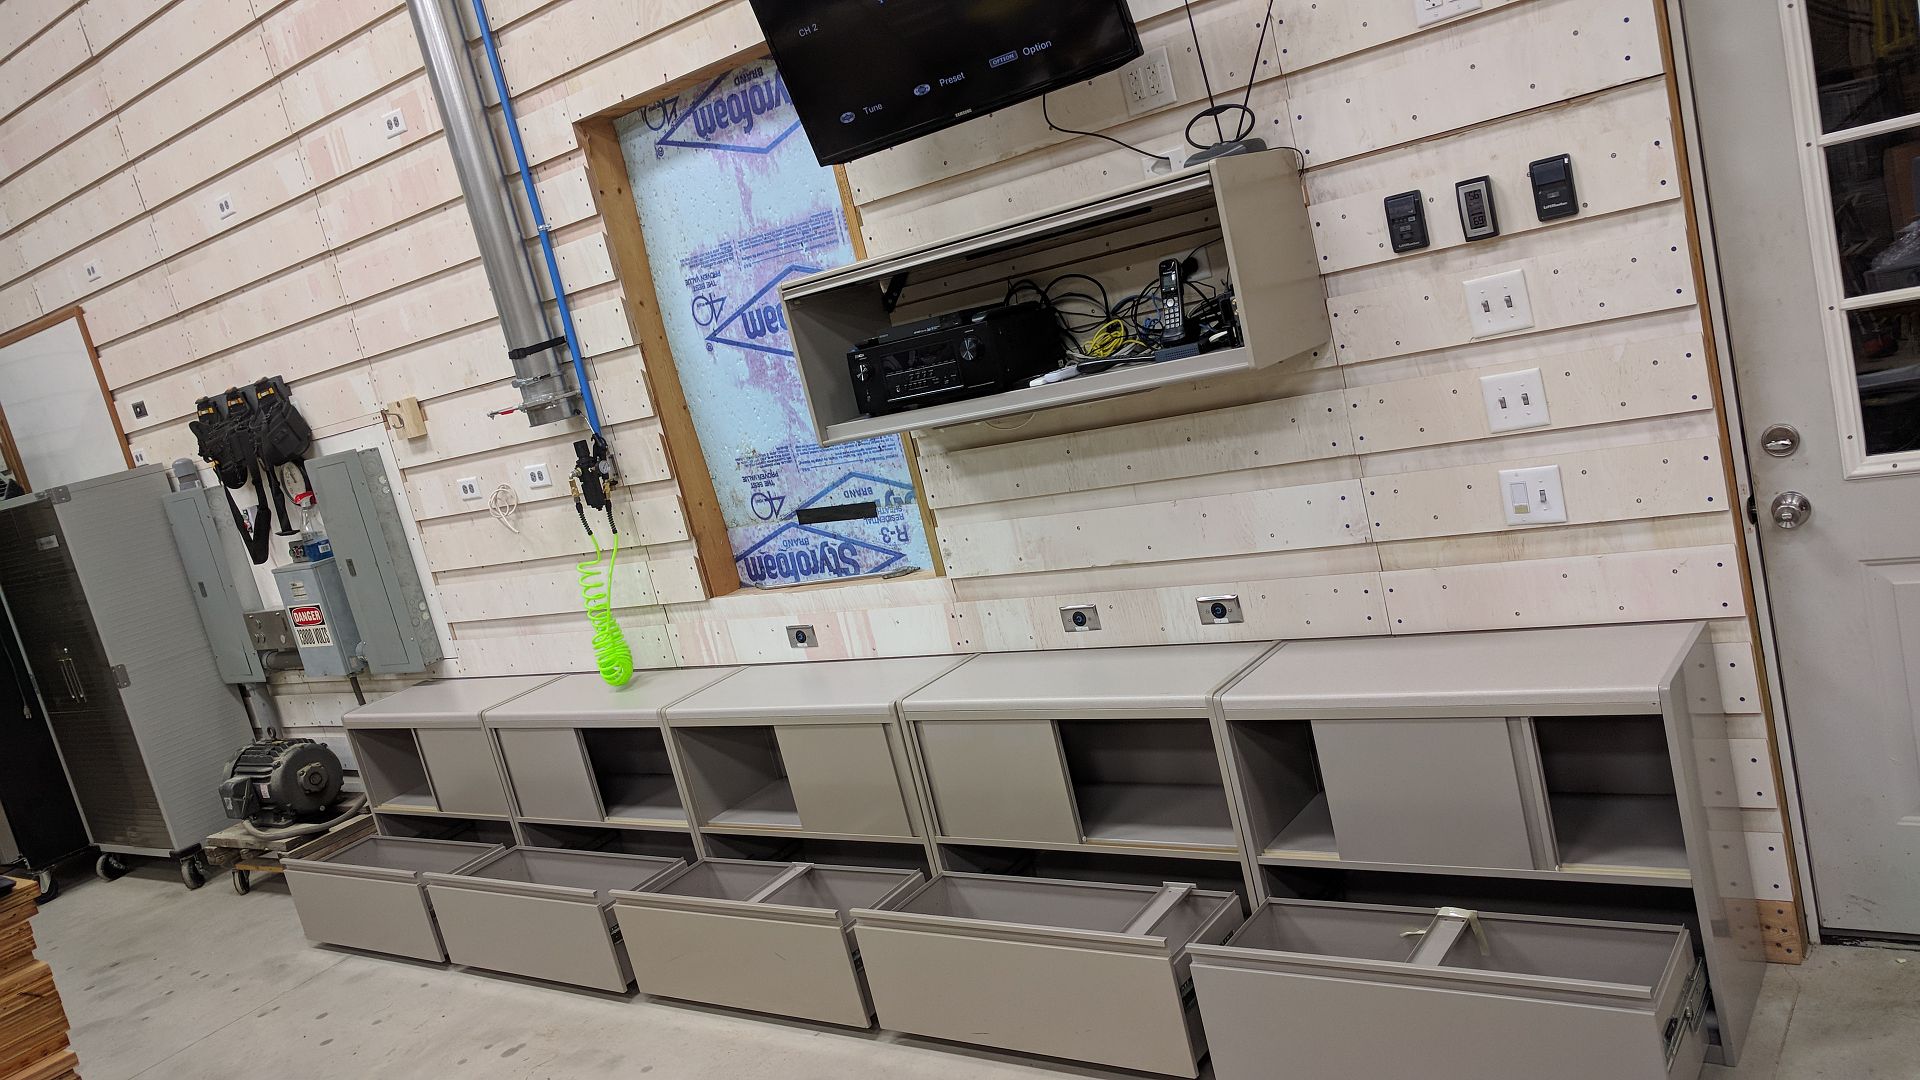
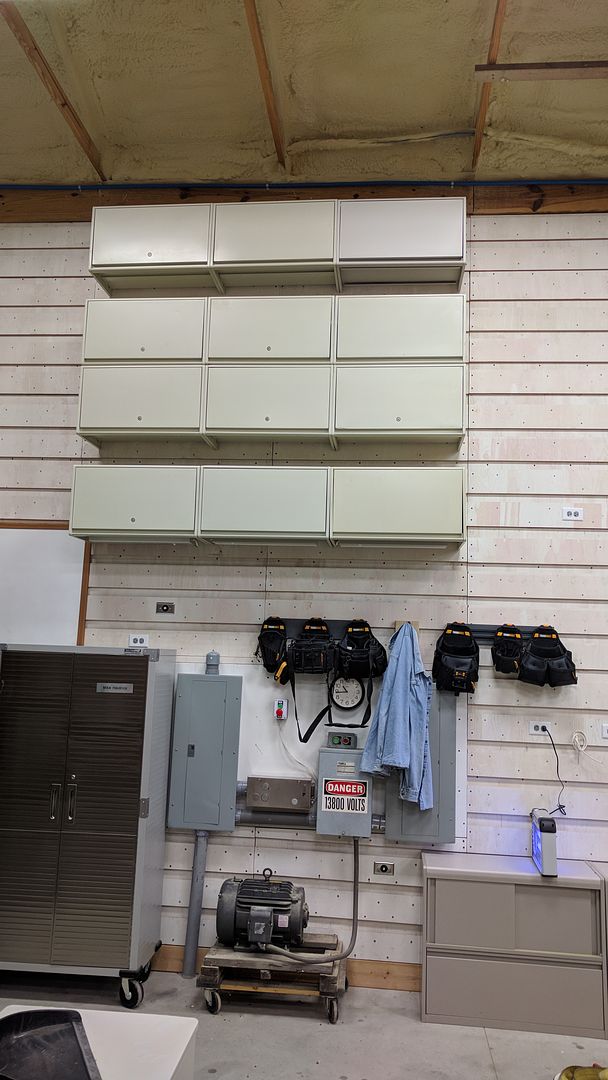
Charcoal and a lighter grey. We like that color on the outside for sure.
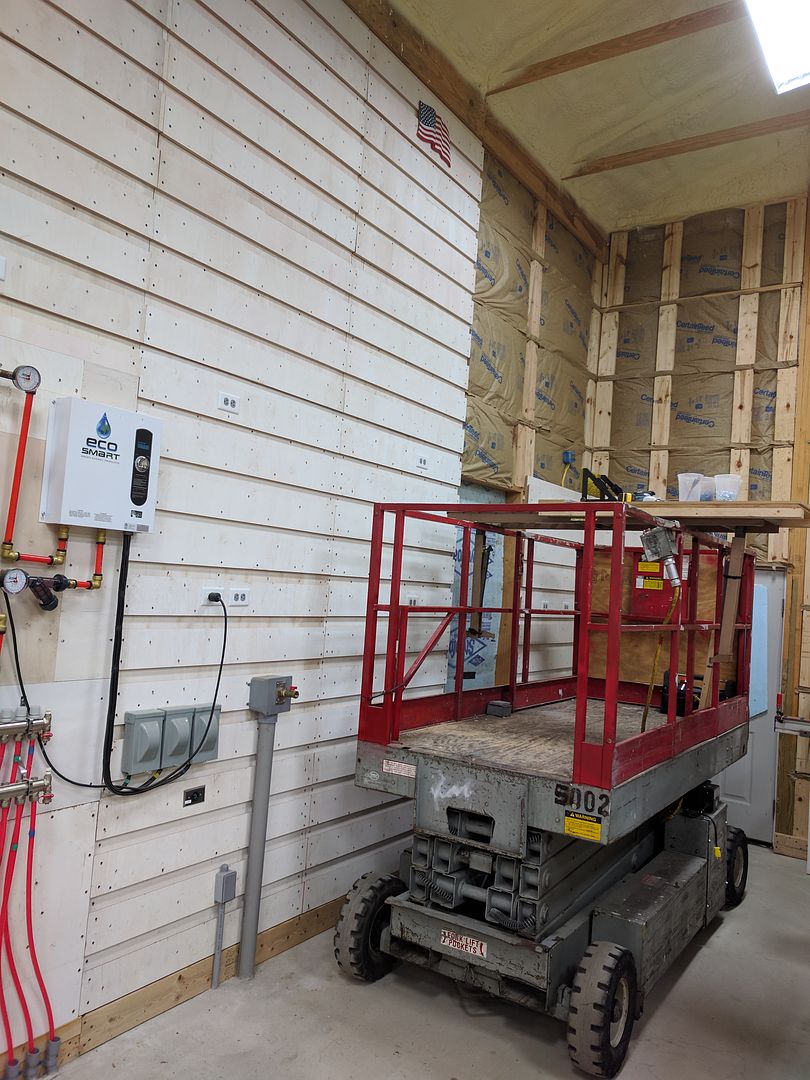
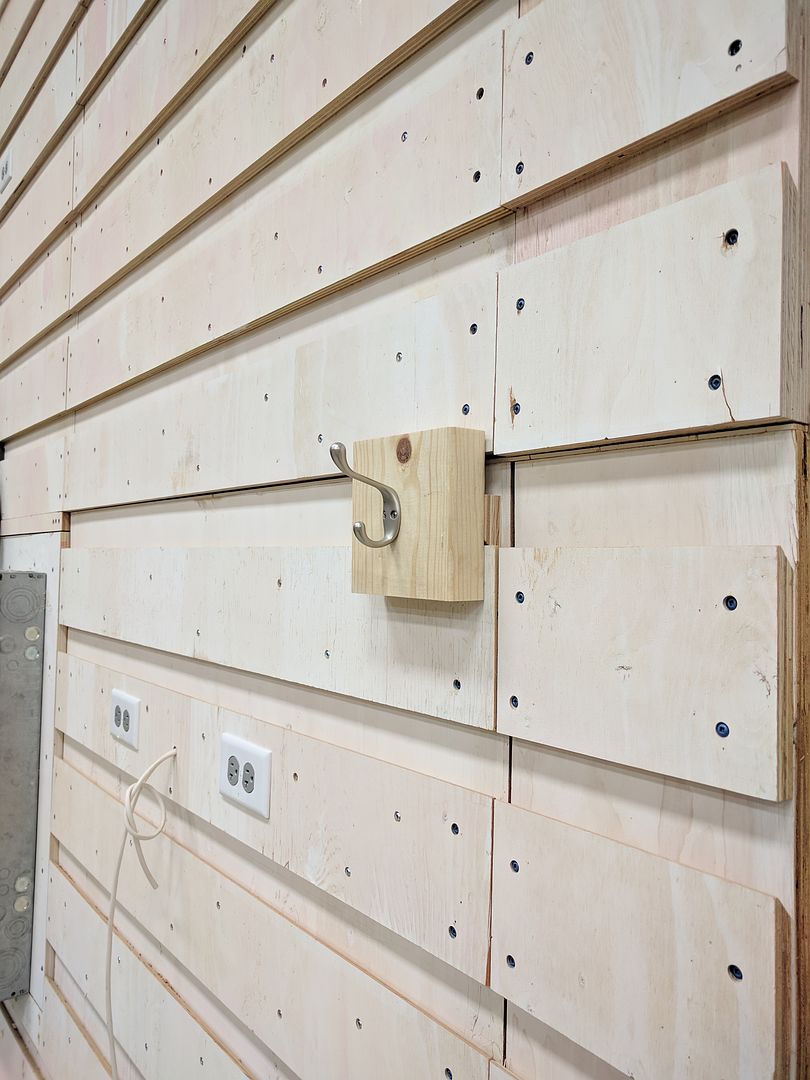
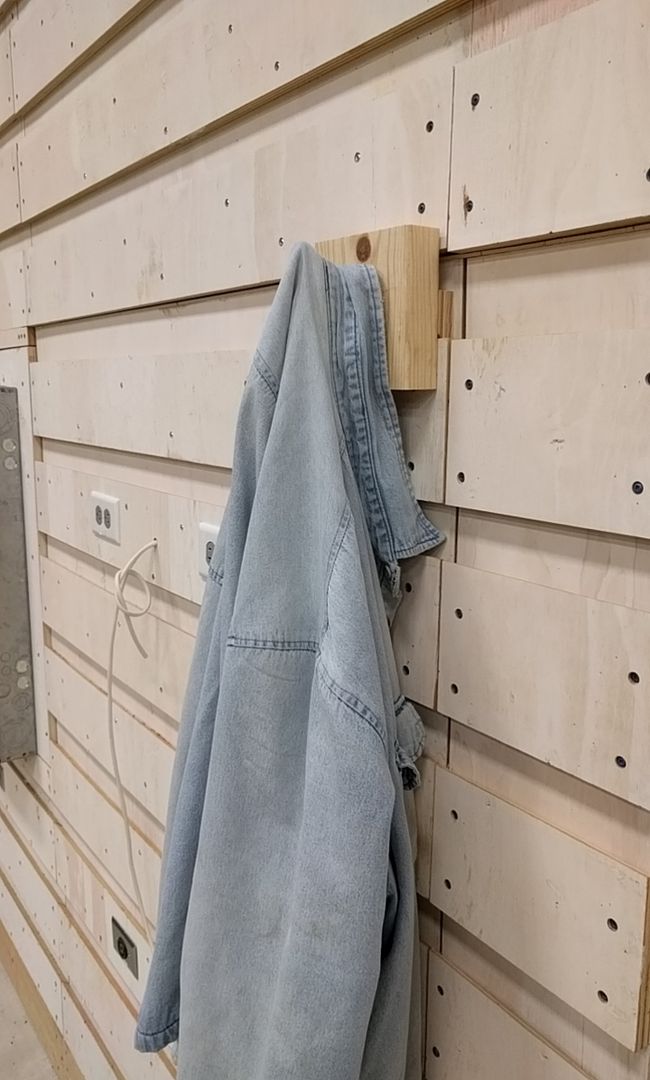
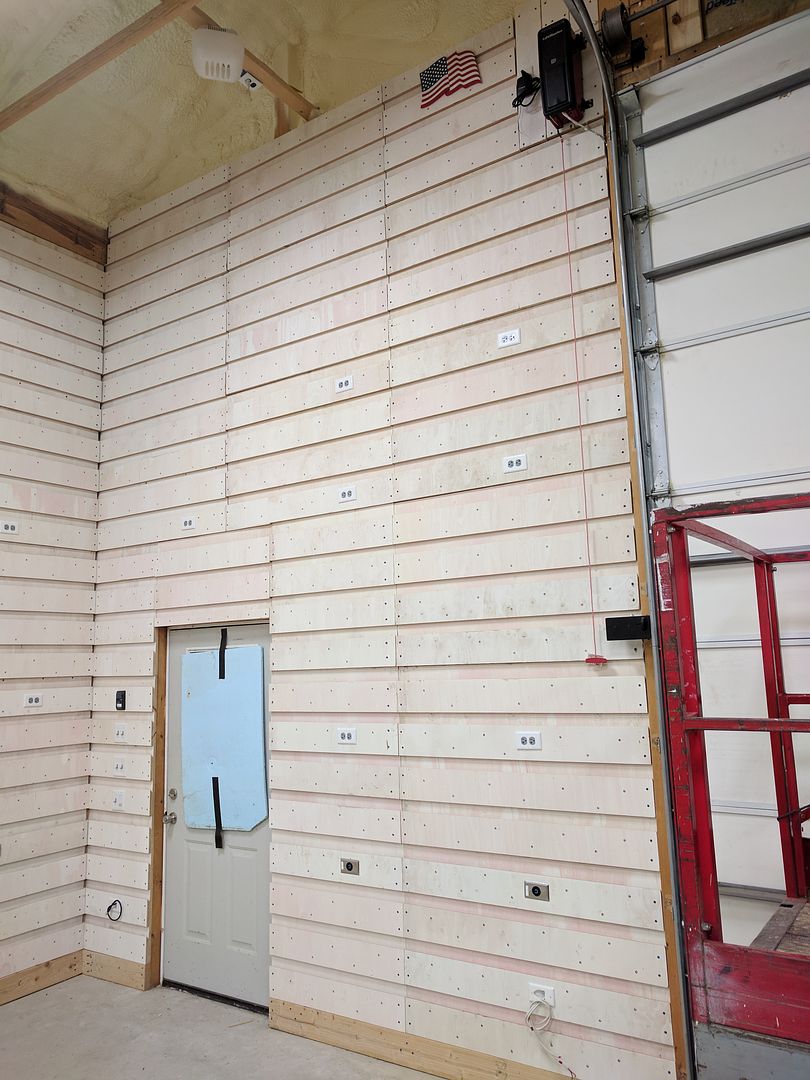
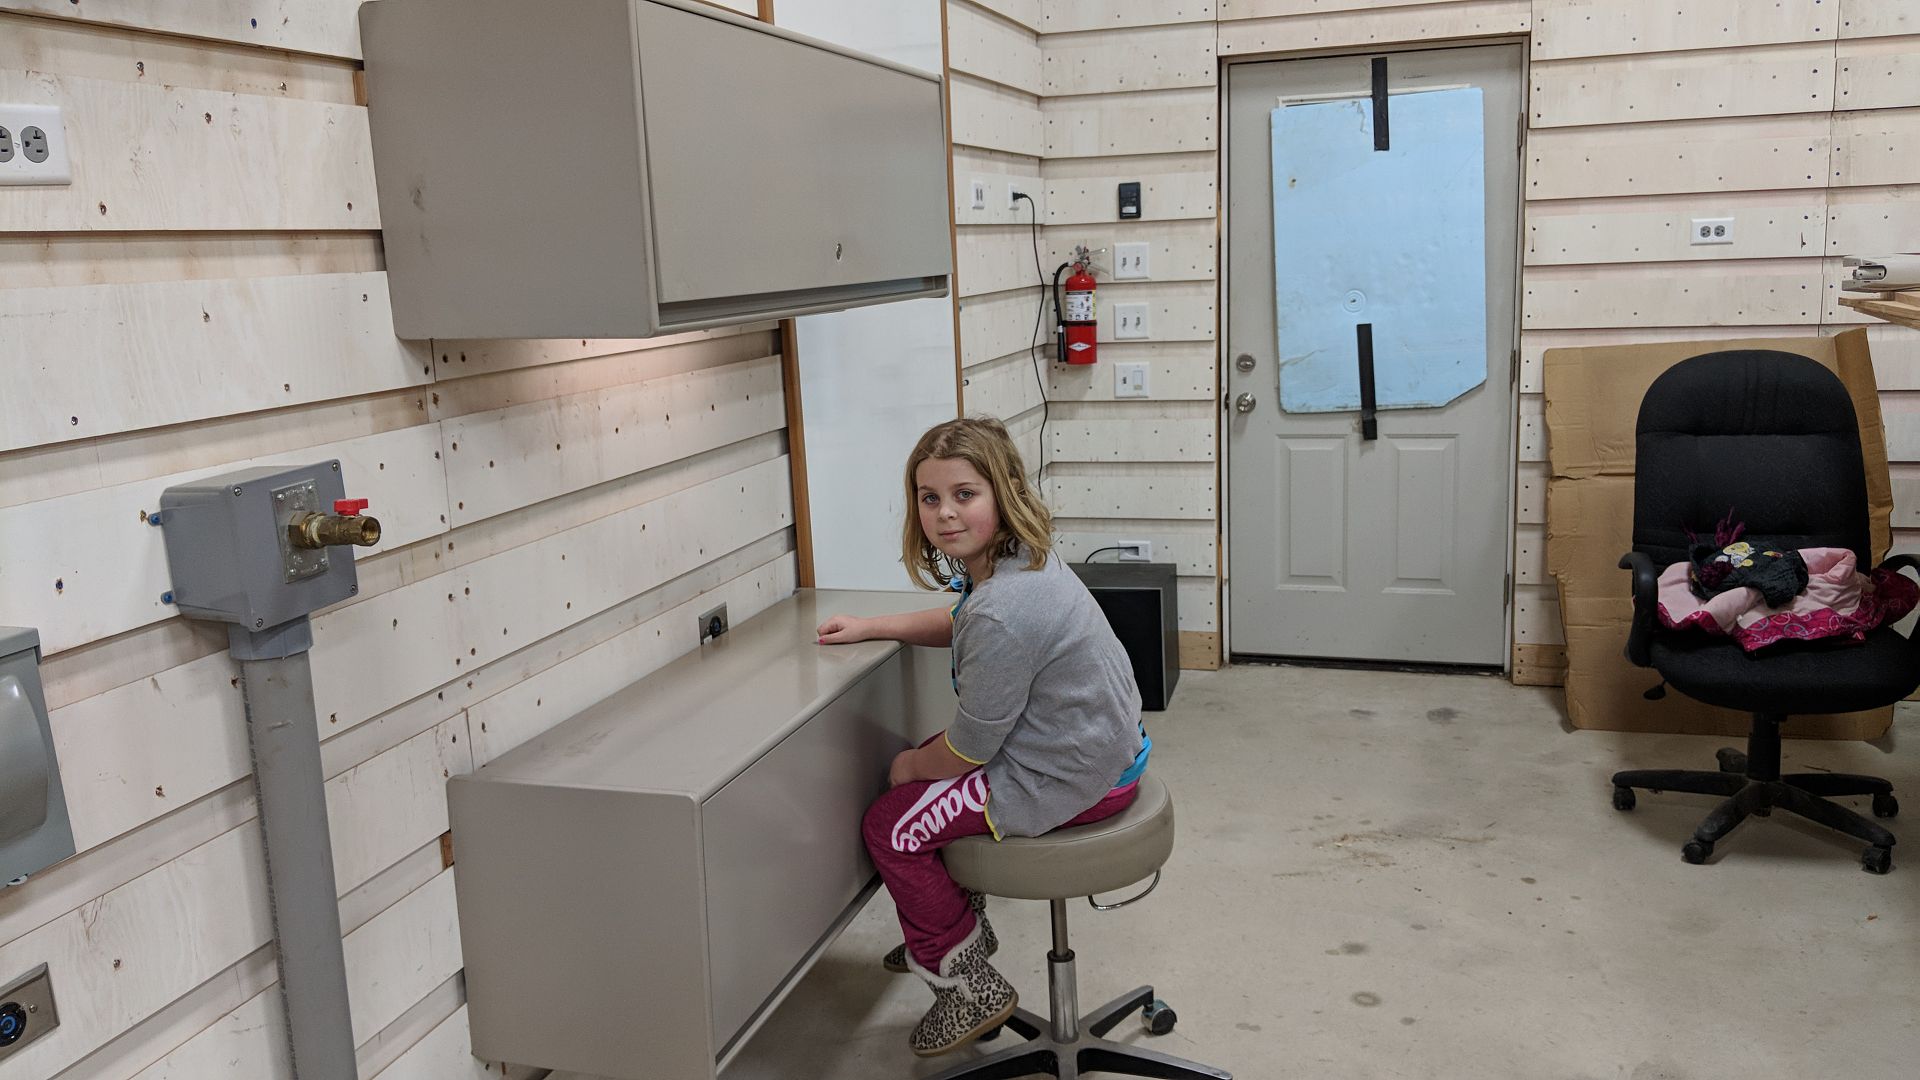
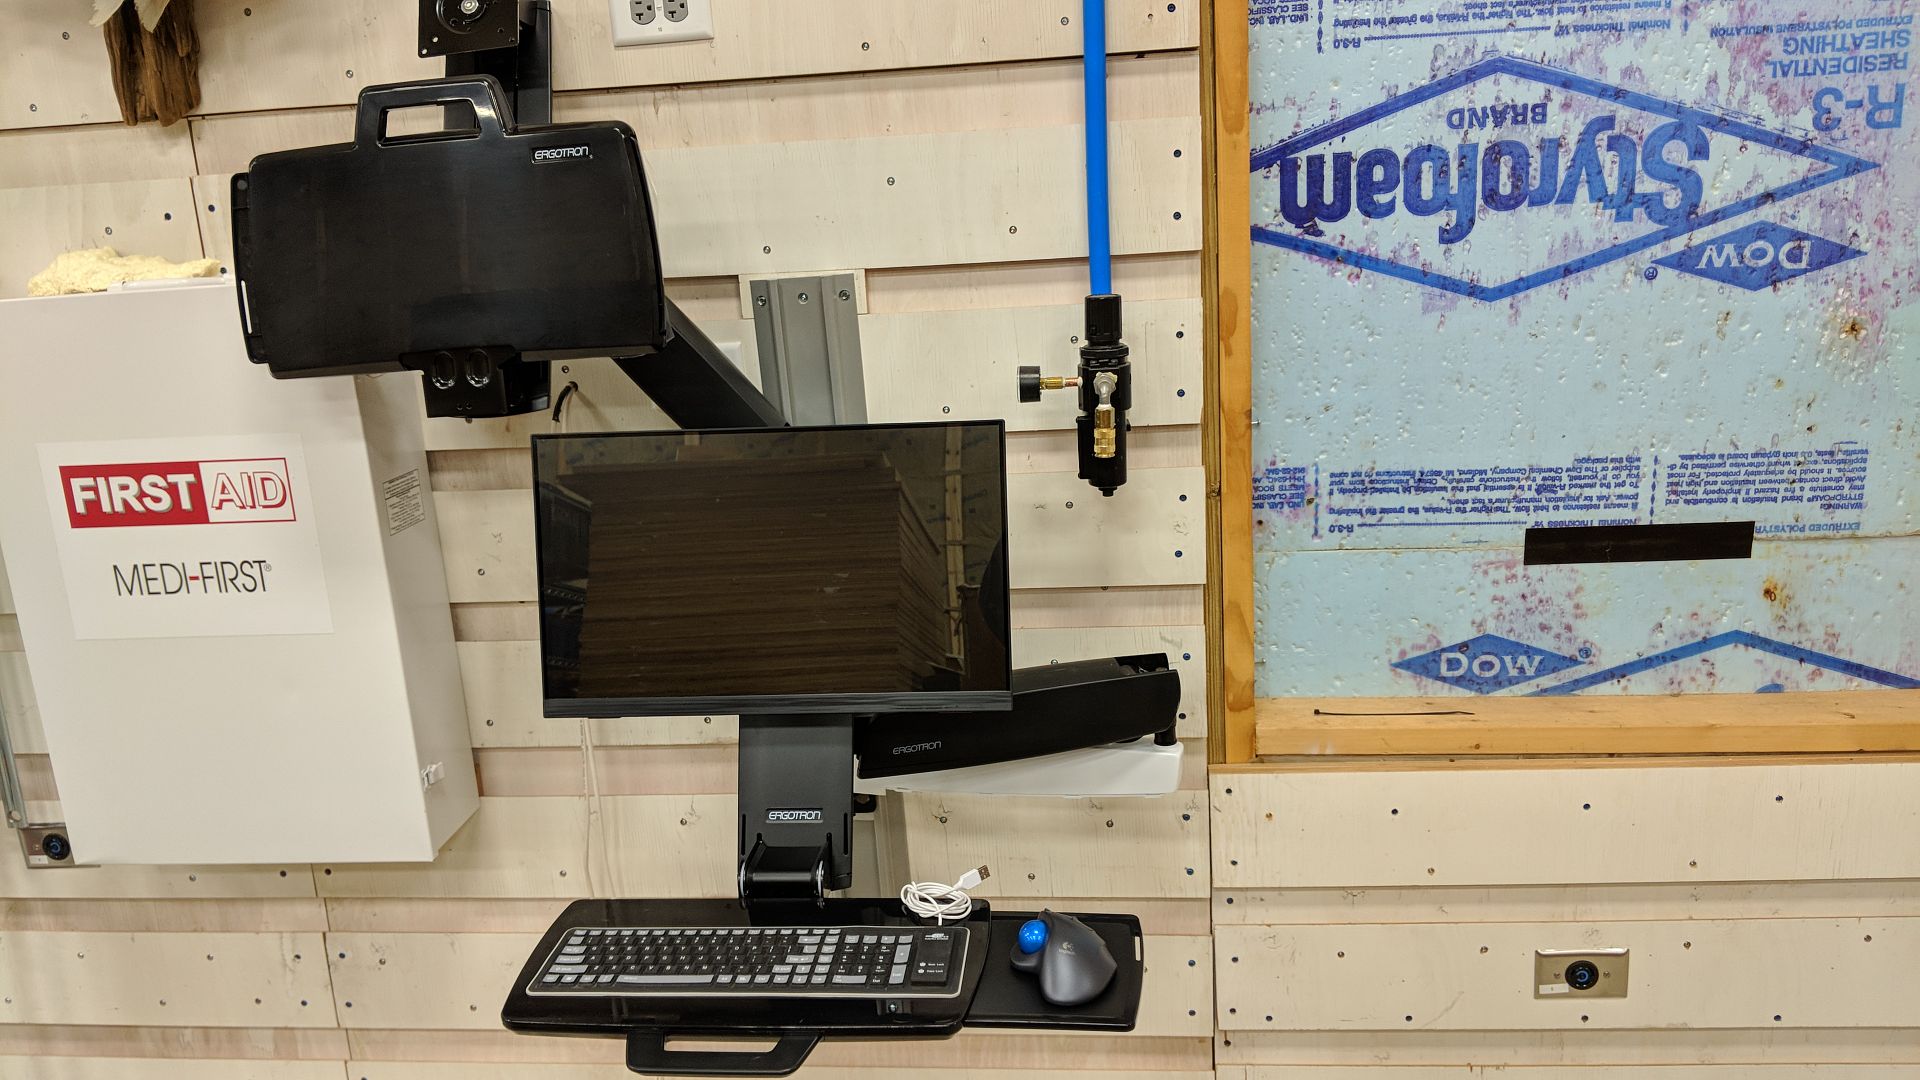
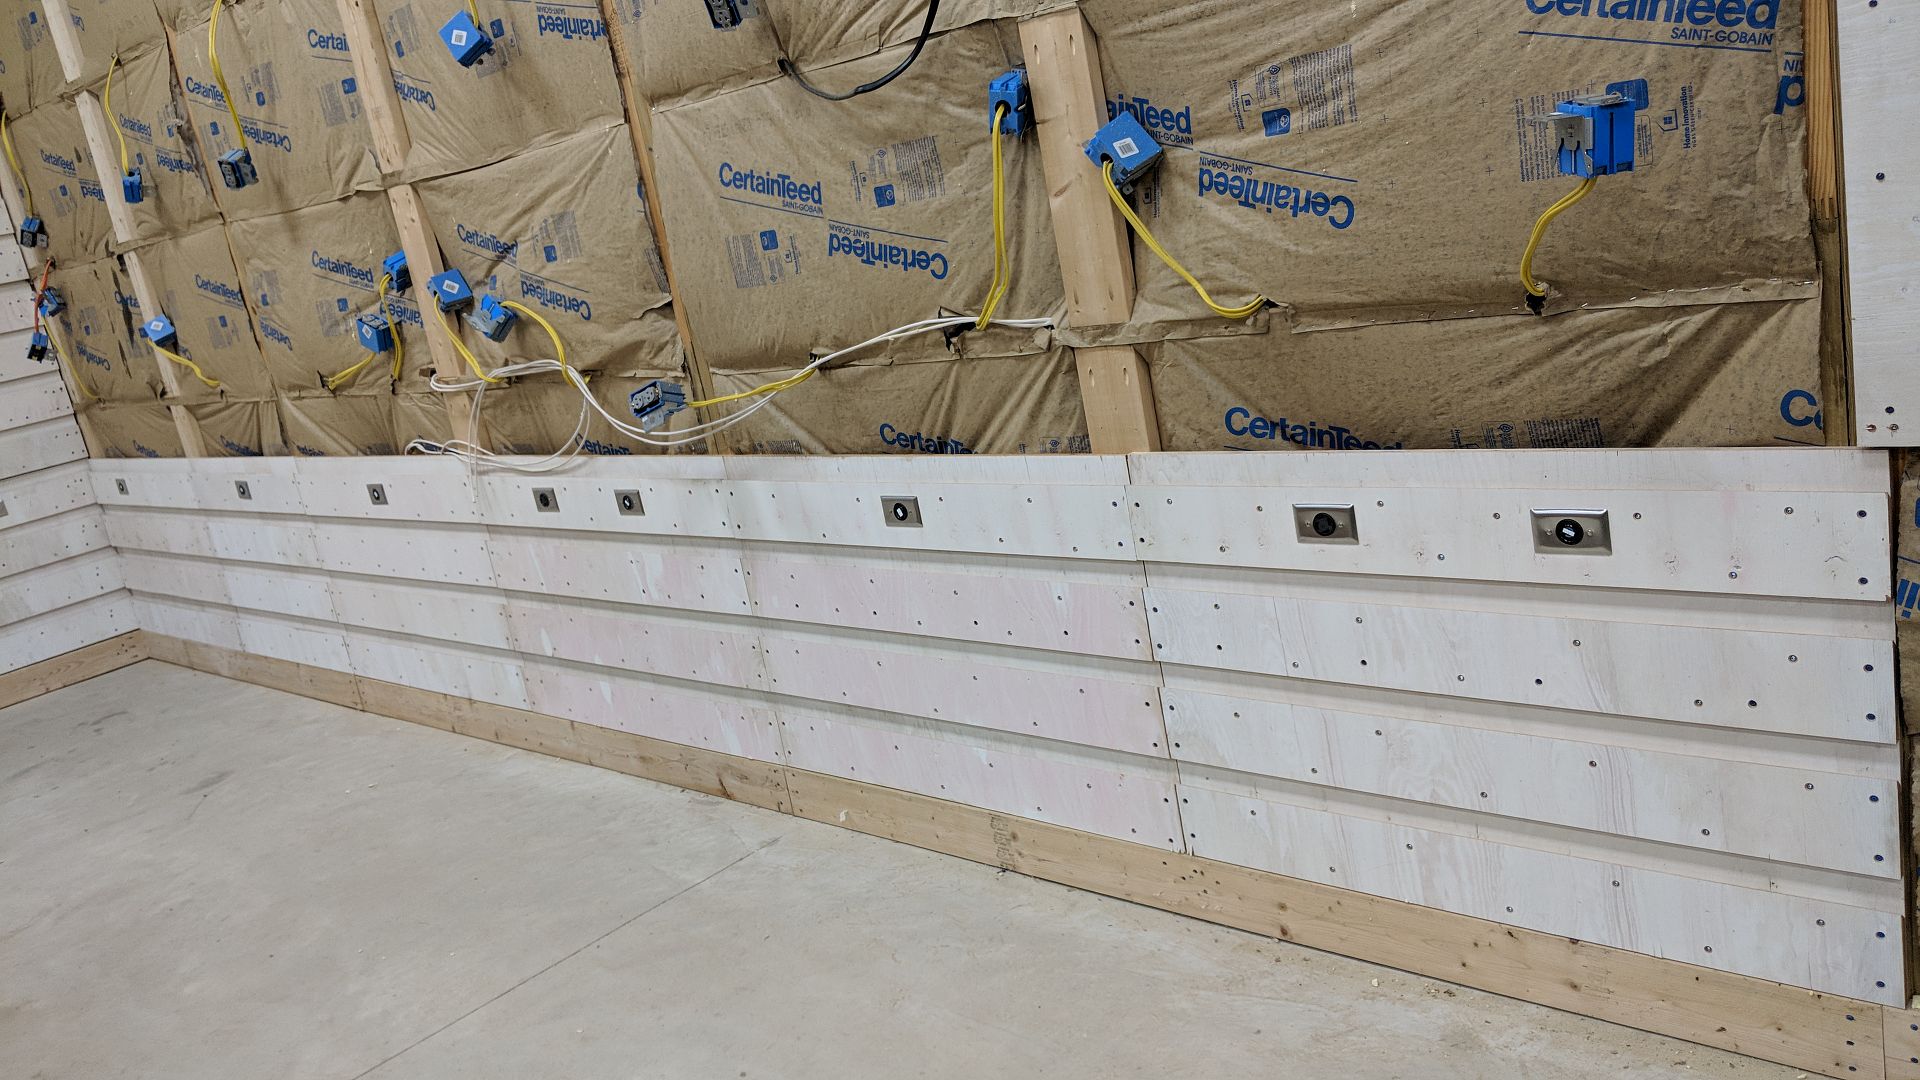
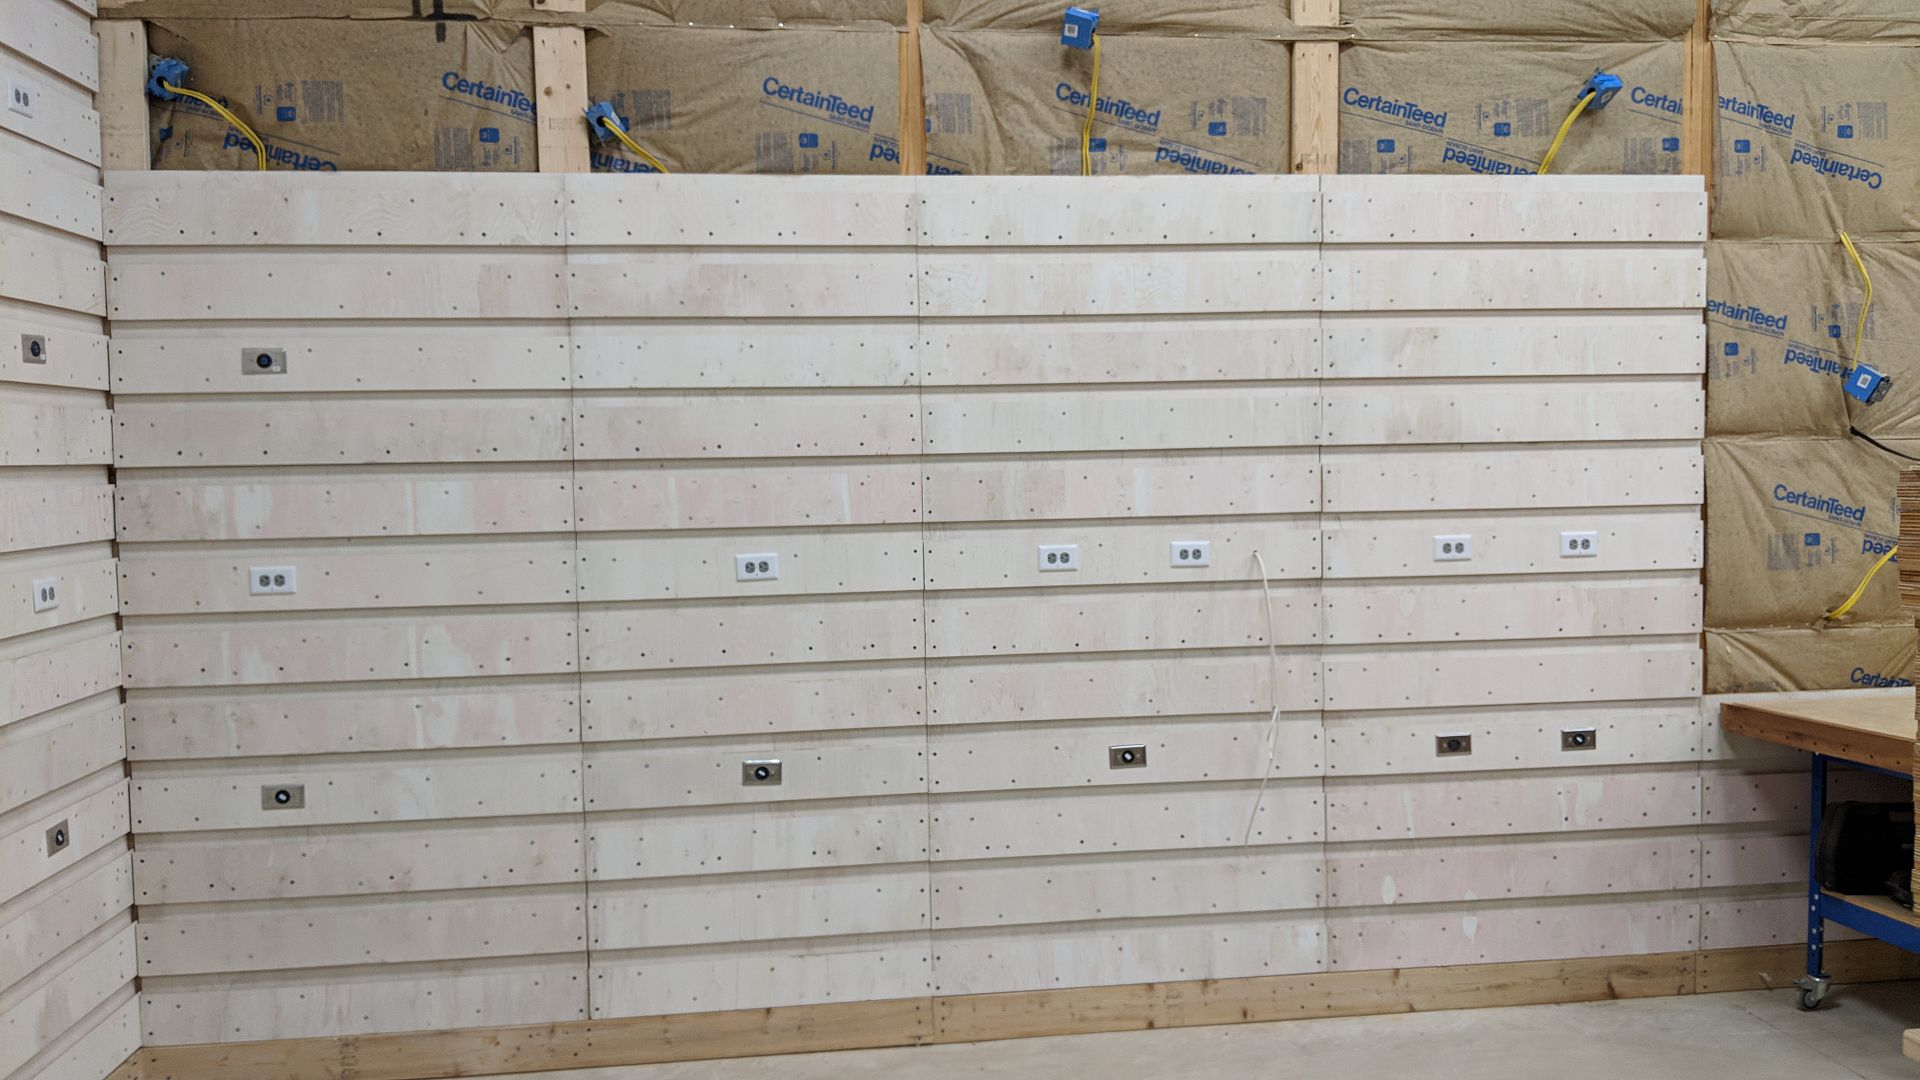
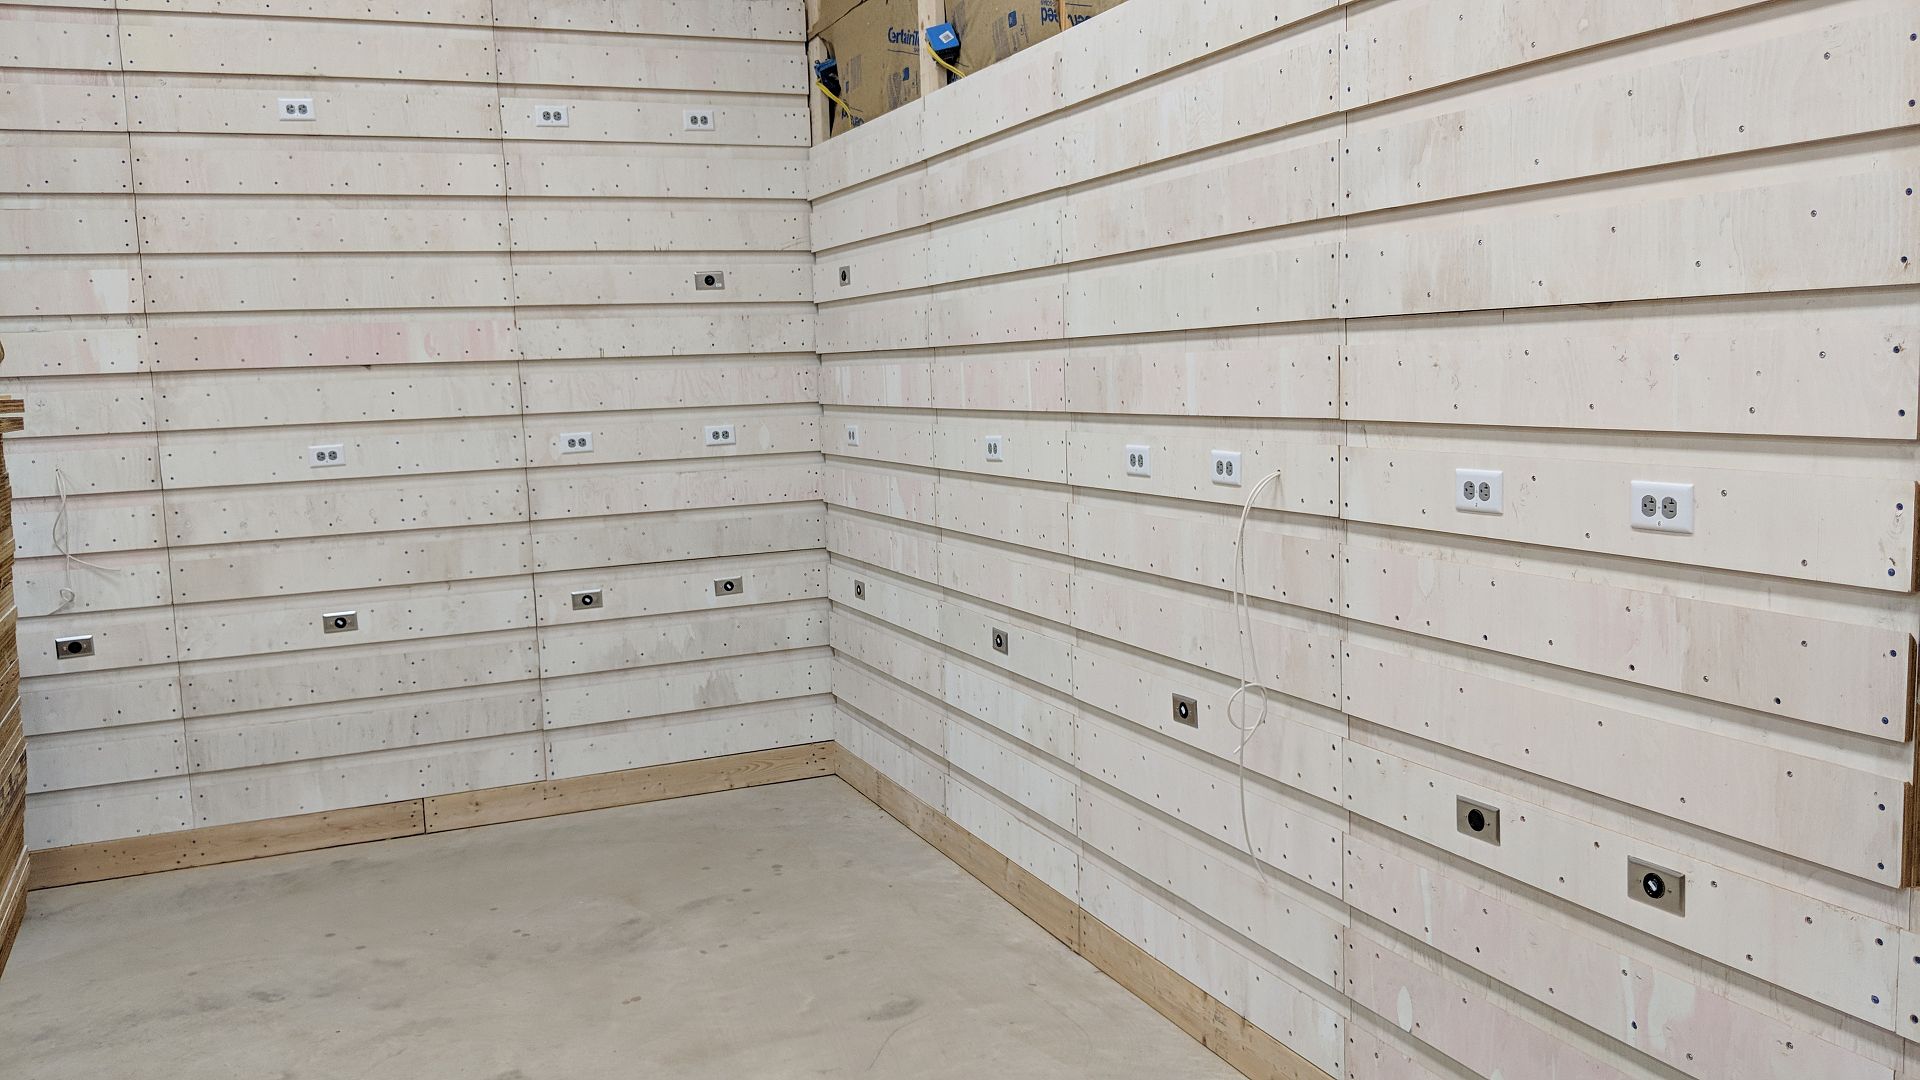
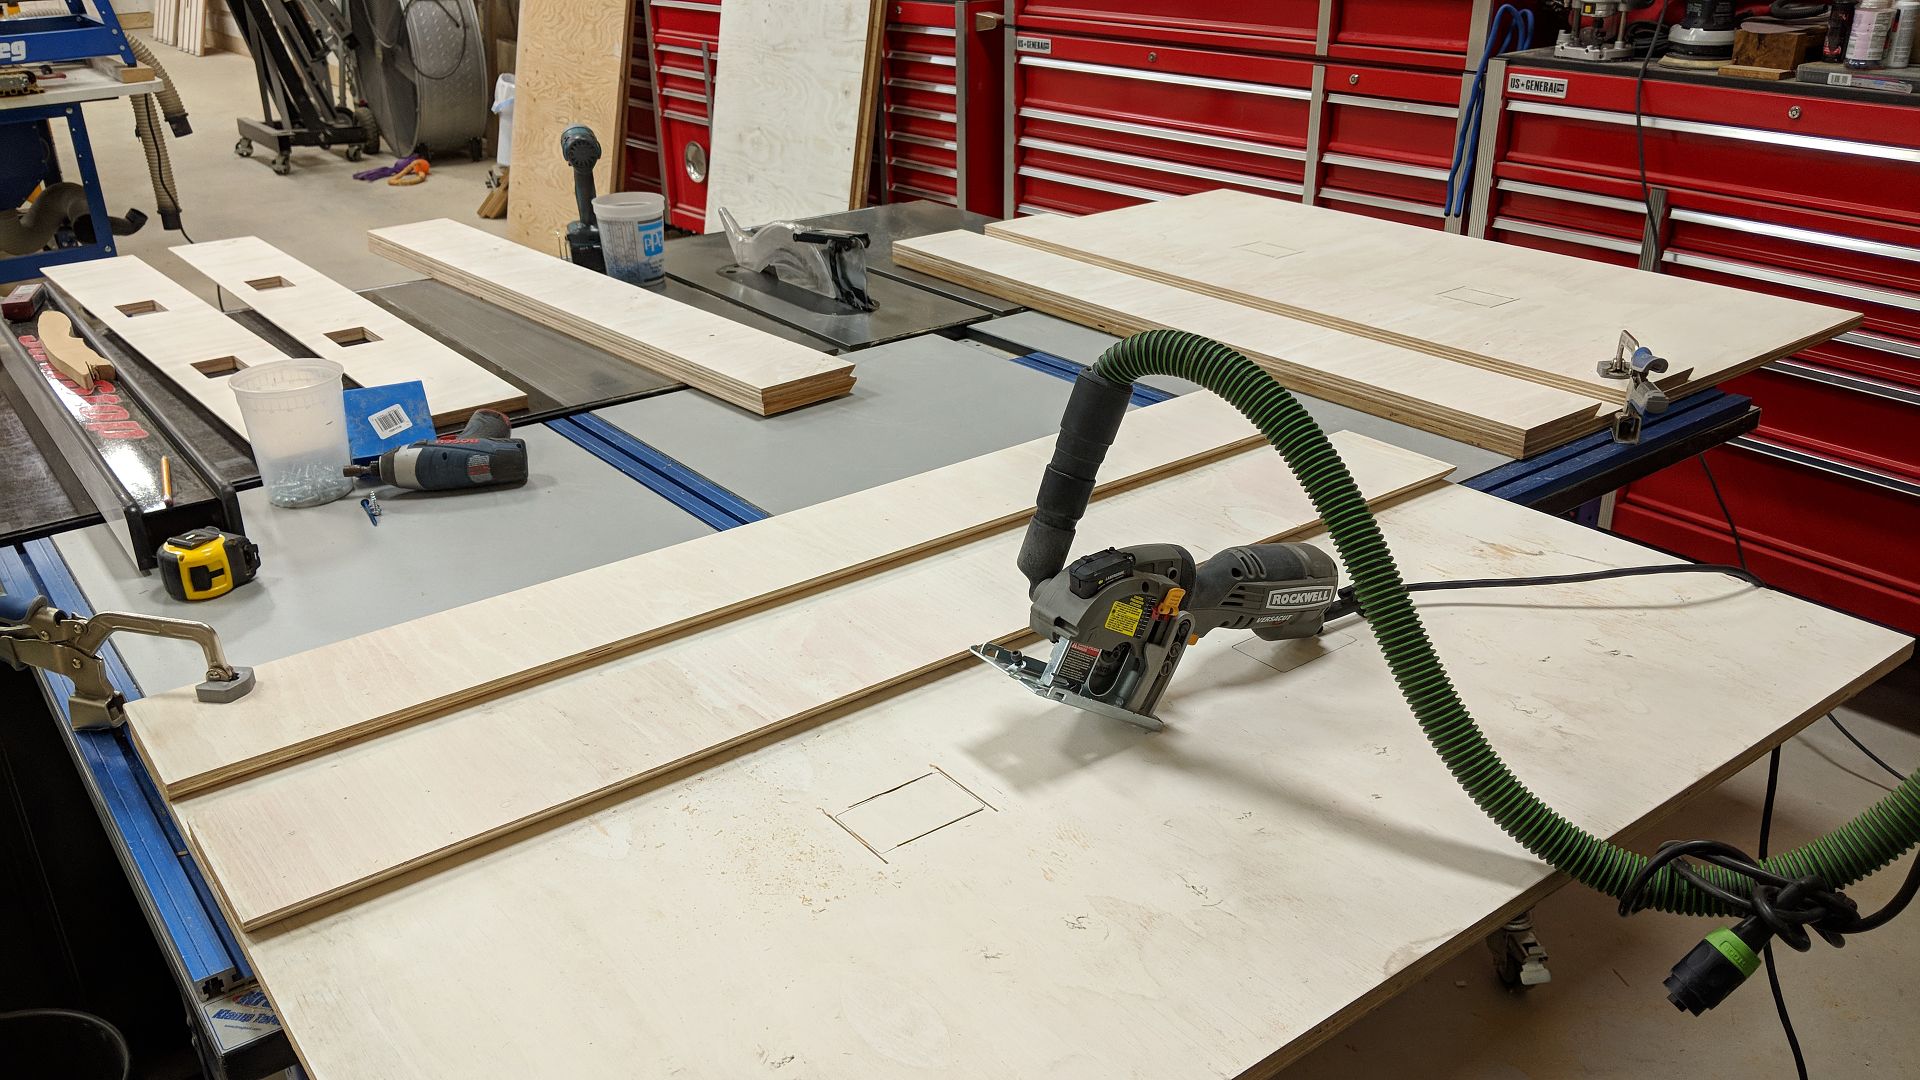
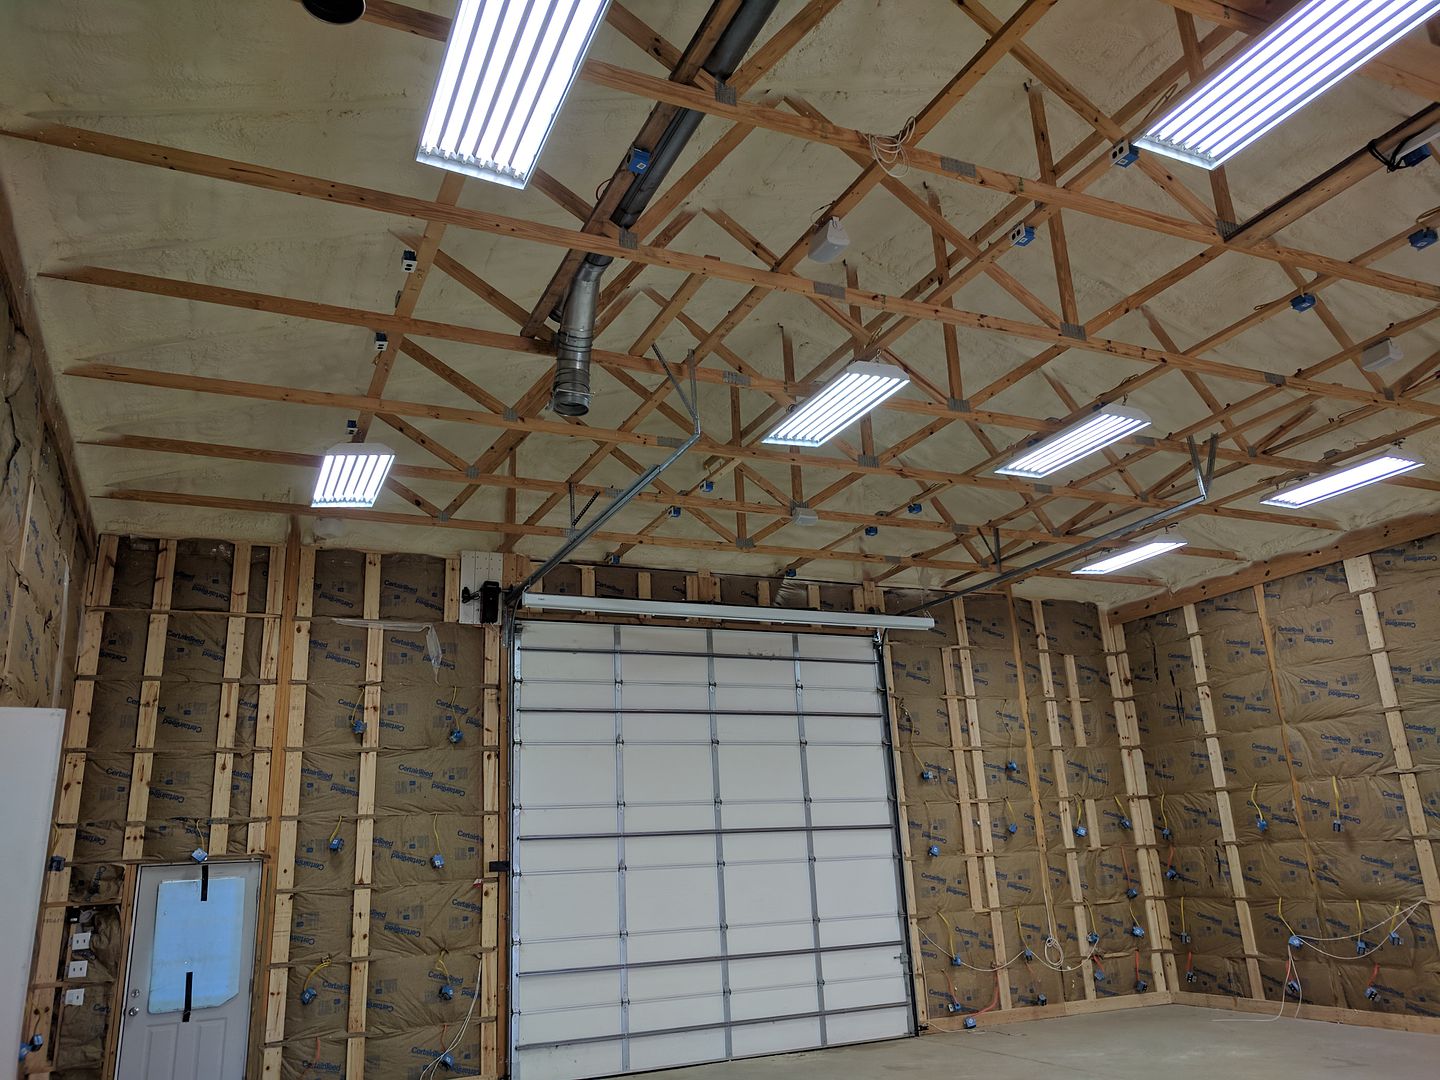
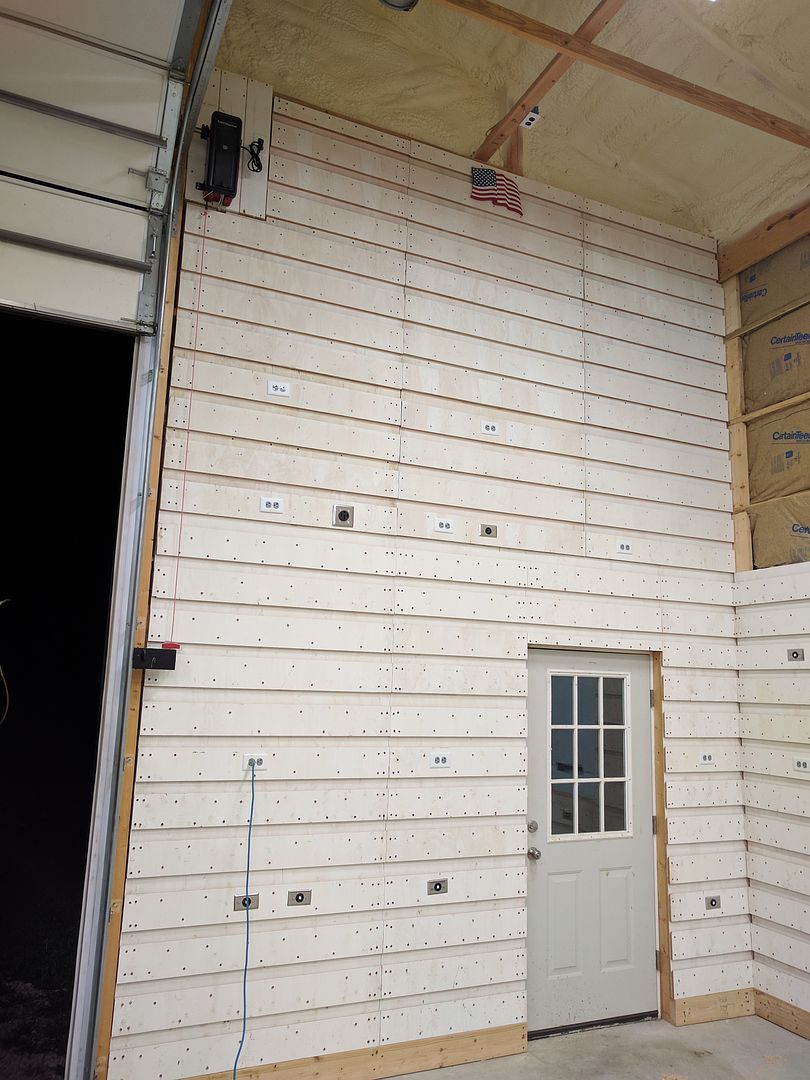
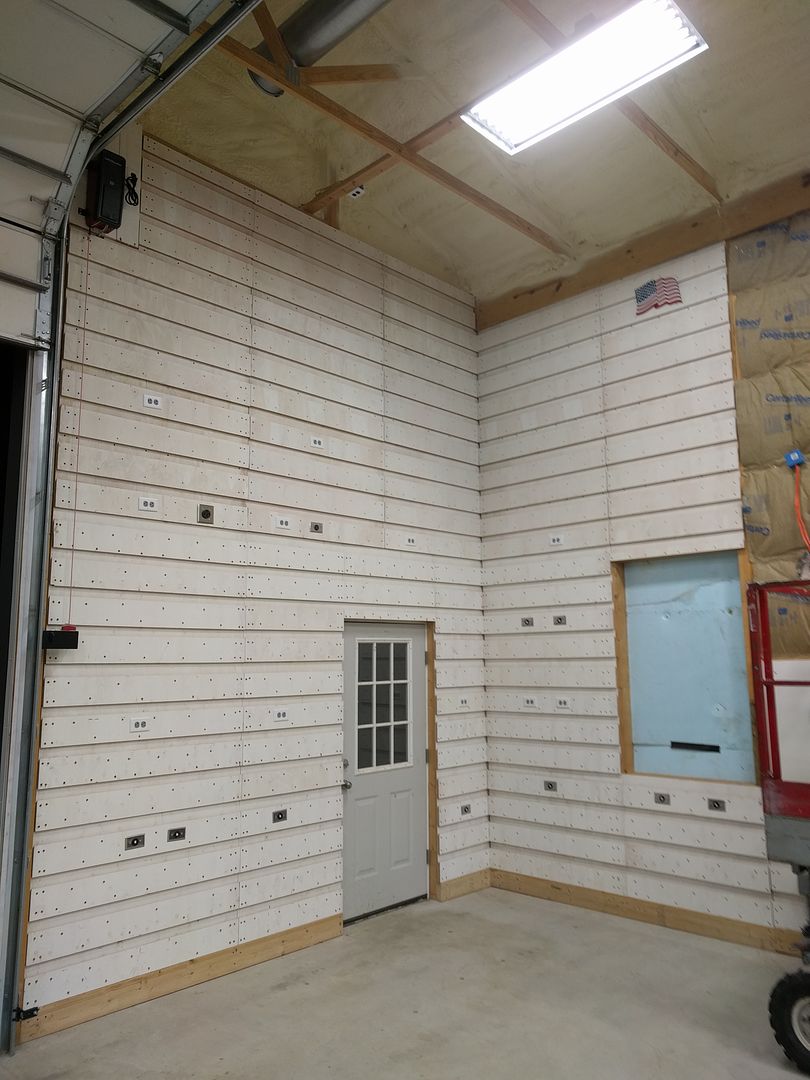
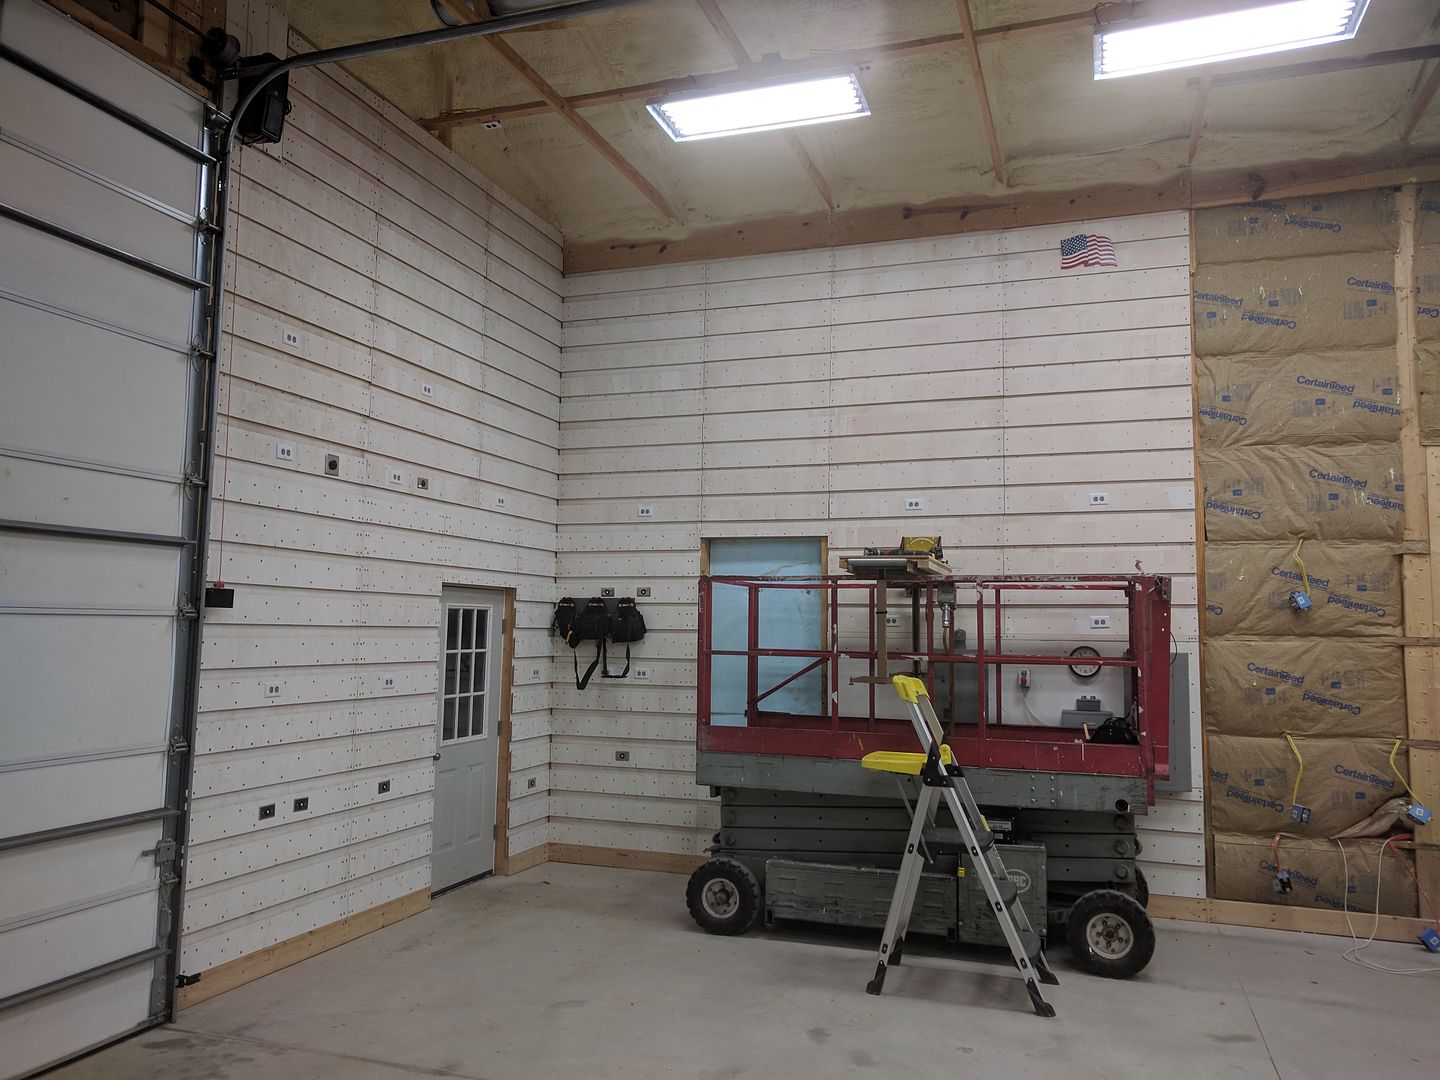
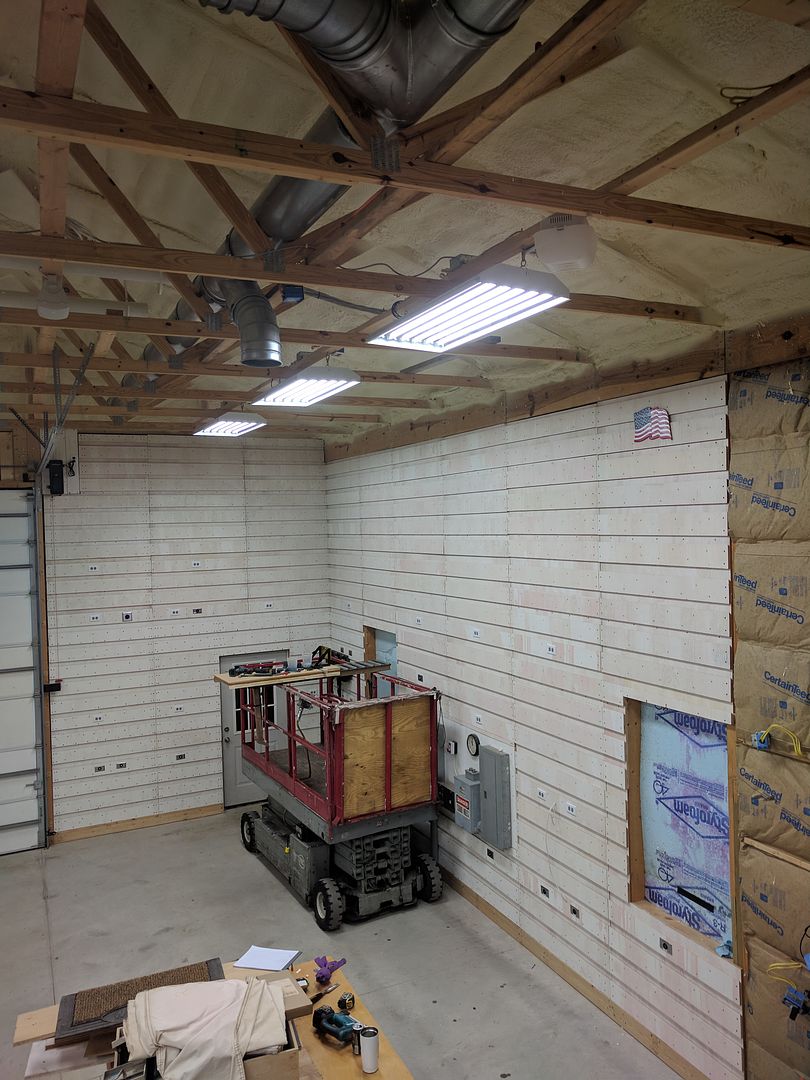
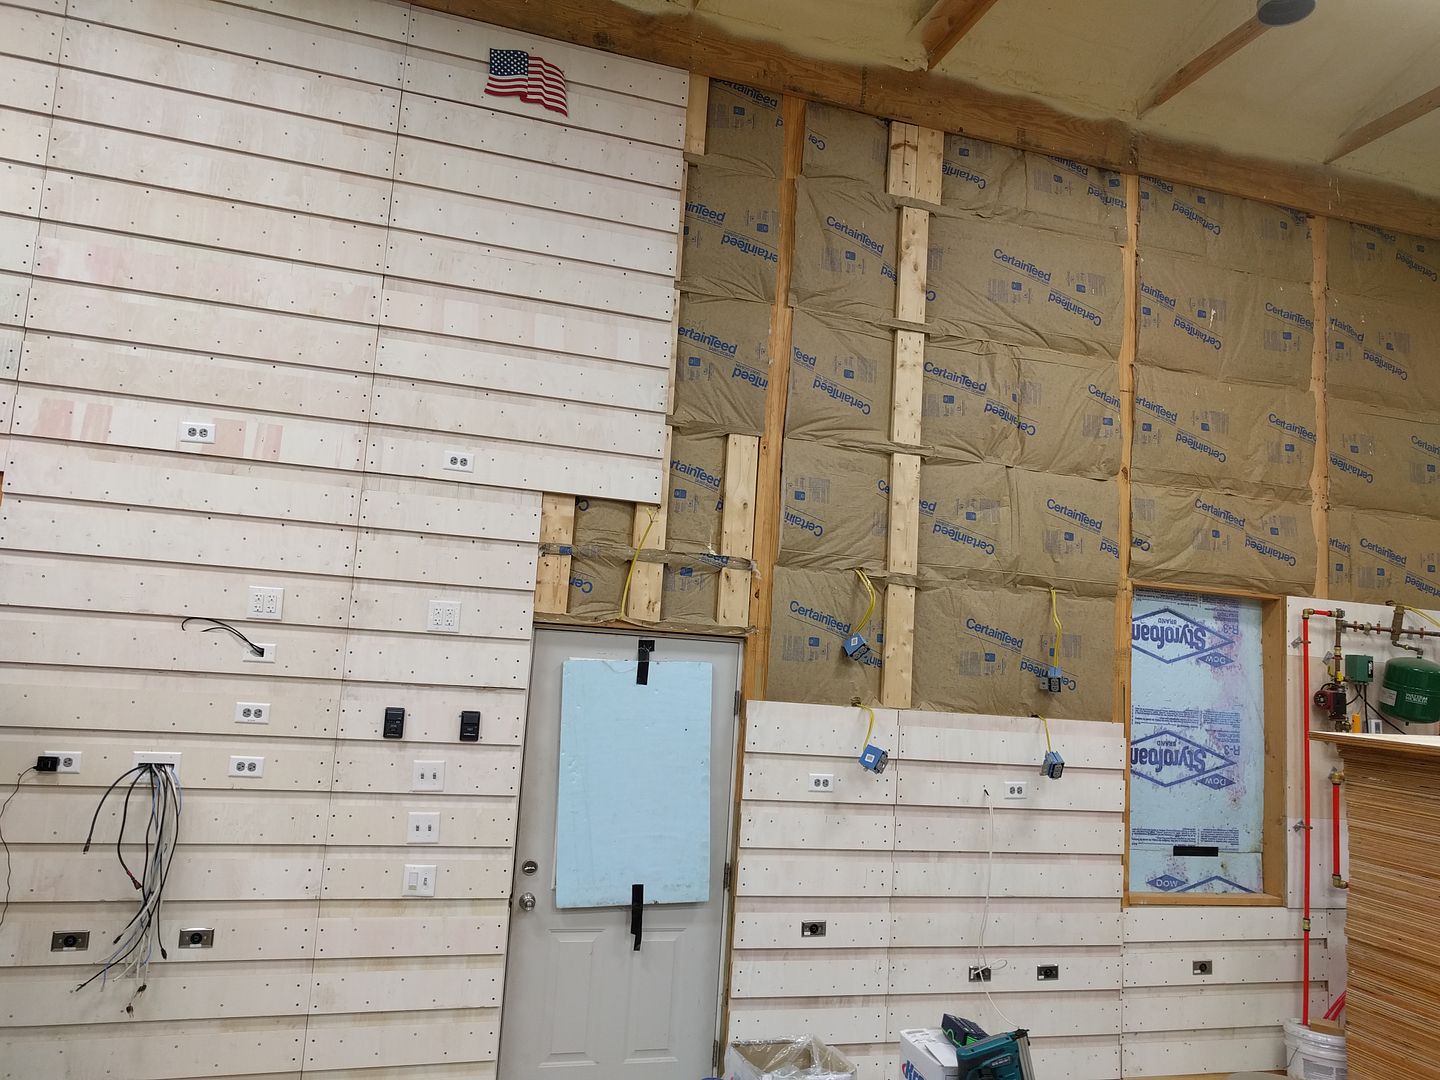
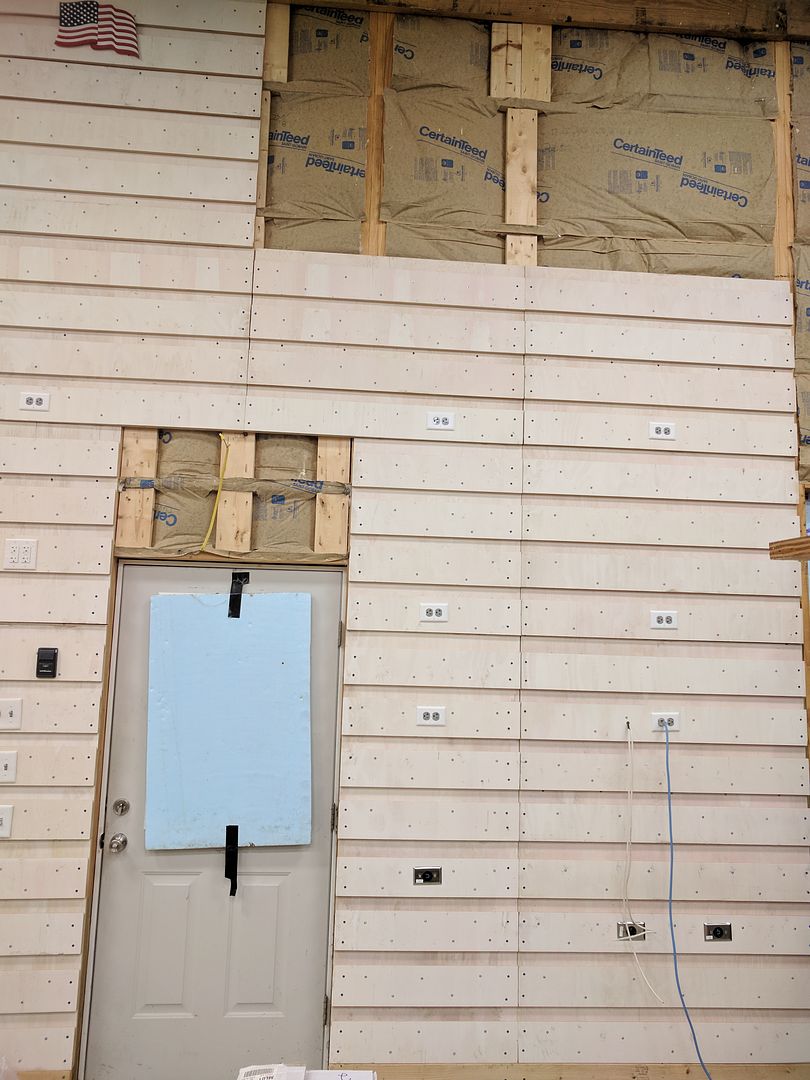
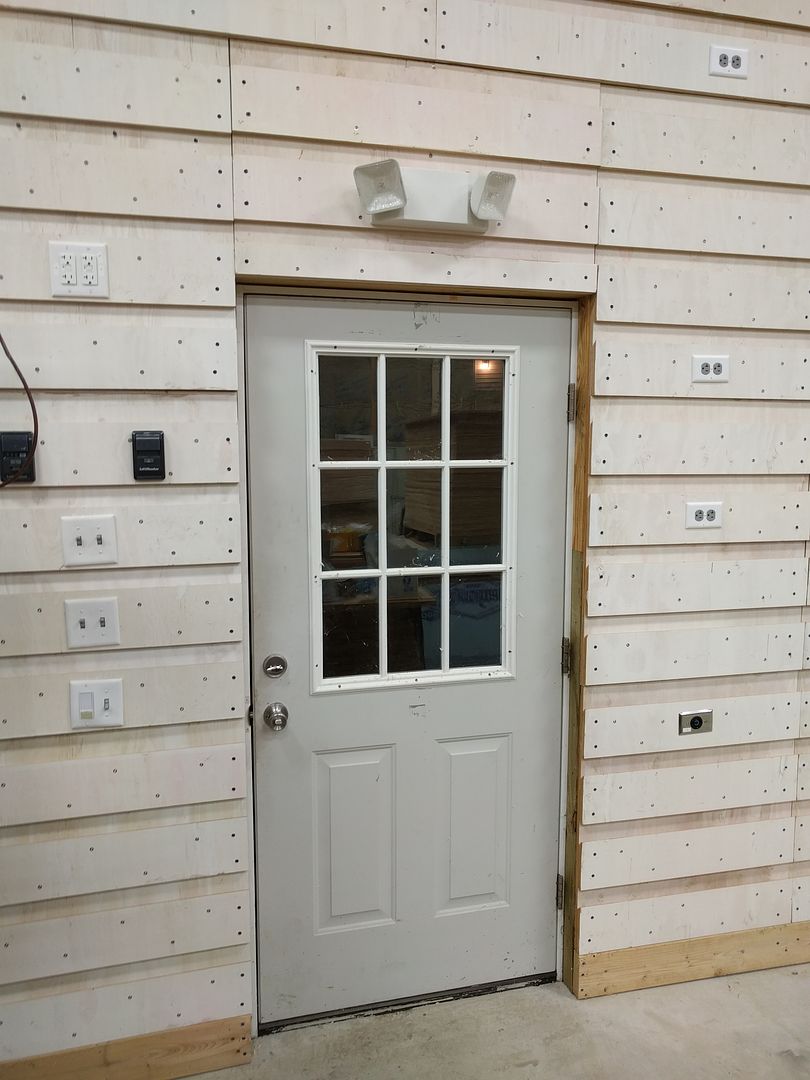
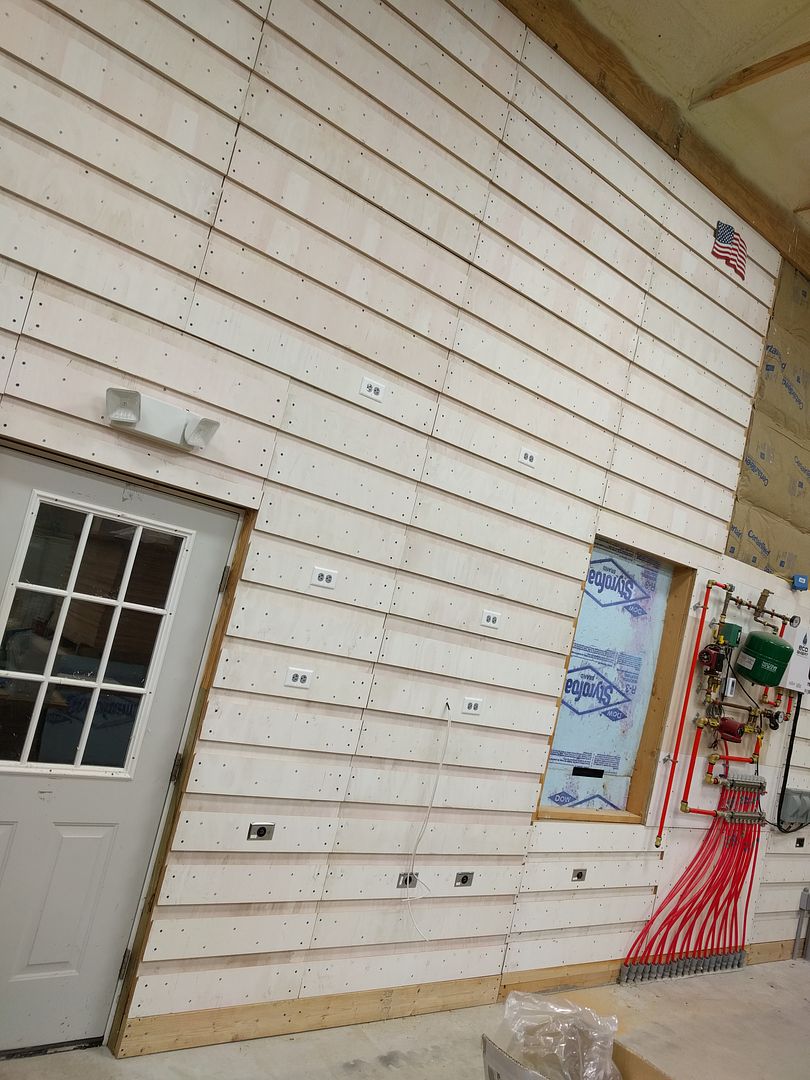
For the two to three sections below the lift i can reach them from the floor or standing on the bench I made a few months ago.
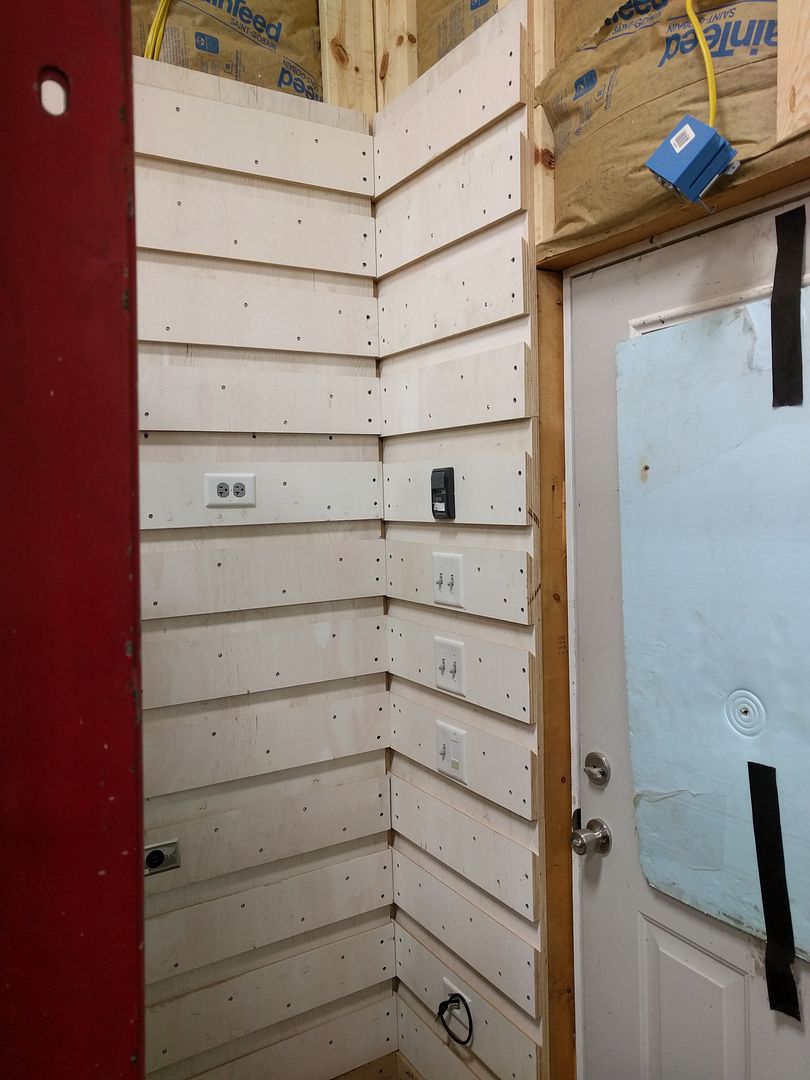
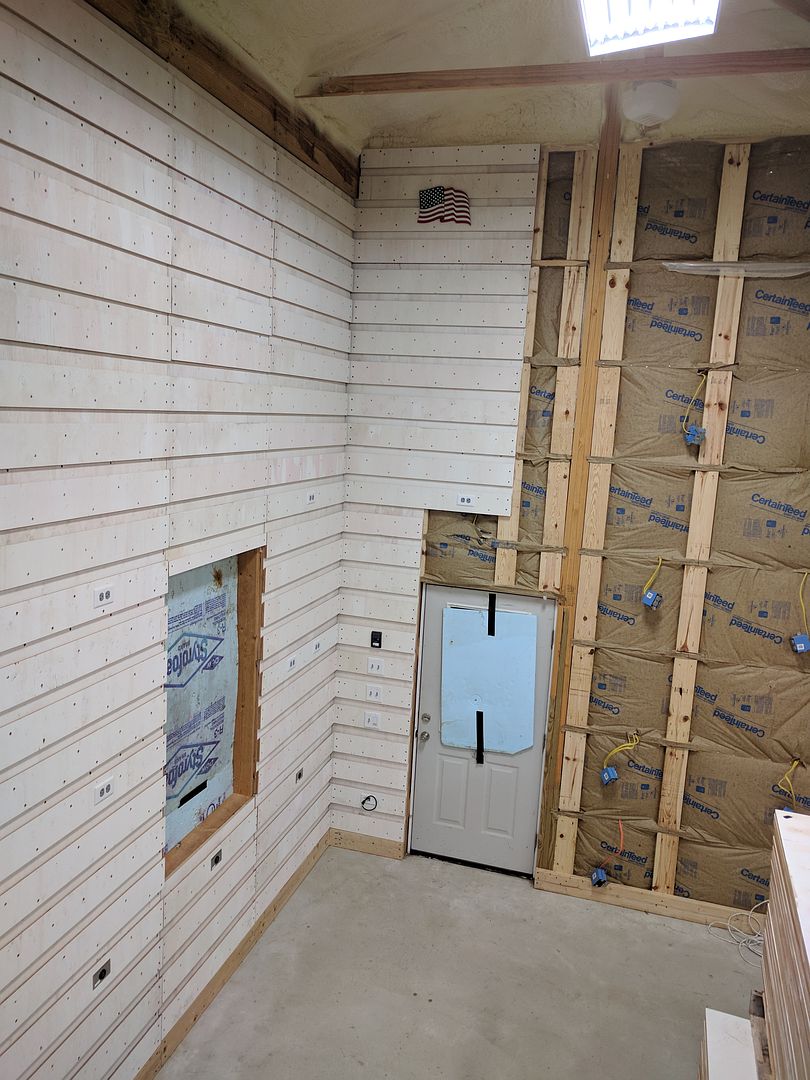
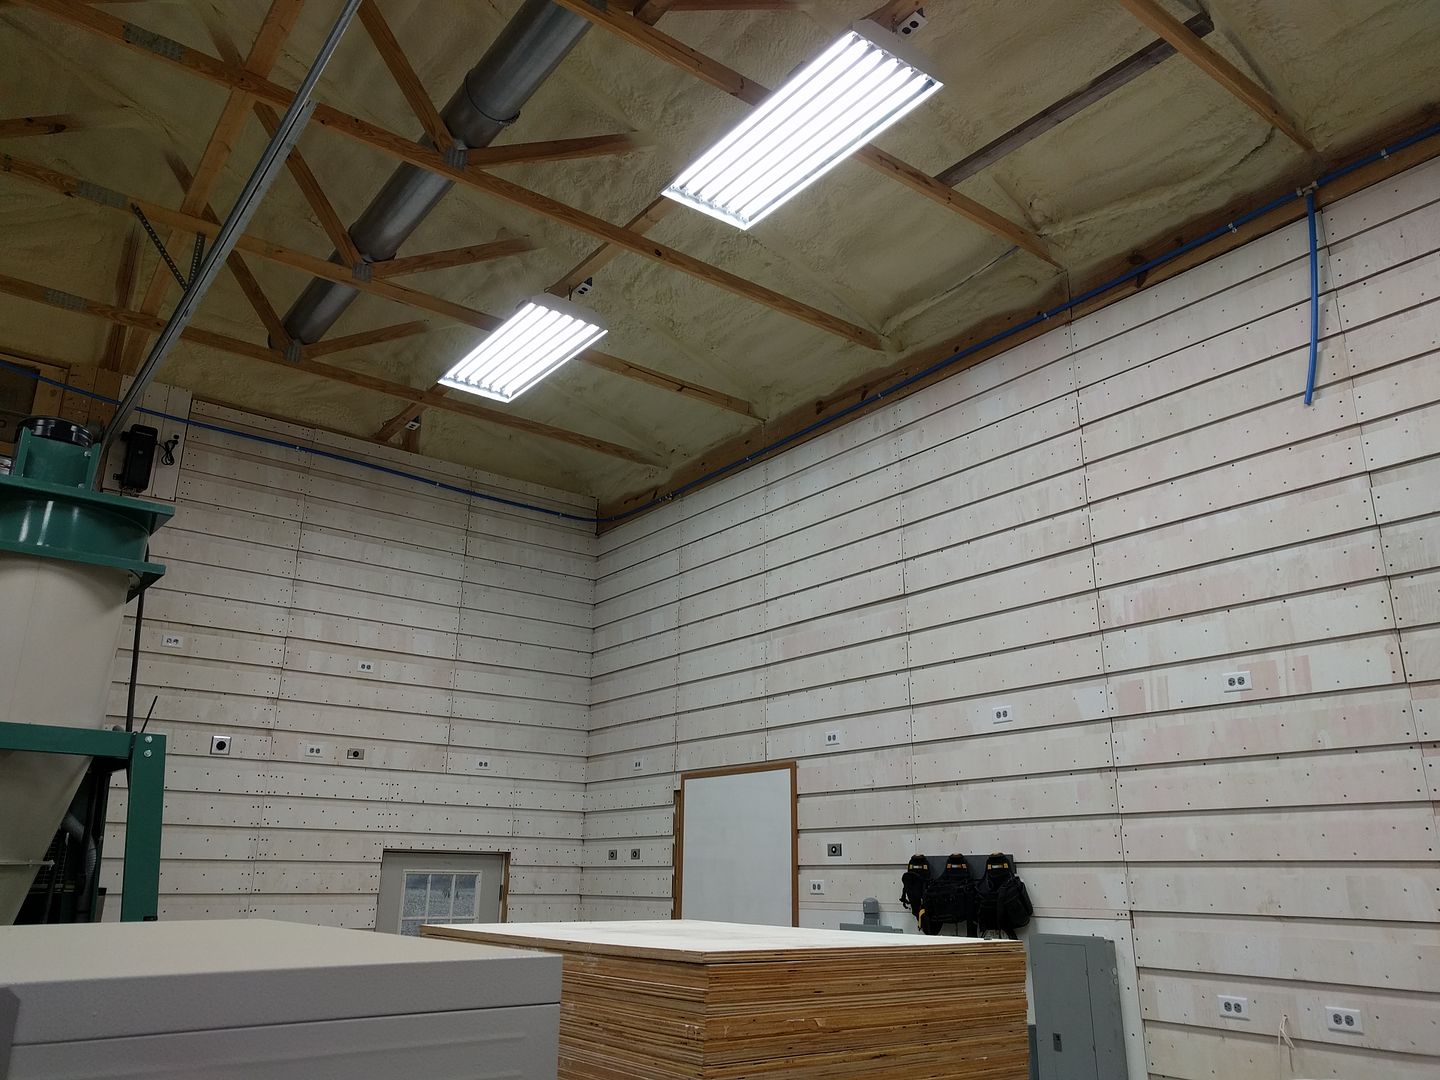
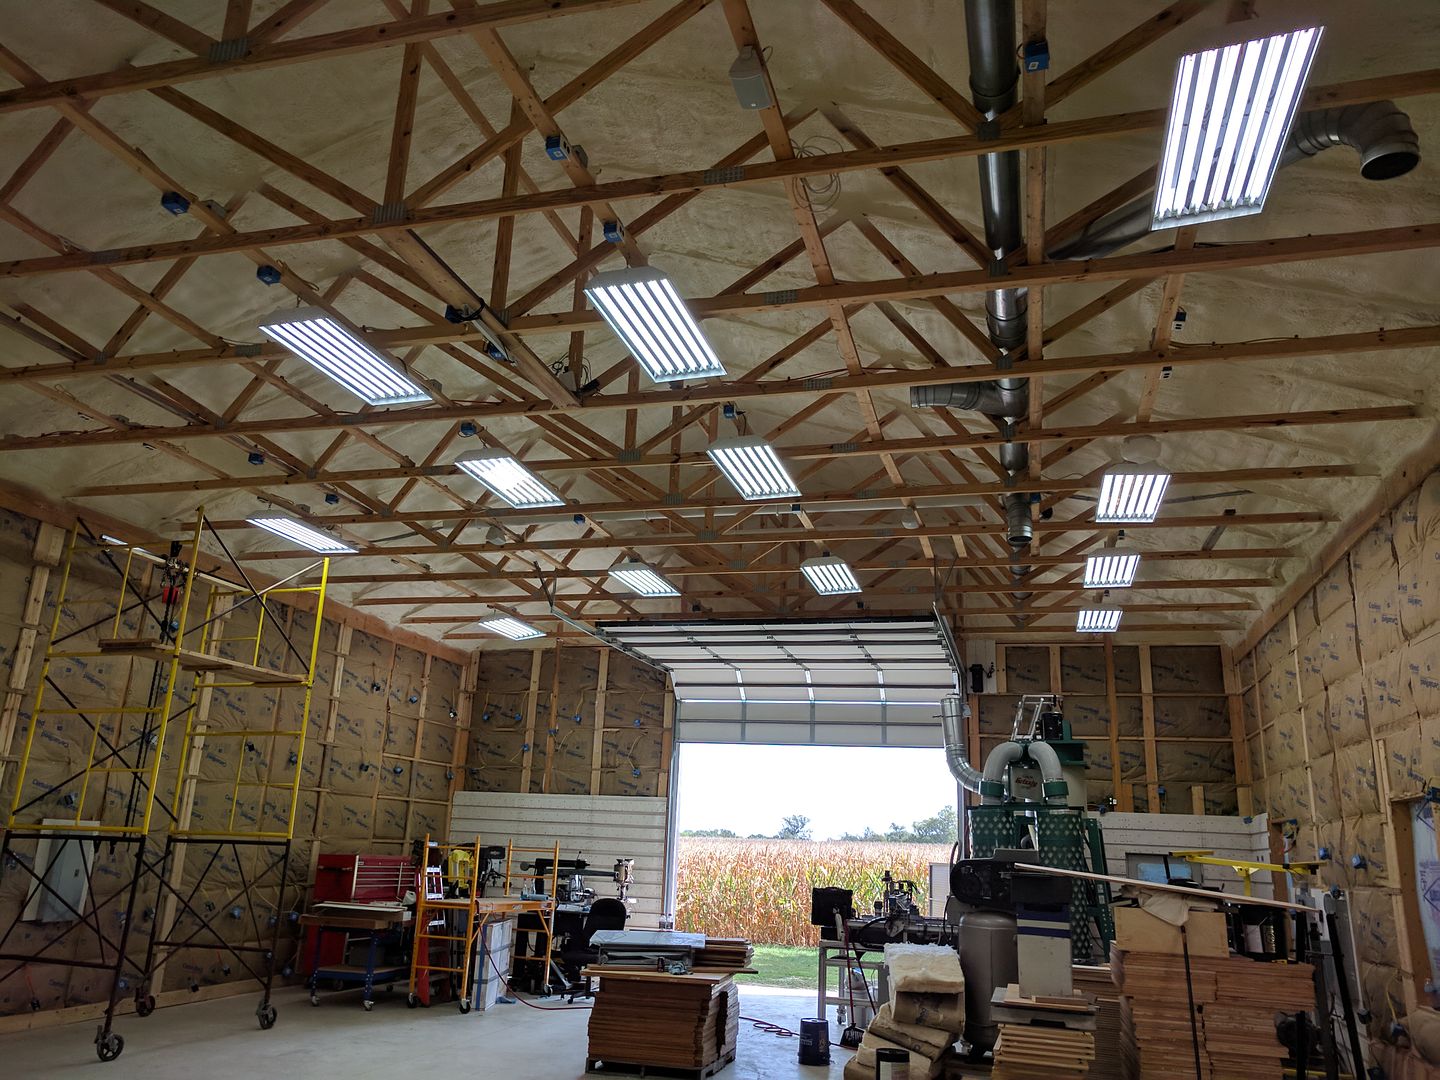
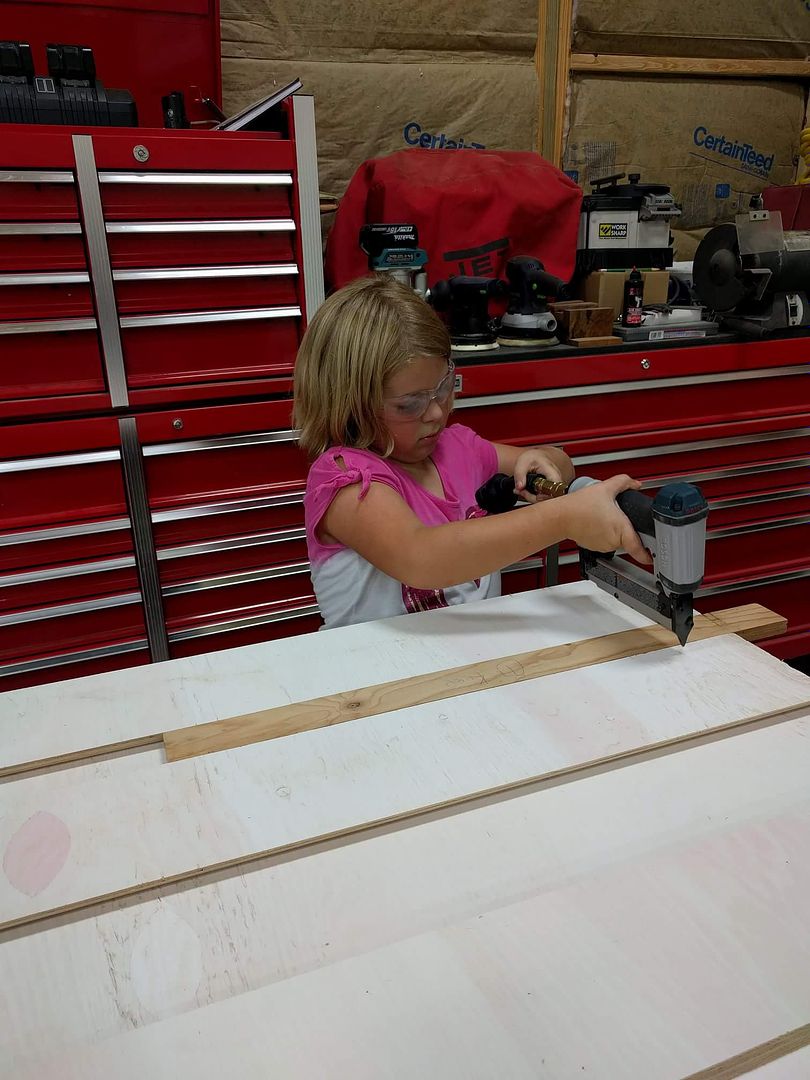
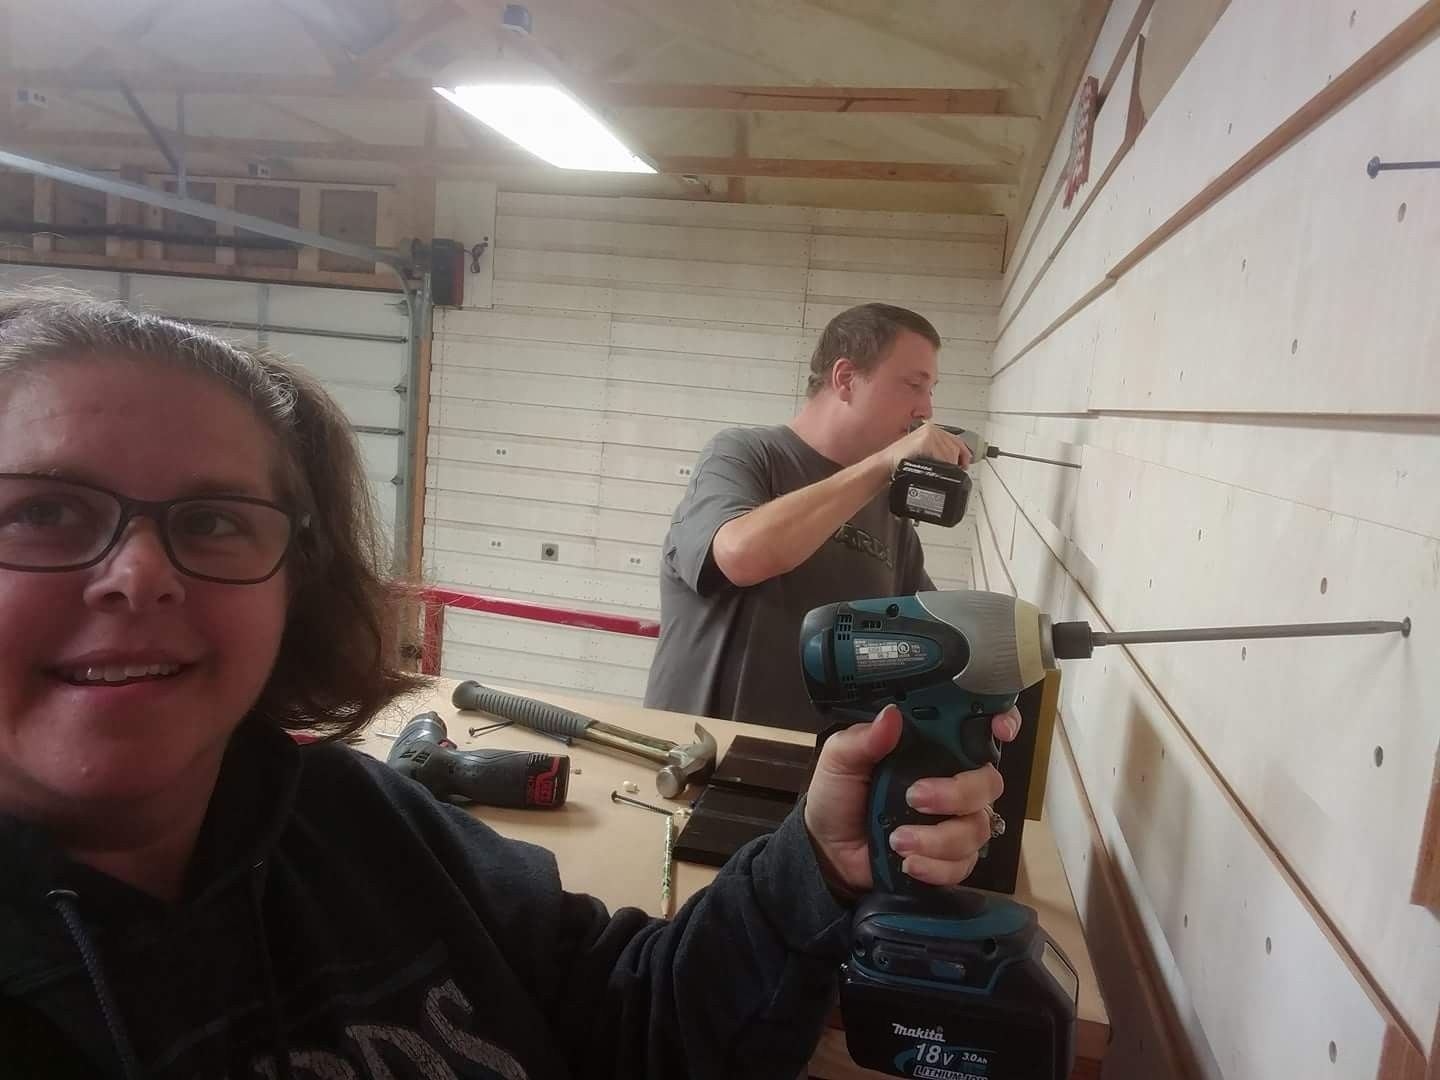
Angela and I did another section tonight. Thats nine down.


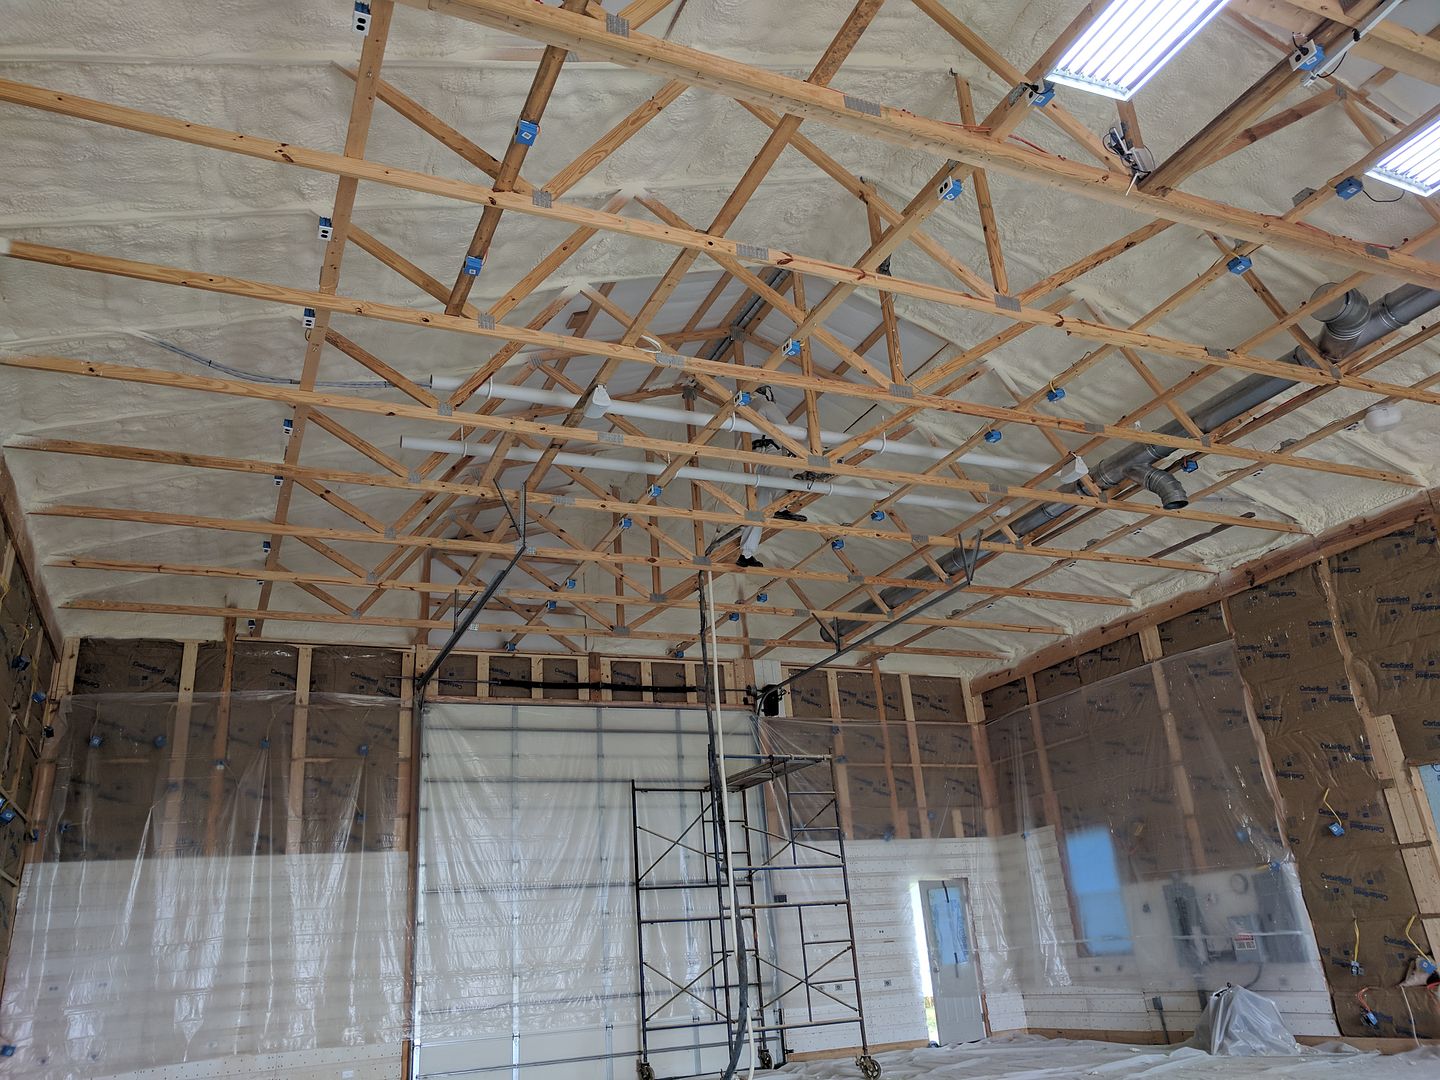
Wow that's a big project!