As usual, removing an old rusty bolt took a lot longer than expected...
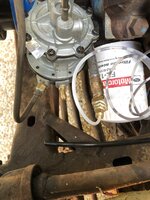
As you can see in the picture, after the water pump was removed, I had a long bolt that didn't come out. This was one of the bolts that goes through the water pump, through the timing cover, and into the block. The PO must have broken the head off decades ago and never fixed it.
.jpg")
I hit it with some Kroil and some heat in hopes that I could turn it with some vise grips, but I didn't have any luck.
I also couldn't get the timing cover off because the bolt and timing cover were so corroded they were fused together.
I tried small taps with a small hammer and gradually worked my way up to a larger one in an attempt to shock them free. No luck.
I eventually went full Neanderthal on it and just beat the timing cover to pieces with a BFH. That felt good.
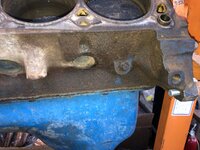
In doing so, I managed to break the bolt off where it was almost flush with the block.


I managed to get vise grips on the end, but it wasn't budging.
Then I tried a chisel -- catching the top of the bolt and trying to turn it, not cut it off. Nope.
Then I took a file and filed notch into the end of bolt shank for a regular screwdriver to grab. Then I tried an impact screwdriver, but I couldn't get much of a swing in. No joy.
At this point, I was about to call it good enough and just slop some extra RTV in that slot when I put it back together but I still had one more option.
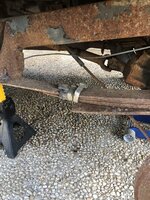
I cleaned up the bolt head with a wire brush and a sander, hit it with some acetone and then found a large washer that fit the head of the bolt. I took my trusty MIG and welded the washer to the head of the bolt.

From there, I booger welded a nut to the washer, and used a wrench to try to loosen it. It turned!!! HOORAY!!! And then it snapped off. fook.

There was still just barely enough bolt left to try welding again, and this time I zapped it good! And it worked this time!

Just another frolic and detour in getting this heap back on the road...

.jpg")