OP
oldironfarmer
Well-known member
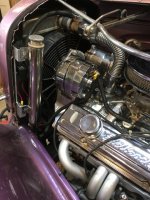
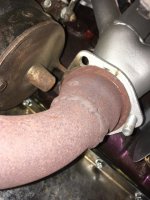
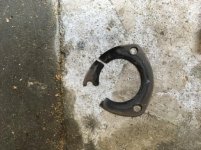
The sender will barely fit into the manifold without moving the generator.

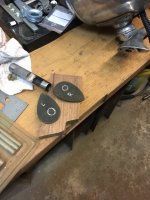
Got the water back in and went back to wiring the fan switch.
During lunch a pickup came in the driveway. A guy I knew several years ago had a tractor he had to move today or he would lose it. It had one rear flat and the other rear was off. I agreed to help him so Bob got on his trailer and went went over to help. Too busy to take pictures. Lifted the Massey Ferguson 165 with forklift forks and pushed it almost on the trailer but Bob's steel tracks were slipping on his ramps. Cribbed under the missing wheel and pushed with a timber, sliding on the cribbing. Had to do that three times and the timber was too short. Then he found a 7 ft 1-1/4 " hex bar so I pushed with it and got the tractor in position. He asked me how much I wanted, I said only the steel bar. He was happy and I was happy. All done in misting rain.

Thanks for stopping by! It was a good day.
Got the water back in and went back to wiring the fan switch.
During lunch a pickup came in the driveway. A guy I knew several years ago had a tractor he had to move today or he would lose it. It had one rear flat and the other rear was off. I agreed to help him so Bob got on his trailer and went went over to help. Too busy to take pictures. Lifted the Massey Ferguson 165 with forklift forks and pushed it almost on the trailer but Bob's steel tracks were slipping on his ramps. Cribbed under the missing wheel and pushed with a timber, sliding on the cribbing. Had to do that three times and the timber was too short. Then he found a 7 ft 1-1/4 " hex bar so I pushed with it and got the tractor in position. He asked me how much I wanted, I said only the steel bar. He was happy and I was happy. All done in misting rain.
Thanks for stopping by! It was a good day.


")
 Thank you!
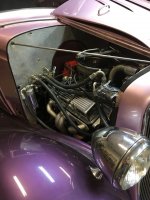
 Not to mention the fact that it is much less work. Carry on with the purplish car. I'm looking forward to when the Willys pickup gets his turn on the lift. or the Cummins....