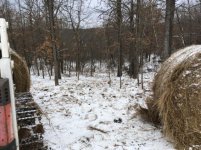
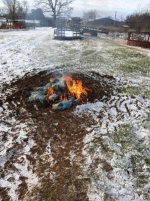
I remember the heat from last summer and I'm trying to enjoy the cold but it's getting harder. A little bright green would be nice.
Glad to have you follow along.
Vladimir is my friend! I read your thread all the time, you are a great master!!

Very glad you're coming for a visit, Don! We're supposed to be in the fifties within a week, with lows well above freezing, so I think we should have some nice weather for a visit.
Anyone who would like to come see Don just watch our conversations here. All are welcome, but I'd like anyone who thinks they can come to say so. We all have last minute emergencies but let me know if you plan to come for a visit.
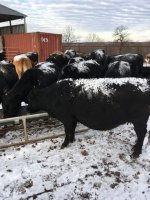
The cows only take about an hour per day through the winter, and very little attention through the summer. They would rather be left alone. I quit feeding hay about April 5 and feed about April 15. They quit coming for hay when there is enough green grass to get their attention. but the early grass is pretty weak for nutrition so they get a protein supplement for a couple more weeks. Then they're on their own for the summer.
I managed a few hours in the shop today, and actually did some cleaning. With a dignitary like Don Long coming by I need to get serious about not embarrassing myself too much.
Probably not, I'm too old to change.
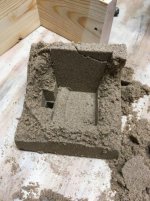
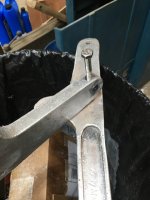
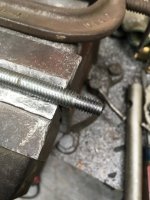
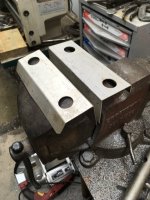
We've been discussing soft jaws for vises. What I'm currently using (to clamp on bolt threads without damaging them, for instance) is some aluminum sheet metal bent to fit.
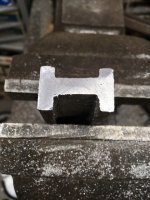
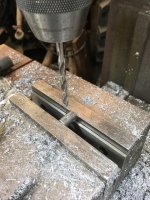
The holes were already in the scrap I used.
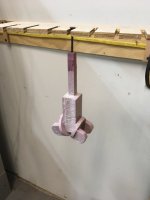
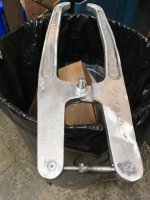
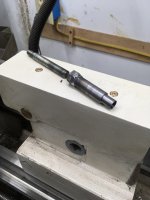
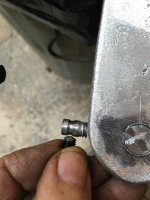
Finished up the veneer long reach clamp. Working on small stuff is sometimes more challenging than big stuff. I wanted to use a 1/4-28 set screw to hold the grooved stub but it needed a pointed end. The only one I had was 1/4" long. Enough for the job but tough to chuck up in the lathe. I screwed it halfway through a fine thread nut, then screwed another setscrew in from the back to lock it in. Chucked the nut up carefully and got it pretty square.
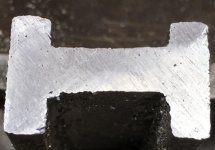
This is how it fits in the stub just to keep the assembly from coming apart.
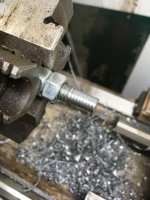
I took the stub back out and turned a little deeper and wider groove for the setscrew to ride in.
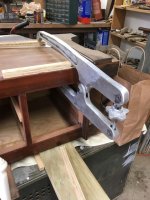
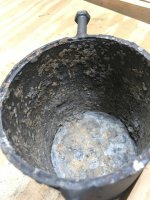
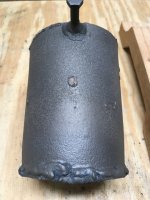
Finally assembled. My buddy Rollin (who I made the burner for) had cast two of these knobs for me and this seemed like a good place to use one. It turns the sleeve to drive the screw on the left in and out. You can see the setscrew that rides in the groove, the setscrew in the knob is on the other side.
It looks like it will adjust smoothly and relatively quickly given the leverage between the adjusting end and the clamp end.
Thanks for stopping by! Maybe we'll clamp some veneer tomorrow...


")