aqr81
Well-known member
It's looking great!

Grant, just saw this and am reading through it now. Got a chuckle out of this comment - when I build the shop over at my son's my concrete contractor left his bobcat and attachments and gave me the green light to use. My son and I had a lot of fun breaking out the driveway that needed removal and also did some needed dirt work and moving grape vines as we had to take over some of the chicken yard. It's pretty cool when they know you and trust you enough to leave their stuff and give you the green light like that
 sounds like some great bonding time that I hope you’ll never forget. Thanks for the comment!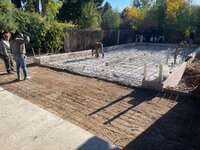


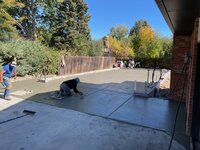
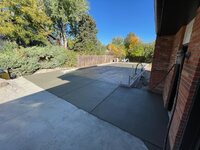

I think it's a real advantage to have the floor poured just after the foundation. Staging material, Framing, moving around in general inside is SO MUCH EASIER. You can use a lift if wanted. I know many wait until nearer the end to pour the slab but I think you'll appreciate this. Looks really nice.
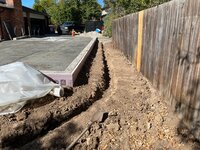


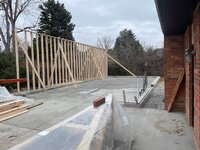

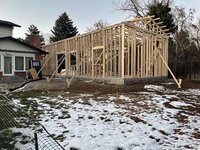


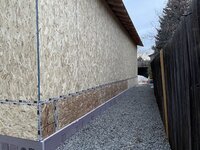

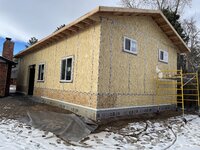
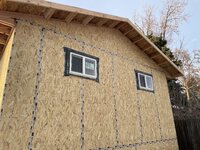
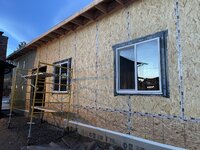

The build six coming along nicely. Your thinking is the same as what I am doing in the shop portion of my build. I am meeting with my electrician to go over the detailed electrical plan with him. That is one of the things I plan to speak to him about and hoping it doesn't add much to the job. I know I am likely going very overkill on the electric but I would rather have too much than too little. I see nothing wrong with your approach here and think it makes a lot of sense.I was thinking it would be nice to be able to have multiple things plugged in next to each other and not have to worry about two things being on at once maybe with me and a buddy working on something. Still debating the alternating circuits thing if it’s worth doing. It doesn’t cost much extra in wire overall. Maybe double the wire I suppose but not much in the way of $$$.
Correct, planning on all 20A 120v circuits for receptacles and 15A circuits for lighting.


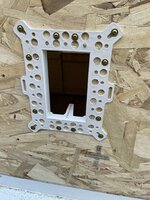


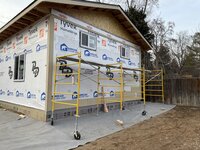
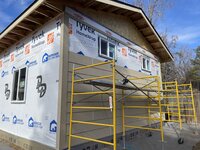


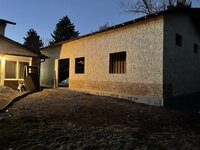
Thanks, it does feel nice to start feeling like I’m really moving towards the finish line.Coming along nicely. Has to be nice to start to get some of the exterior together.
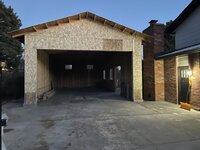
Yes, they are quite narrow at 2' wide on the outside of the building. They are engineered as a portal frame shear wall so they have extra nailing, two concrete embedded hold downs on each side that you can see hanging out in the concrete pictures, two anchor bolts per side. The framers nailed to plan as a minimum and I went back and added some more blocking and nails after the fact as well. Instead of two studs shown in the plan below each corner ended up with 3-4+ full height 2x6 studs just because it was easier for the framers to fill the corners solid.Did they have to do any special framing or reinforcement on the front wall? It looks like the walls on either side of the garage door are fairly narrow and I was wondering if anything special was required.
 . Rather have more than enough and cost is cheap!
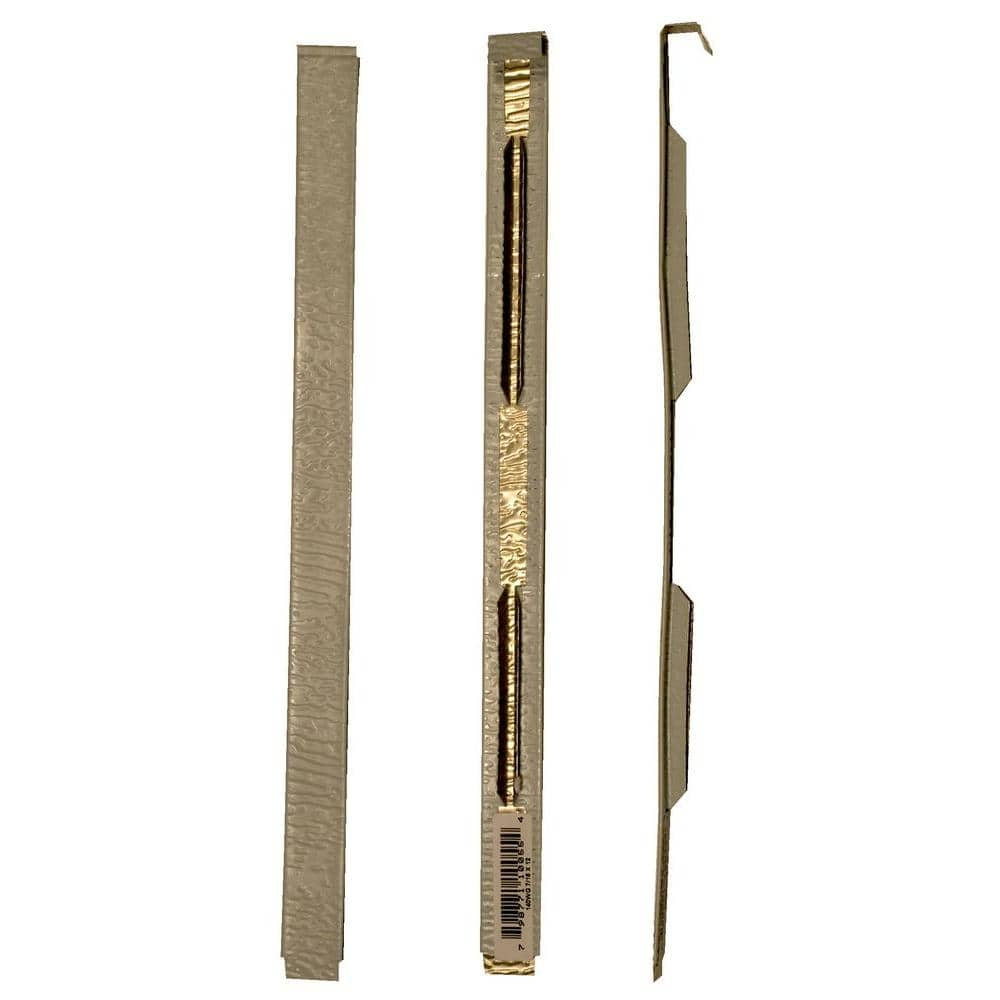
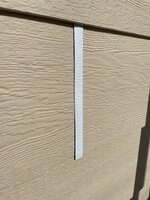
They are a prepainted metal joint cover. We have them available at Home Depot here. I’ll put the link below to mine for the 12” siding. LP says you can caulk the joints or flash behind like you’re talking about but then they become a maintenance item with the caulk. Our house has these and they seem to hold up well so I used them here.What is being used to finish the **** joints on your siding? I can't tell from the photos but it looks like some kind of plastic trim piece. Here in North Carolina they just leave them open and flash behind them and after a few years the **** joints look terrible.
Thx for the details. I was wondering how the engineers delt with this situation.Yes, they are quite narrow at 2' wide on the outside of the building. They are engineered as a portal frame shear wall so they have extra nailing, two concrete embedded hold downs on each side that you can see hanging out in the concrete pictures, two anchor bolts per side. The framers nailed to plan as a minimum and I went back and added some more blocking and nails after the fact as well. Instead of two studs shown in the plan below each corner ended up with 3-4+ full height 2x6 studs just because it was easier for the framers to fill the corners solid.
The structural plans have a specific detail for these walls:
Thank you.Thanks, it does feel nice to start feeling like I’m really moving towards the finish line.
I’ve been following along your build as well and looking forward to more updates. Your build is awesome!
Thank you.
Your electrical plan doesn't seem crazy to me either. It might to other people but while building new I feel that you are better to have too much than not enough. Never want to have to open up walls to add more later. I have 4 120v circuits and 4 240v circuits in my shop area alone cause I just can't be sure where things are going to go. Apparently also being told that each 240v outlet has to be its own circuit which is a bit annoying to find out.
Each quad box is about 6’ apart going all the way around. Should be plenty short of a distance for any equipment I decide to place around the walls.Wiring plan is fine. Two outlets in 12ft (single or duplex) is a good rule for generic spacing. Obviously specific equipment is different.
Thank you! The house has the same exposure so I wanted it to match. The actual exposure worked out to be ~10-1/4”.I like the 12" exposure you chose on your siding, to me it looks a little less busy than a narrower exposure would have looked. I've never seen those metal joint covers before.
A humid day in Colorado would be 20% humidity. We add humidity to the insides of our homes in the winter to make them tolerable.How will the wall breathe with foam over it?
Last place I tore apart the walls all rotted from the foam.
Yes, same here.A humid day in Colorado would be 20% humidity. We add humidity to the insides of our homes in the winter to make them tolerable.