

94m5
Member
Sooooo you wanna sell me the spare unit? I would love to get 321 pump. Very nice machines.
Sent from my SGH-I727R using Tapatalk 2
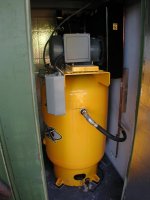
I'm not sure what the damned thing is even worth to be honest.
It spins freely, but has a bit of a screetch from inside, with no compression to speak of.
My grandpa was obviously aware of it because I've got TONS of NOS Kellogg parts. Bearings, valves, seats, seals....you name it. I was planning on rebuilding it then bagging it and then throwing it in a crate for storage.
 .Any help would be much appreciated!


 .....does your motor have 3 caps under the large cover?Do you have any spare leads that are hooked together or not used under the side cover?


![IMG_1653 [1024x768].jpg](/forum/data/attachments/202/202643-3b931a3782dde9107ba45be72173ba81.jpg)
![IMG_1652 [1024x768].jpg](/forum/data/attachments/202/202679-2594c7148f198f1a5493954c393dee81.jpg)
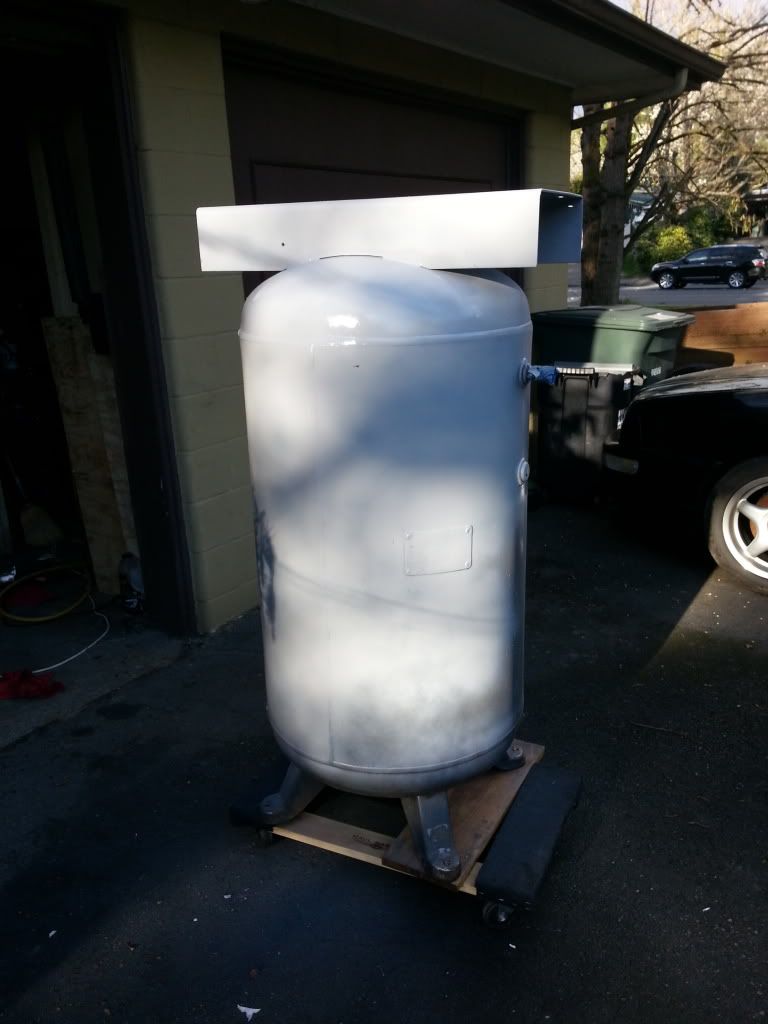
![IMG_1651 [1024x768].jpg](/forum/data/attachments/202/202706-971d3fd68263bcf1fc076bcd1d4f3cf9.jpg)
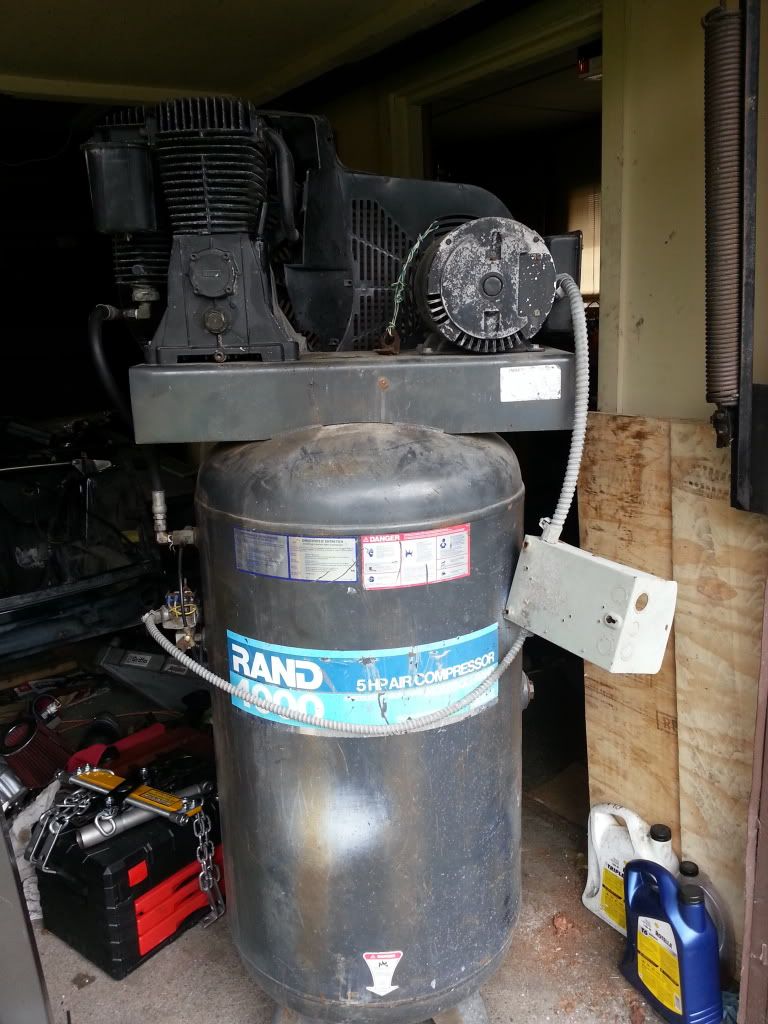
![IMG_1649 [1024x768].jpg](/forum/data/attachments/202/202740-30acc82df7ba361b544f731275059fa8.jpg)
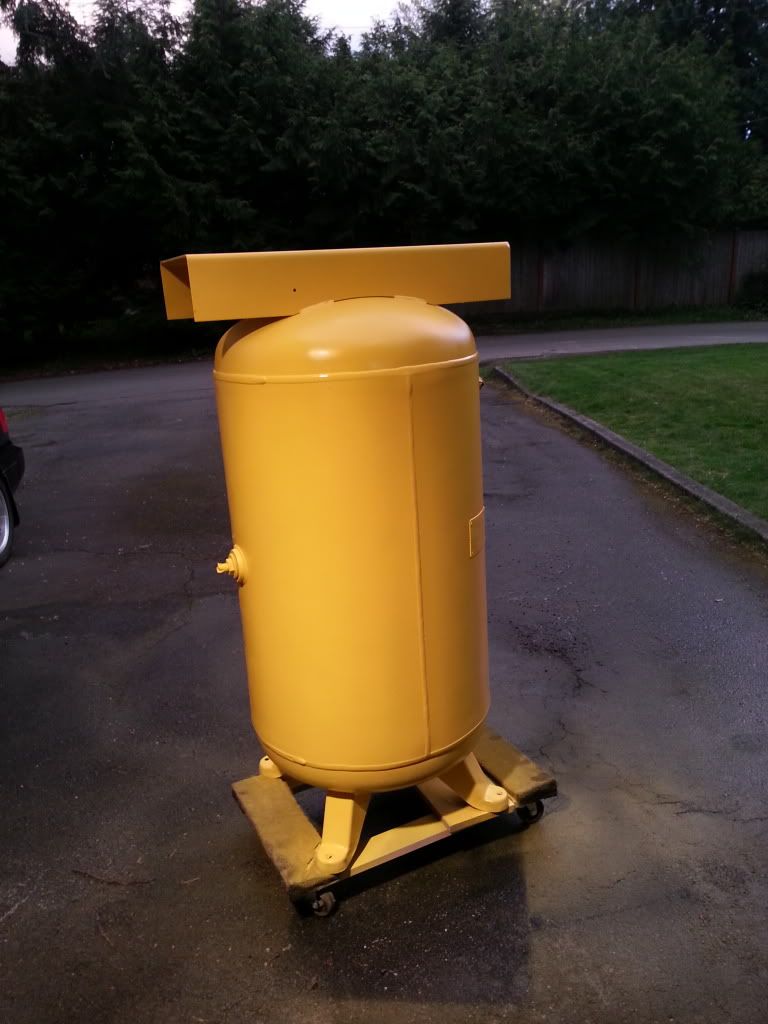
![IMG_1656 [1024x768].jpg](/forum/data/attachments/202/202773-5afe17a1d7116d6b4d251d611588ae00.jpg)
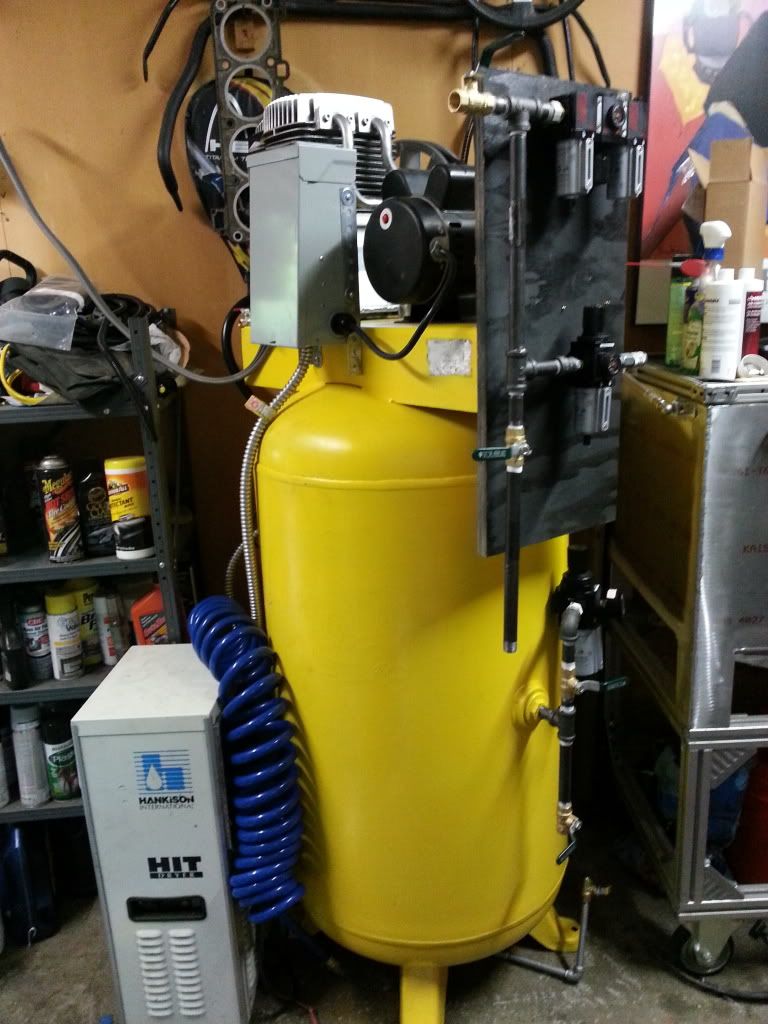
![IMG_1654 [1024x768].jpg](/forum/data/attachments/202/202813-4ac19d370e9779cffad3b8f2e242382a.jpg)


")

