CPR with Chiz - My Restoration Thread
My friends’ call me Chiz and I finished up my EMS (Emergency Medical Service) career about 15 years ago spending the last 20 years of it as a Flight Paramedic. These are my CPR stories… No not what you think…. but Cleaning, Painting and Restoring: machines, equipment and miscellaneous related do-dads. I am a woodworker and most of my projects revolve around that type of equipment. I first found this site looking for information on resuscitating my CM Block Grinder. I then got sucked into reading numerous posts and many restoration threads here. I found them to be very inspirational and thought I would add my 2 cents with some of my restorations. I see old iron and do not see junk but see what it once was and what it again could be. They truly do not make them like they used to. I have completed some projects; have a few in progress and some on the side line just waiting in the que. Like most I never know what is going to follow me home.
Restoration Index (Hyperlinked or scroll down to the referenced post number)
HTC Mobile Base – This post
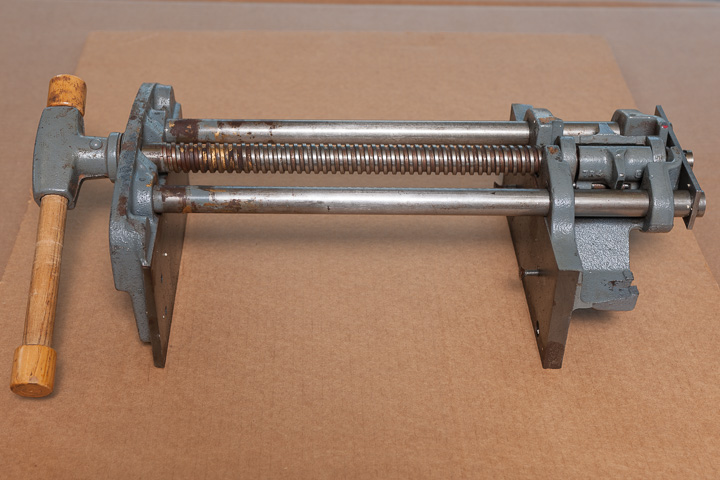
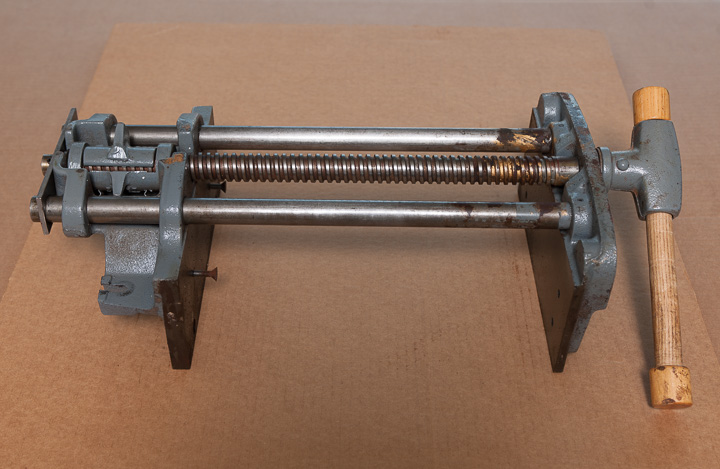
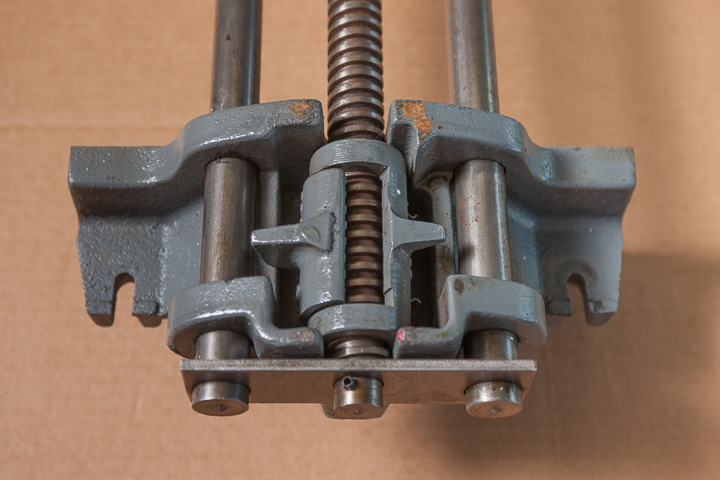
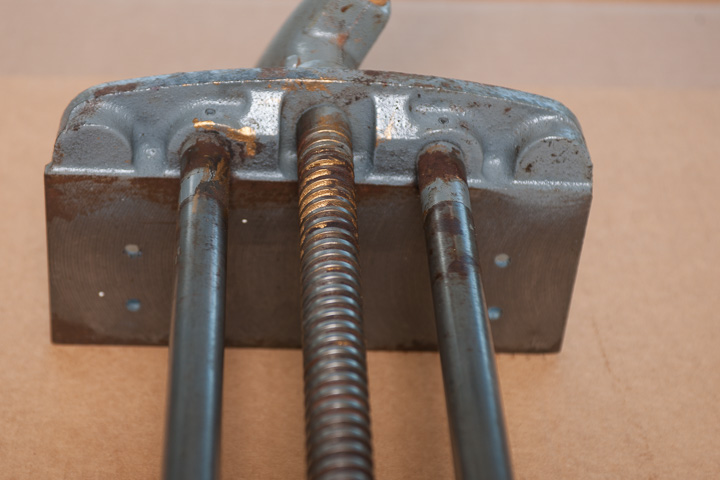
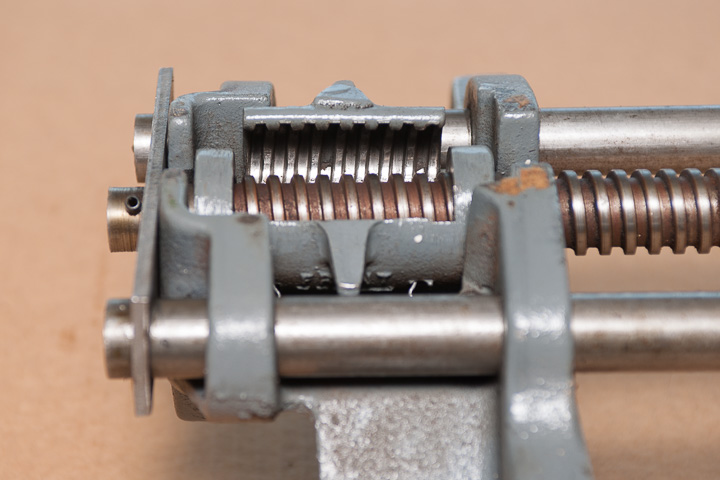
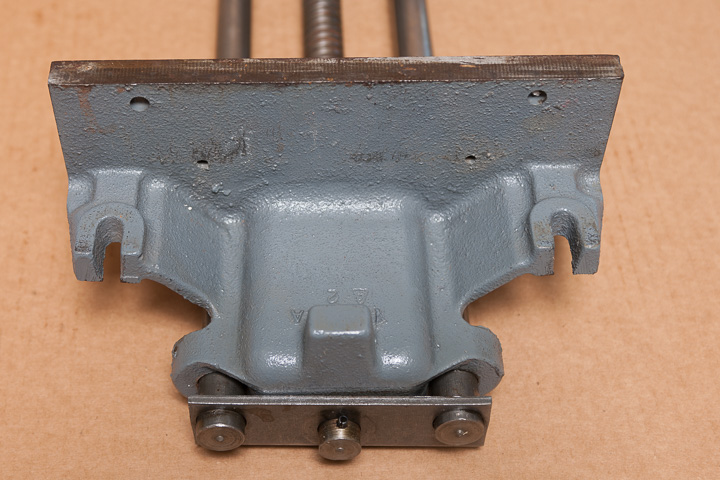
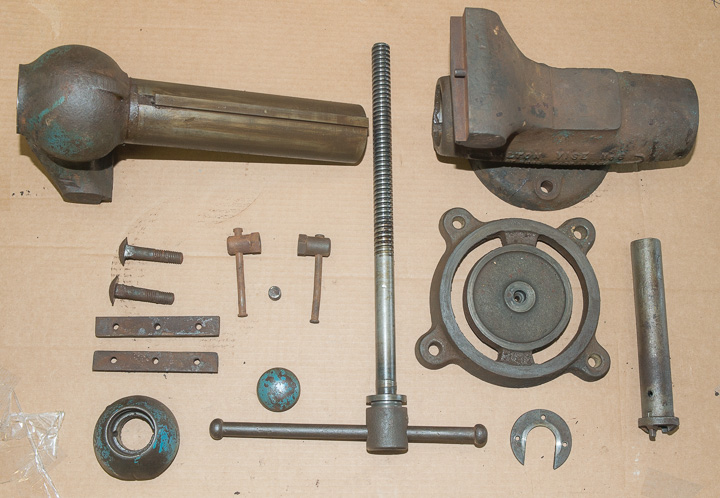
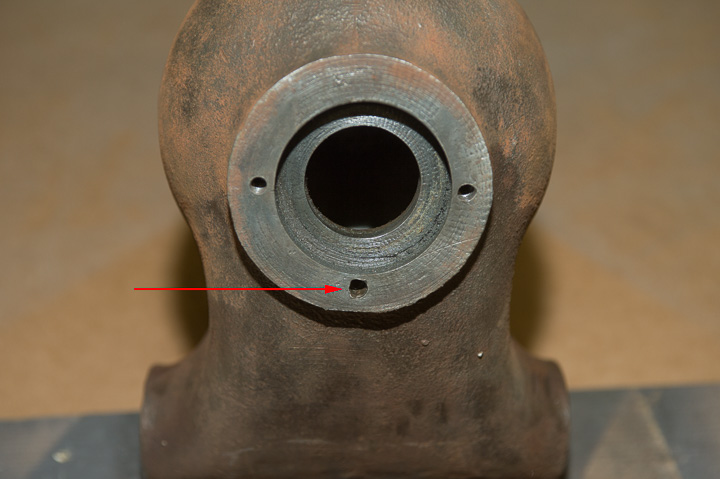
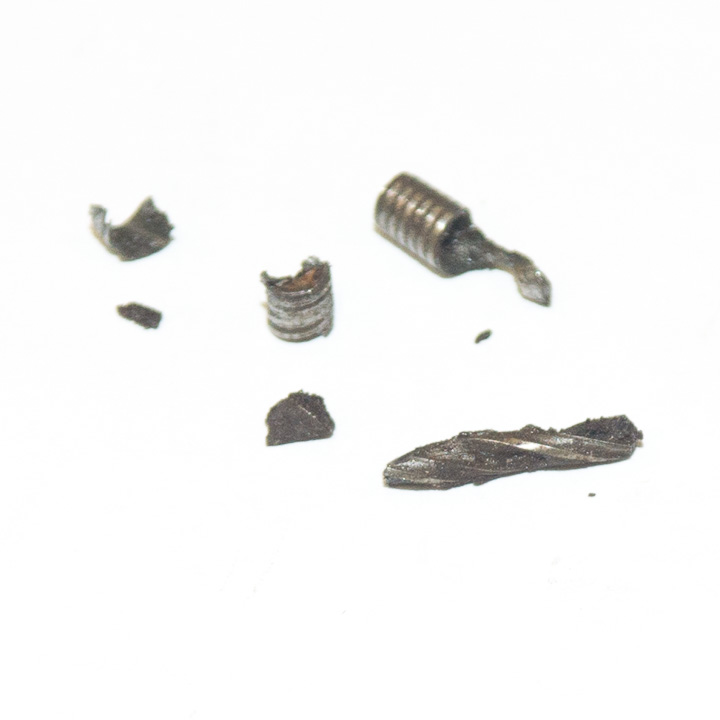
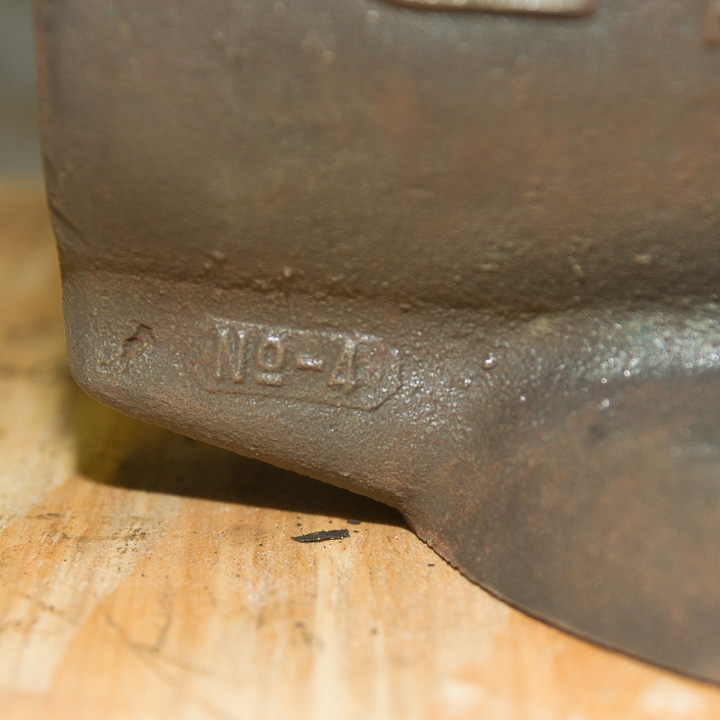
Craftsman Woodworking vice #506-5189 - Post #4
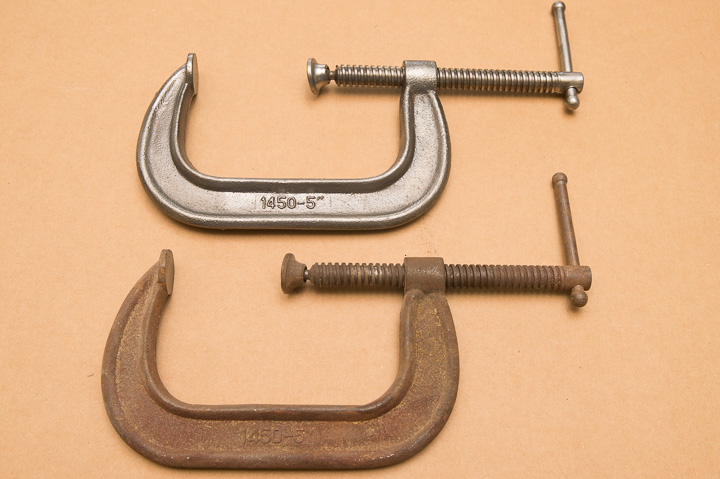
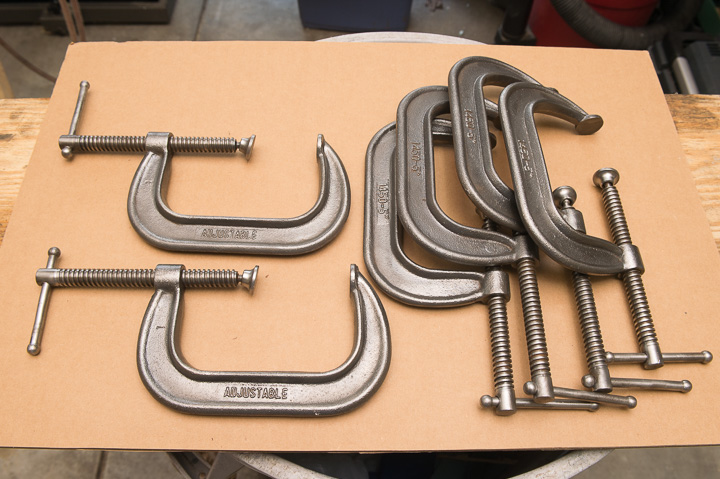
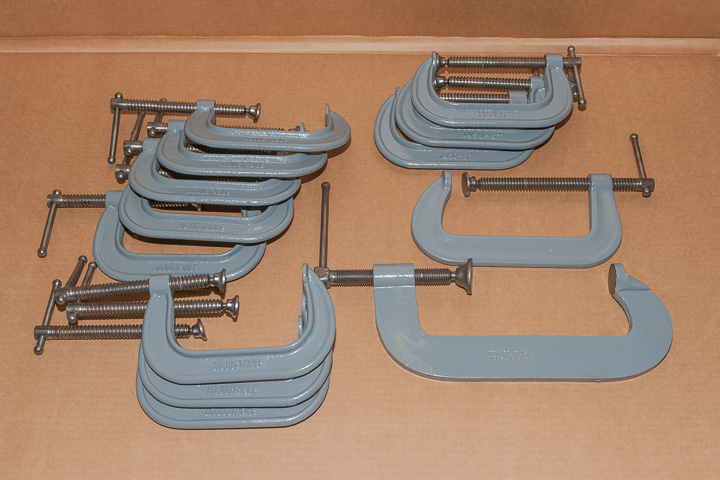
Delta 14" Band Saw table, "Old Iron", and some Clamps - Post #9
Have you seen my Daddy?
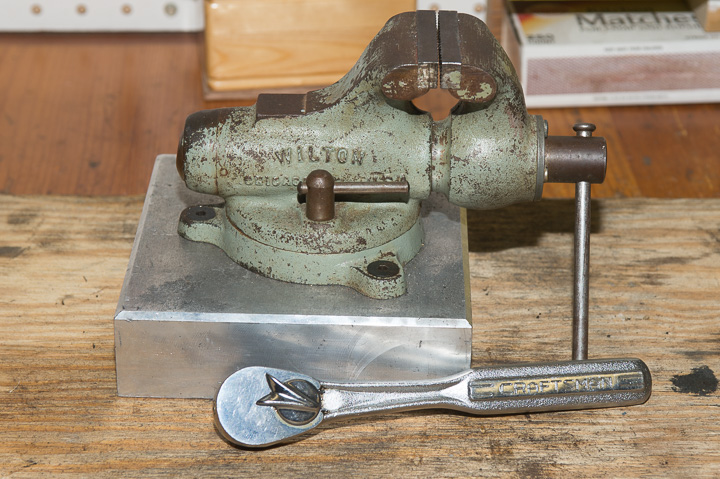
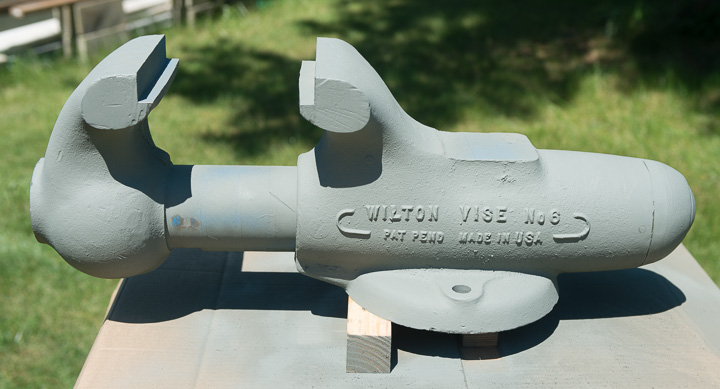
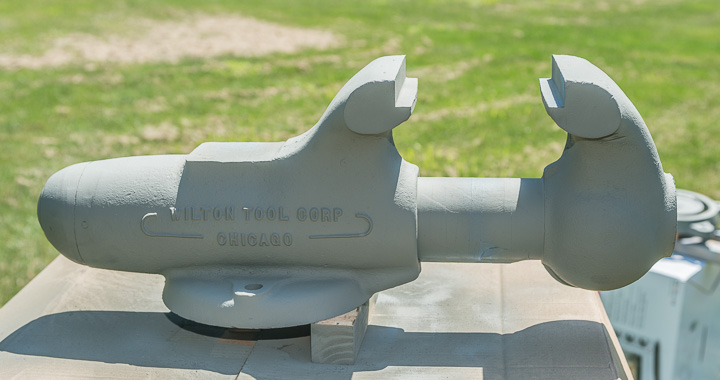
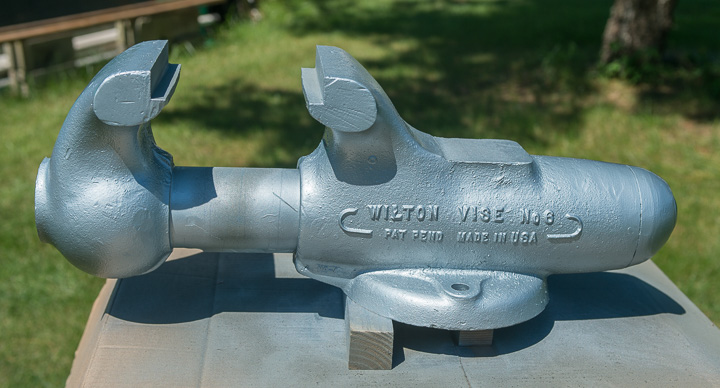
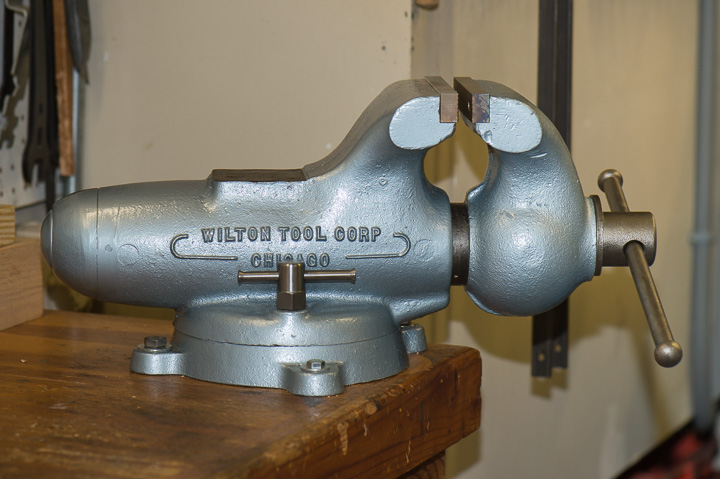
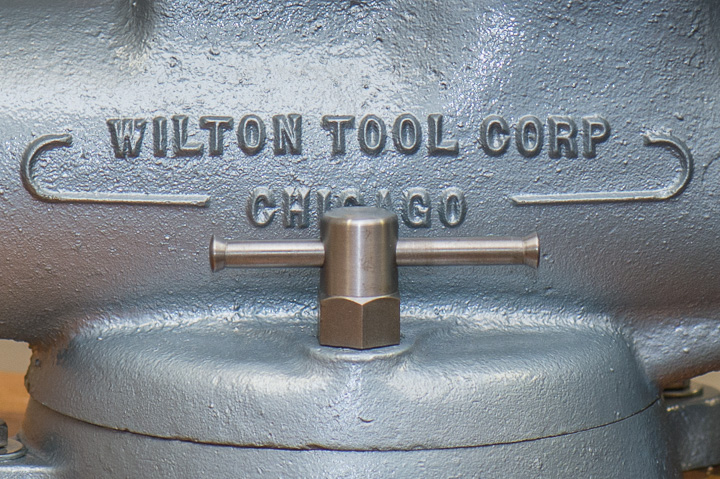
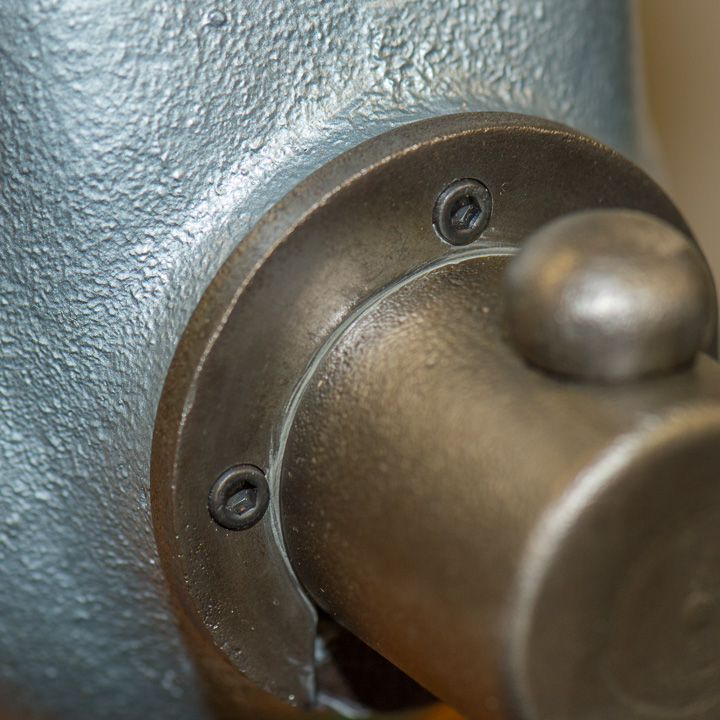
Small Wilton vice looking for relatives - Post #13
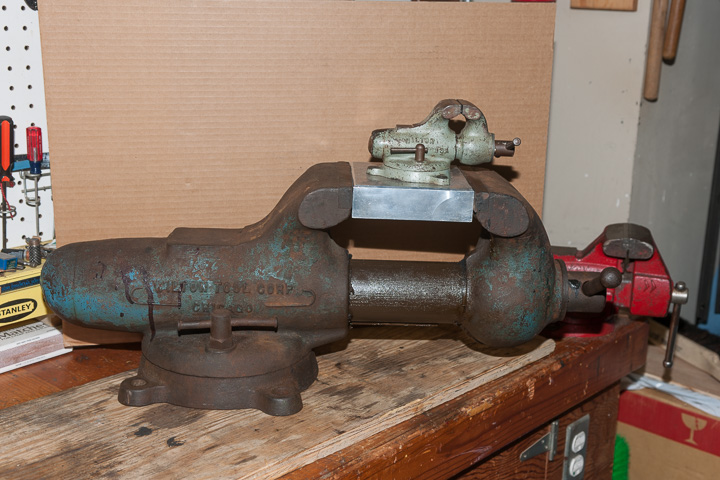
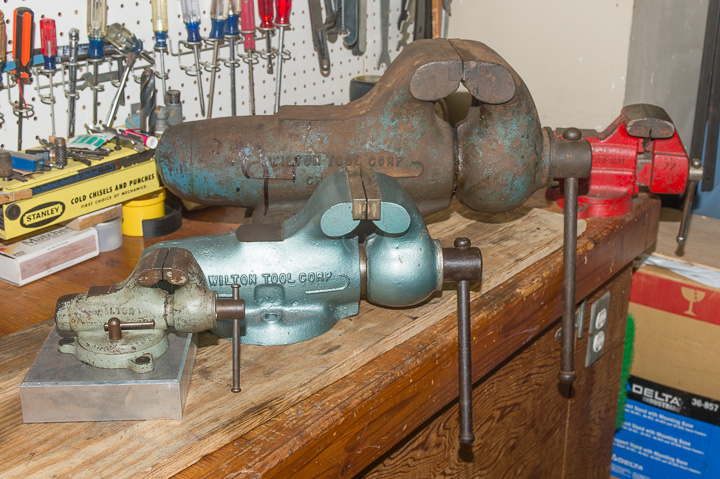
Wilton 6" Vice - The Restoration begins" - Post #18
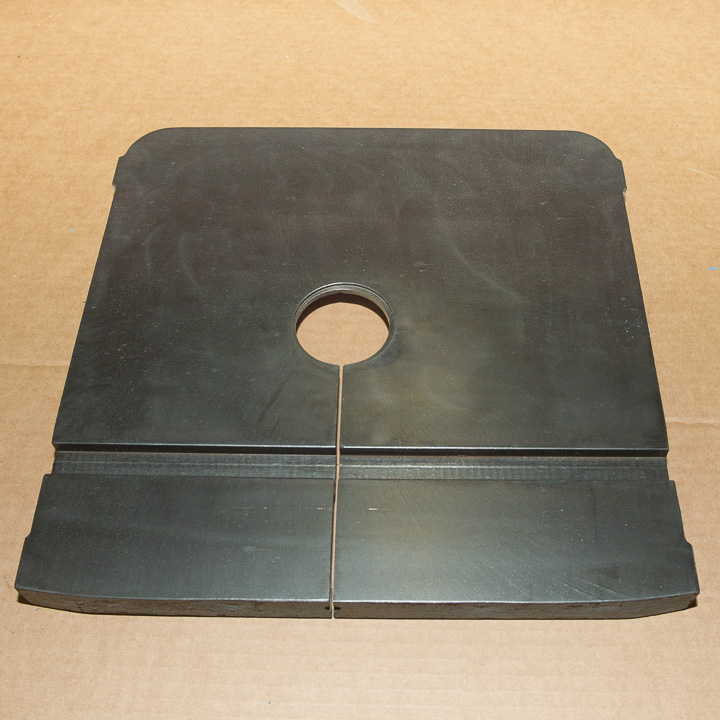
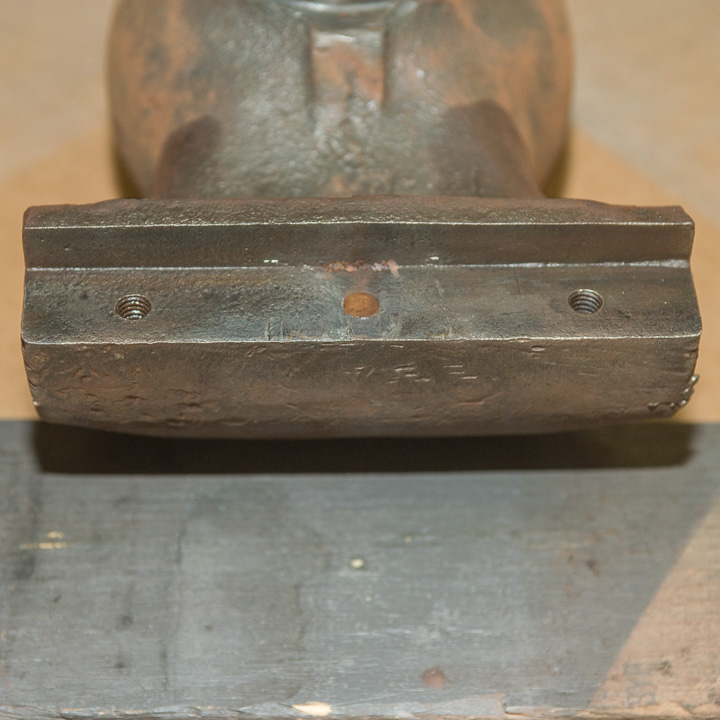
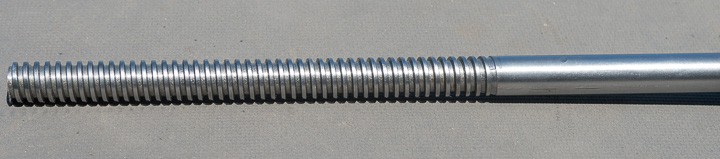
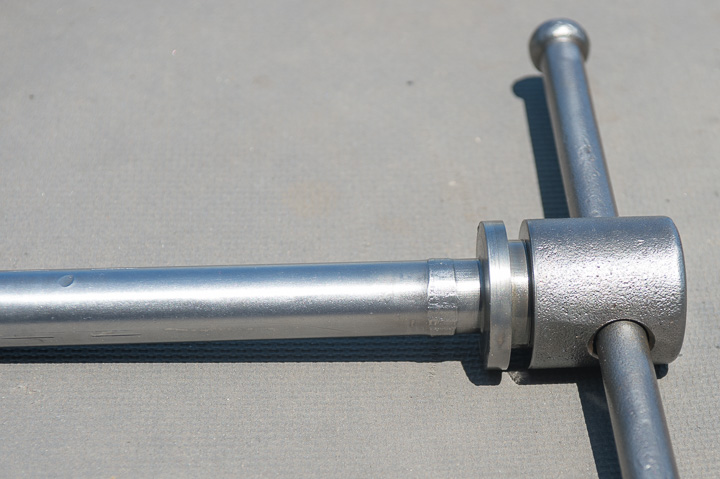
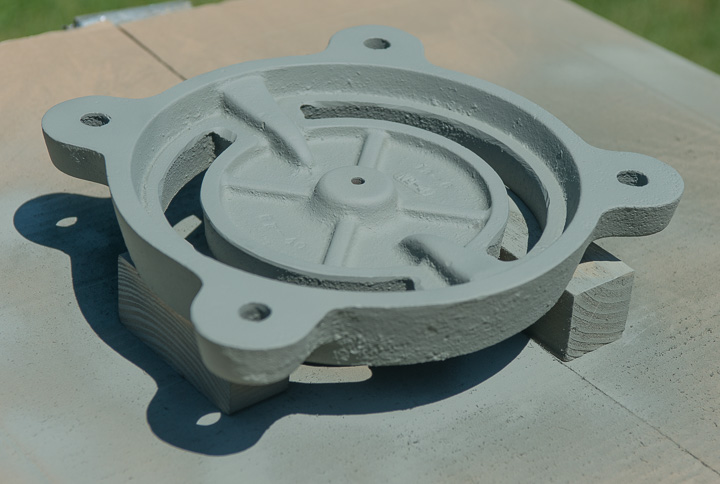
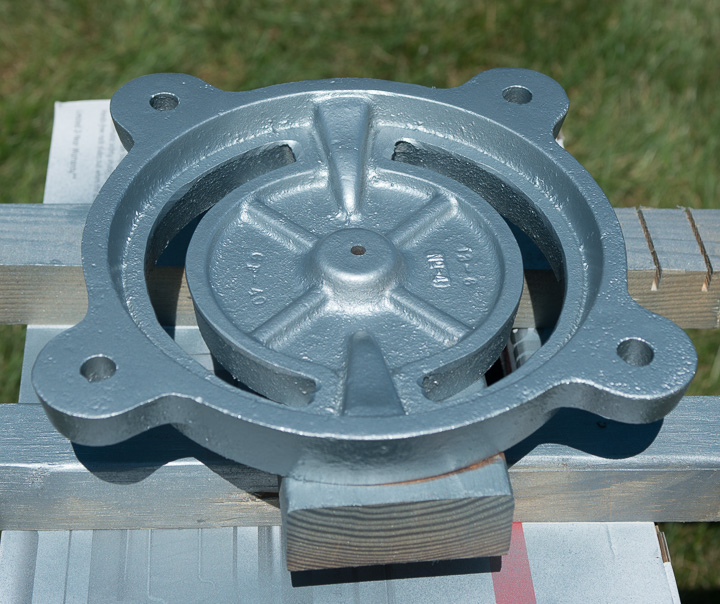
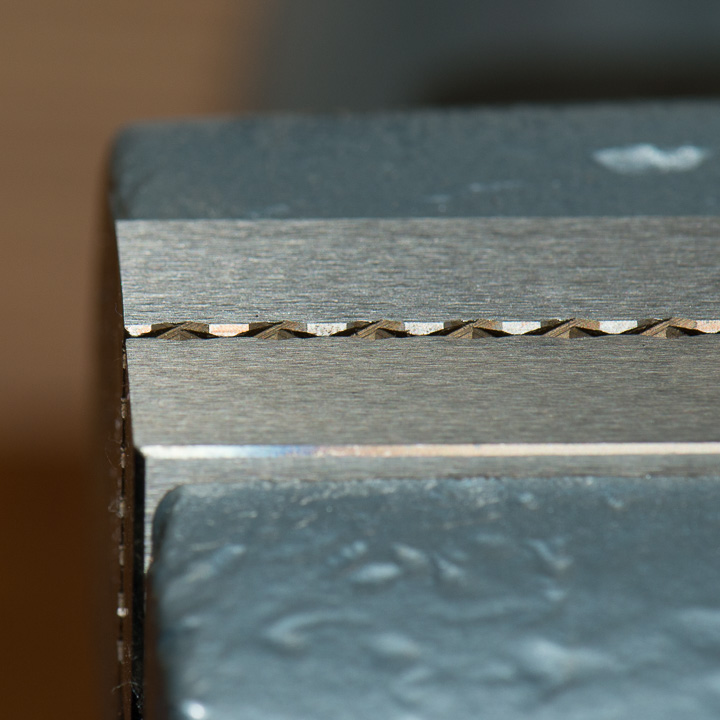
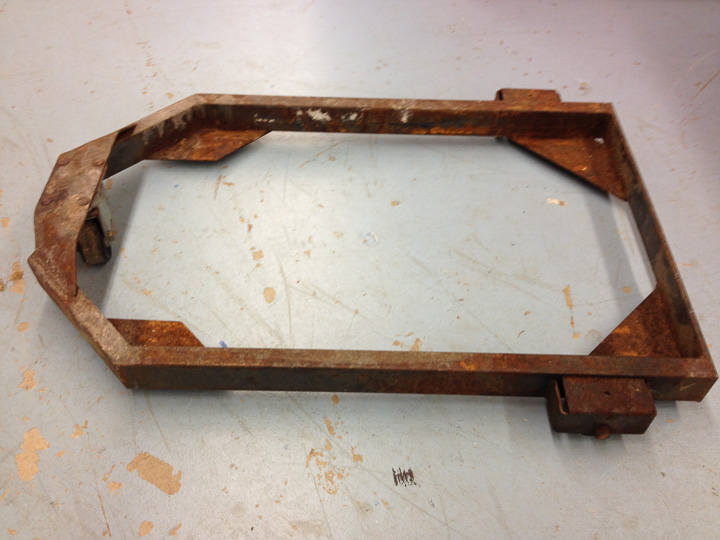
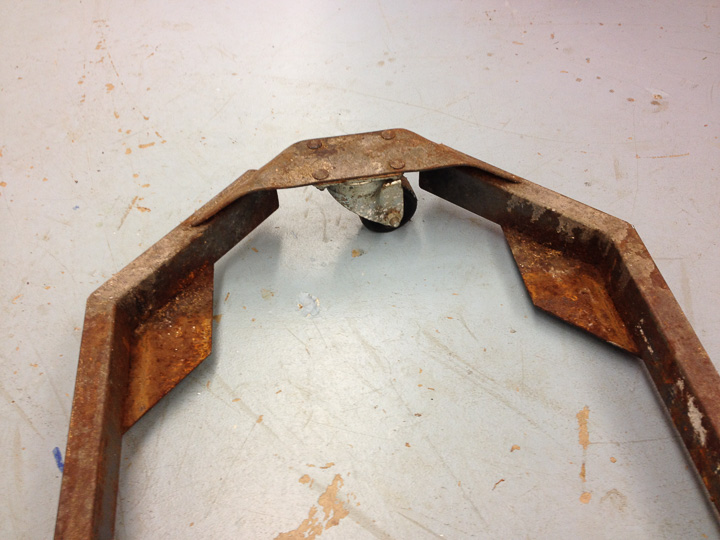
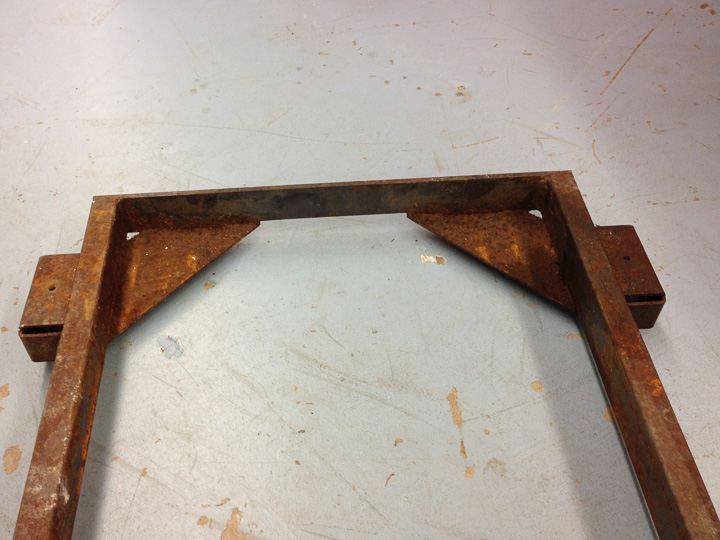
First up is a first generation HTC mobile base that did not fit anything I had, the previous owner was going to scrap it out when I asked about it and he gave it to me. I was in need of a mobile base for an older Delta 6 x 48 belt and 12” disc sander combo machine (another restoration project in the que). My son can weld and I got him to cut 6” out of each side to fit the Delta sander.
My friends’ call me Chiz and I finished up my EMS (Emergency Medical Service) career about 15 years ago spending the last 20 years of it as a Flight Paramedic. These are my CPR stories… No not what you think…. but Cleaning, Painting and Restoring: machines, equipment and miscellaneous related do-dads. I am a woodworker and most of my projects revolve around that type of equipment. I first found this site looking for information on resuscitating my CM Block Grinder. I then got sucked into reading numerous posts and many restoration threads here. I found them to be very inspirational and thought I would add my 2 cents with some of my restorations. I see old iron and do not see junk but see what it once was and what it again could be. They truly do not make them like they used to. I have completed some projects; have a few in progress and some on the side line just waiting in the que. Like most I never know what is going to follow me home.
Restoration Index (Hyperlinked or scroll down to the referenced post number)
HTC Mobile Base – This post
Craftsman Woodworking vice #506-5189 - Post #4
Delta 14" Band Saw table, "Old Iron", and some Clamps - Post #9
Have you seen my Daddy?
Small Wilton vice looking for relatives - Post #13
Wilton 6" Vice - The Restoration begins" - Post #18
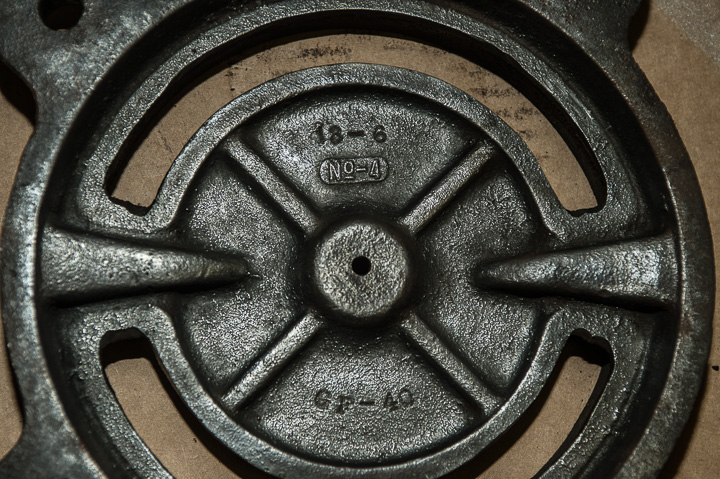
HTC Mobile Base
First up is a first generation HTC mobile base that did not fit anything I had, the previous owner was going to scrap it out when I asked about it and he gave it to me. I was in need of a mobile base for an older Delta 6 x 48 belt and 12” disc sander combo machine (another restoration project in the que). My son can weld and I got him to cut 6” out of each side to fit the Delta sander.
The Before
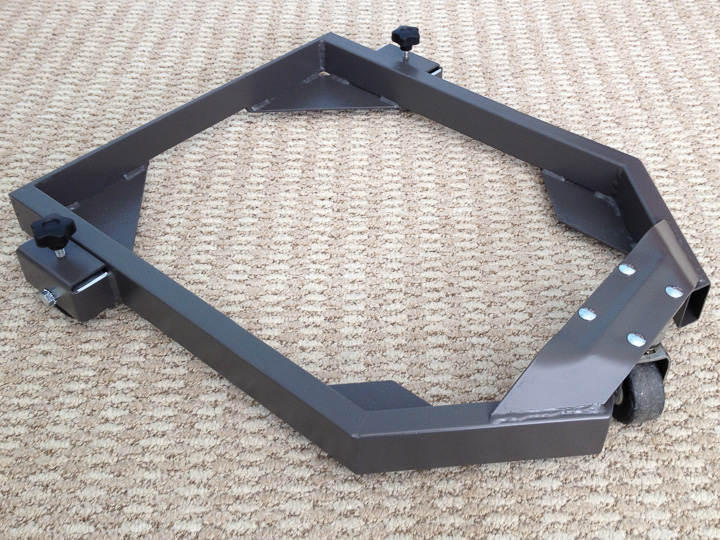
The After
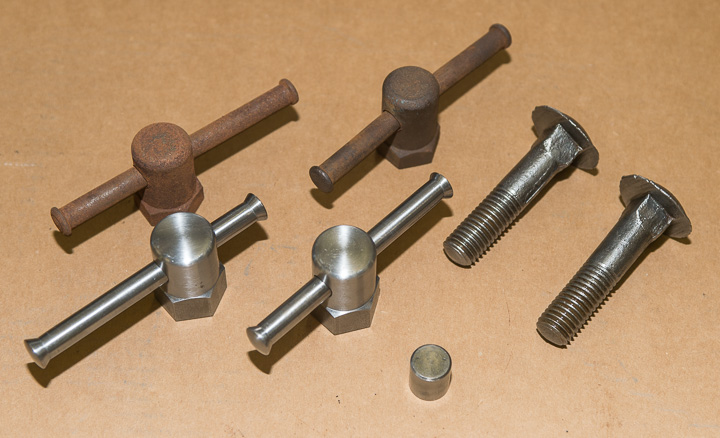
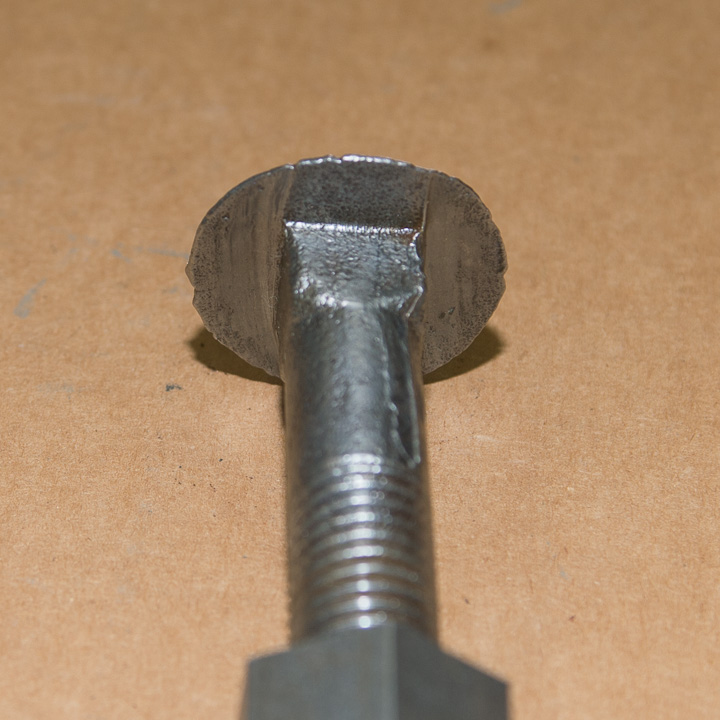
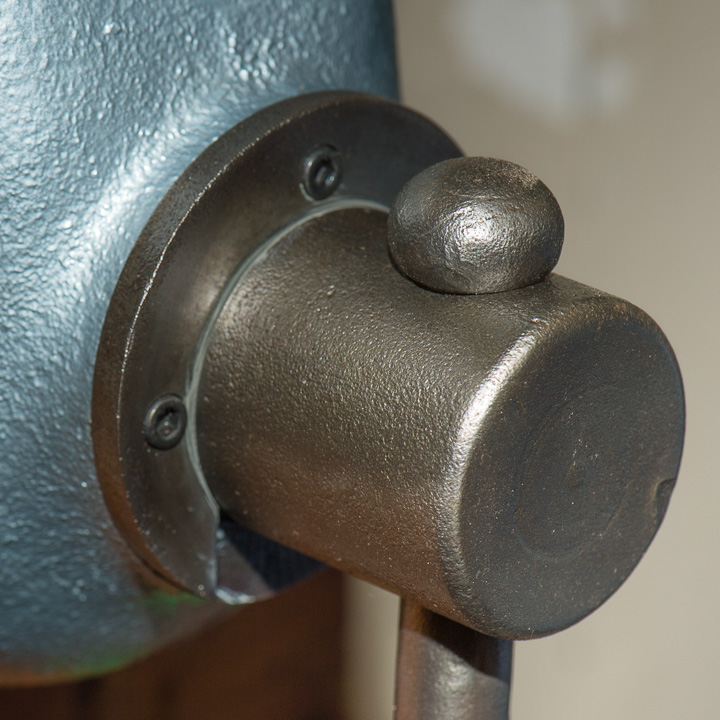
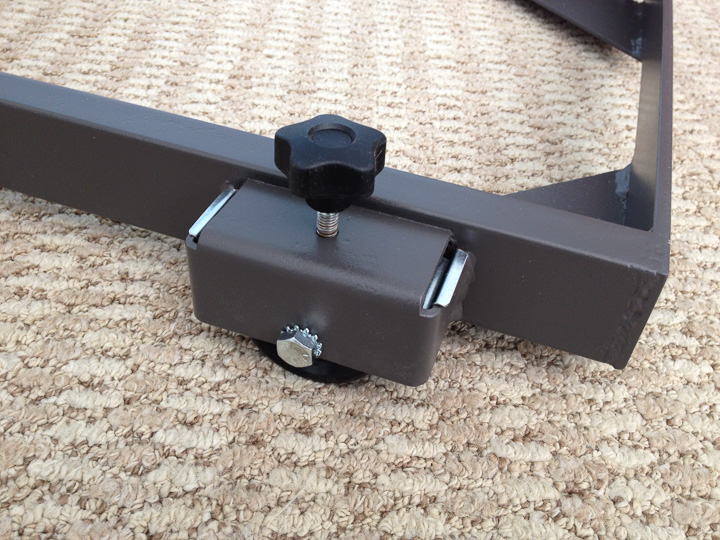
Everything cleaned up pretty well, except I did replace all the nuts, bolts and washers. The paint is Rust-oleum Satin Anodized Bronze.
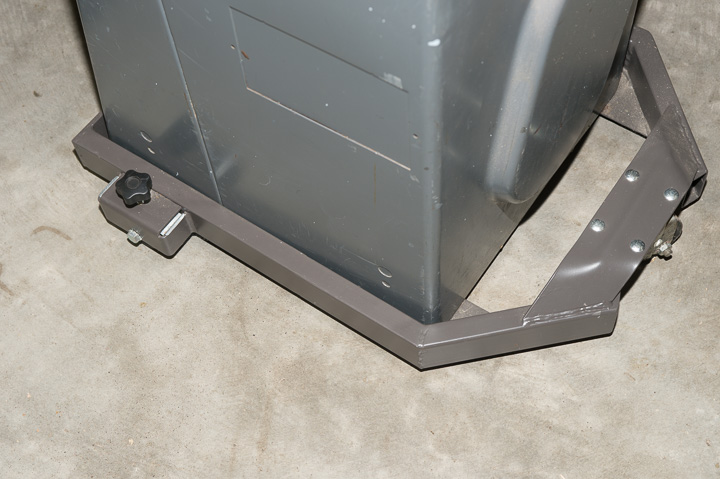
With The Sander On It
Last edited: