bubinga
Well-known member
One of these days I'll fix my PC and get back into GJ full force. Until that time, I'm stuck with my phone's browser
Are you using the Tap A talk App.
Its made for phones.

One of these days I'll fix my PC and get back into GJ full force. Until that time, I'm stuck with my phone's browser
Are you using the Tap A talk App.
Are you using the Tap A talk App.
Its made for phones.
Are you using the Tap A talk App.
Its made for phones.
Oh Yeah, 1005 better on a P/C.Yes I do but I like the bigger screen and other features of a pc over a phone but the phone works. I use the garage journal app.
Sent from my iPhone using The Garage Journal mobile app
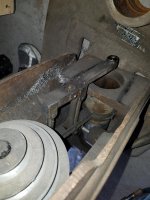
Measure the ID of the column. If you have a 2 3/8” ID then get rid of the snap ring altogether. The snap rings are there for 2 1/2” ID columns on later models.
Again make sure you are using the right end of the column. The right side will have a machined inner bore and will have almost a shelf so the plug won’t fall in.
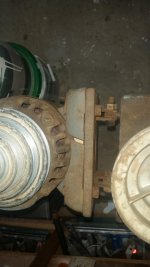
Here's some before pics.
Sounds like a start capacitor issue.
There should be however you need to dismount the motor unless there is a capacitor housing on the outside. if not there it will be underneath base, (unless its a starter winding motor)
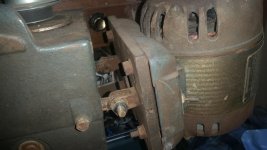
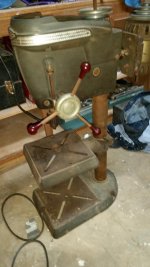
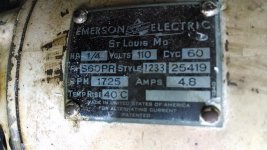
Does anybody have any diagrams (mechanical) on an old Emerson Electric motor. My recent DP came with this 1/4 hp motor, and I would at least like to open up and lightly clean the contacts, etc and also replace bearings if I can find a drawing.
Emerson Electric 1/4 hp
FR: S60PR
Style: 1233 25419
RPM: 1725
Thanks.
Shelton: I have access to a 1/2hp motor from an old table saw, but for now I just want to get this one running if I can. I want to use the DP for smaller woodworking projects, so the 1/4 hp should be ok for a while. Thanks
That 1/2 on the table saw is probably 3450 rpm. You need 1750/1725 rpm for a dp.
Sent from my iPhone using Tapatalk

I've seen and have some that are even slower are 1100 ish RPMS, and if its a 4 speed DP, that would be better for metal.
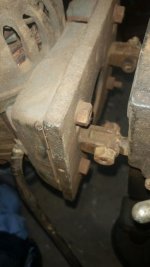
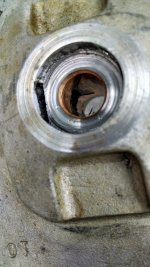
Took one end cover off of the Emerson motor. There was alot of old grease here, what I thought was 1 thick washer was really 3 of them, including a thin spring washer. I cleaned out the end cap bearing/bushing (a bit) in mineral spirits with a small brush. So is this showing a bushing with channels in it for grease? At first I thought the bushing was scored, but the channels are symmetric. And is that washer on the outside of the cover plugging a grease channel?
Thanks.
excellent explanation Pete, thanks. So does that washer come out easy? Would like to see and learn.
And it looks like I will be using a different motor after all (the comments earlier suggested that already).
Thanks again.
so do I drill/punch a hole in the center area of that washer and pull out to remove?
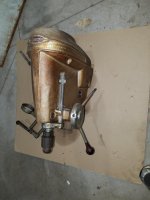
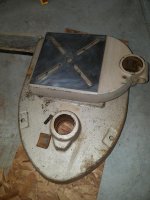
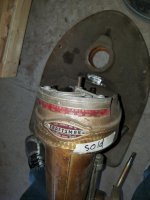
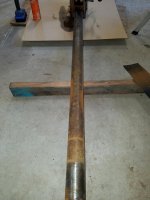
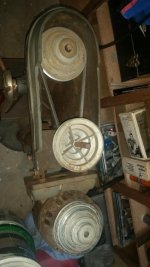
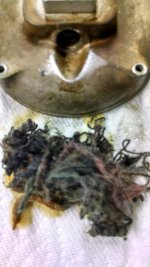
Oh my!I took the motor off my dp tonight. Here's details of what I found.
Wow! What's your plan going forward?
I would be tearing the whole thing down and checking out the rest of the parts before looking for replacement parts.


I took a leaf from FrankLee's book for my chuck key:
Hey JZiggy - do you mean to leave a link on your last thread?