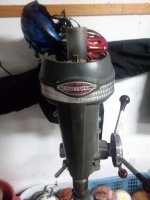
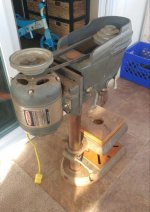
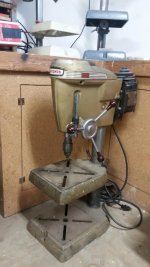
Well I picked up my new beauty this Saturday. Was really impressed with the condition it was in. The spindle doesnt return without moving the handle back. If I remember correctly these should be spring assisted to return back up but I might be confused.
Also the bushing on the motor could be replaced but not major. I thought the on off switch was pretty creative.
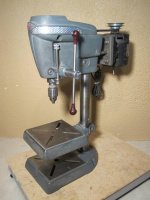
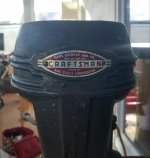
That is in very nice condition!
Yes, the quill should return without assistance. If the feed handle hub does not simply slide out of the head frame, I believe all you'll need to do is adjust the spring tension.
Here is a link to the spring adjustment procedure. Look for the procedure for late model 150's.
https://www.garagejournal.com/forum/showthread.php?p=6347474#post6347474
It's also possible that the quill lock is sticking or that any old lubrication has turned gummy. Both can impede a smooth quill return.
I've never replaced those motor mounts, but search for "resilient motor mount rings" for replacements.


 Never seen on for a craftsman in the wild. Have one for my gigantic Canedy Otto Project DP, and assembled the parts to also add a lift to the head...