Speaking of old threads...
")
Guess I'll post here and see what happens.
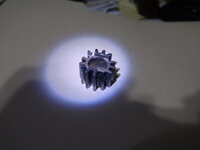
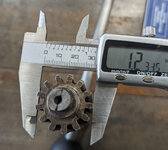
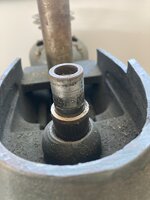
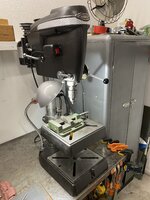
Picked up an unloved 103.0303 a few months ago. Functional, mostly all there, but...loose. Especially the spindle, in the mid travel area. At the top it was tight, as well as the bottom. Hmmm. Finally got a break from other stuff and removed the pinion; seems I had a 2-piece gear. The big part still on the shaft, with several shards laying in the grease.

Have done some searching and the pinion gear does not appear on ebay. In the few rebuild threads I found, it does not appear anyone had an issue with this. Did a quick check on the Boston Gear and RUSH Gears sites; close, but no cigar in dimensions of teeth, pitch, and diameter. Although I am sure they could make something if I wanted to take out a mortgage on the house...
In addition to the broke gear faces, all the gears exhibit significant wear. 80 years of use will do that I guess. At least that explains the 2" of handle play before the gear engages the spindle.
So. Short of having a new gear broached, has anybody with this DP with this problem solved this? Can this be welded and remachined? While I think the broken tooth could be welded and then milled, this would still leave the other gears with significant wear patterns. Or preferably, has anybody found a later model pinion that could be adapted?
TIA.


 (Large).jpg")
