OP
Don Campbell
Well-known member
Thanks again Eric,
Much Appreciated
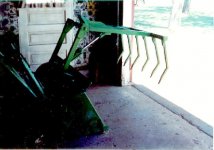
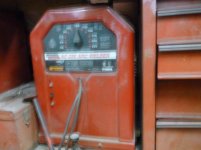
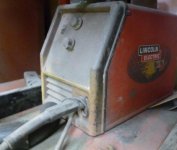
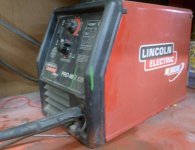
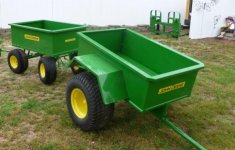
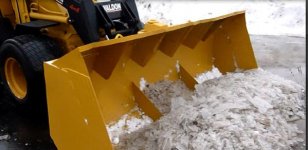
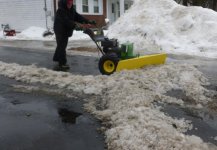
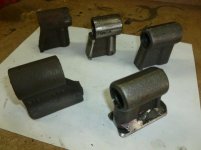
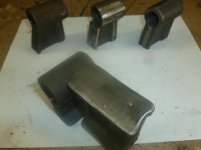
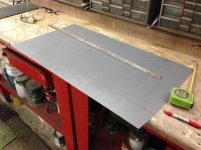
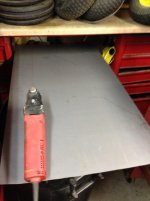
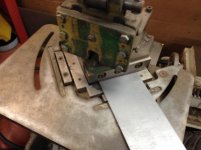
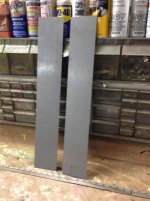
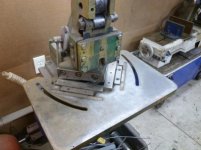
I will repost a couple pics here of my basic tools that built over 200 steel models so people can see they can do it too without a lathe , milling machine or computerized plasma cutter. Everything I have built has been done with basic tools. Once again I am the first to admit none of my projects are even close to perfect so please keep that in mind if you see bad looking welds or bad body work or bad paint jobs. Thanks
Much Appreciated
I will repost a couple pics here of my basic tools that built over 200 steel models so people can see they can do it too without a lathe , milling machine or computerized plasma cutter. Everything I have built has been done with basic tools. Once again I am the first to admit none of my projects are even close to perfect so please keep that in mind if you see bad looking welds or bad body work or bad paint jobs. Thanks


 WOW!!!!! Line up boys.....On three. One....two....three...