To avoid these ads, REGISTER NOW!

Droobarn 2 - The Big Blue Box

drooartz

Well-known member
Joined
Jan 26, 2010
Messages
228
Location
Utah, USA
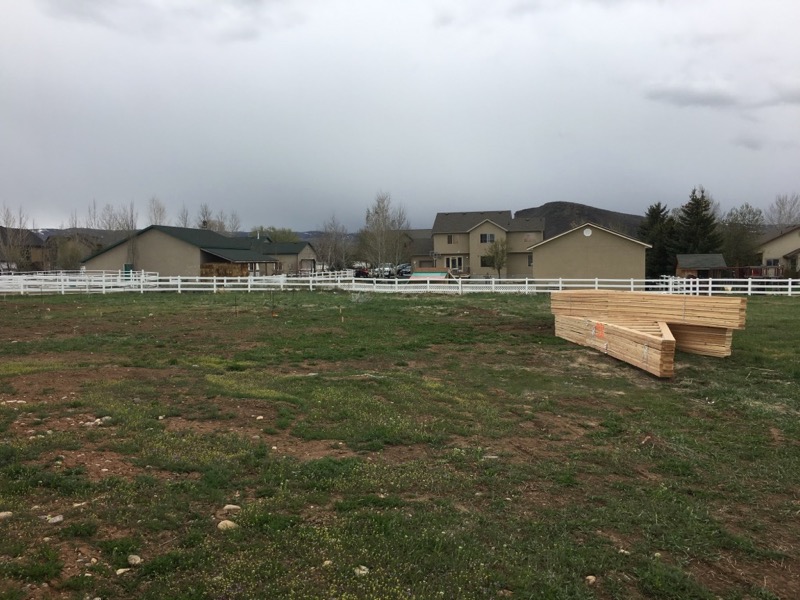
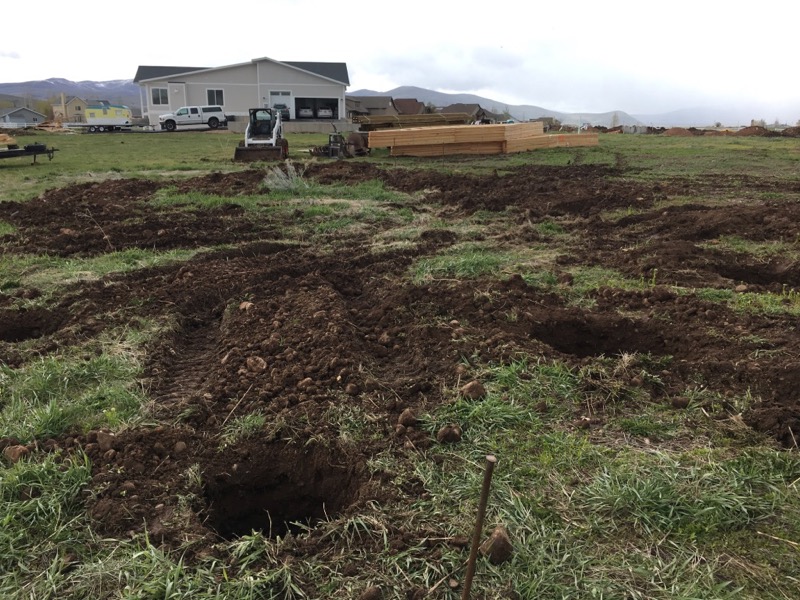
The last few years have been very crazy. Summer of 2015 My wife and I started looking at remodeling the kitchen in our house, and by the summer of 2016 we were in the middle of construction on a new house on a larger piece of land. 2017 was the year of the new shop!

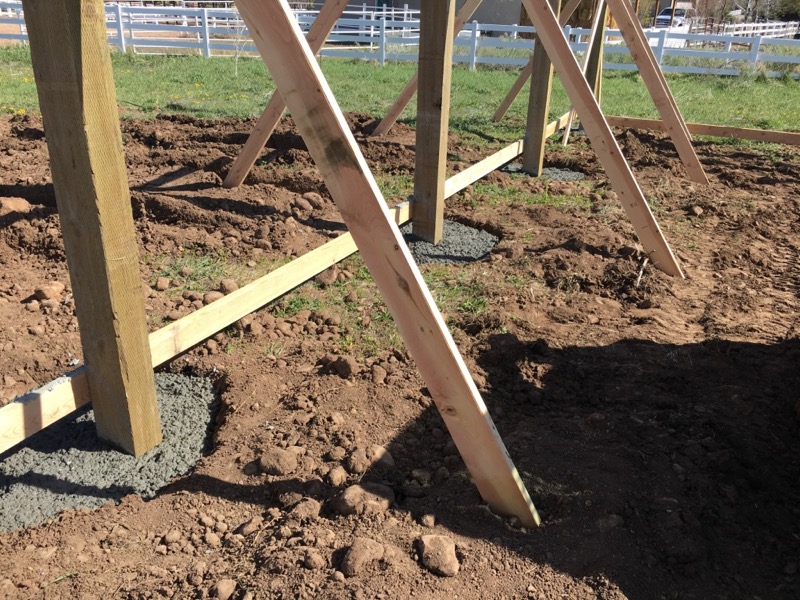
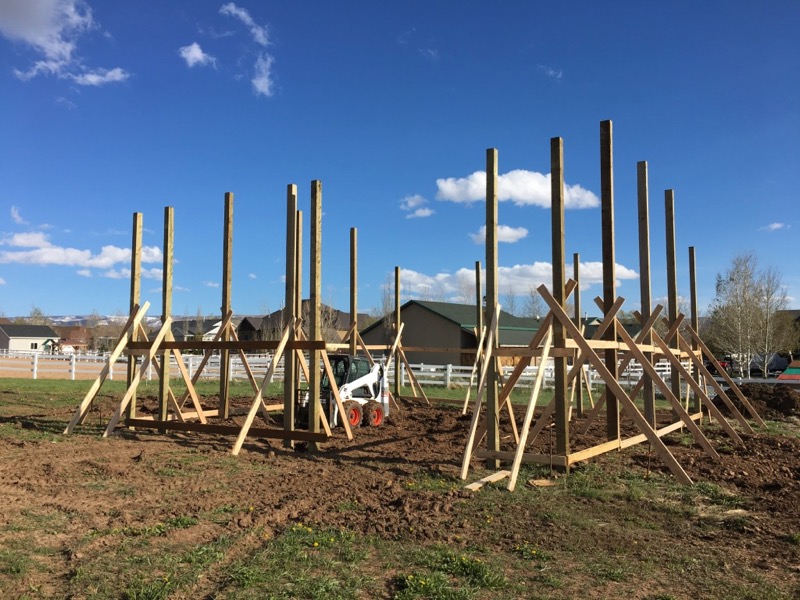
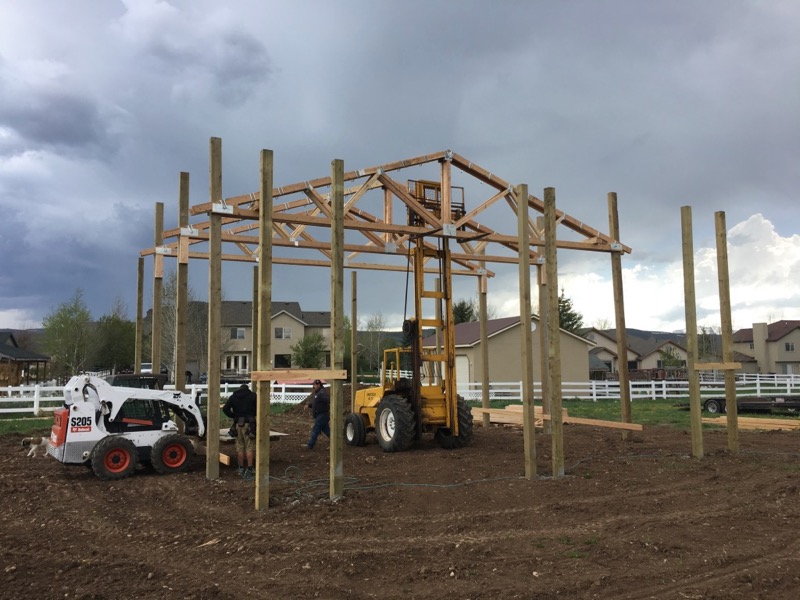
My main consideration for the new shop was not to make it too small. When I build the first Droobarn I built what I could afford: 16' x 20' of shed/shop that worked pretty well for one car. Then I wound up with 3 cars. And a motorcycle. And a storage unit. So this time around I built for the future. We've built this place to be a permanent home so I didn't want to have to build it again. Budget still played a part, but I was able to make a good space to grow into.

The Droobarn #1 (gone but not forgotten)

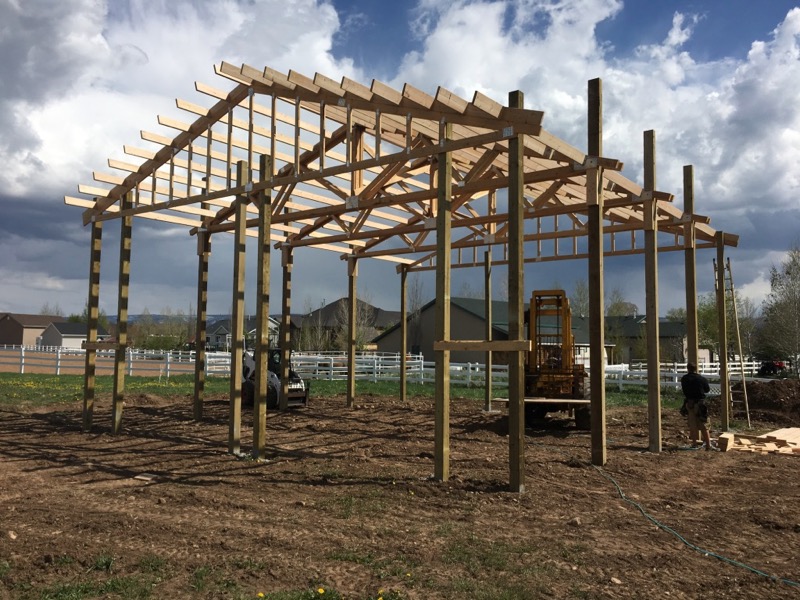
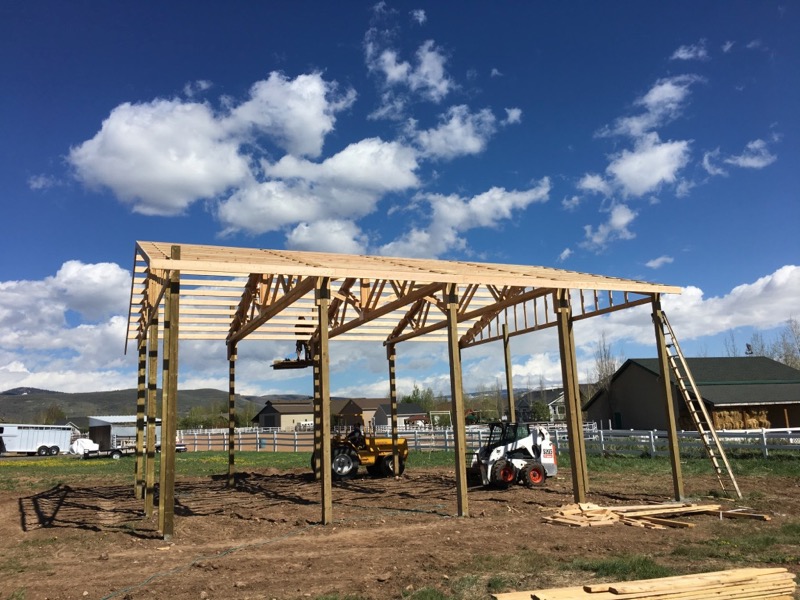
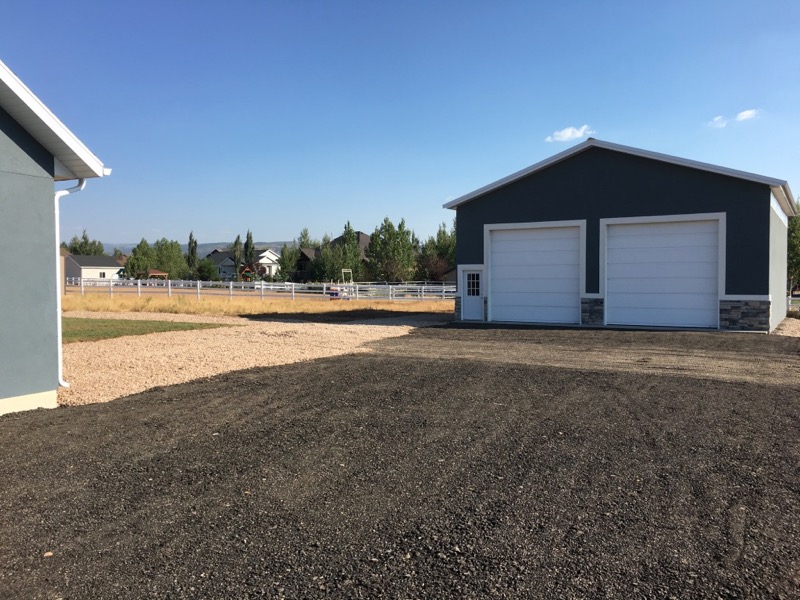
And here we are today, built and moved into. A 36'W x 40'L x 16'H big blue box of goodness. I had hoped to share this while we were building it, but life was too crazy. So I'll share the journey I've been though to catch up.

droobarn2.jpg


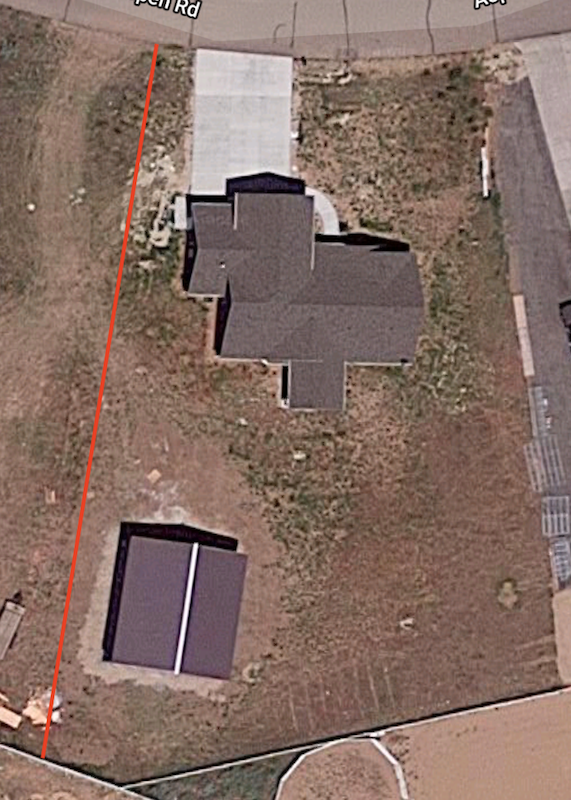
And a lot layout courtesy of Google (pre-landscaping)

lotlayout.png
 
To avoid these ads, REGISTER NOW!
OP
D

drooartz

Well-known member
Joined
Jan 26, 2010
Messages
228
Location
Utah, USA
Getting started: holes in the ground

So April of 2017 the barn raising party started. Unfortunately I missed the opening weekend when they laid out the location -- unfortunate, as they put it in the wrong place! Luckily, I caught it before anything was dug into the ground and they moved the stakes to the proper spot. A bit of confusion based on our back property line was all.

I've never seen a pole barn go up, so this was a fun thing to watch even if it wasn't going to be my dream shop. The builders (JA Norton) are some local folks who have been doing these builds for a long time. Came well recommended by a few friends who've used them in the past, including one friend who used them twice (always a good recommend).

So we start with stakes in the ground and some parts in a pile. I'll admit that we used the neighboring vacant lot to good advantage. Our lot is about .7 acres, a nice size for what we wanted.

droobarn2-1.jpg


Holes dug, hope to all that is holy that they're in the right spot (they were).

droobarn2-2.jpg


Concrete in the post holes, moving right along.

droobarn2-5.jpg


Poles up, and we start to get a feel for the size of the thing. Poles along the sides are spaced at 10', the end at 12' for a 36' by 40' footprint. A good size that made the most use of my available budget.

I left plenty of space to the inside of the property to add a lean-to for parking my trailer in the future.

droobarn2-4.jpg
 
To avoid these ads, REGISTER NOW!
OP
D

drooartz

Well-known member
Joined
Jan 26, 2010
Messages
228
Location
Utah, USA
Up go the trusses

And now we move into May 2017 with the raising of the trusses. This is where the Droobarn stopped looking like a forest of poles and turned into a building-shaped object.

Here the trusses are joined together and getting ready to be lifted into place.

droobarn2-6.jpg


There were two guys (father and son, the grandfather started the company and still does the bid and design work) working on the barn. Hard workers both, just got to it. Up go the trusses

droobarn2-7.jpg


This little guy belongs to the builders -- though by now he's not even close to little! A St. Bernard puppy that romped around while the two builders worked. I made a new friend for the duration.

droobarn2-8.jpg


And now it looks like a building, at least the skeleton of one. This quite the moment for me, when I could see in reality what I had thought about for a long time.

droobarn2-9.jpg


droobarn2-10.jpg
 
To avoid these ads, REGISTER NOW!
Top Bottom