Finished installing the shift kit today, which was just changing out the accumulator spring and ading a spacer -
Refitting critical shift bits -
Bolting the valve body back in -
Installing a new filter-
And torquing everything to 90 lb-inches.
Speaking of which, a lot of times you see instructions that say how much to tighten a fastener in the absence of a torque wrench. In this instance, the instructions say you can install the bolts "wrist tight" and then "a further 1/8 of a turn".
So, being the curious mechanic that I am, I tried it on a couple bolts, twisting them to what I thought was "wrist tight plus another 1/8 of a turn". Then I checked them with the torque wrench. They came in at about 10-20 lb-inches

- and required a further 80-90 inch-pounds with the torque wrench. Just goes to show: guessing is for suckers.
")
Lastly came the new pan gasket and more torquing of bolts. I know some guys think torquing pan bolts was not very important - but I've seen gaskets squish right out from going too tight on the bolts, or leaks from some being too loose. I always torque pan bolts and valve cover bolts, even spark plugs when a T-wrench is available.
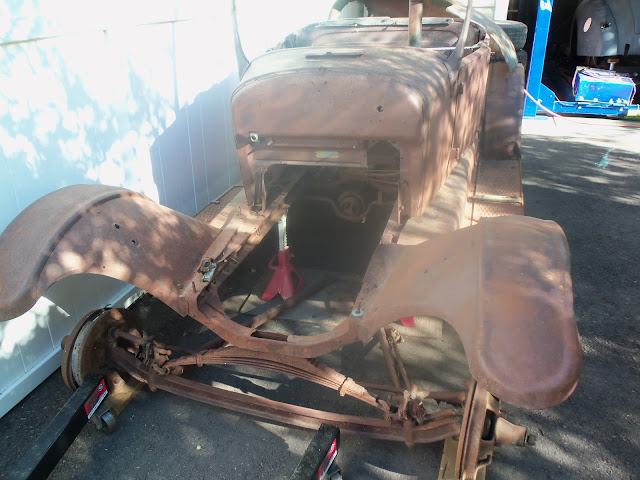
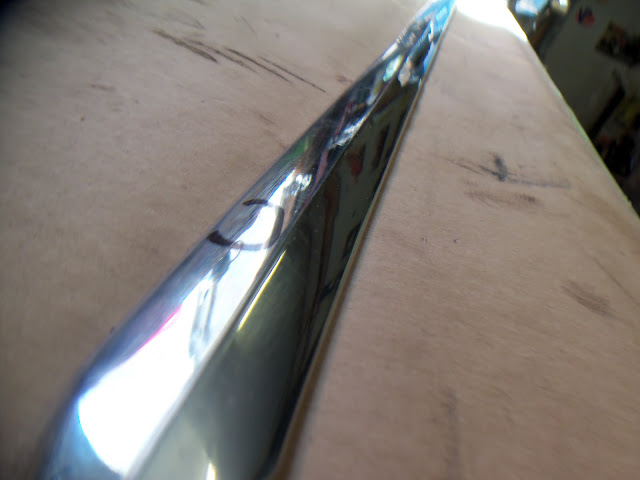
After it was off the bench and back beside it's mate (the 5L engine), I decided I'd stay on the same project and got to polishing some of the side trim -
First, I removed any visible scratches by wet-sanding with 400 paper -
Then I dressed the buffing wheel with Black Emery polishing compound -
Then polished out the pieces, being careful not to over-heat any one area -
Here you can see the surface is evenly polished, but there's still a lot of compound on it, making it appear black. Removing this by hand rubbing you can see the progress -
I'll leave them like that for now, but before re-installing them on the painted rod , they'll get another 30-40 minutes each of work, polishing each again with semi-fine, then ultra fine, compounds on different buffing wheels, then a final hand rub with a final glaze. They'll blind you in the sun!
And now.... a word from our sponsor!! 
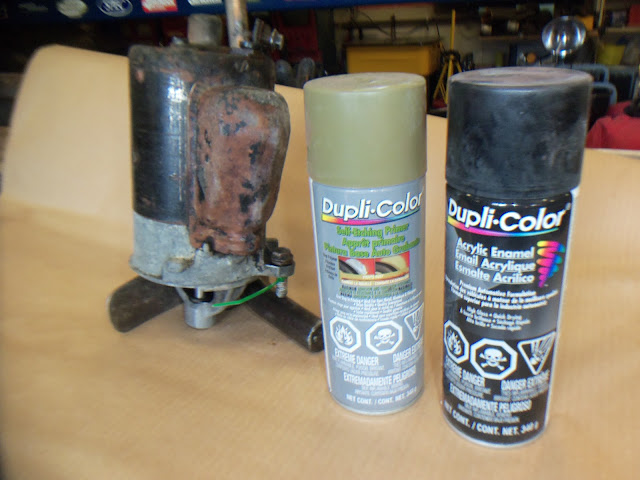
The very rusty starter motor was shot with Dupli-color's Self-Etching Primer for maximum adhesion and topped with their gloss black to ensure long-term protection and to keep it looking great under the rod for a long time to come.