Steel weld on a steel panel is not going to expand/contract any different than the steel panel itself. It's all just steel.
But the steel itself is just steel.
Just for the conversation....
")
I agree in most everything you wrote of course, except for that last line: "Steel is Steel", which is generally not the case - especially when choosing a MIG wire. Of course all steel is of varying composition, but MIG wire is especially variable - as evidenced by the performance of different welding wires. If you've ever used a HF or PA Branded wire, vs a Lincoln/Miller Branded wire, you'll know what I mean!
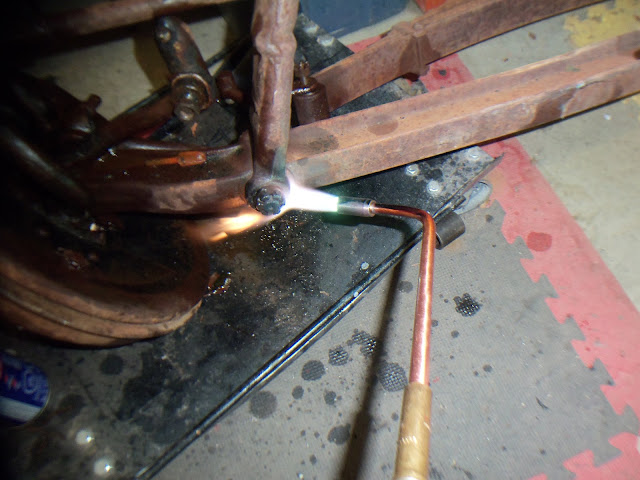
I use ESAB-6 (ER70S-6) for body work as this wire incorporates a deoxidizer. ER70S-6 is said to be better for creating a smooth transition from the weld to the base metal, also known as wash-in, good in applications subject to fatigue and can provide better wetting (transition) at the weld toe when compared to an ER70S-3 wire.
So, as wires are alloys, having differing amounts of manganese, carbon, and even deoxidizers as above, one could make an argument that this 'could' contribute to varying expansion rates....
...but they would be so slight as to make little difference - and even if it did take place, the other factors you mentioned (working it even, filling it evenly, etc.), should negate any differences that could occur.
I "could" see it happening in a case where a HEAVY weld bead, of cheap, dirty-alloy wire was used, where it heat-hardened some of the surrounding metal and perhaps was insufficiently worked down so that it sat high, closer to the paint layer than the rest of the metal around it - maybe.
Of course even before suspecting the weld itself, I would consider also the composition of the patch panel itself, whereby if of sufficiently different alloy, could also contribute to a differing rate of expansion and contraction.....


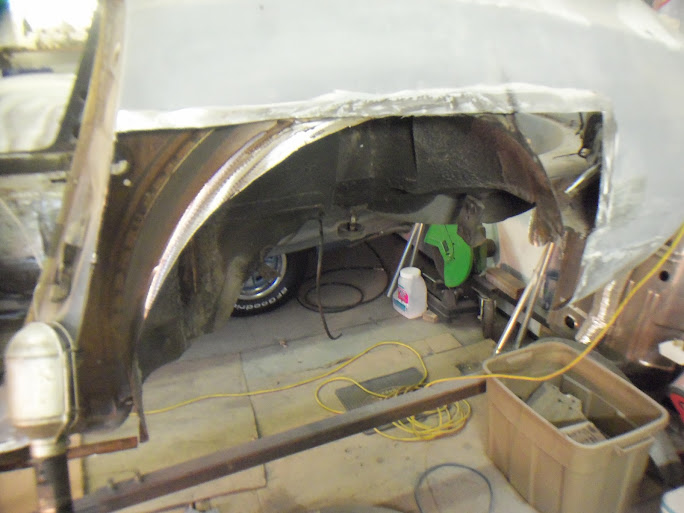
I am now going outside to cut a rusty panel from my inner fender and fit the patch panel I purchased for it. I have been staring at it for over a week. Inner fender is for my 71 Buick GS. I know the concept just have never done it. This thread has got me ready to tackle it. Thanks for the way you explain and document what you do. I look forward to checking out your blog next. Keep up the good work.

 The sad thing is, he has done a few cars that he has won first place with in shows, but yet do something like that.