zmotorsports
ALLIANCE MEMBER
Love the cordless tool wall mounts Steven. Those turned out awesome.

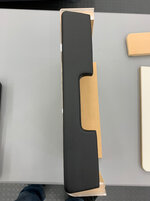
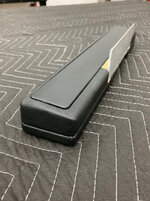
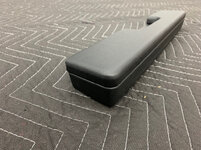
I'm not sure what your rolls of black foam are.
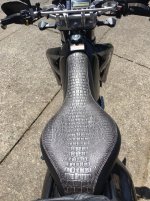
I had a custom seat built for my DRZ last year and the guy had a 1/4" thick black foam that basically had a 4-way stretch to smooth it out before the cover went on. Cool stuff. Hadn't seen it before.


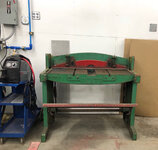
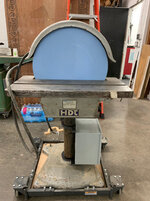
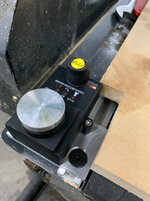
SD: nice find and I too love old good working tools.
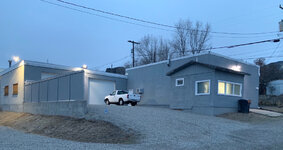
sorry to hear you had some kids or idiots spray painting your shop. I think I recall you had security cameras inside and do you have maybe some outside or are you thinking of getting any?
hope you are having a great weekend.


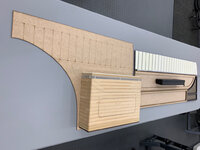
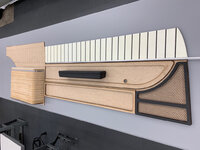
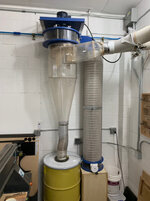
You have some pretty slick tools to make some pretty slick parts.
SD: i love the vintage tools scattered in amongst the high tech new ones in your shop a lot. also looks like you have some awesome skills and I bet the Nova or anything you work on will be happy it found you.
keep up the great work
")
The work looks great
Dwight