Bib Overalls
Well-known member
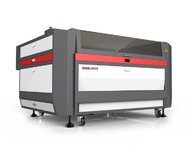
Is the CNC router for raised or sculpted panels?

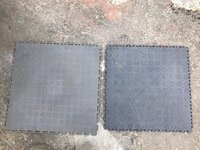
You have a link to the thread about the door seals or can tell me what the rubber strip is/where to get it? I have a water issue going under my door as well when it rains a good bit.
Is the CNC router for raised or sculpted panels?
 gift from my mother!


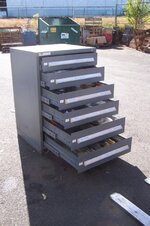
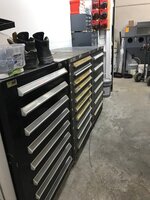
Slodat, awesome work, I'm subscribed, how do you like this my ac guy wants me to put this in my shop that I am building. Also any idea of a place to source the storage shelving? My ceilings will be min 10'.
thx
Jim
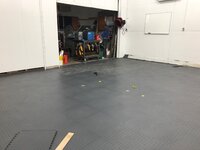
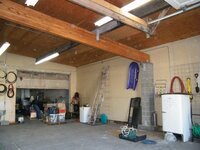
SD: your old shop is coming along nicely. WELL DONE!
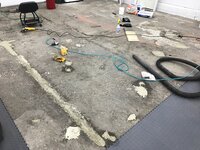
i don't envy you having to remove old wet sheet rock and insulation, but once it's gone your shop will look all that much better so good luck.


")


One very ugly job, especially doing it alone! Take some extra time, patting yourself on
the back when this part is done. And Hats Off for your tenacity!