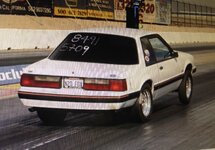
Just read the post about the new PB on motor. That's pretty stout, funny what a small comfort adjustment can do. I'm still dealing with my driver seat "lean" that keeps me from being comfortable when shifting as the car seat rocks on launch pretty badly. . What's the suspension / tire setup that gets you the 1.60 60ft times? Is that launching a little conservatively for longevity? Also what is your clutch setup and are you using a 2 step ?
26x10.50 MT ET Street radials on the rear @ 16 psi
26" tall MT tires on the front @ 50 PSI, made switch to this taller tire this year from a 24.5" tall tire.
15x8 15x4 weld Draglites
UPR tubular K-member, with QA1 shocks/coil overs and Eibach springs, forget the spring ht. 12 or 14"
Tubular control arms with UPR bump steer kit and Unisteer manual rack.
UPR adj LCAs in the rear
UPR adj UCAs on the top, I believe.
Homebuilt battleboxes. all seams welded (to my past abilities)
Team-Z anti roll bar
8.8 rear with 4.10 gears.
Moser Full spool
Moser 33 spline axles, gun drilled
Moser C-Clip eliminators
Aluminum rear cover, forget who made it
About 3.5/4K rpm launch, slipping clutch. NO 2 step.
TREMEC TKX transmission
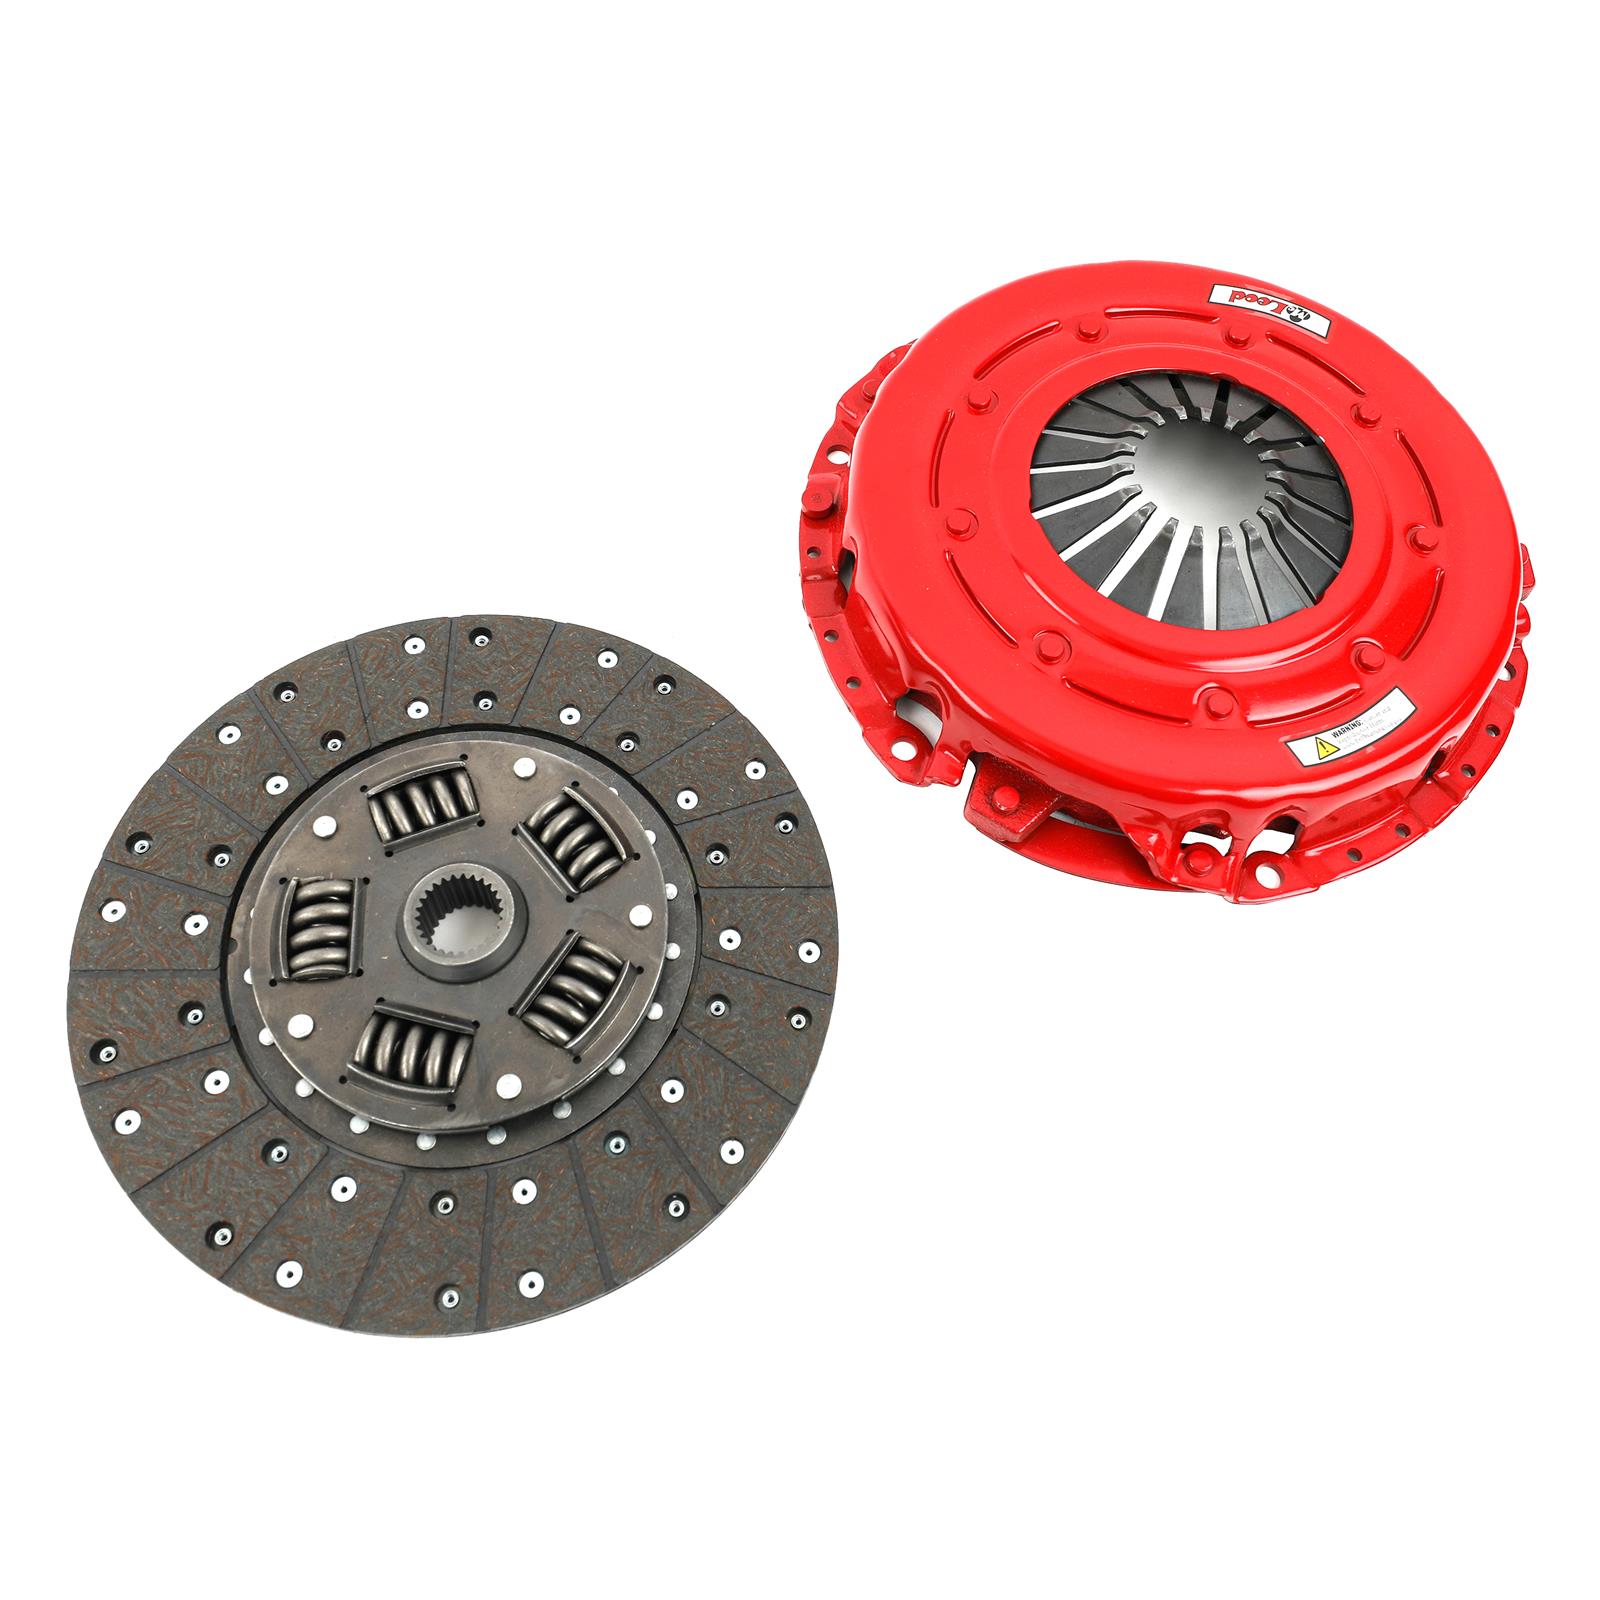
It's been awhile and I would have to look at exactly what clutch it is but I know it's a McLoed.
I believe this one 75025. . . . . 10.5" 26 spline 1 1/8" shaft
Free Shipping - McLeod Street Level Clutch Kits with qualifying orders of $109. Shop Clutch Kits at Summit Racing.

www.summitracing.com
I don't want to completely wring the hell out of this thing, it's still running the stock factory roller block. Allow though it's half filled with Hard-Blok. I try to be conservative and finally getting it worked out, I don't want to break it just yet. I've already BTDT with a split block. If you were ever at The Corral.net, I had a thread, "My Carnage, my split block."


")


 . Here's the bin set the above bins came from along with a few left over from before. These are the same ones that I used previously in my fastener storage under the workbench.
